- Oct 2, 2014
- 210
- 47
Well , i thought maybe someone is interested in what i am doing with my home automation build.
I must say, be prepared since i have allot of pictures ( pictures say more then text") )
)
Please be gentle when you enjoy reading my Dutchlish since English isn't my foreign language
So here we go , i copied most of it from another forum thats all about HA.
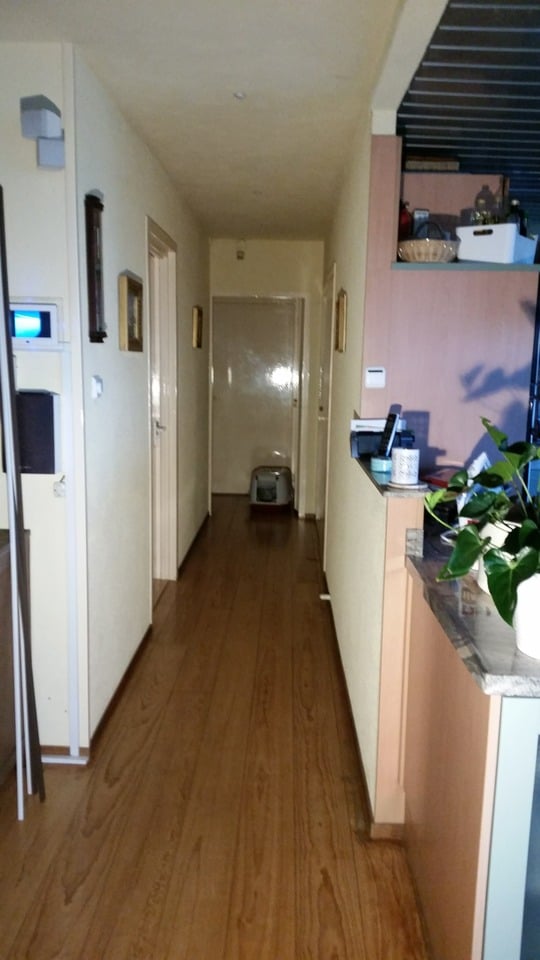
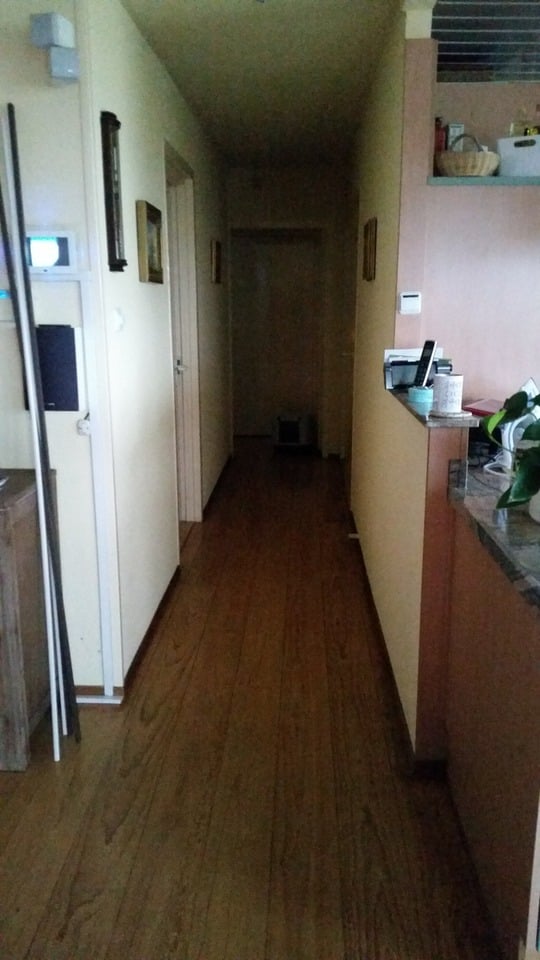
Well i just bought a new house and it comes with some "green" options.
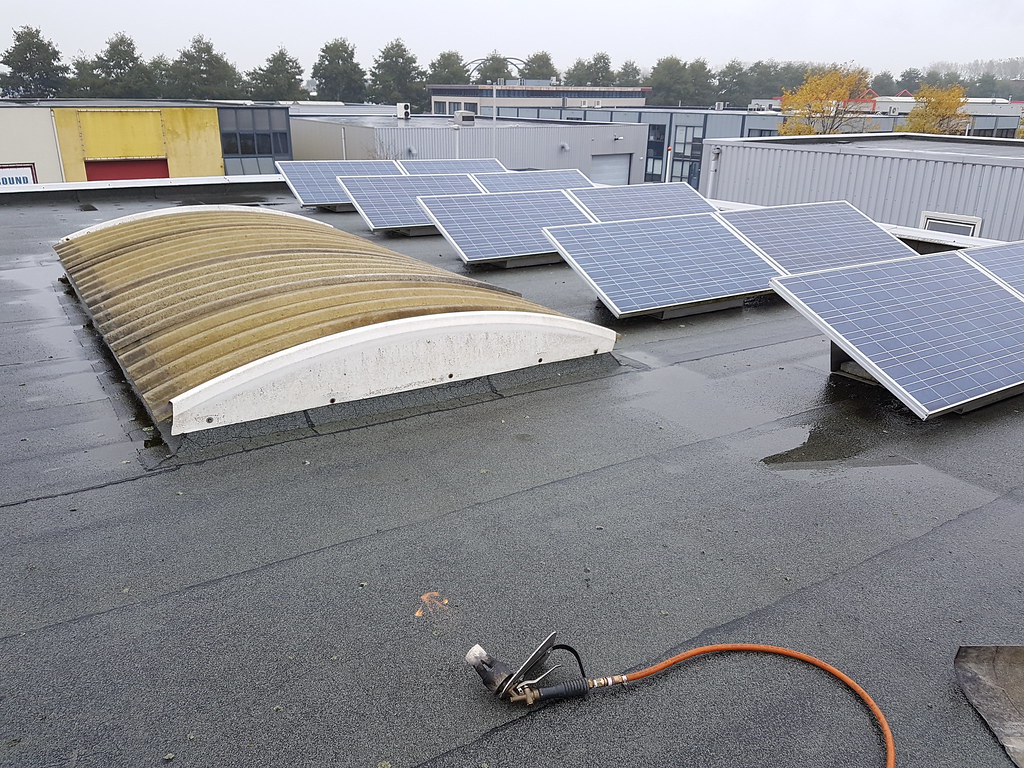
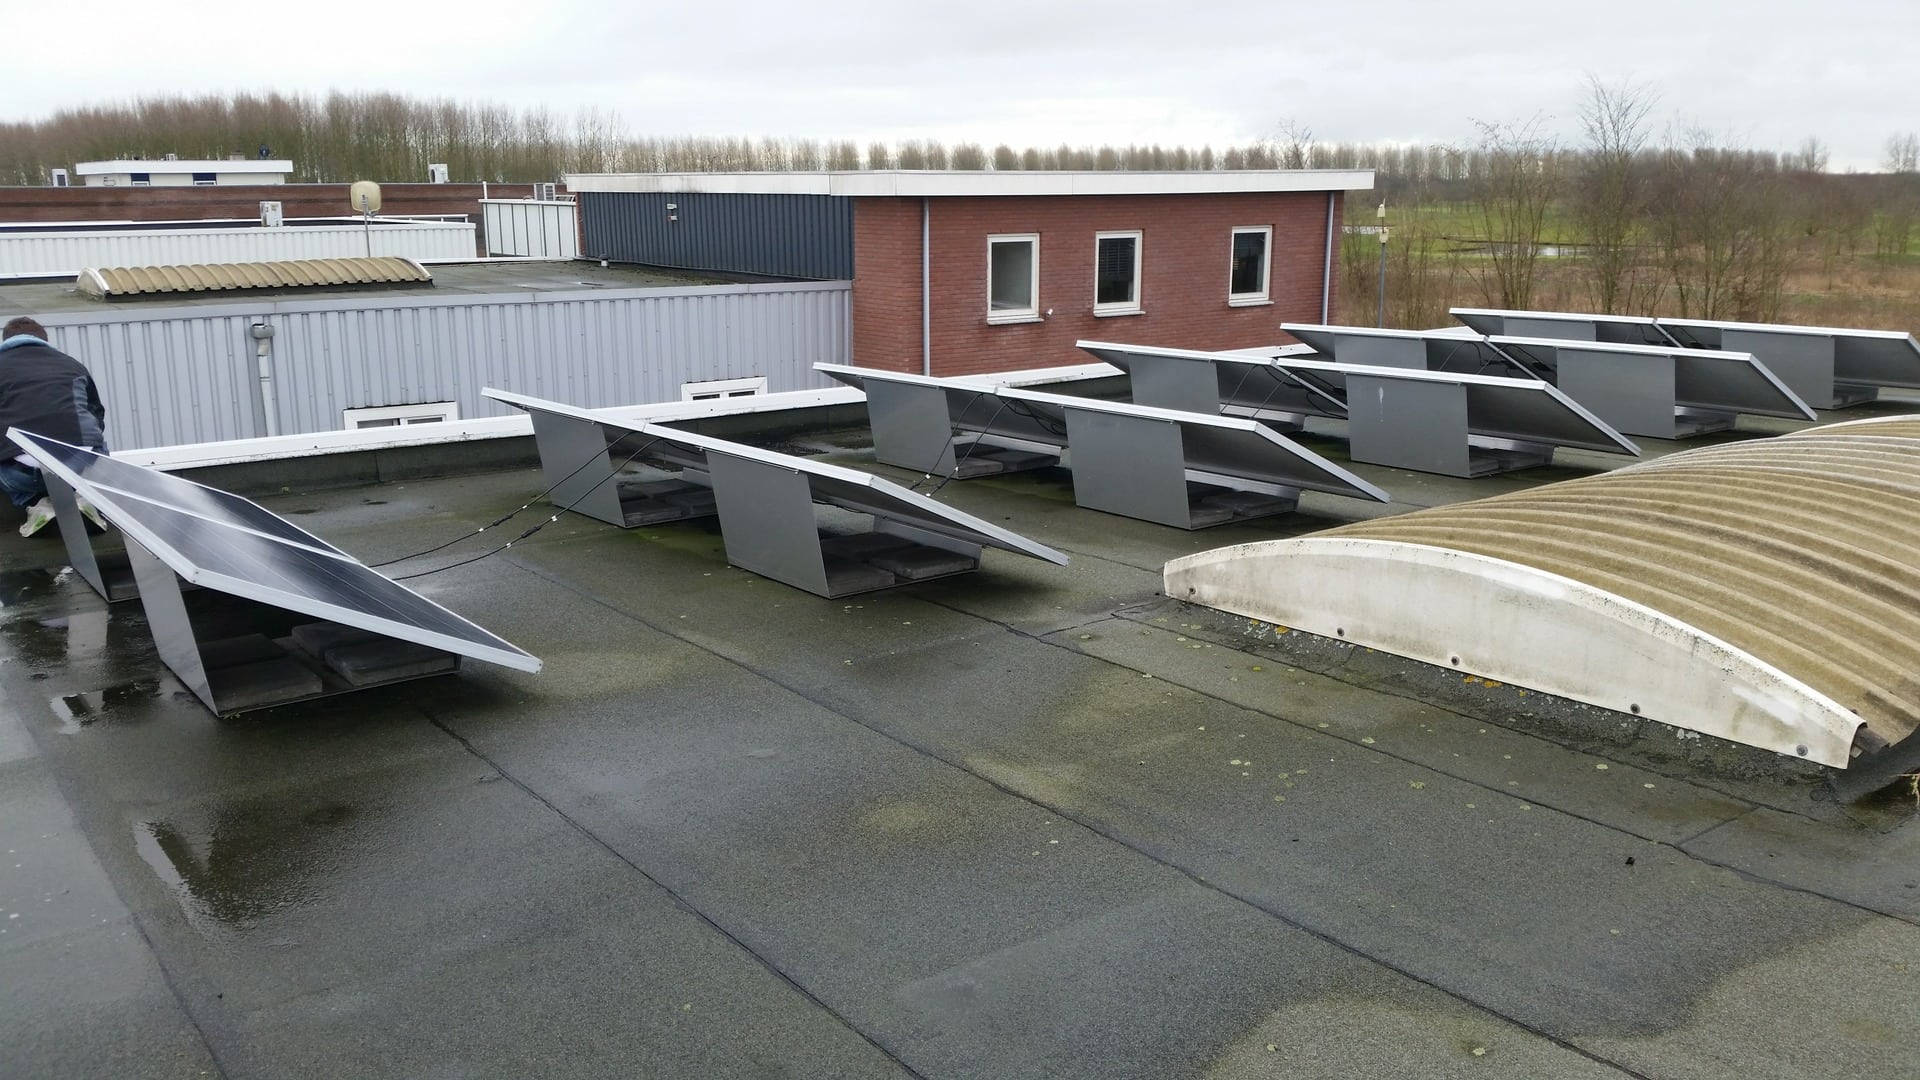
The house has a few solar panels on the roof, i am not sure how many but coming Friday or Saturday i get the key so i can check.
renedijkstra.nl/bg-22106-7-4979/bog/vol ... erend.html
Also using a solar water heater thats build on the roof and i am using heat from the earth to warm up the house and water.
So far i got this fairly cheap since it came with the house, now i do like gadgets allot and have allot of them collected in the years but to keep in a bit in the green energy saving style i thought would it not be great to be able to switch everything in the house.
All the power sockets , lights , that i am able to turn everything off except the equipment like a fridge or something that needs to stay on of course.
My question is to you guys, what do you think is the best solution or is a better solution of what am i not thinking of.
First idea was to use SSR , easy to use and i want to use Homeseer with an Arduino to control everything.
The advantage of these "relays" is
-its easy to connect on the arduino since most of them are usable from 3-30 Volts.
-Will not fail fast if used normally
-smaller size then a mechanical relay
-SSR itself uses low power to switch
-No sound when switching
But the disadvantages are
-always "leaking" power and the higher Amps it can handle , more it lets trough when it should be closed so giving problems with LED lights and still leaking power so resulting in a higher billing the end of the year.
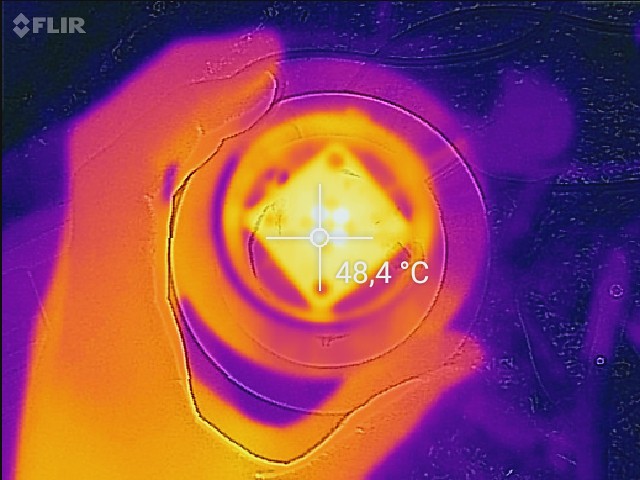
-needs a heatsink when using some load on them
-if being used with a heavy load lets say a 1000w light it can peak/draw up to 60Amp i have been told, even just for a few mili seconds, not sure what the result is in this in the end.
------------------------------------------------------------------------------------------------------------------------------------------------------------------------------------------------------------------------------------------------------------
Using Mechanical relays, i am not sure what the correct name is
things i have found an can think of are
Advantages
-doesn't have leaking power
-doesn't need a heat sink
disadvantages
-bigger
-using more power then SSR
-Wears off faster contacts burning in
-using higher voltage
-Sound when switching.
-when using the arduino to trigger the relay you have use with most bigger relays 12 or 24 Volt so i use the arduino to trigger a small relay that uses 5Volt to trigger the big relay 12/24 Volt that is being build in the power socket or next to it.
------------------------------------------------------------------------------------------------------------------------------------------------------------------------------------------------------------------------------------------------------------
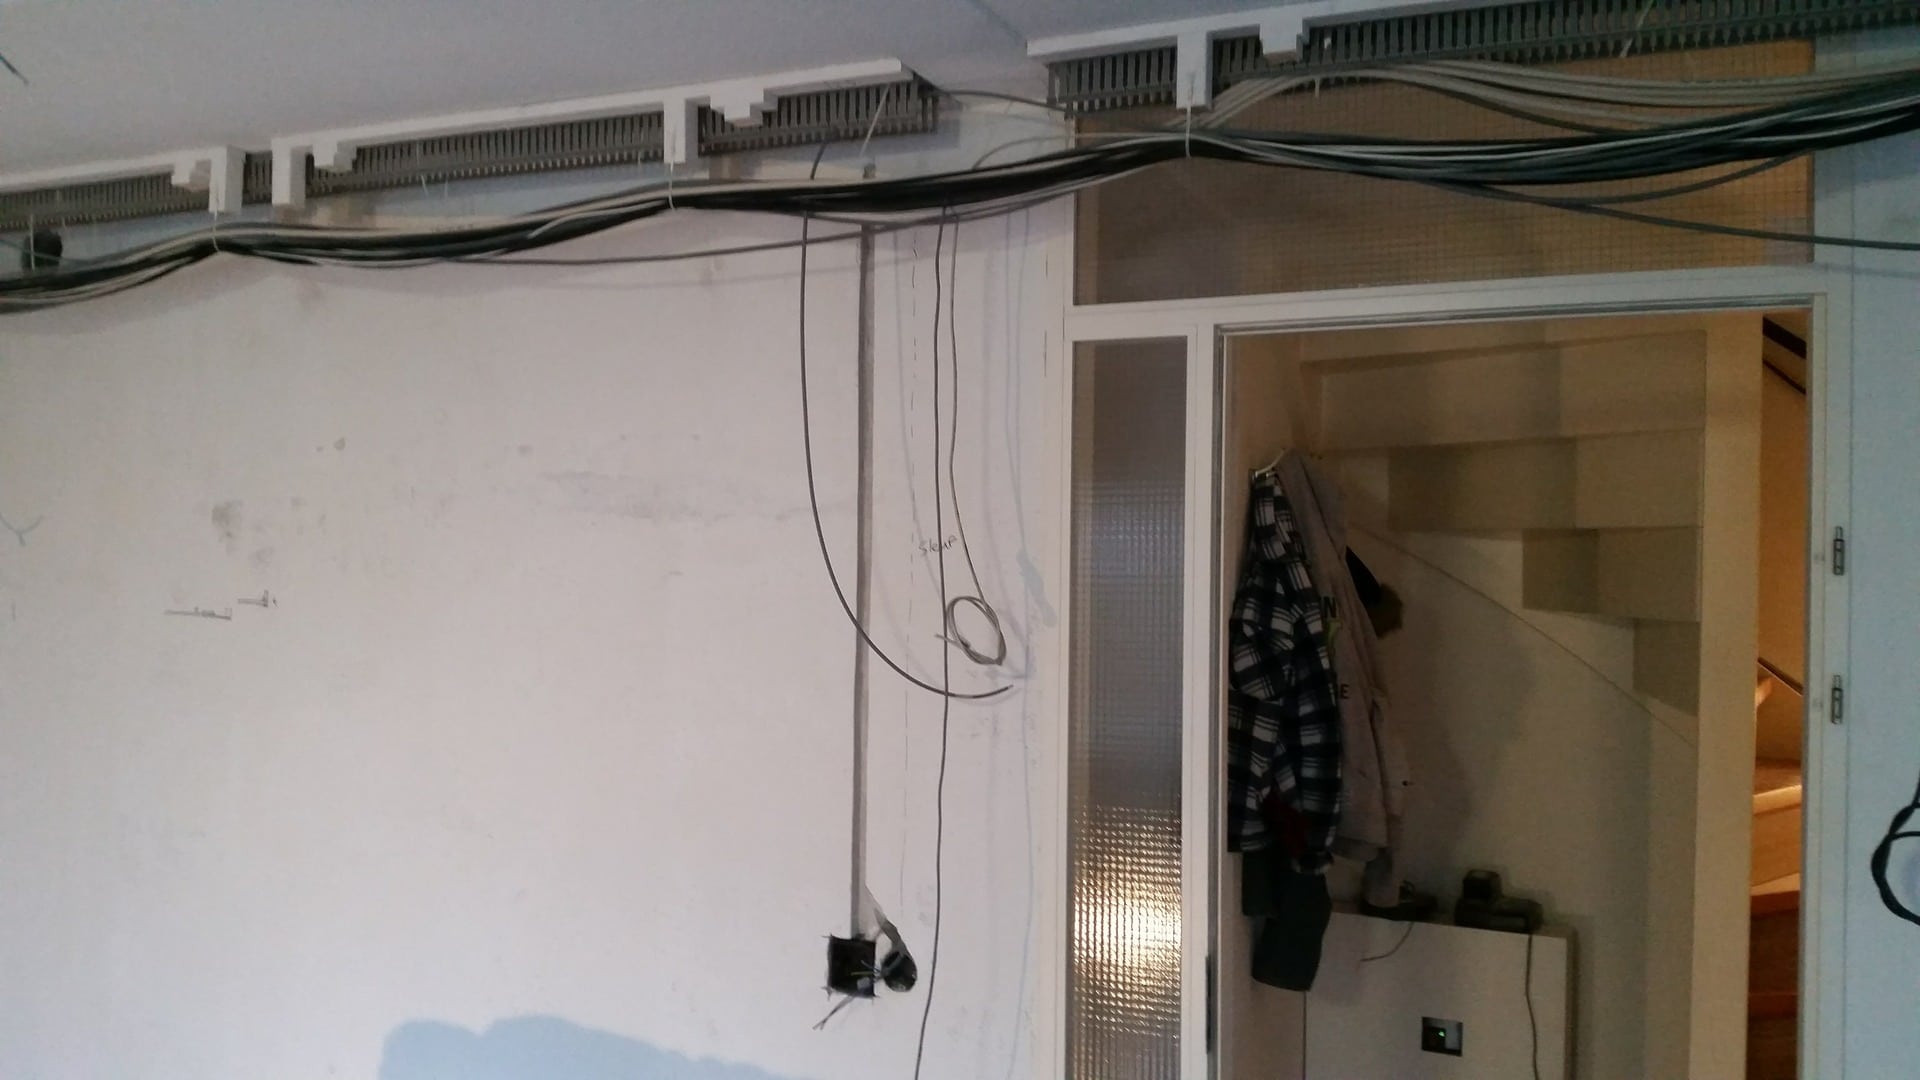
Then comes the other part when installing one of these options, i need to put cables to all of the sockets and light switches in the house and need to find a solution to hide the relays as best as possible.
Hiding the cables will be some work, thinking of a bigger in dutch called Plint to put the cables behind but then there are still the relays with there sockets or ssr with heat sink.
I am aware how much work it is, since in the house of my parents and in the garden is placed about 2200M wire roughly but these are things that if all works ok makes it more satisfying and my experience is with wireless equipment that it is much more stable.
In France at my parents house its much more easy to get things like this sorted since all sockets have there own separate power line to the fusebox...
-------------------------------------------------------------------------------------------------------------------------------------------------------------------------------------------------------------------------------------------------------------
Plugwise
I have read into this system and it looks very promising but after founding some other websites with reviews i see many bad messages about the system.
Especially about the software restrictions they suddenly are putting in the updates.
Also that they send your information to there servers is a thing that actually they do not have to know if you ask me (gaat ze gewoon niks aan !)
but i have read that if you block the outgoing port and program you can stop it with most firewalls.
A big advantage and fun to have also informative is that it logs the power usage of that plug.
I am running homeseer and i read about the new plugin not using the software anymore that comes with plugwise but now being read straight by the plugin.
What are the advantages about this system except the power usage loggin.
So the advantage i can see here is:
-works out of the box
-using a mesh network that should be covering the whole house without problems
-measuring the usage of that plug
Disadvantages i can think of are:
-its a big plug in the socket ( has anyone opened it yet and build in there power socket ?)
-price is rather high compared to a relay and some wire (not counting the installation time of the wires)
So guys, what is wise to do , any more advantages or ideas about the above solutions ?
I'd like to hear your opinion about it.
Maybe its a bit overkill for some people but its something i like to have , since i am away from home for some weeks for my work its satisfying to know that i am using less power then is necessary.
And because its just fun if all this works and to make it in the house.
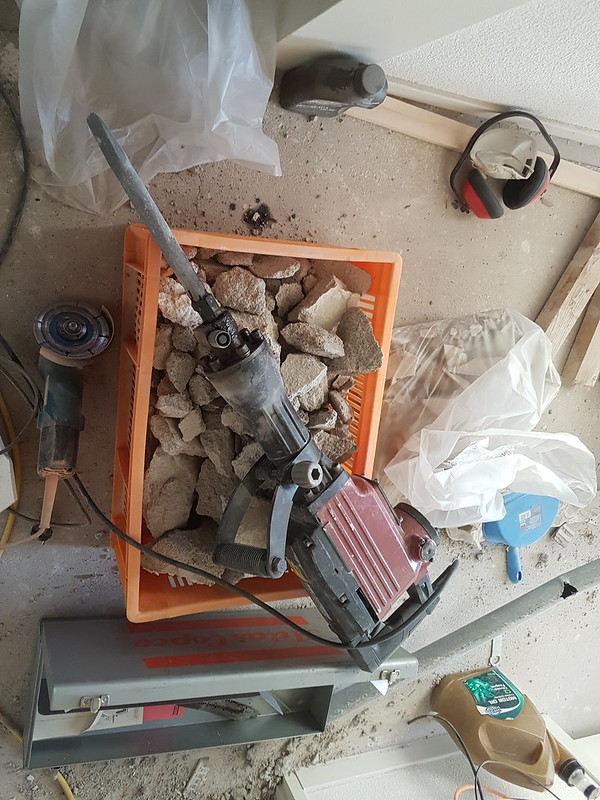
Well its not really the time of the year to start with making the holes in the wall and such but i tried a little part.
Tomorrow i am going to start and hopefully finish it so i can use clambs to put pvc pipes in the wall for the wires.
used plastic to cover up everything because it makes a big mess, very dusty
First test with the machine.
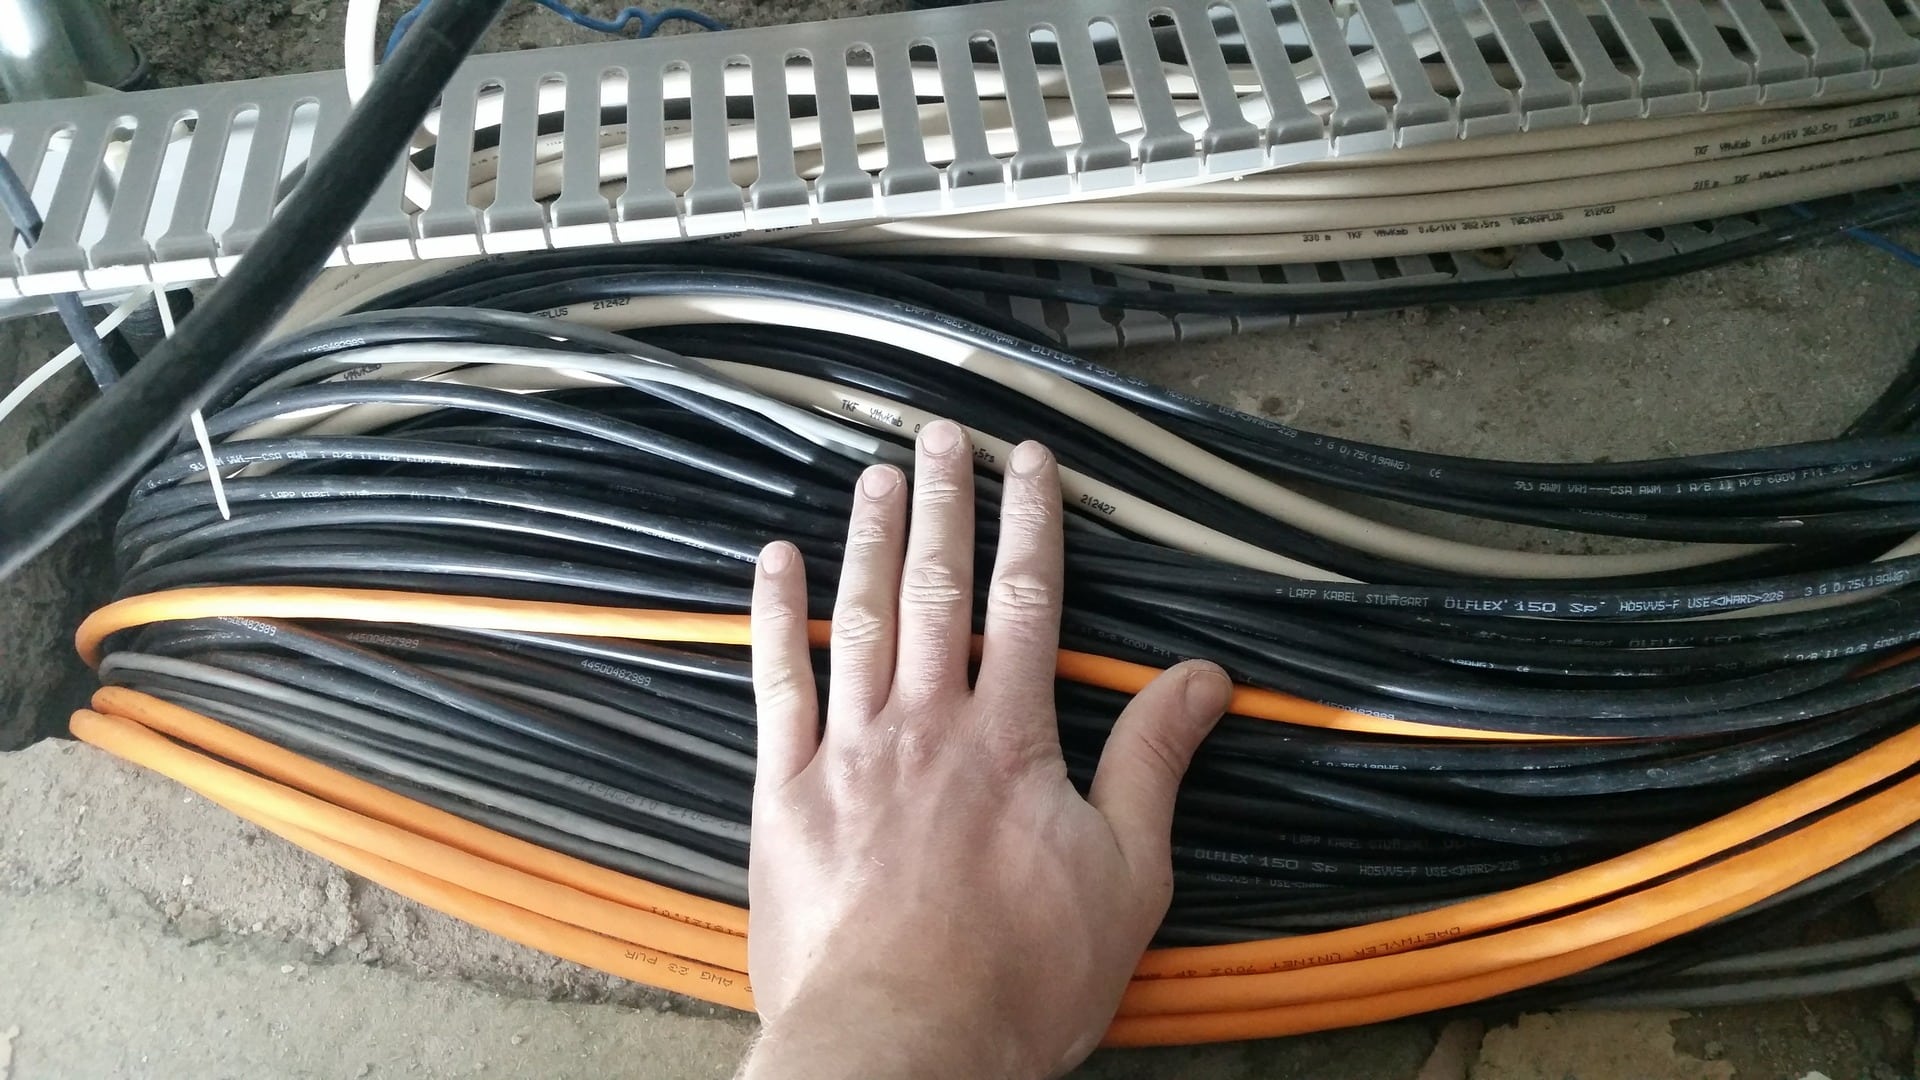
Some of the wire thats going in the house.
Thanks, but i used my festool vacuum machine, not sure if its stil ok after this job but the dust is not as bad right now as the fist time i used it.
The old wiring is a mess, and the whole living room and kitchen are on 1 fuse......
So its good that i do this because i would have had allot of problems then, and the suction hood for the gas stove i opened up .
The pipes that should let the air outside go out was not even connected so behind the stainless steel cover were the engine is it was all greasy and yellow :S

Well , i have done some work again.
Big project but little time :S
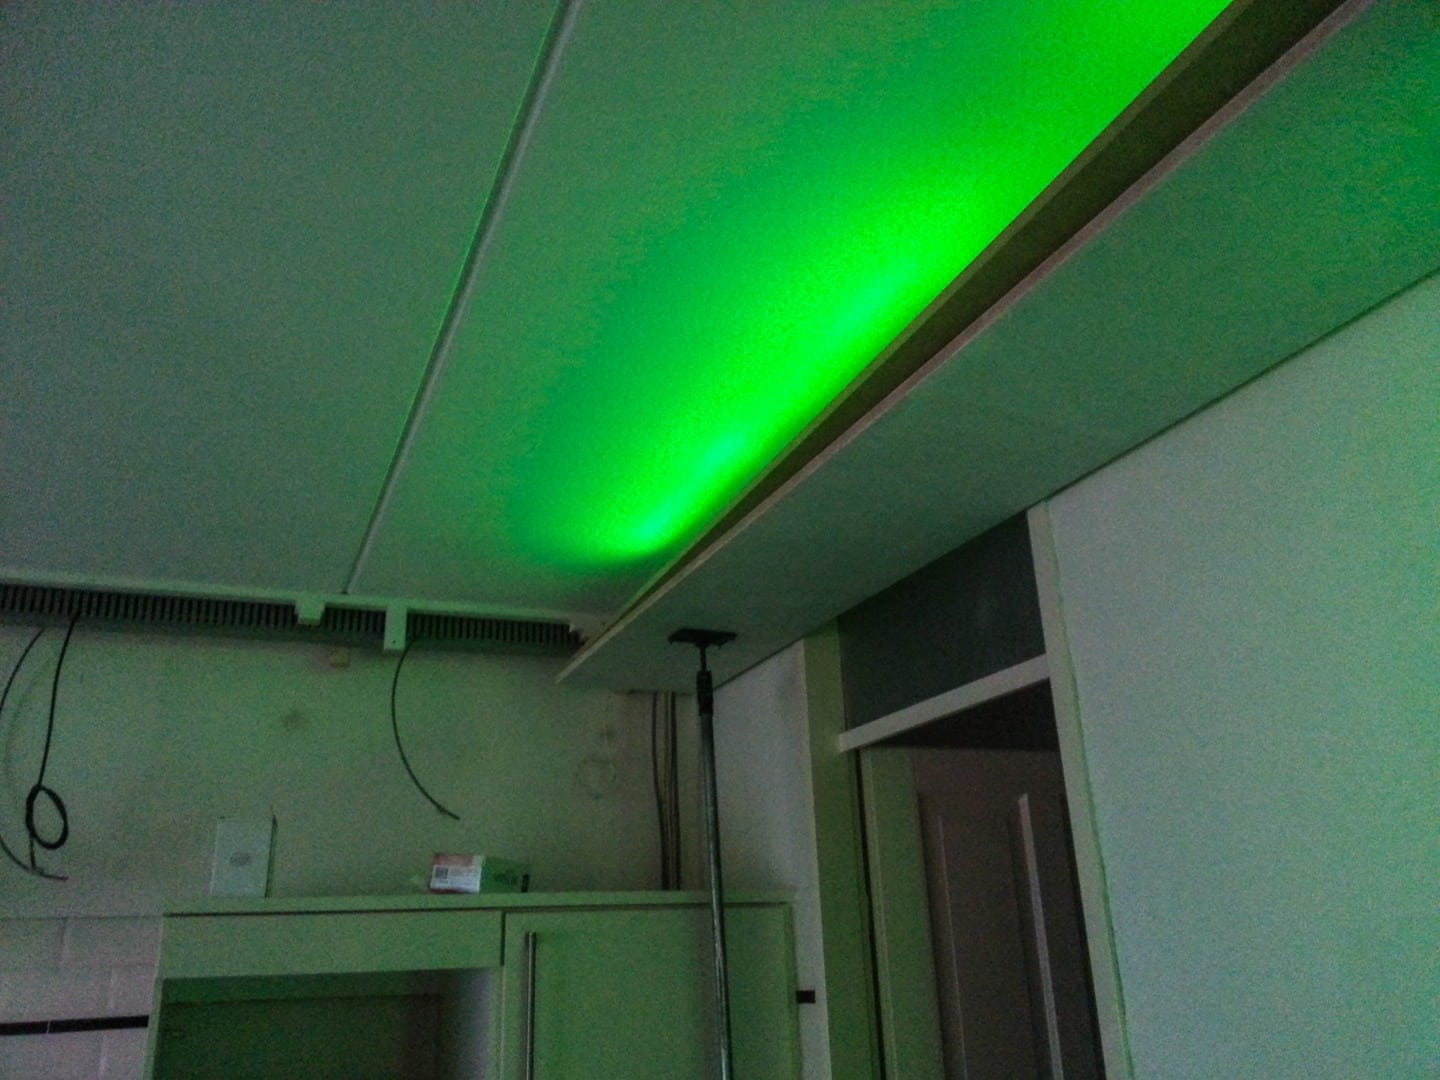
Anyway, what i was planning to do, since i am going to use allot of LED lighting.
I want to use a DMX controller and some decoders to control the lights.
Also wire some of the lights in case there is a error in whatever that breaks down, so i can turn a switch and some lights turn on for emergency for example.
But, the question here is, i am reading and reading for a few days now, is there anyone that is using DMX at home to control his lighting ?
And more important, can you control it in Homeseer ? (HStouch)
Well some pictures of the progress,
You would think that in a house that is build in 2001 that they can work more precise (haaks) but its not everywhere the case.
anyway i got some tools that make it easier.
at first we used screws to make some sort of a base for the cove, but this took to much time so i grabbed the air tacker and some wood glue.
i had to work around a bit for the tube that goes outside for the cooking fumes.
Part one is finished now, only needs some small pieces more so the cove can be mounted on the frame , but the guy that is going to "stuc" the walls said its easier for him without the frame being fully installed.
My dad helping me.

taking out the carpet since its very old and dirty, putting in some wood later on.
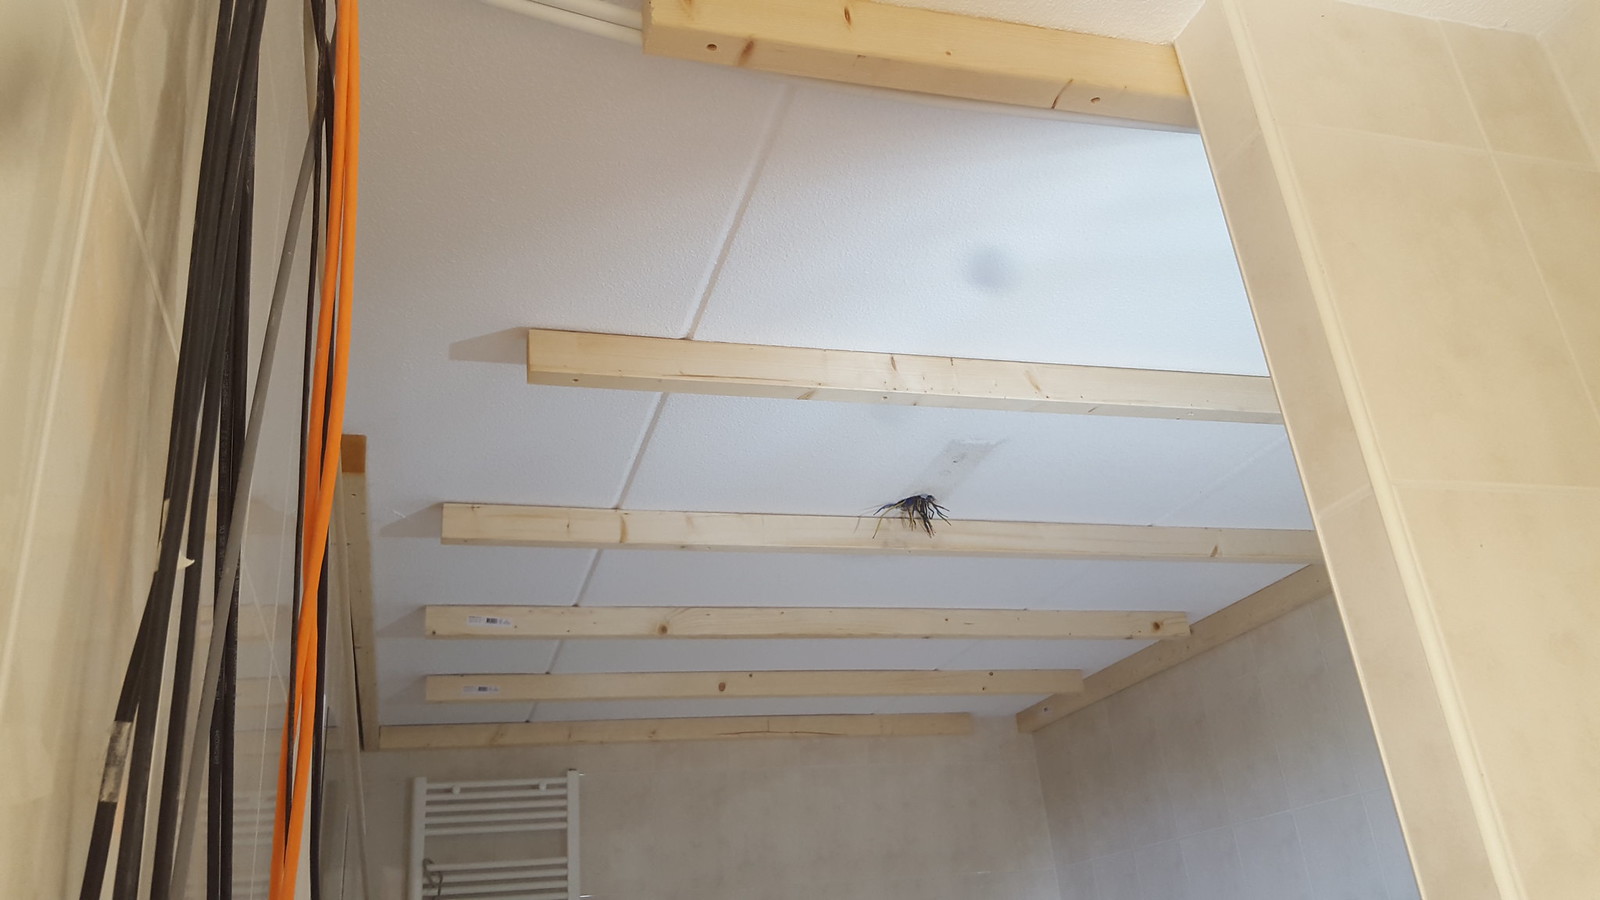
other room on the first floor we pulled out the carpet and put some cove frames on the roof.
Thats it for now, tomorrow hopefully i can find some time to go on.
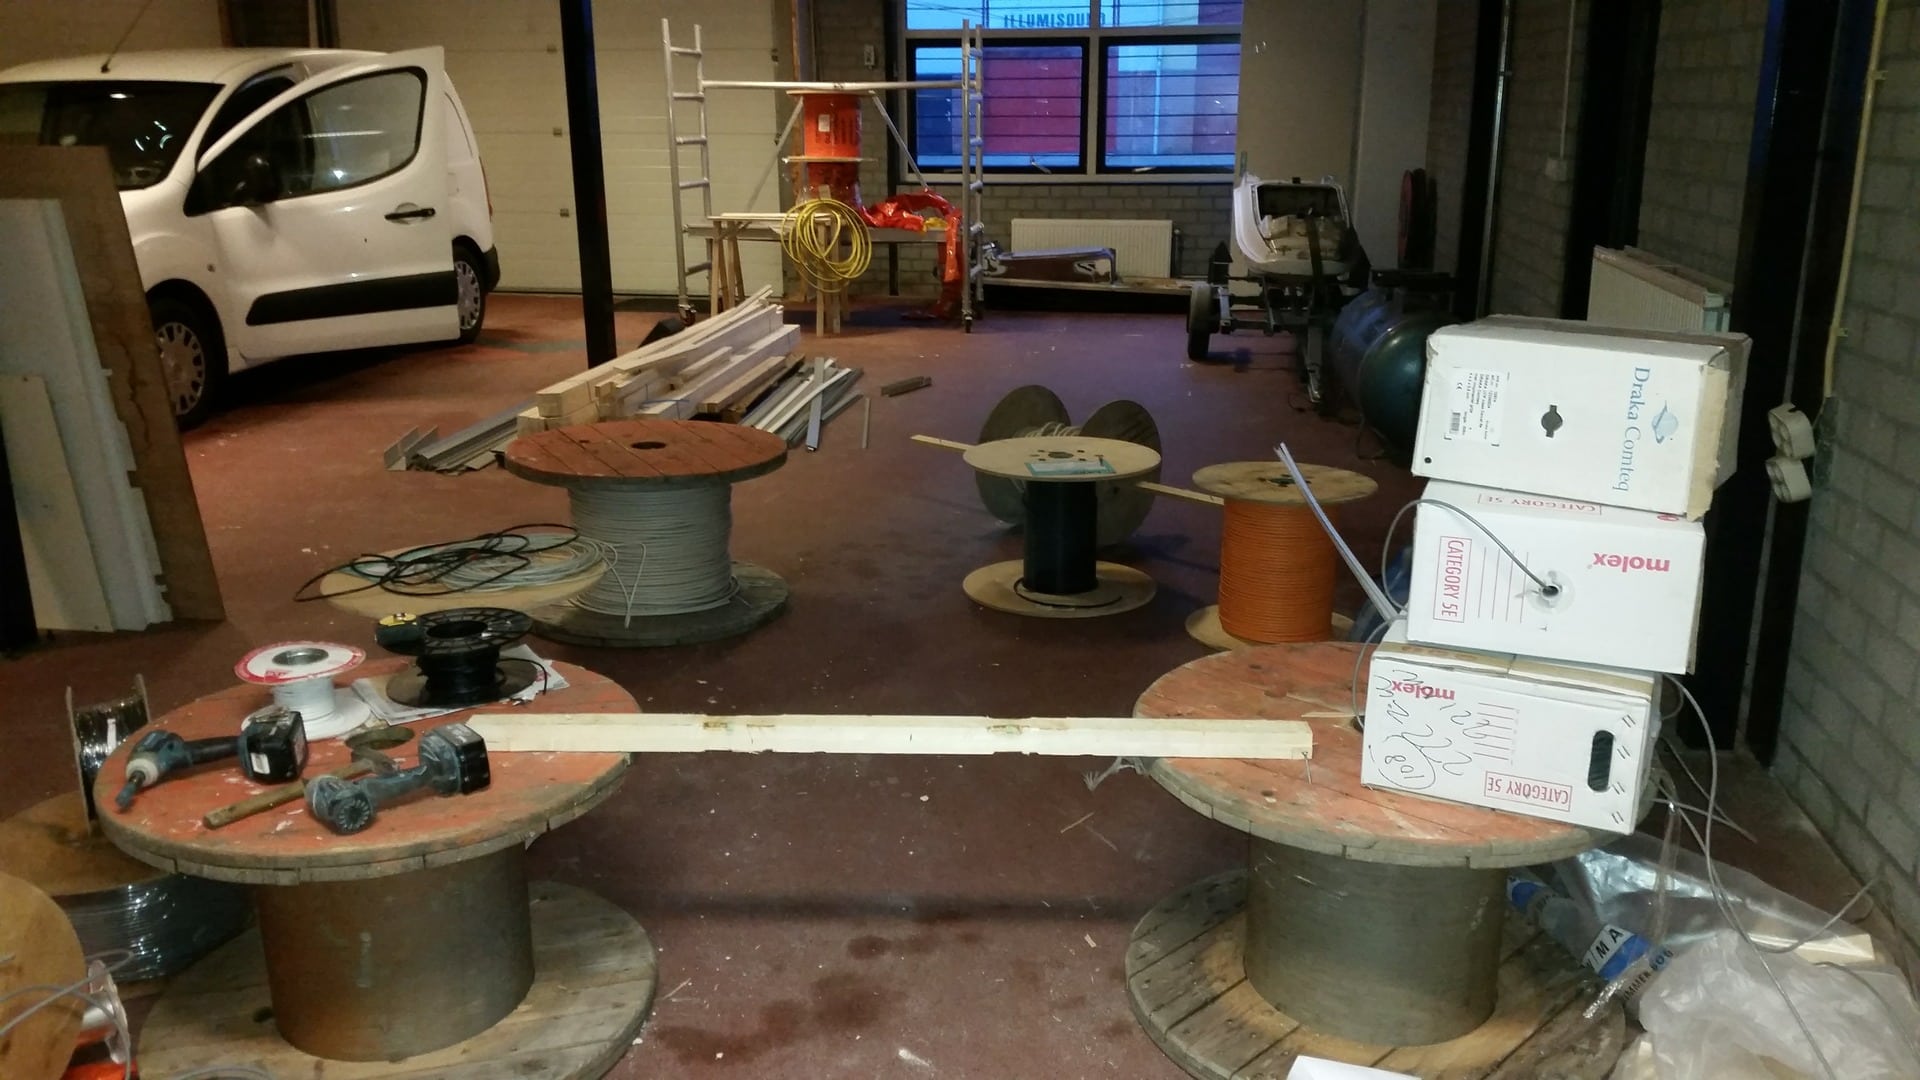
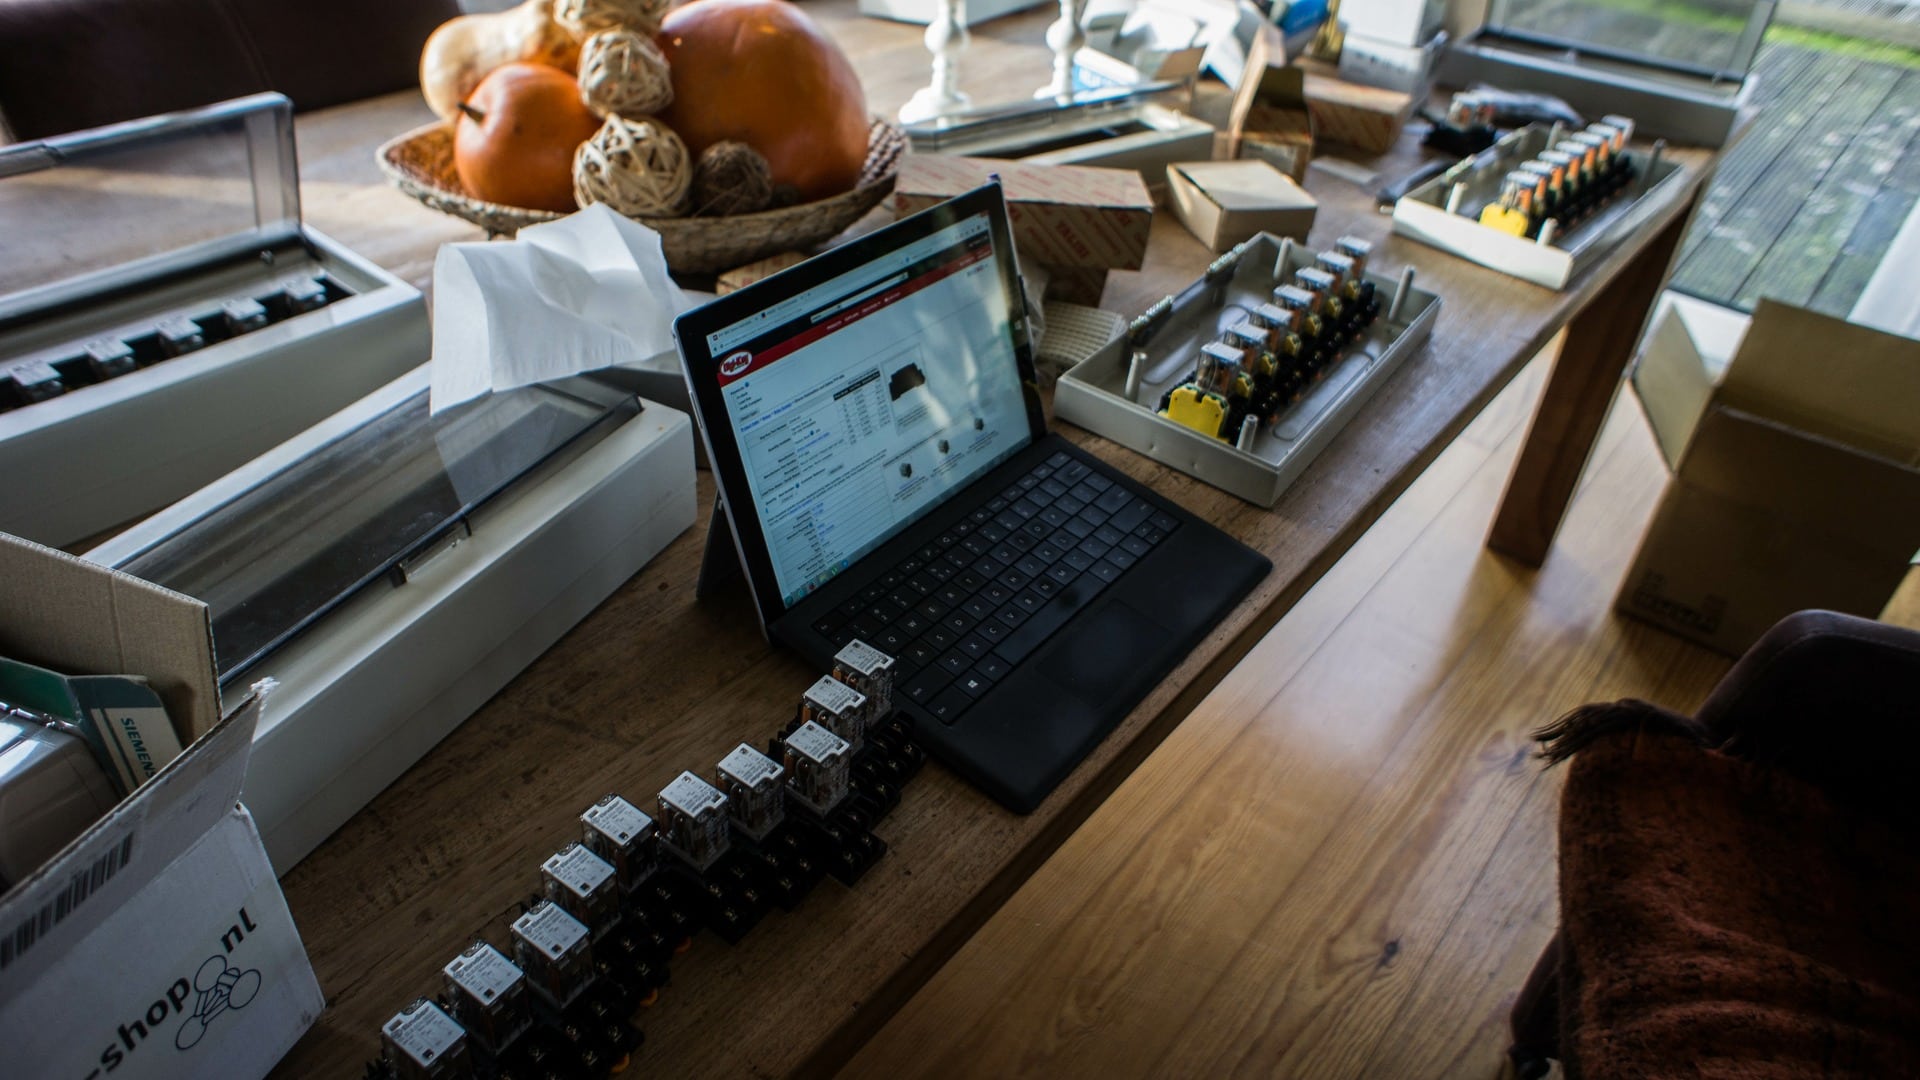
First i am going to pick up about 100 Relays with sockets that are being used for switching every socket and device.
This weekend i had some time again, but the coming weekend not so much.
Luckily i got some extra work the coming Saturday because the money goes out very fast :roll:
Anyway, Saturday i went to a little electronic parts store about 35 km away from home and i did some shopping.
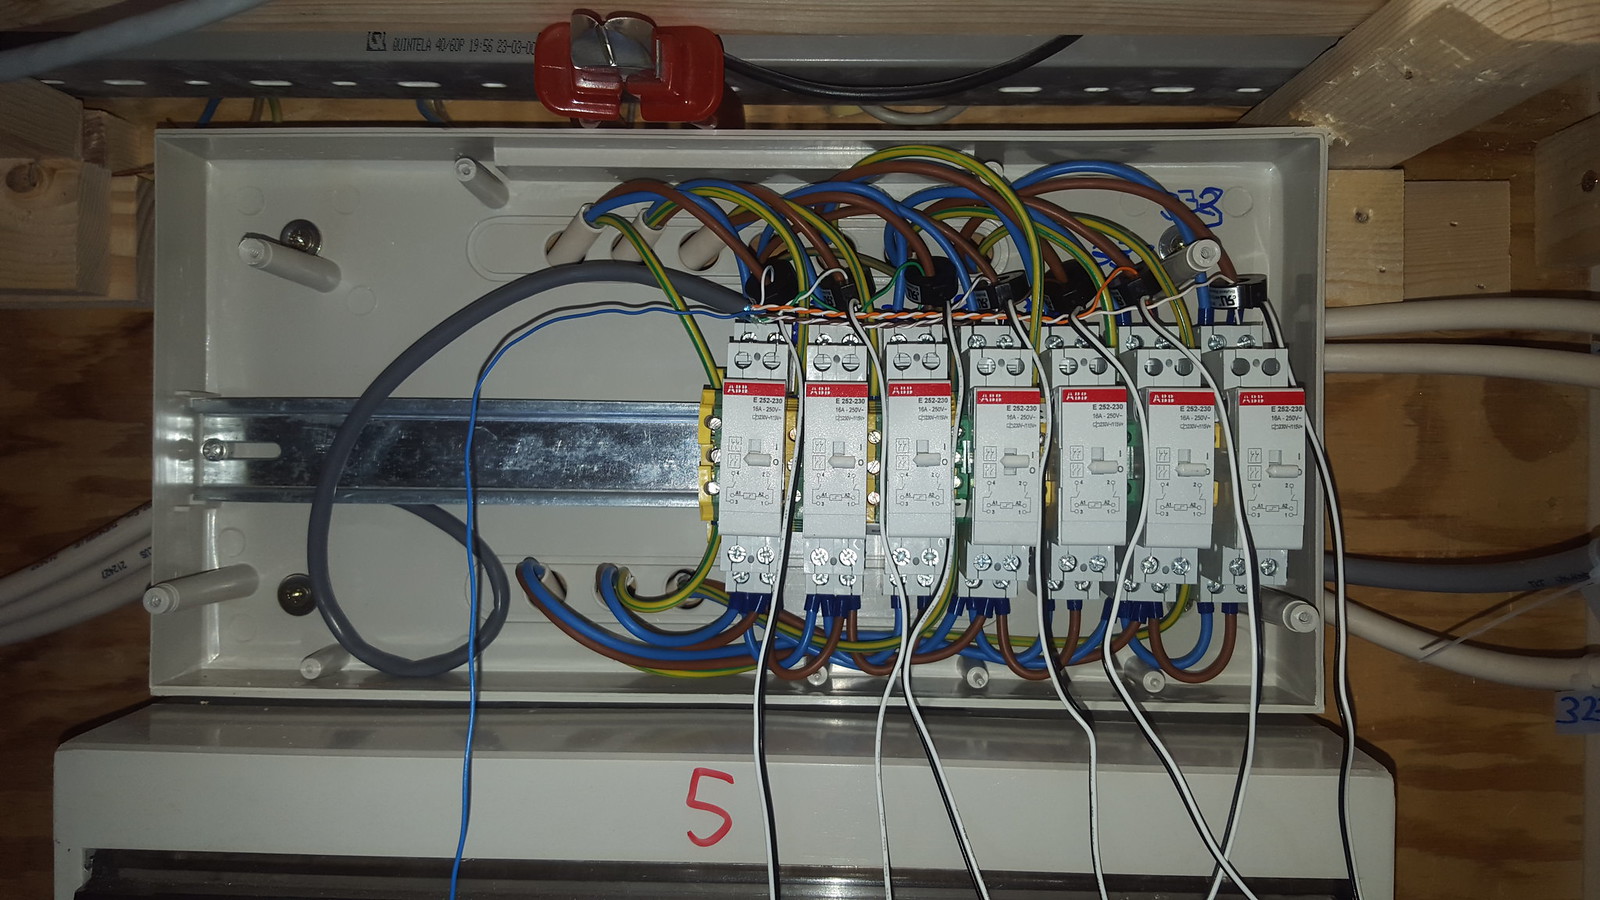
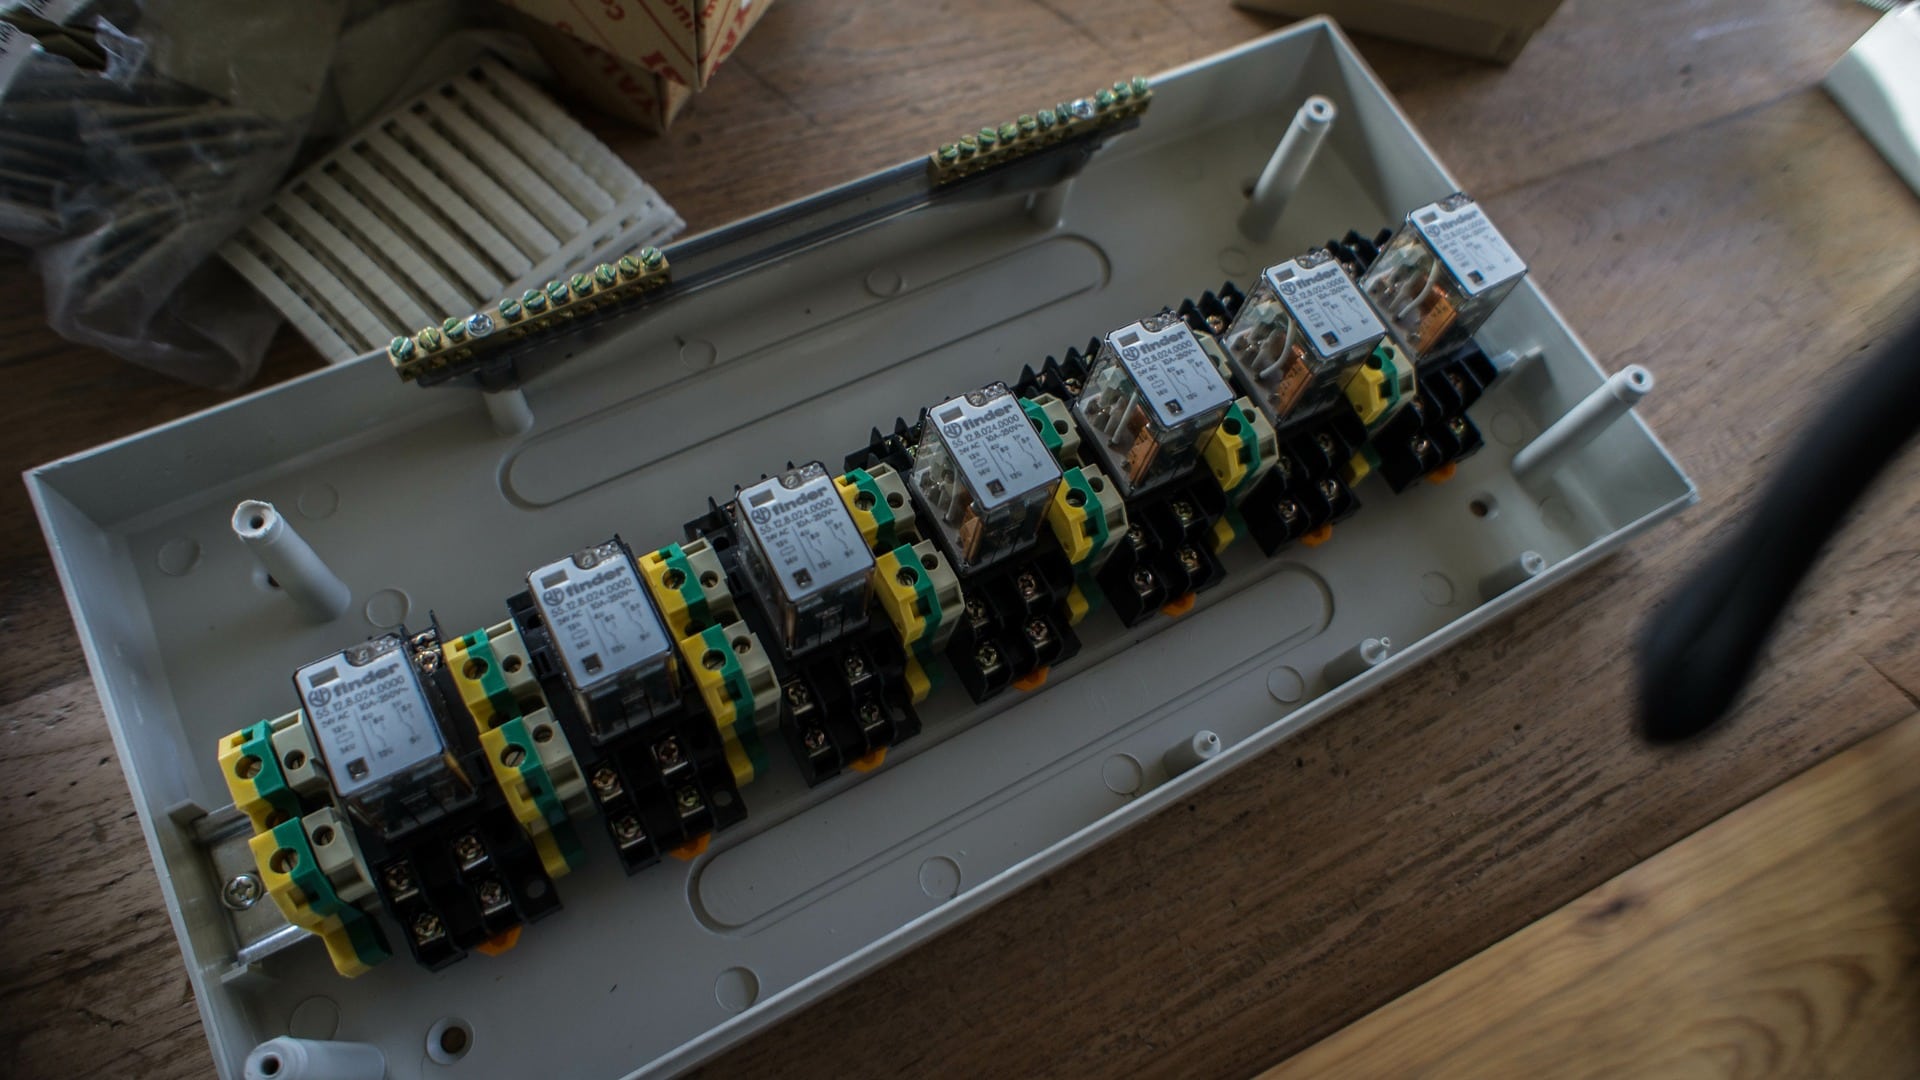
Got 100 relays with sockets from Omron, 8 Din boxes that can fit 11 Relays per unit.
100 relays 5V for the arduino since the coil power ? (spoelspanning) of the omron relays are 12V i need to switch them with another small relay :roll:
A pile of 16A Automatic fuses, all kinds of small electronic components.
Got allot of free stuff as well 30 pvc tape rolls and some switches , small components etc :wink:
Also bought the din rail earthing connectors and some other connectors which i do not know the name.
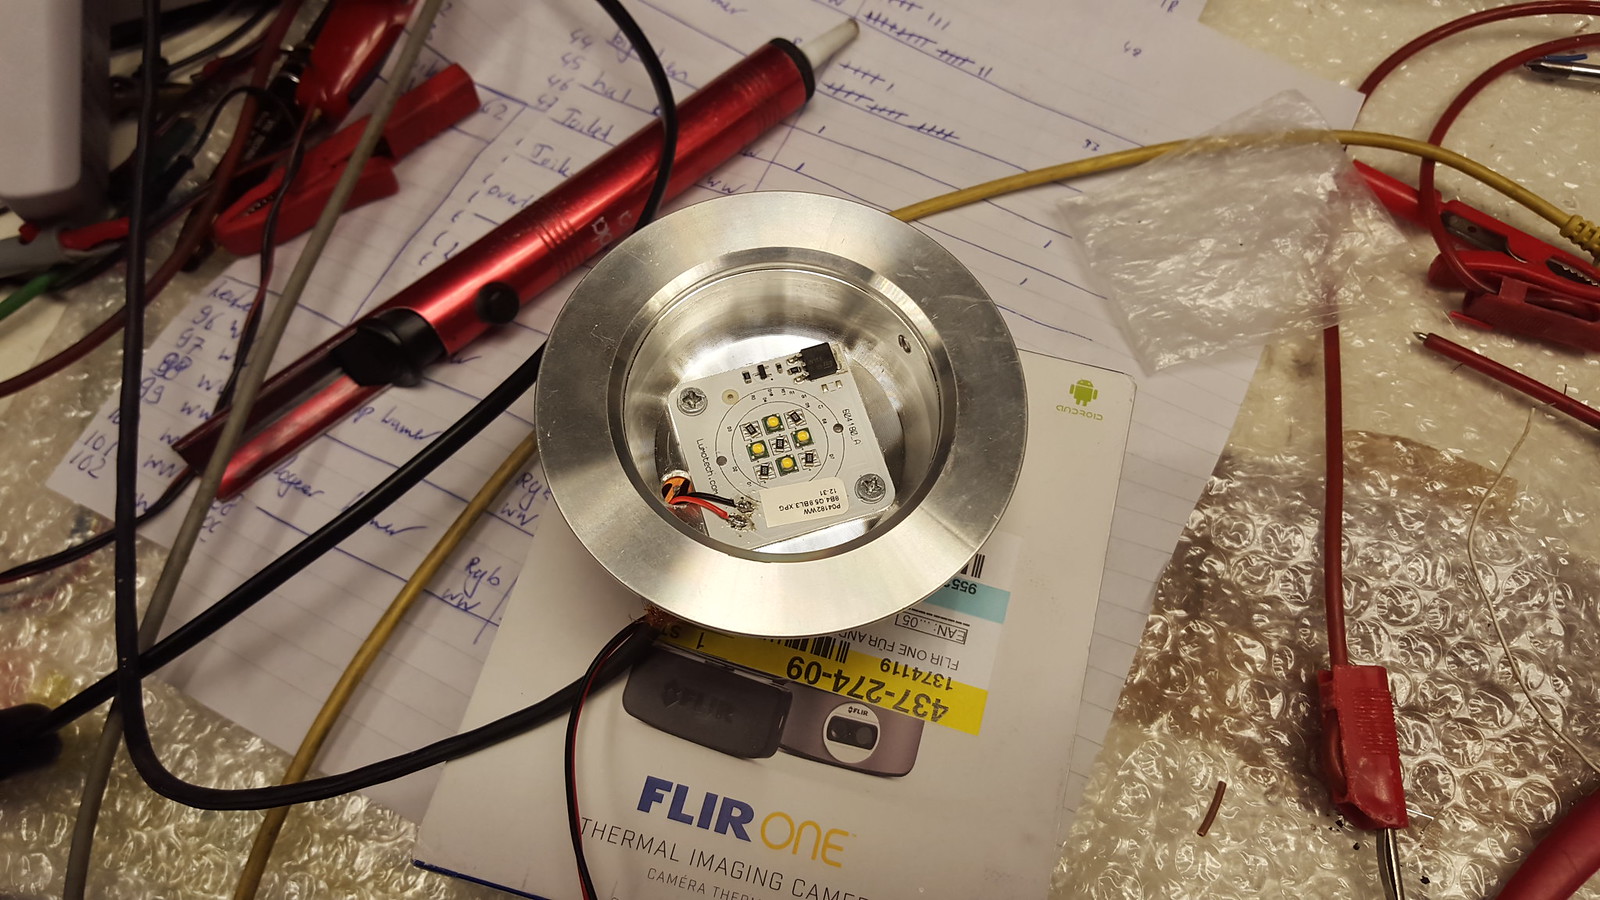
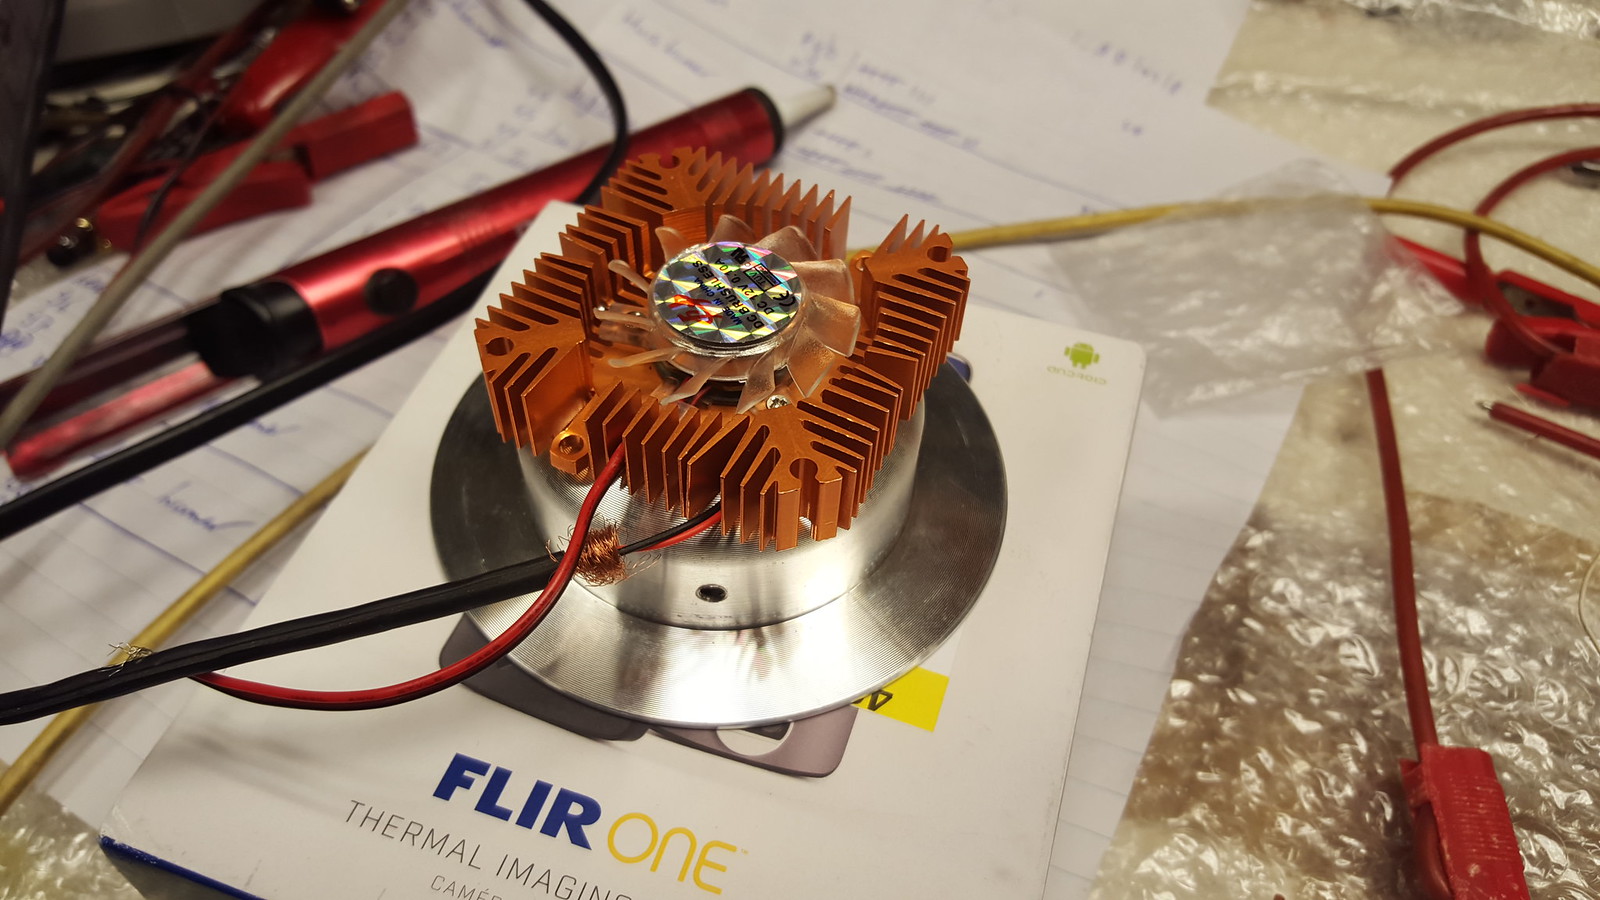
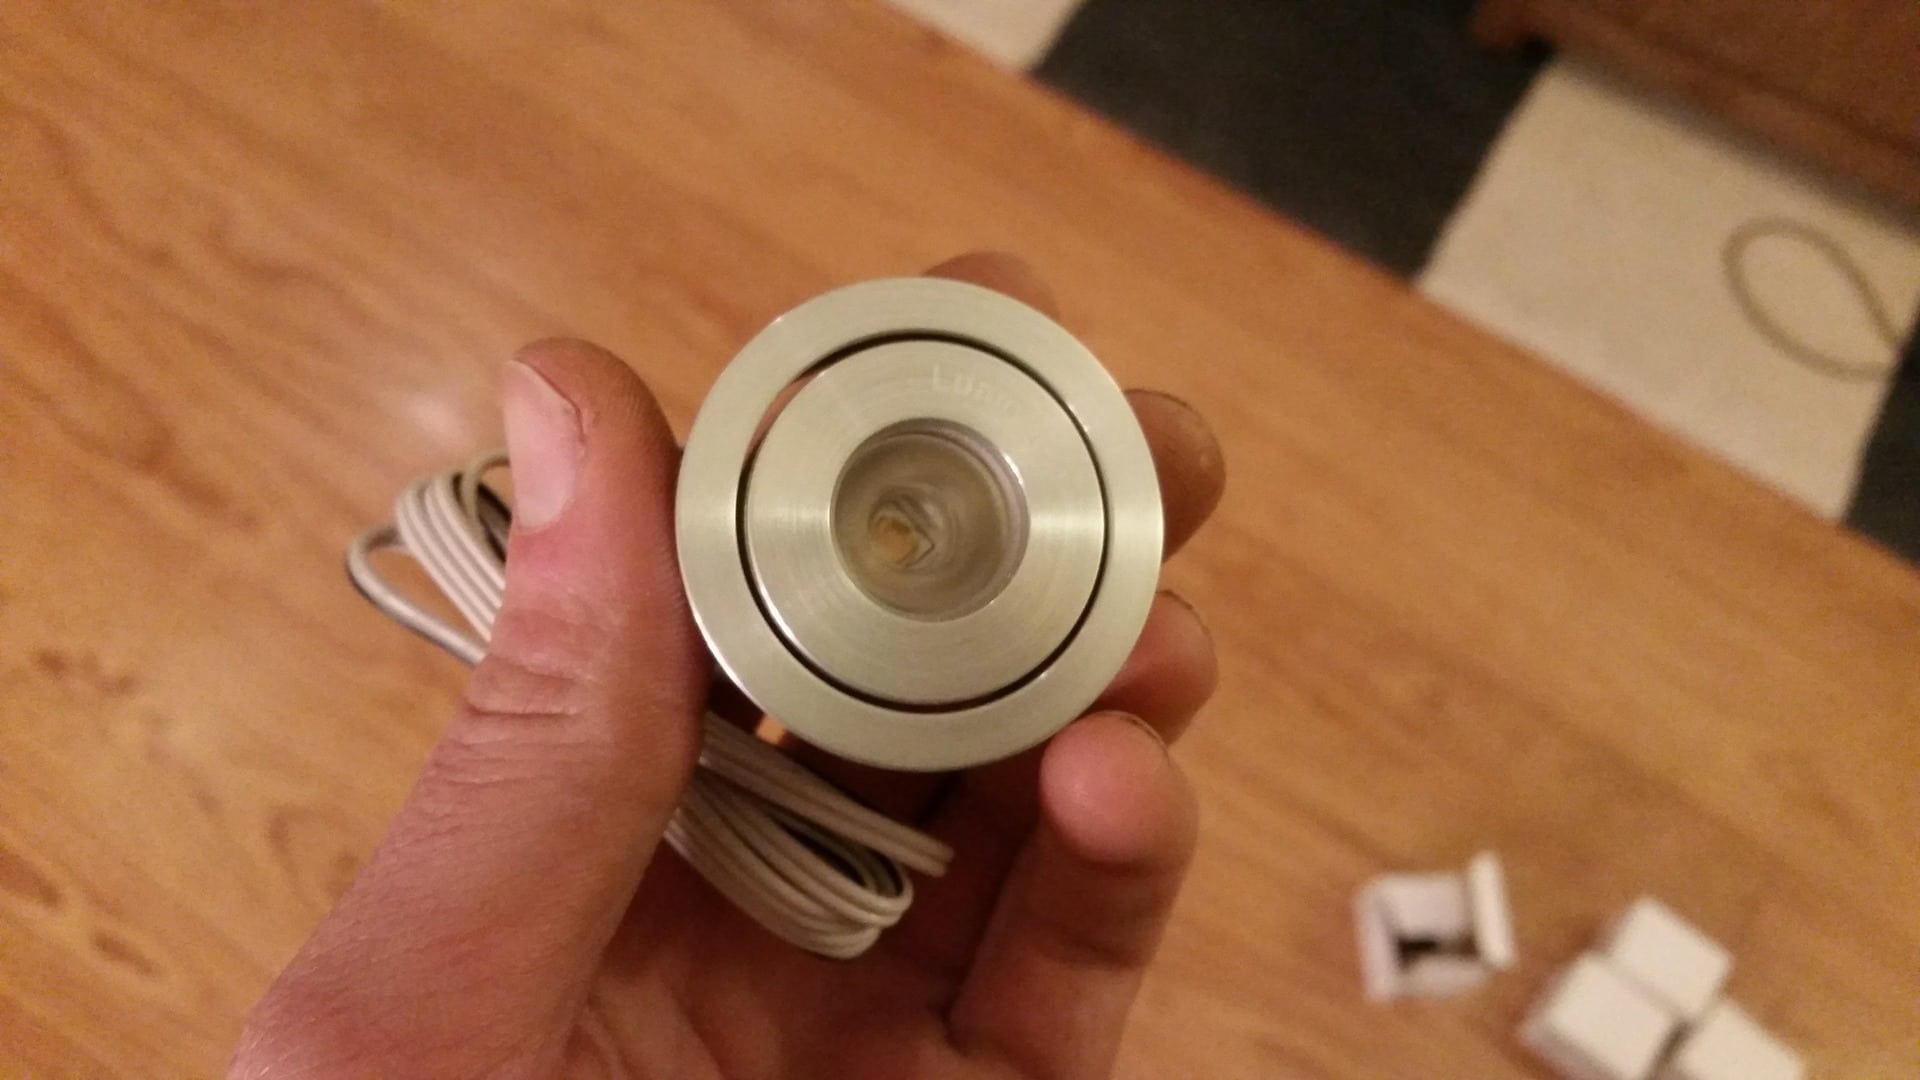
Some very nice LED lights, and these are bright and real 3500K yellowish warm white instead of the Chinese warm white that is still pretty cold cool white.
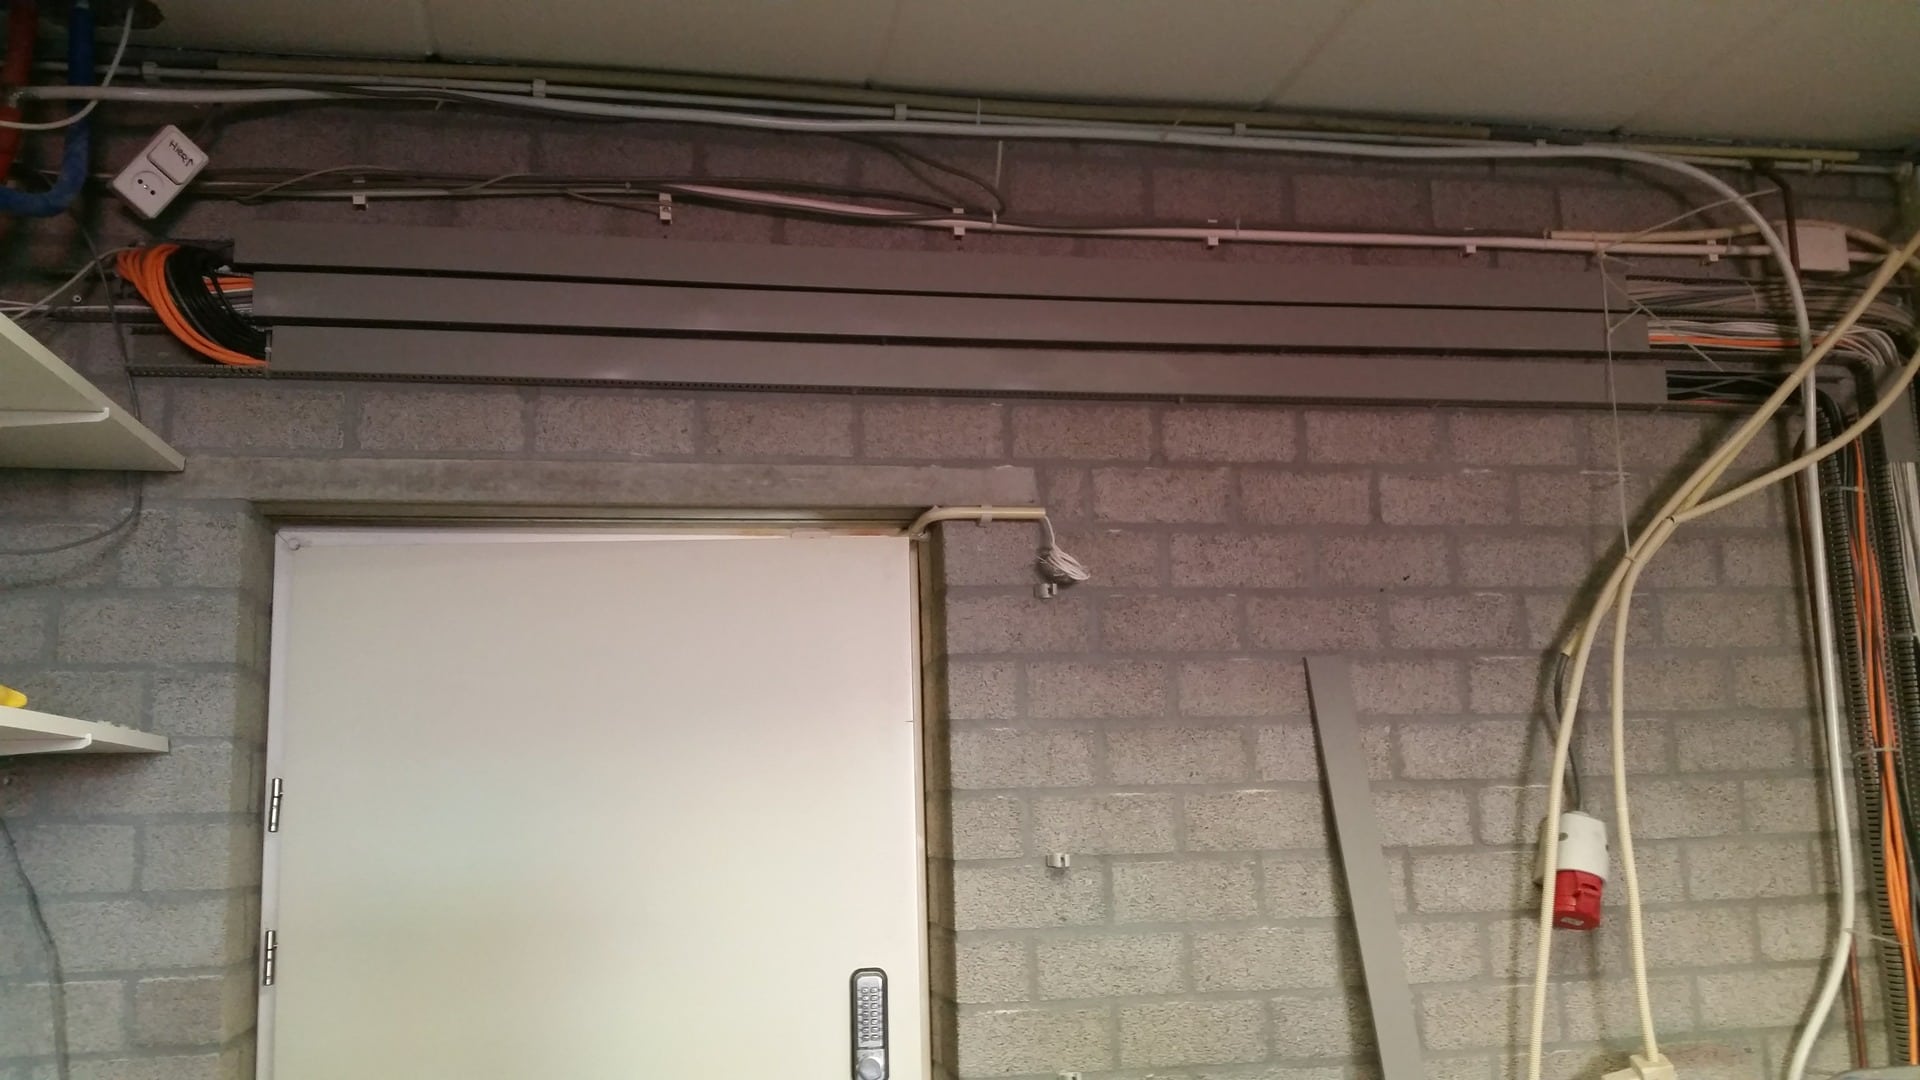
Some very nice cable trays.
And allot more parts , the price ? 505 €

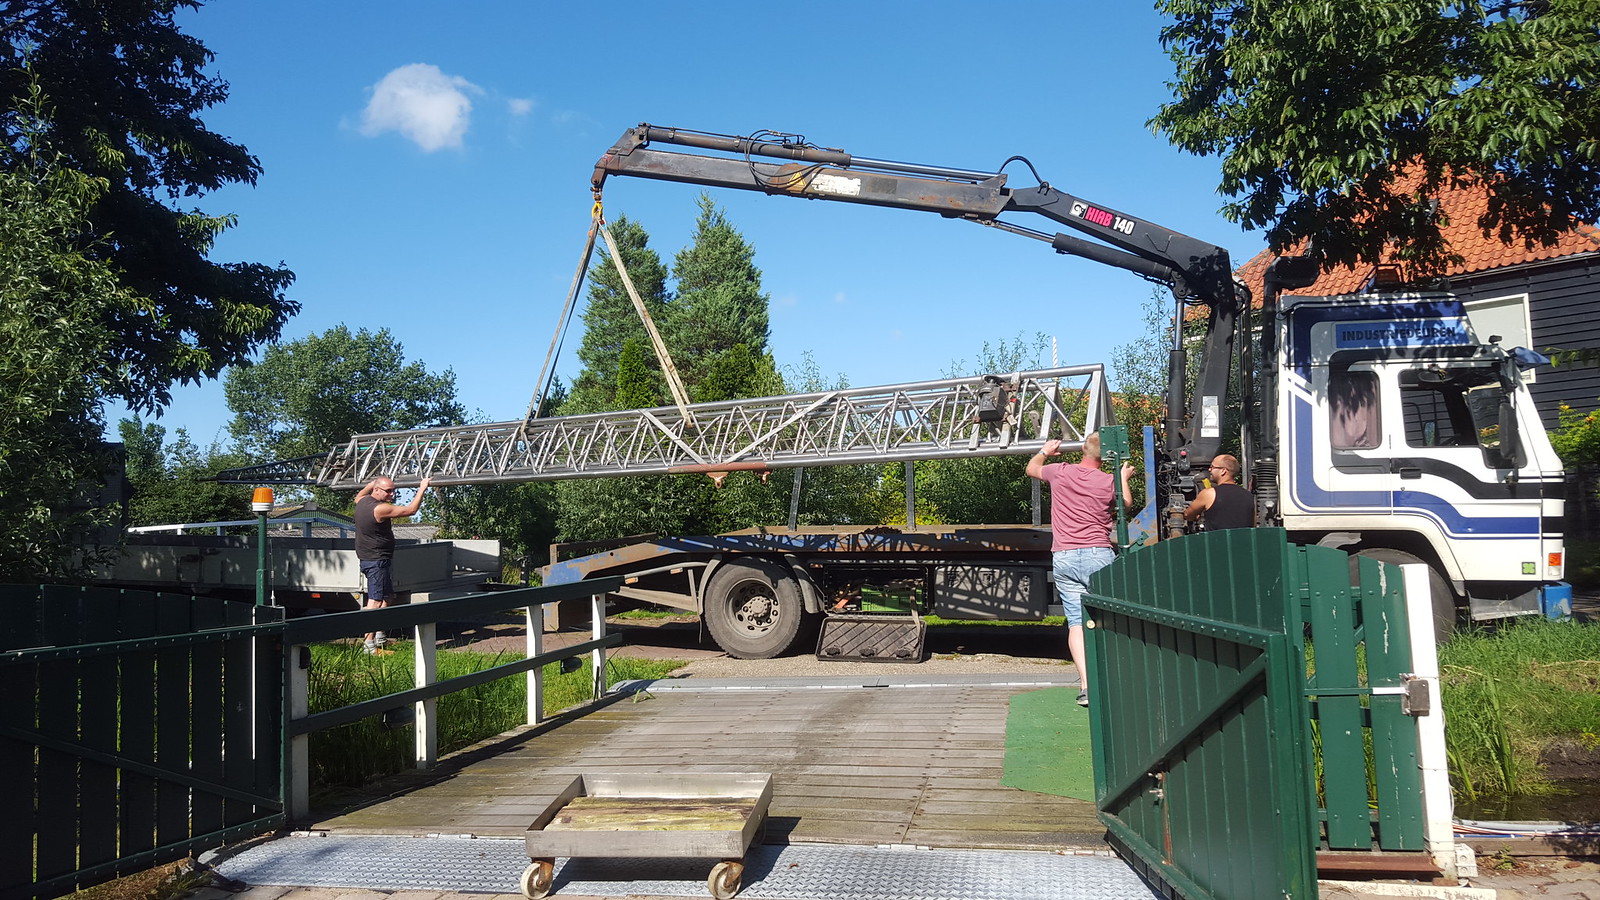
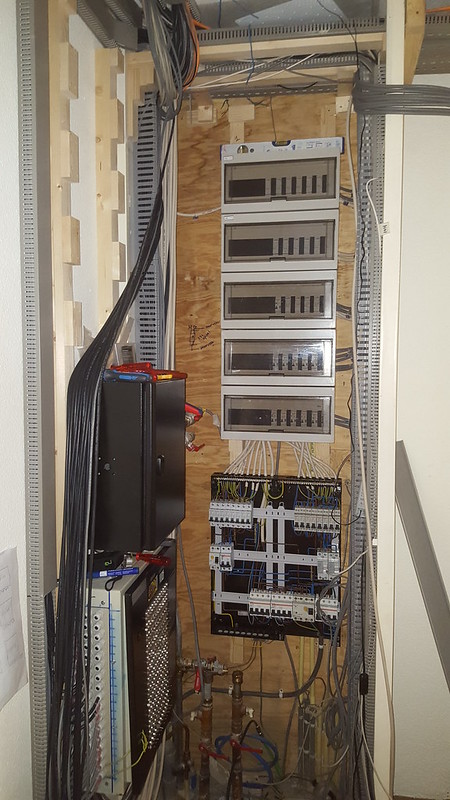
Also picked up a server rack somewhere close by where i live what is going to hold most of the equipment like amplifiers/server/modem/switches/apc/ups/ etc etc.
Finished the frames for the cove, but since the roof is not level and allot of the walls are not "haaks" either i first need a laser that i can mount on the wall to make the cove level.
This is the final step i have to do because i get problems otherwise when the L shaped parts will be mounted on the cove frame.
This process will only cost some spaces and more time ofcourse.
I did manage to put some 3x1.5 / 3x2.5 and 5x2.5 wires in the tray, i am thinking of placing between the frame a aluminum tray to place the cables in.
Not sure if this is necessary but can be done whenever i want since there is enough space.
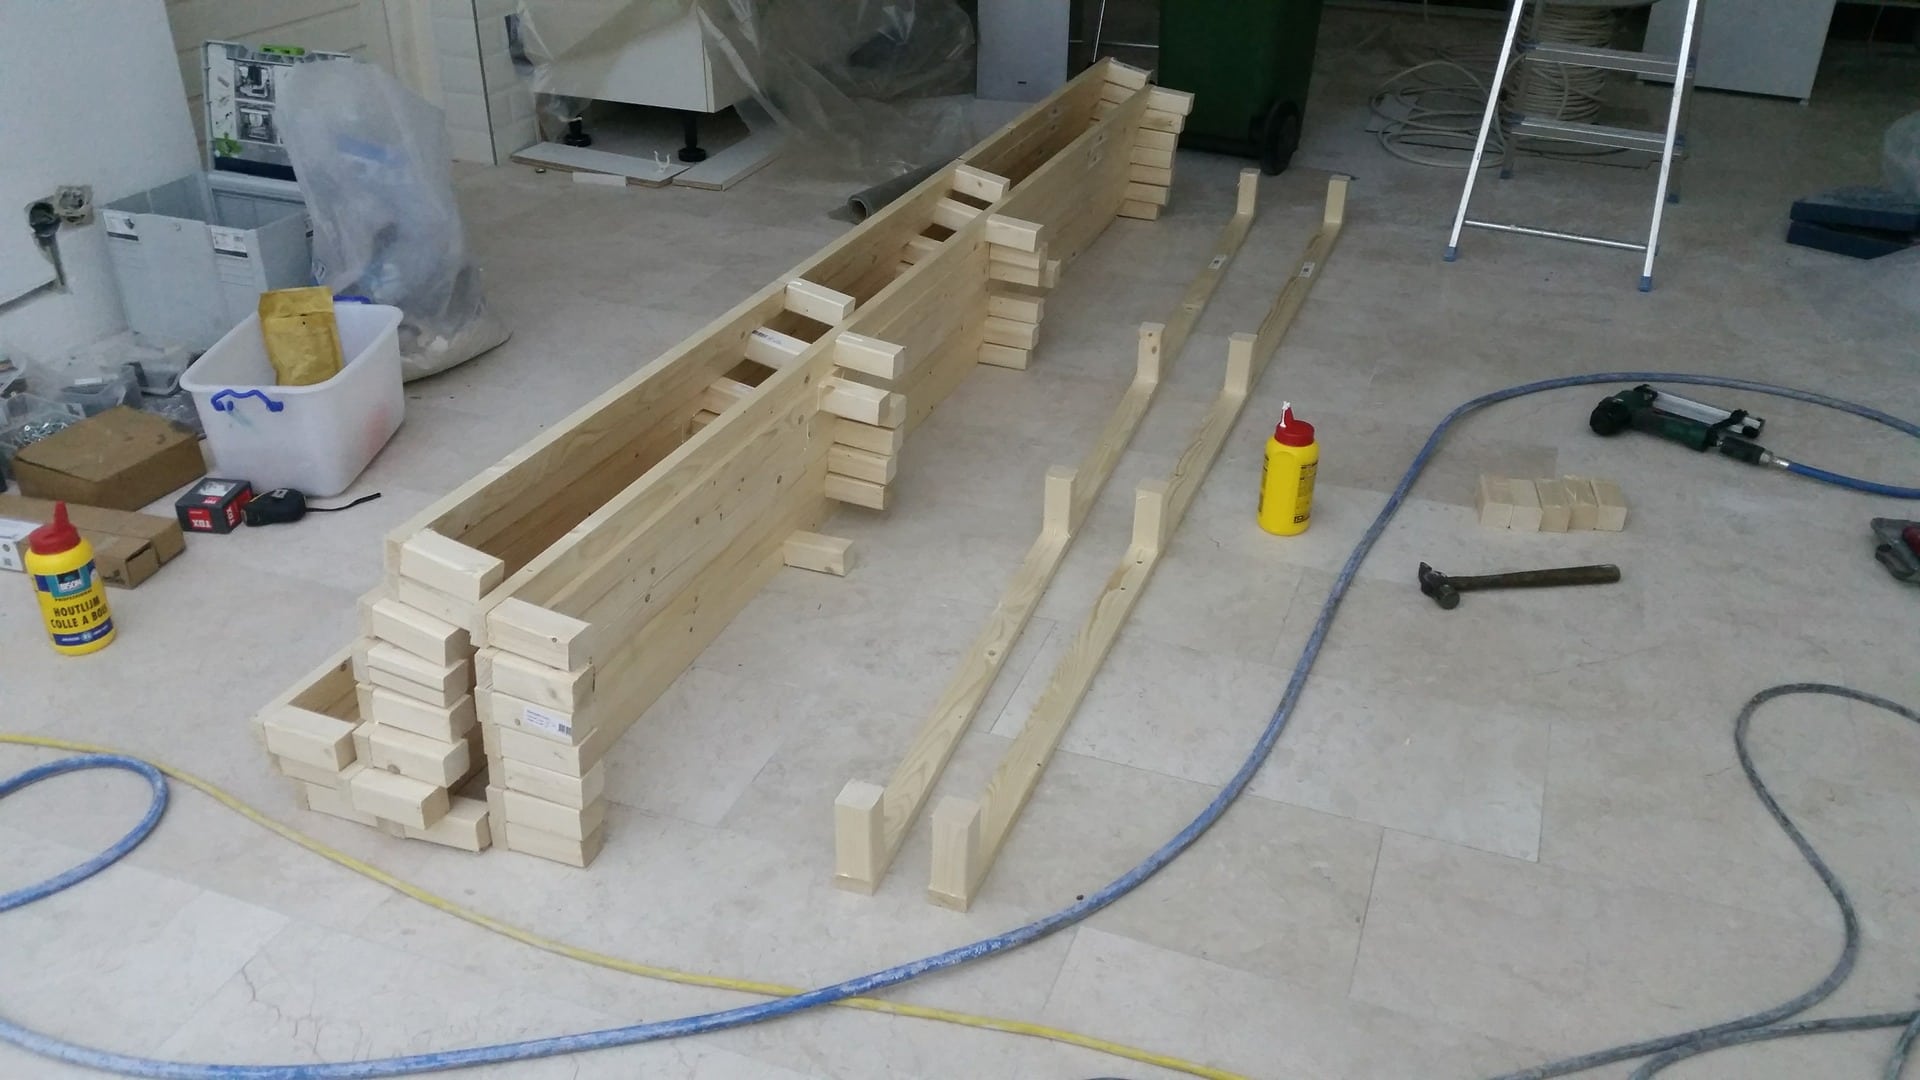
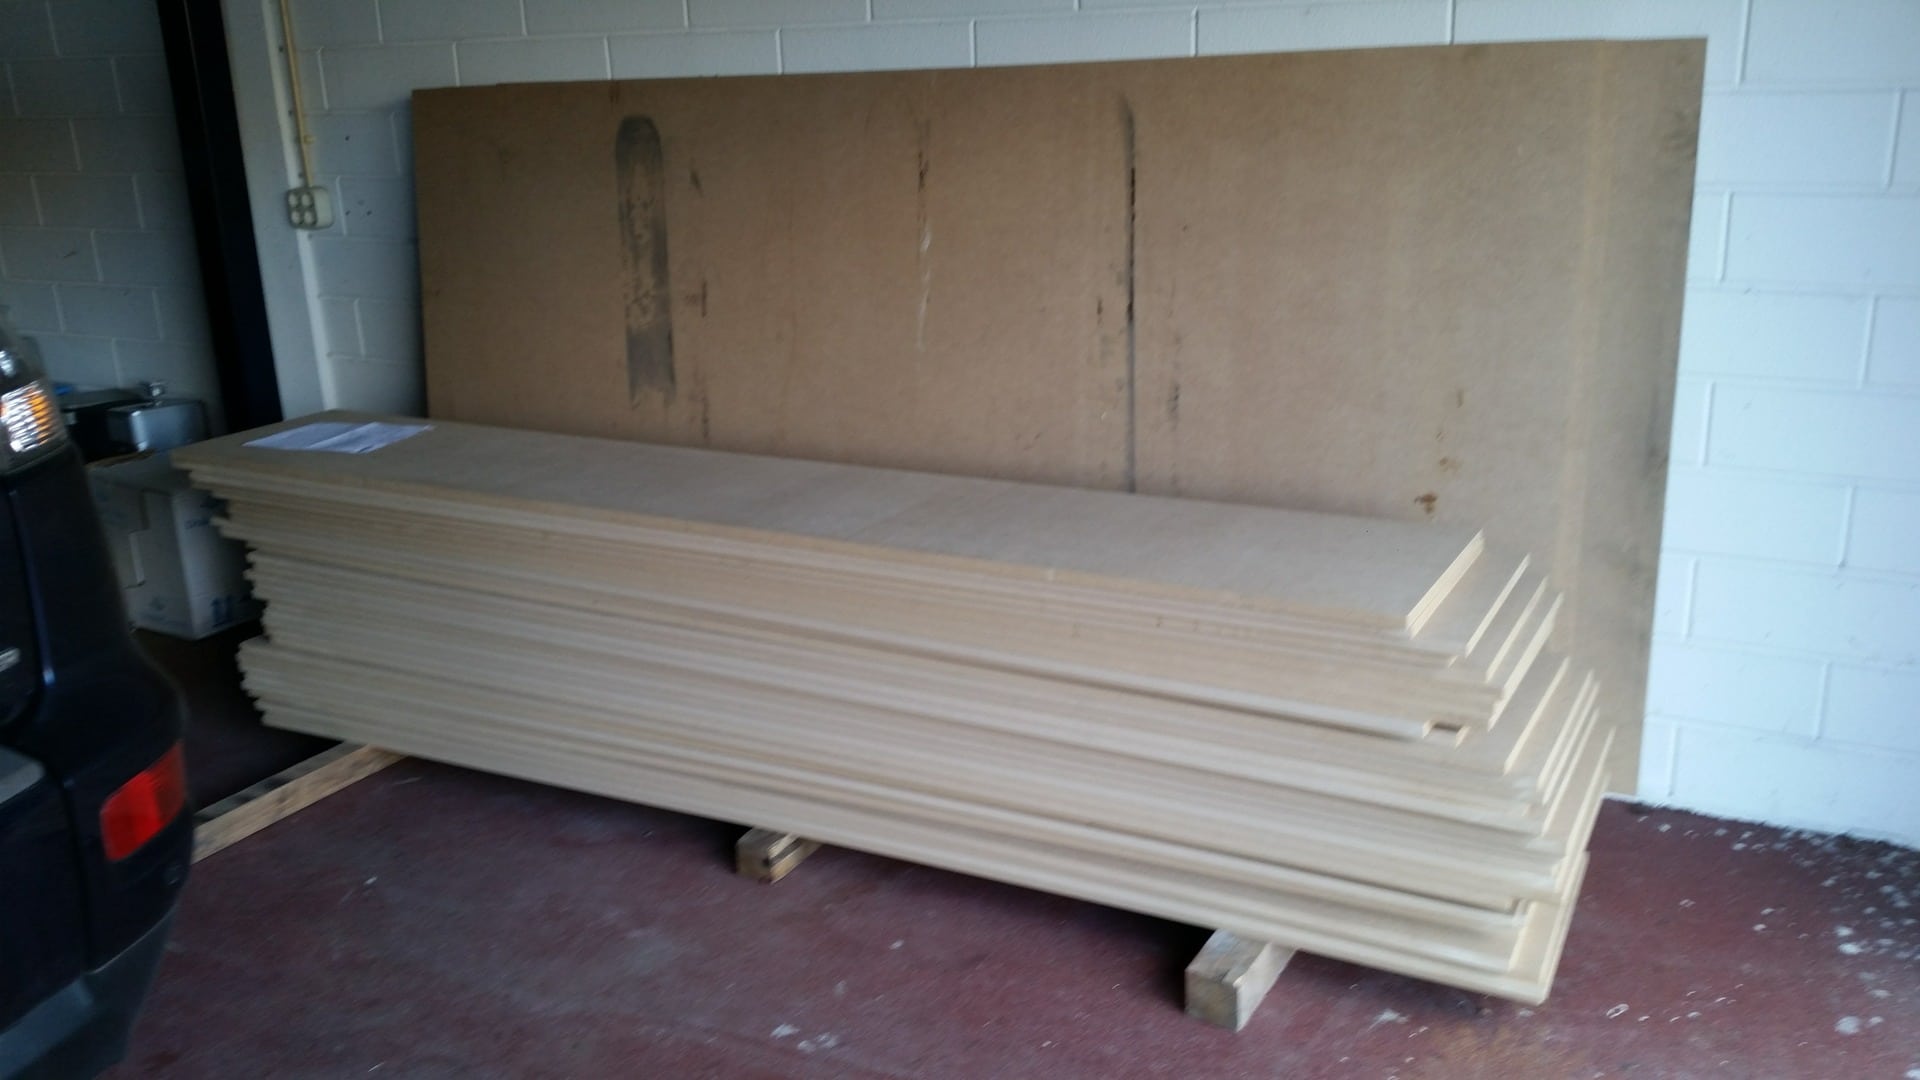
The wood parts also arrived somewhere the last week and need some work also.
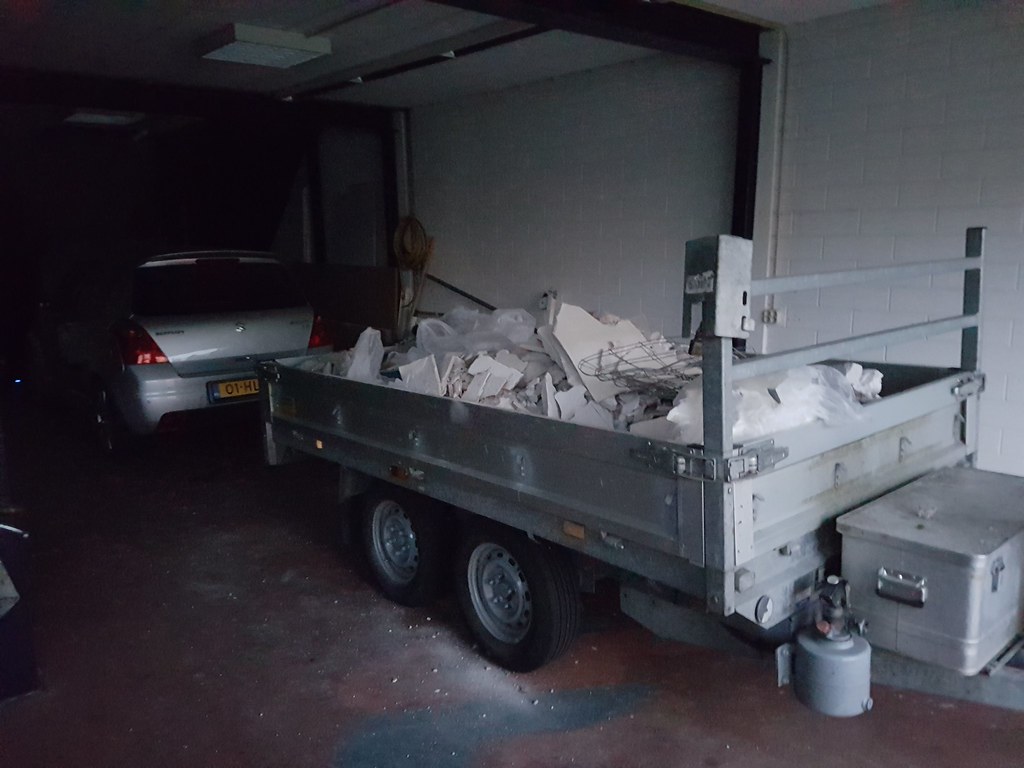
Placed some plastic/paper sheets on the floor to protect the marble since we were walking and hammering on the wall allot of concrete was pressed in the marble, and the walls/roof are going to be made smooth later on with plaster.

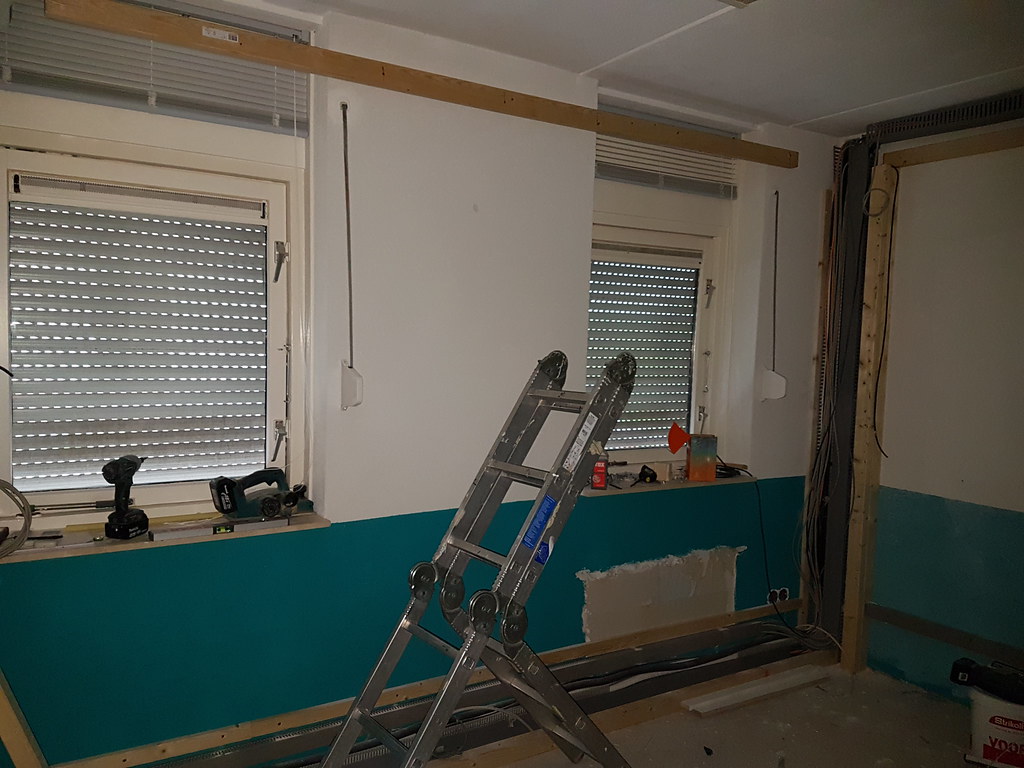
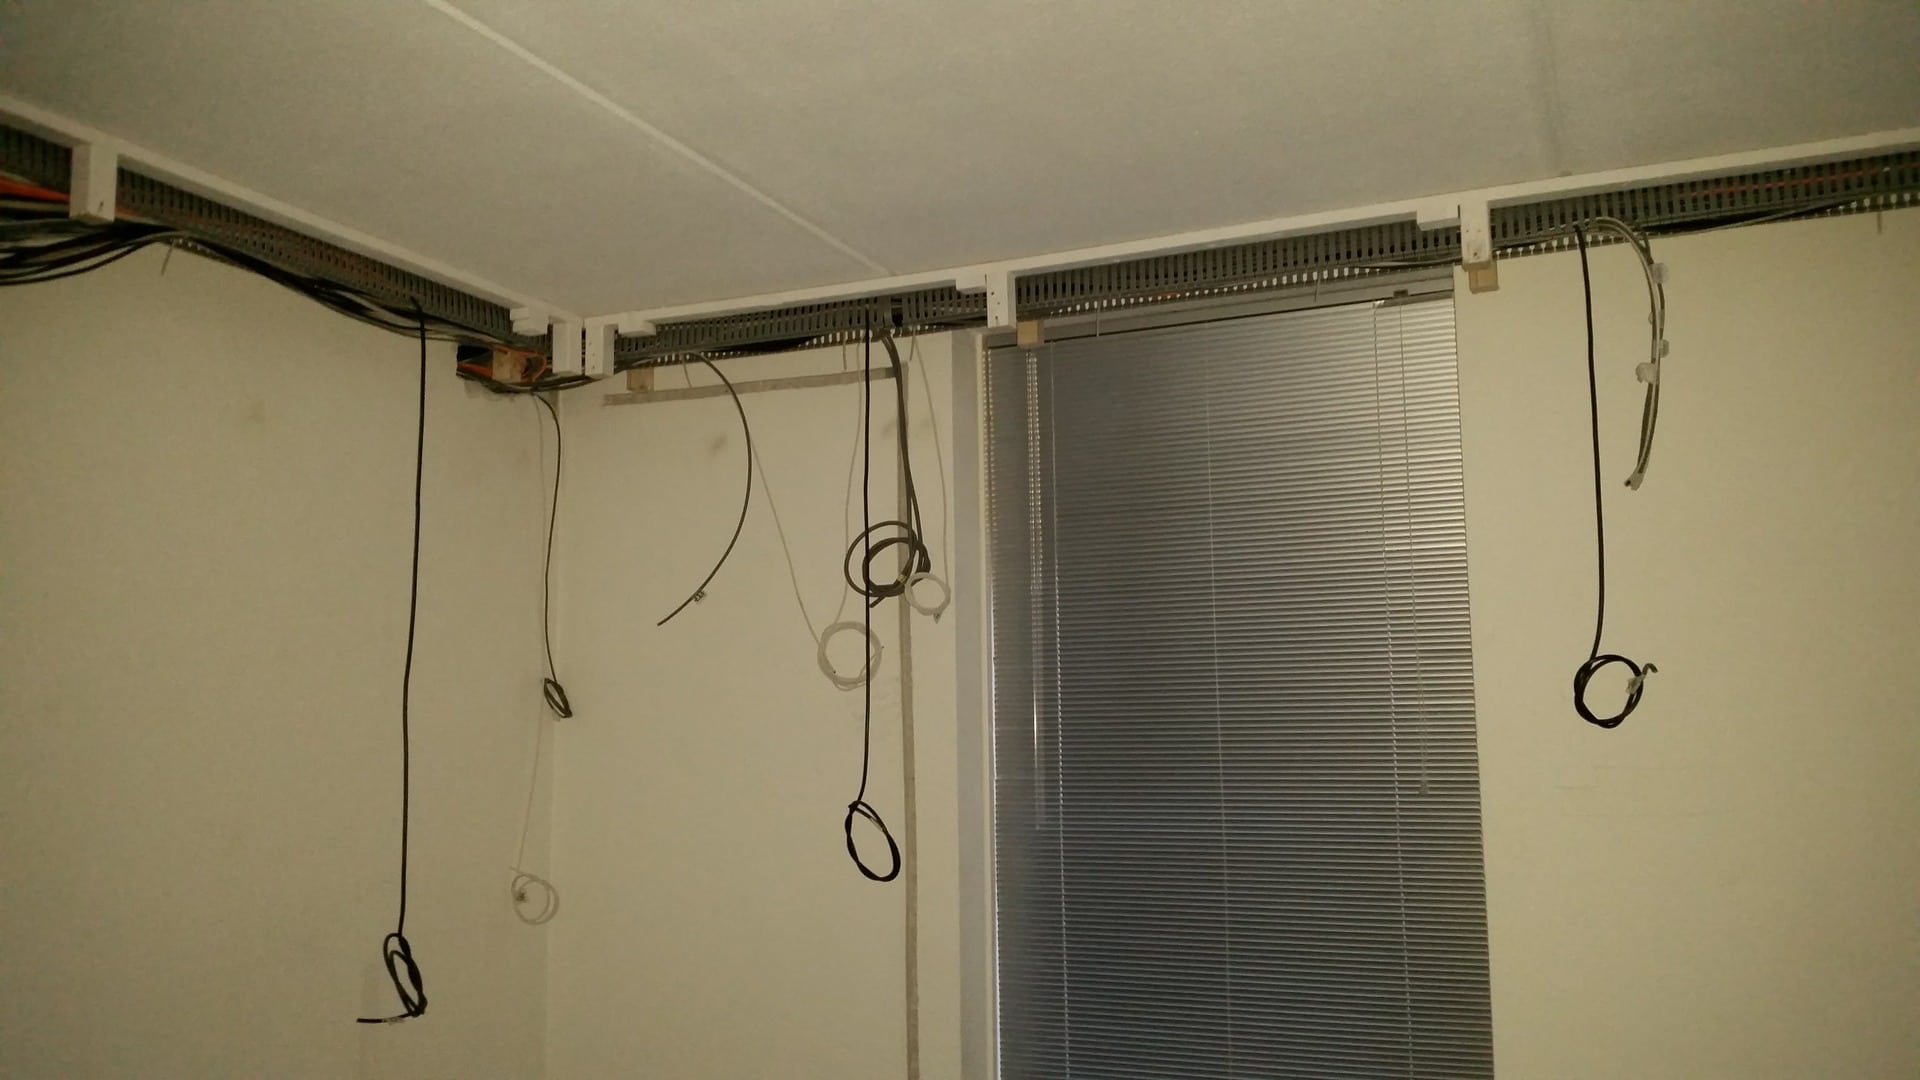
Some of the cables for the power sockets in the living room, going to make a gutter , and since there are 2 tile floors put in this house the doorstep is allot lower so i can place it up about 4cm.
This gives me some nice space to hide some cables beneath.
Here is the hole for the wires that are coming from the cove in the living room.

Another hole for some audio/network cables that go into the garage where the server rack will be placed, i could not find another nice location for it and the wall between the house and garage is 41 CM thick so it took some work to make this hole.
Garage side
The wiring of the kitchen, few 3x2.5 for the sockets , 5x2.5 for the induction cooker, 3x1.5 for some lights

Thats it for now
Got some time saturday afternoon and picked up some materials after work.
Just got home so it has been a busy week after so many hours of paid work but it was worth it.
I do need more wires because 3x 1.5mm2 and 3x 2.5 mm2 wire is gone
same as some cat5e wire, there is about 800 meter of cable placed at this moment for the living room.
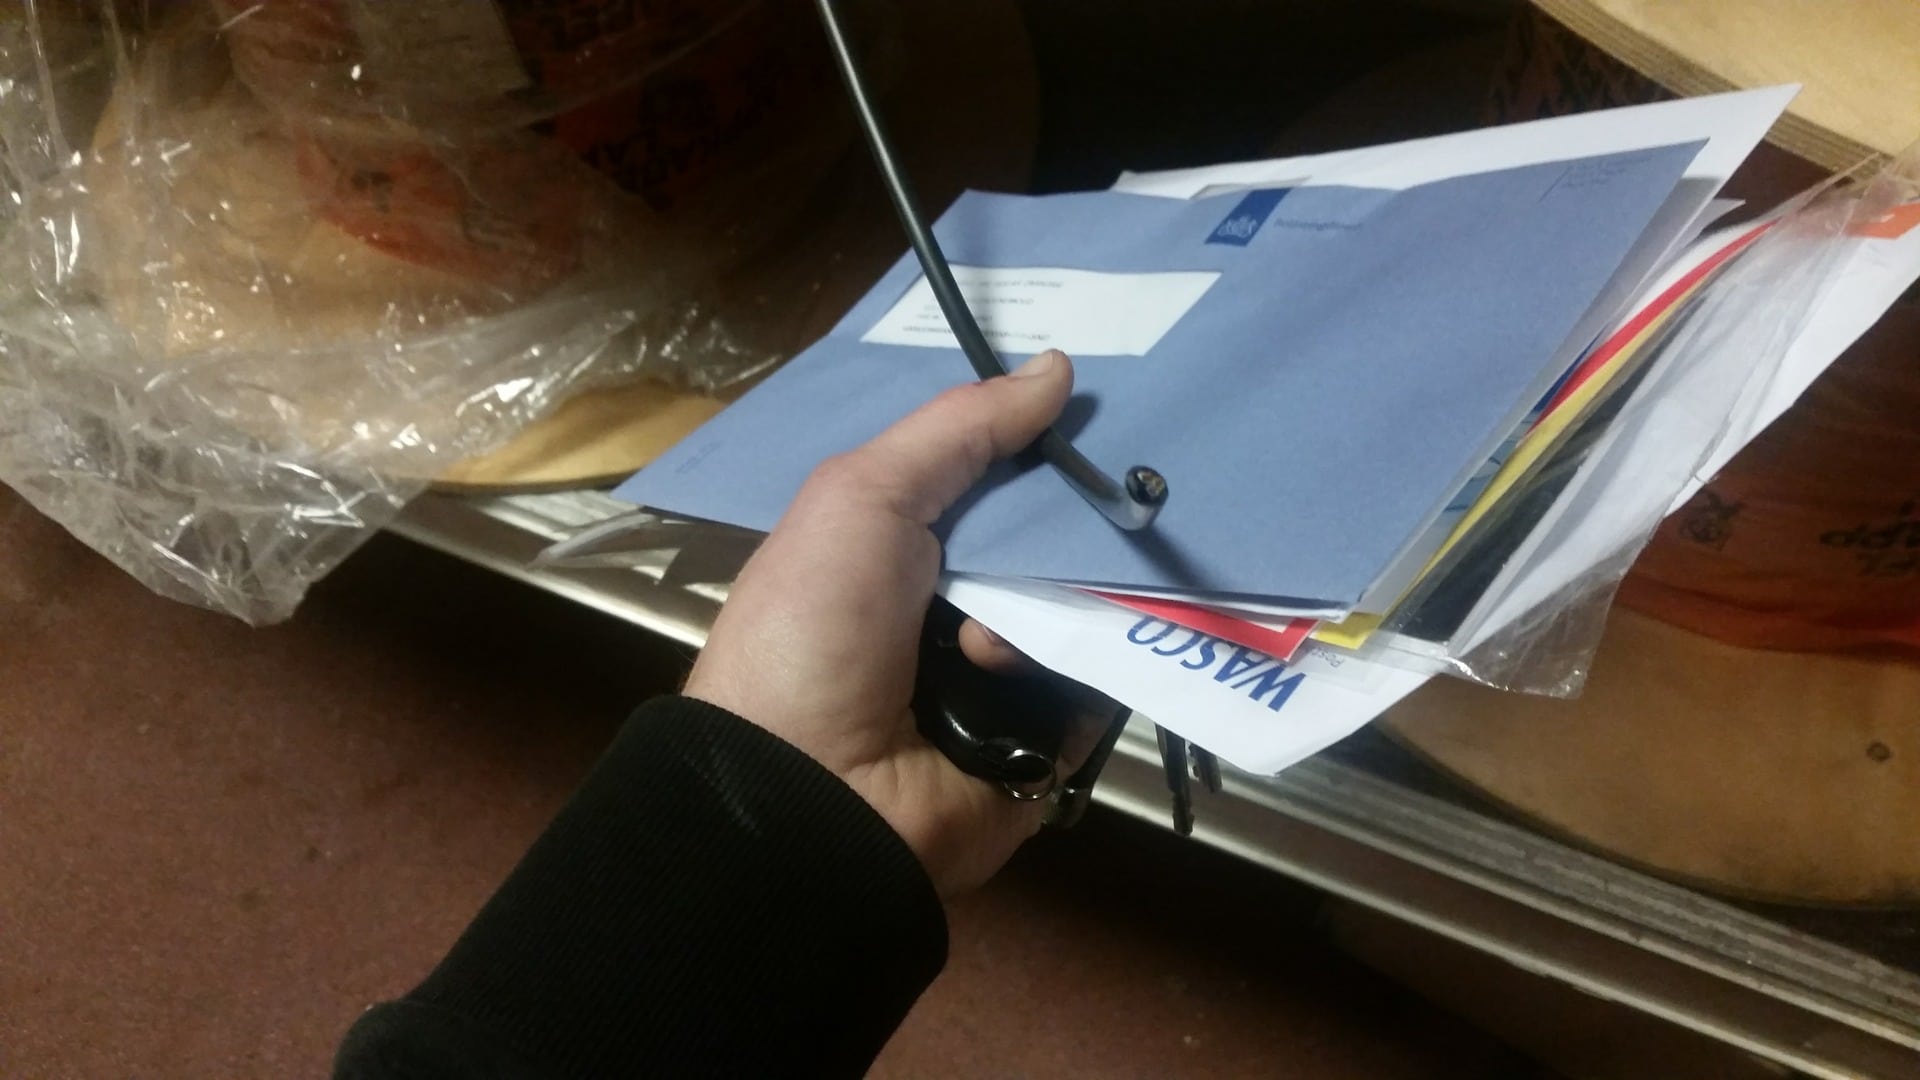
Made a small checklist but it is not finished yet, also wrote a few by hand at the list that i need to update on the computer also.

So as you can see the list is getting bigger and bigger and i must even rewire the garage downstairs and upstairs.
For the LED strip and spots you can say, isn't 0.8mm2 to thin ? well no, i just take a few pairs to compensate for it since i have no other cable at this moment.
Some of the wire holders i picked up
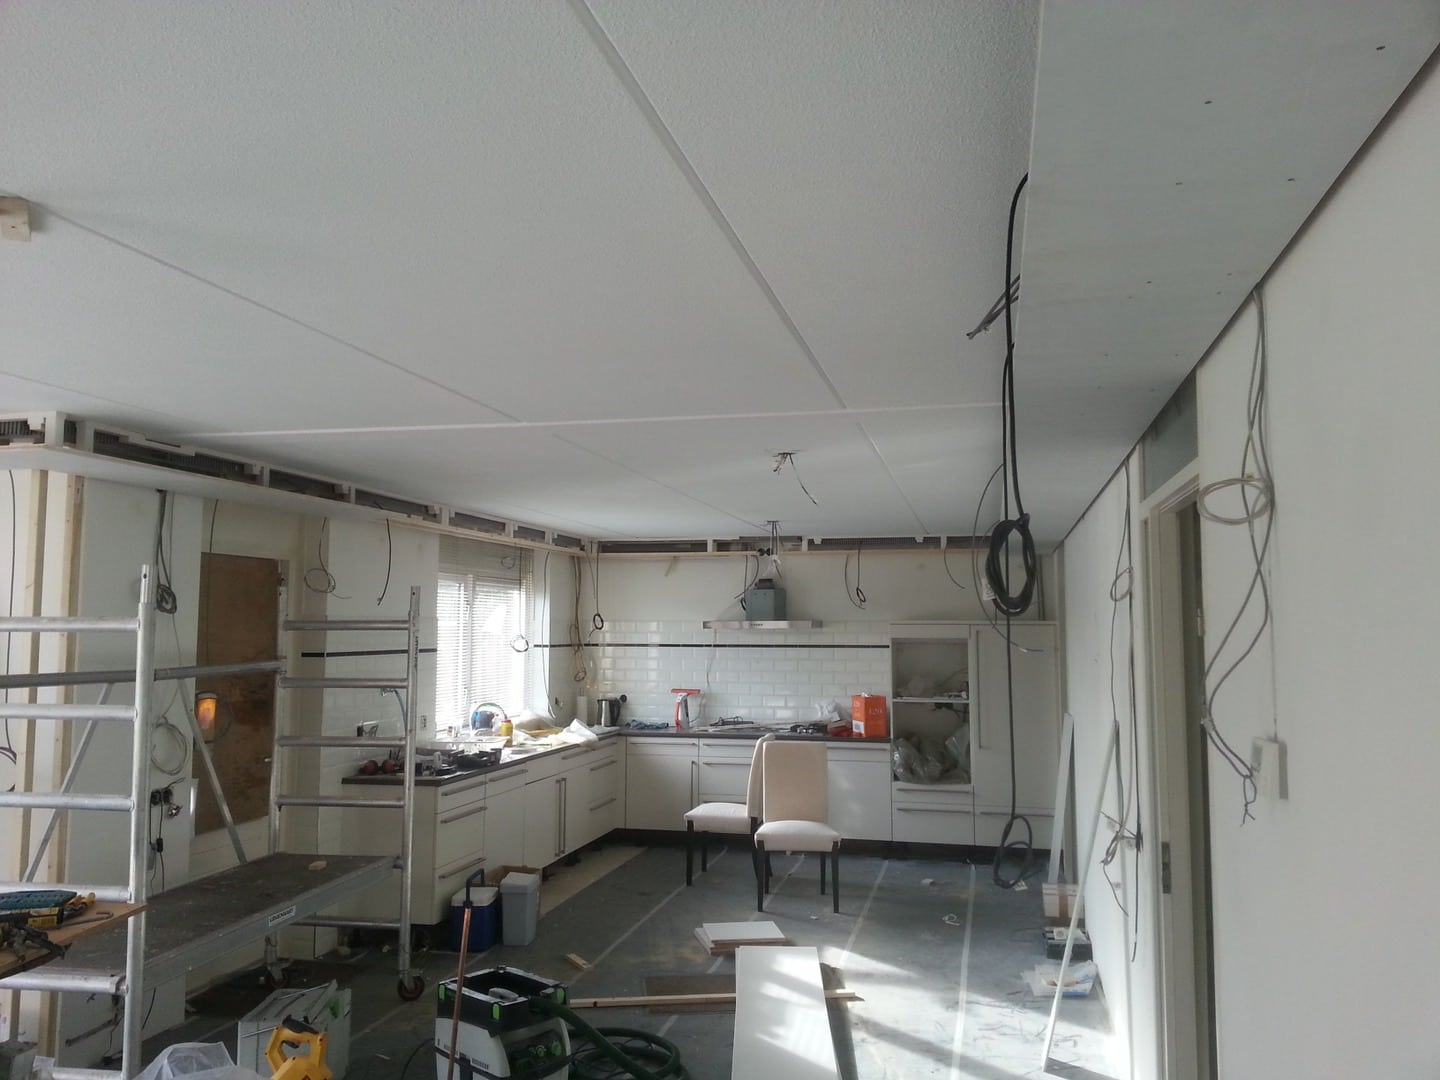
Mounted them on the roof
I also made a camera holder that i can place on my tripod so the turning point and the lens are on the same spot and you can make 360 degree pictures , i do need to make pics at day time with another lens zo the quality is better and you can move up and down.
For the interested people, here on this link you can view the image and scroll arround in the room.
photosynth.net/preview/view/bdeb334f-c4 ... ?startat=0
I did have done some work the last weekend but not much,
all the cable holders are on place now downstairs/upstairs.
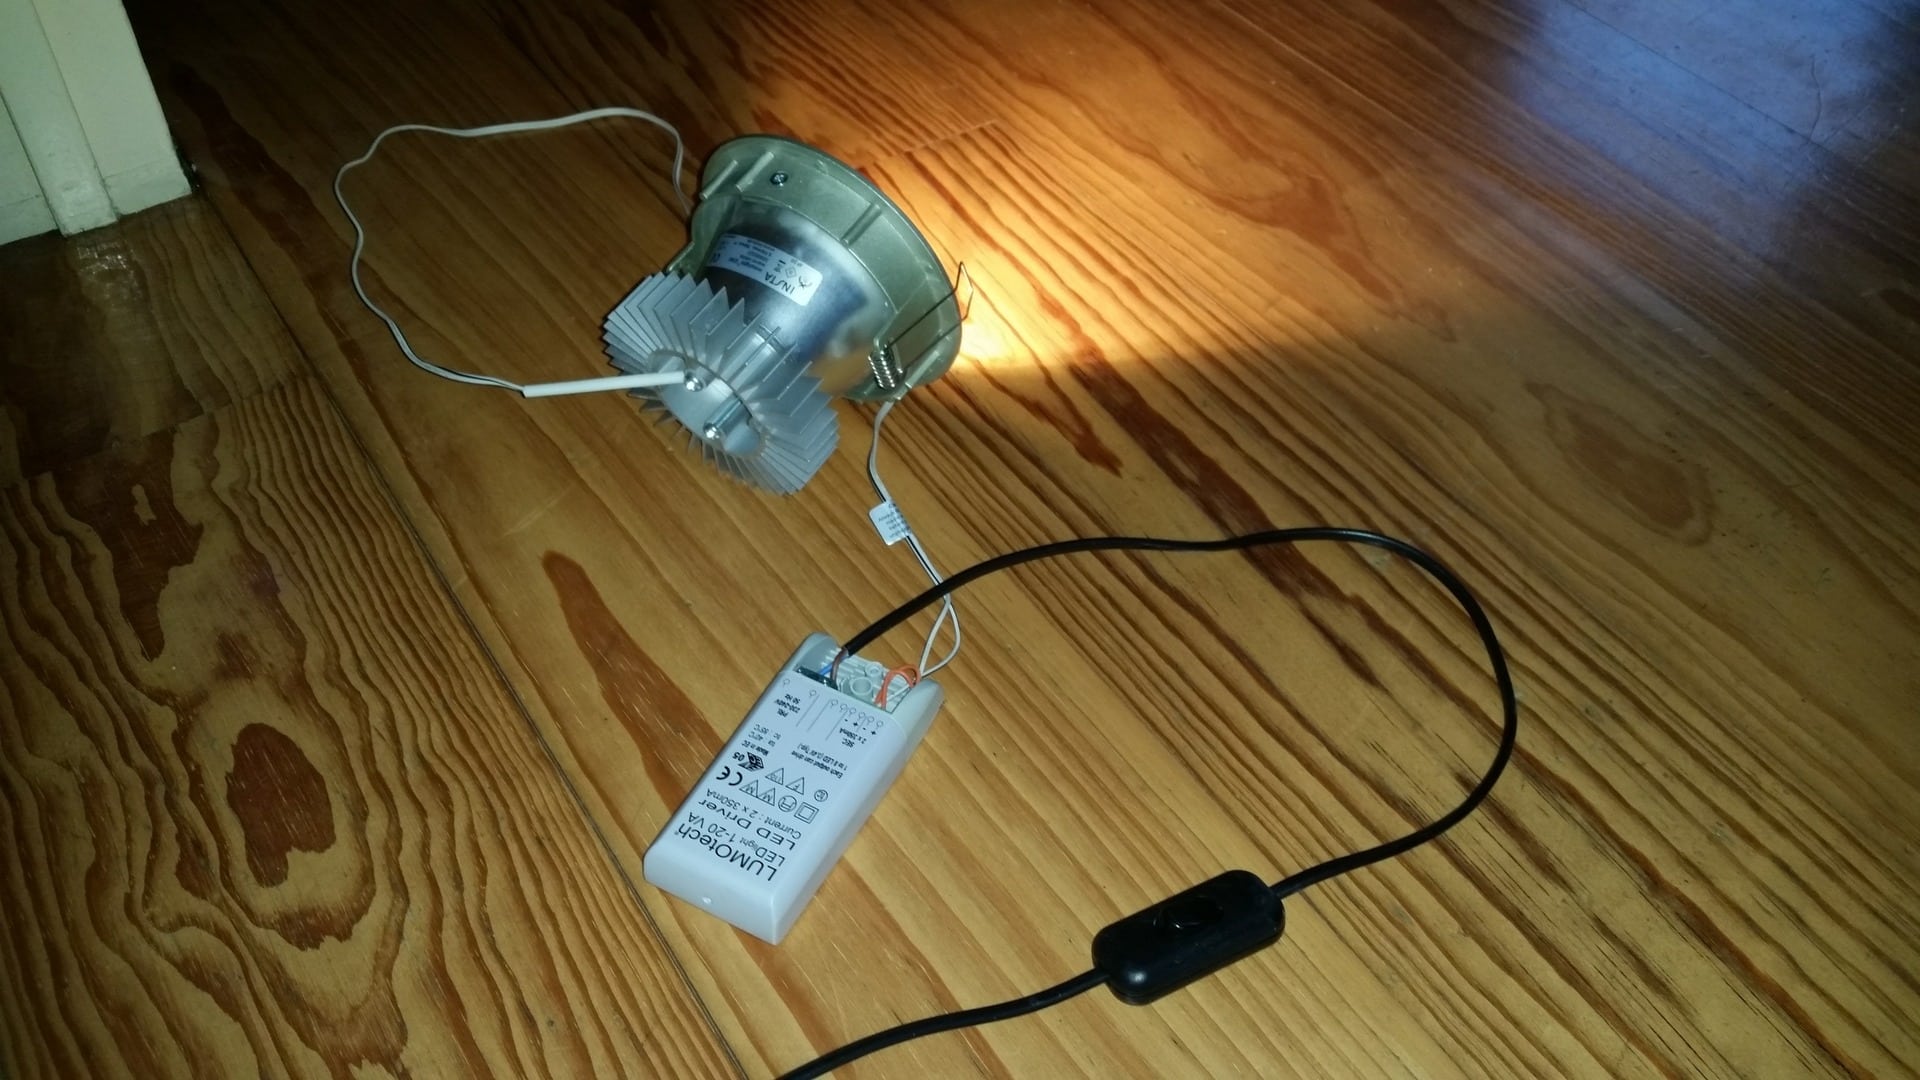
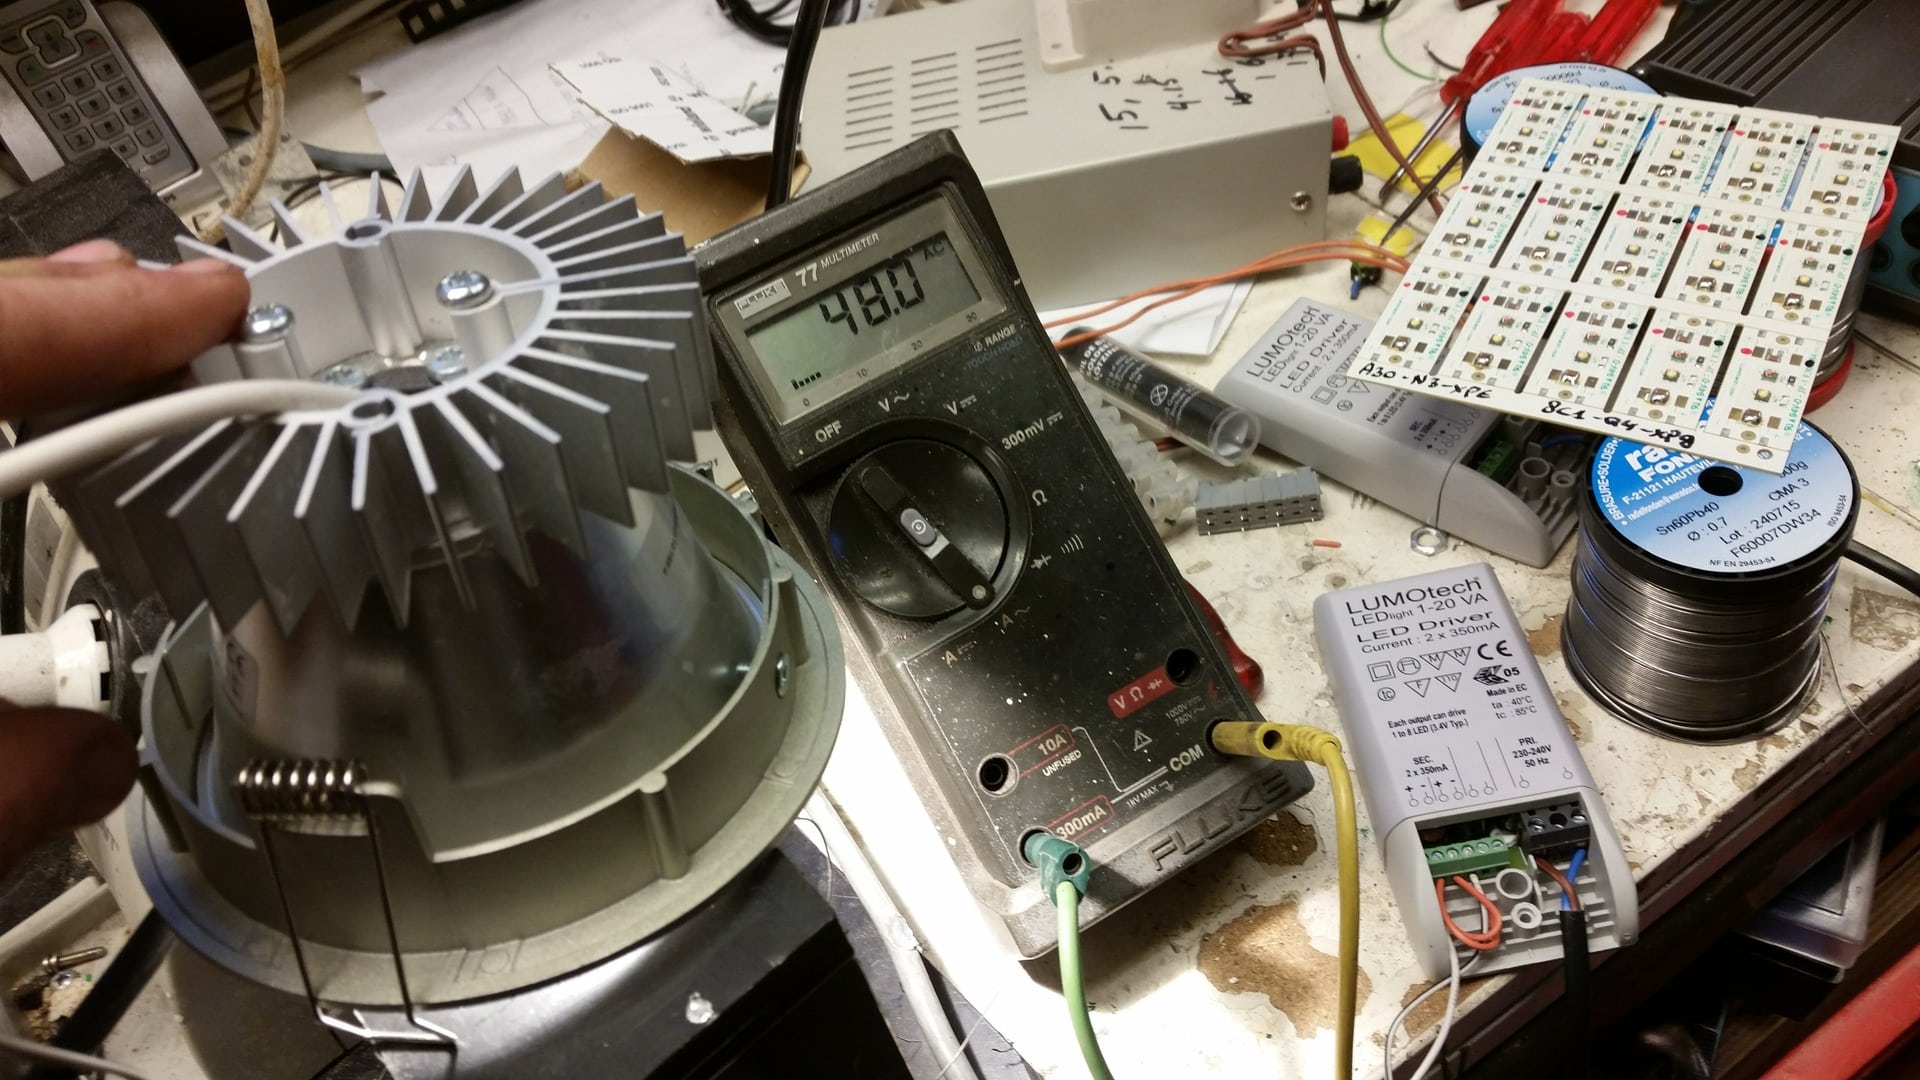
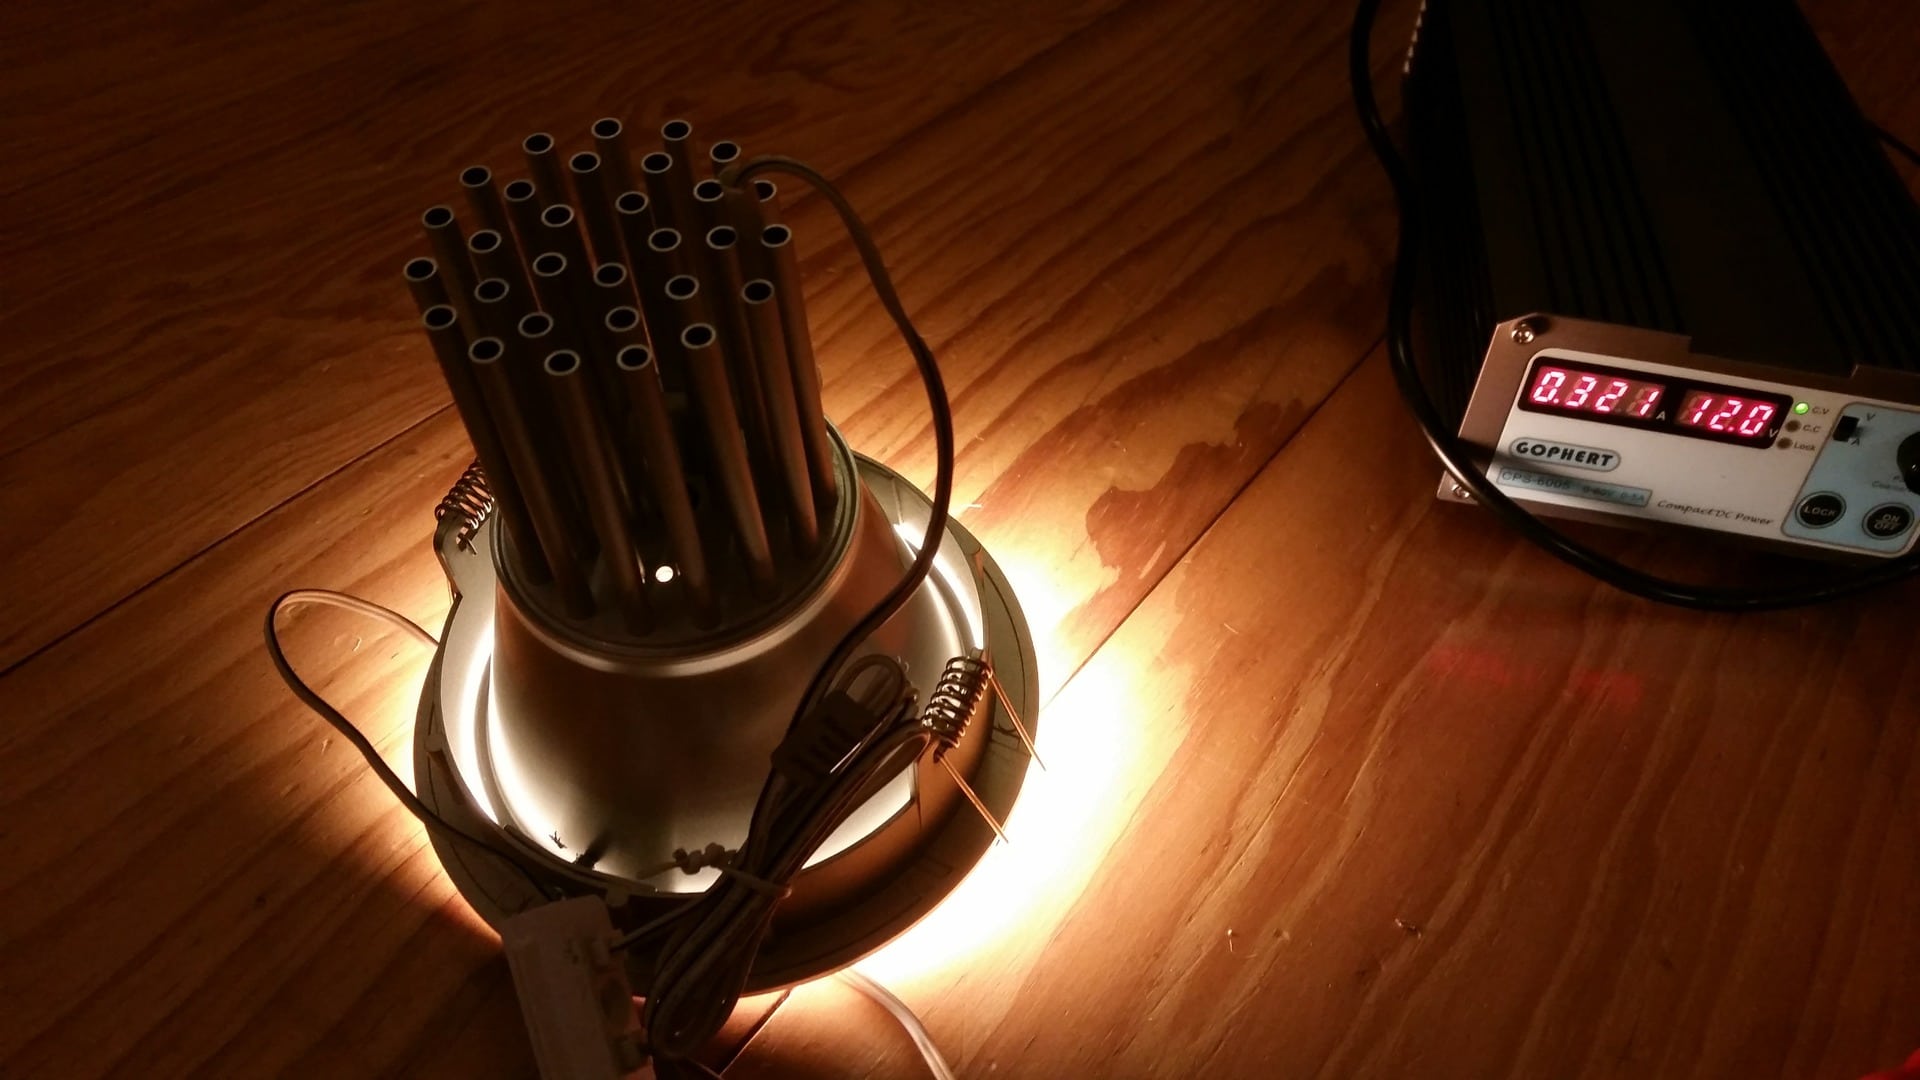
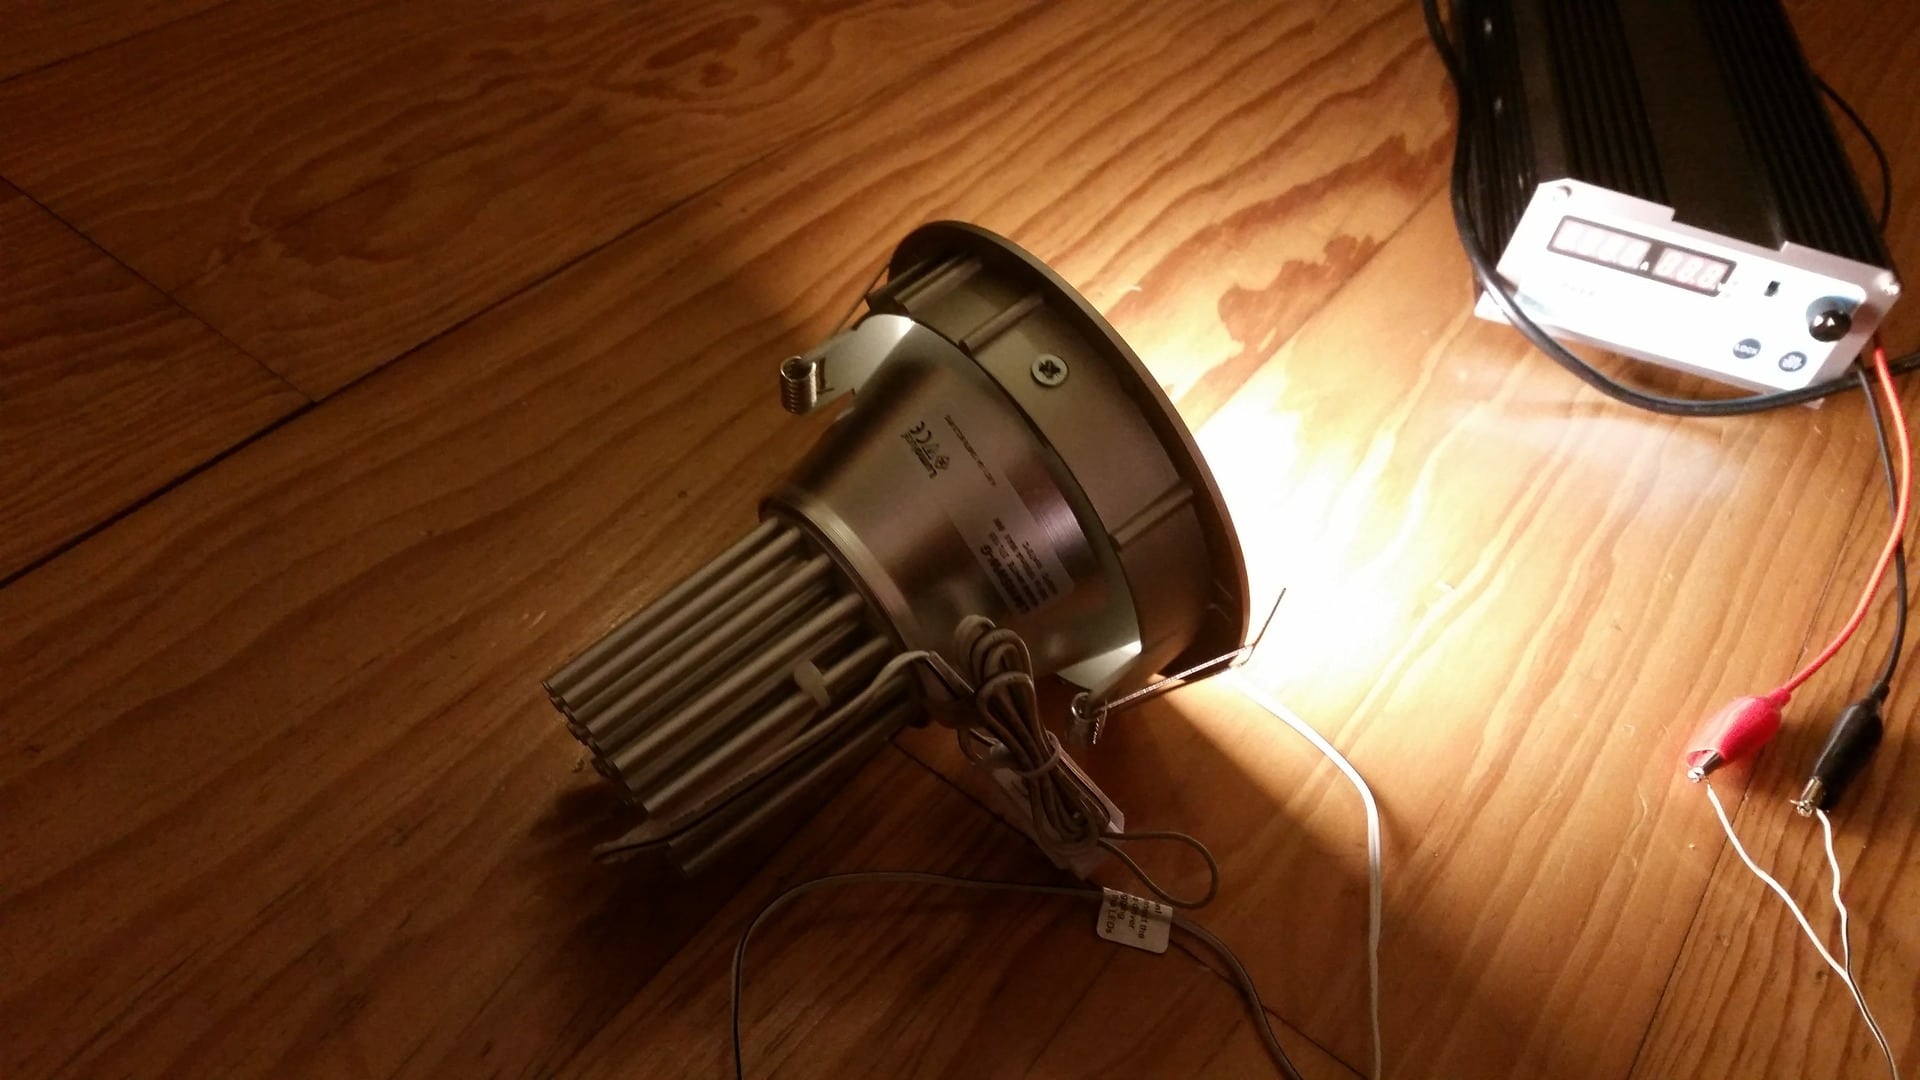
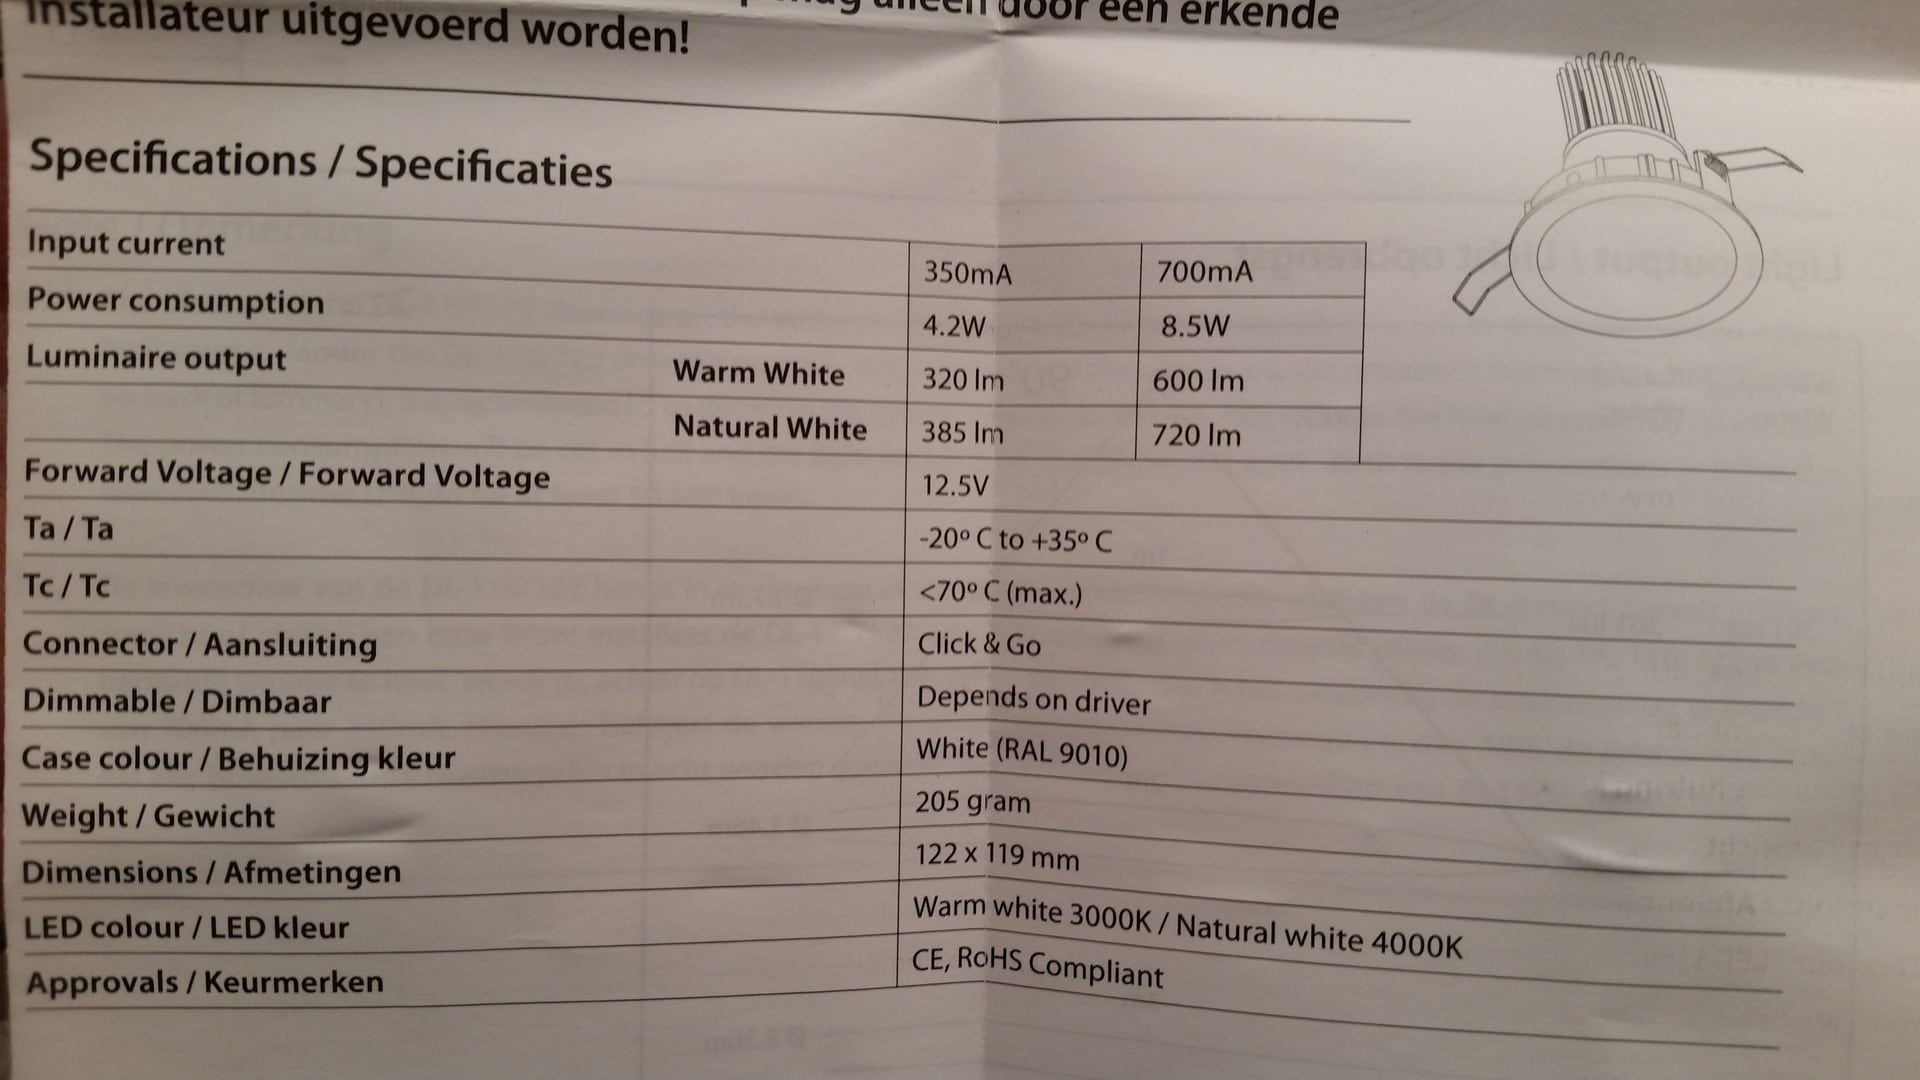
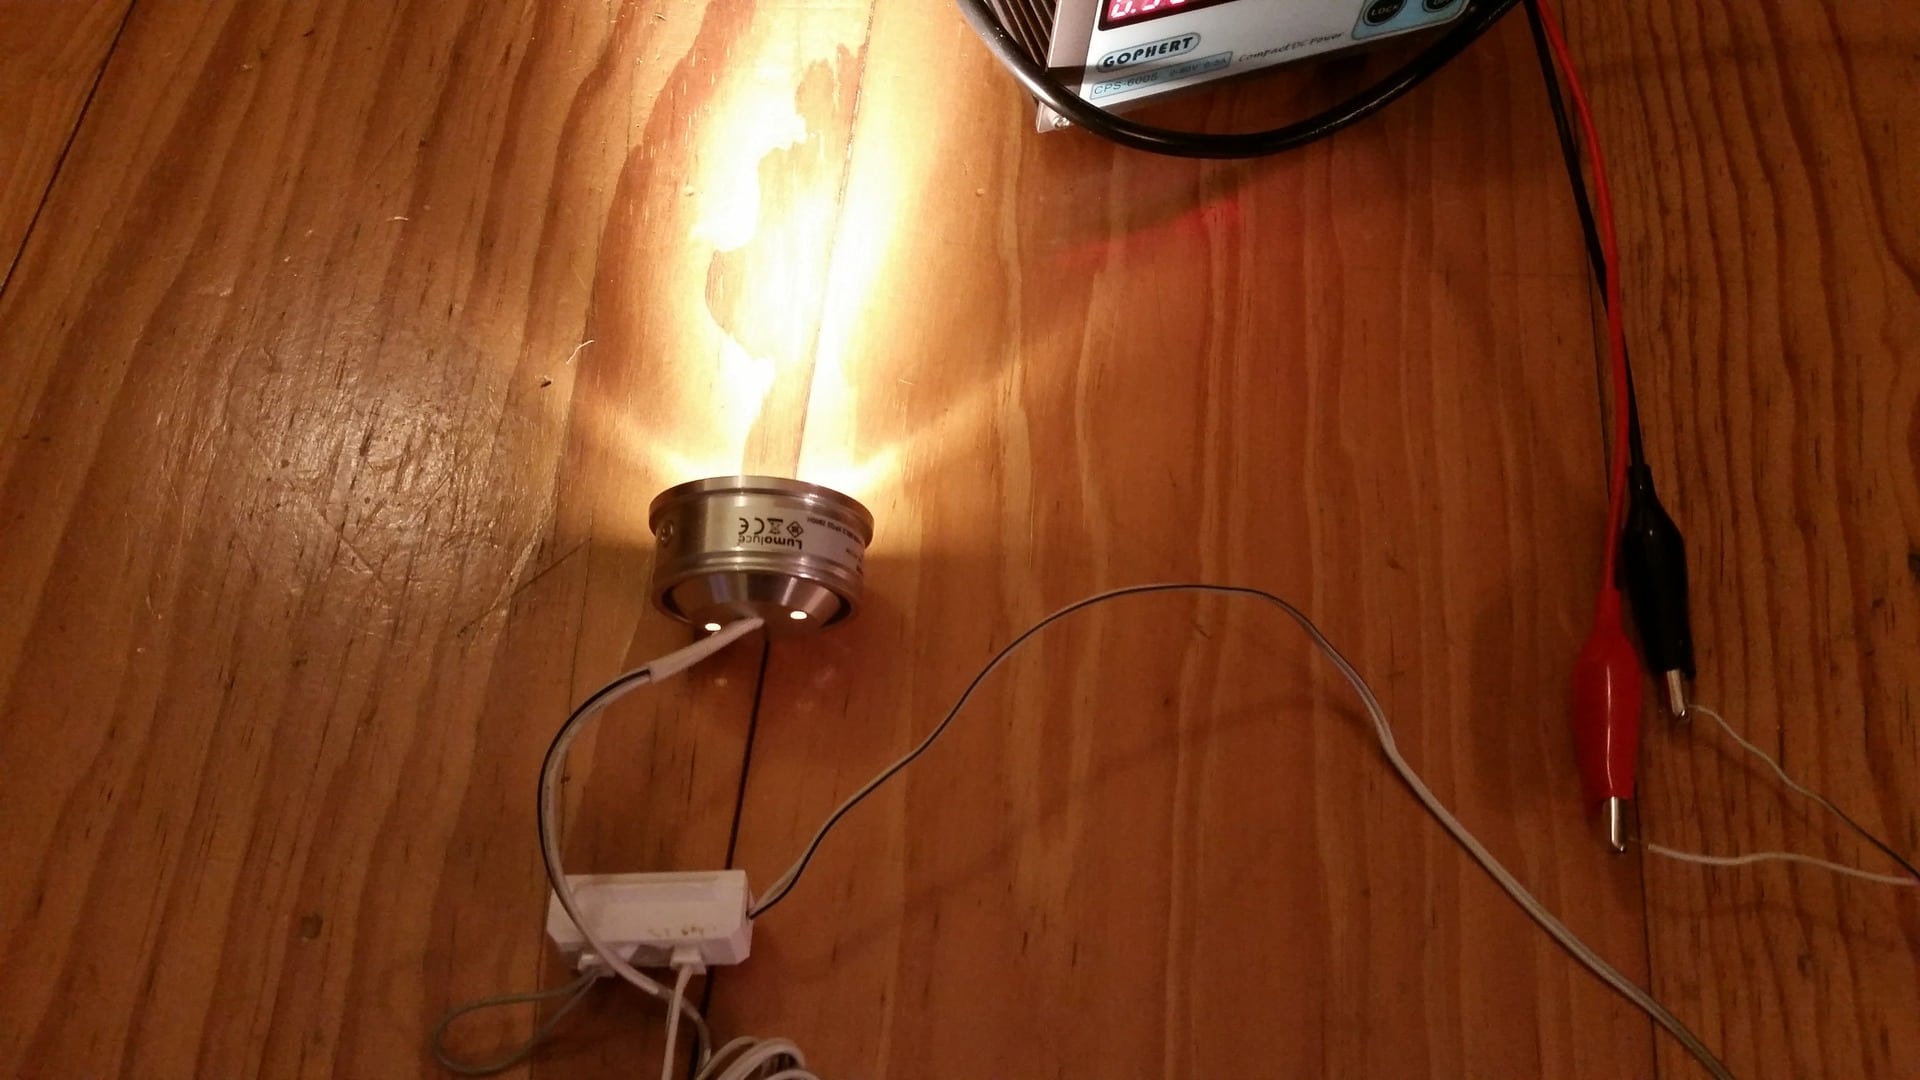
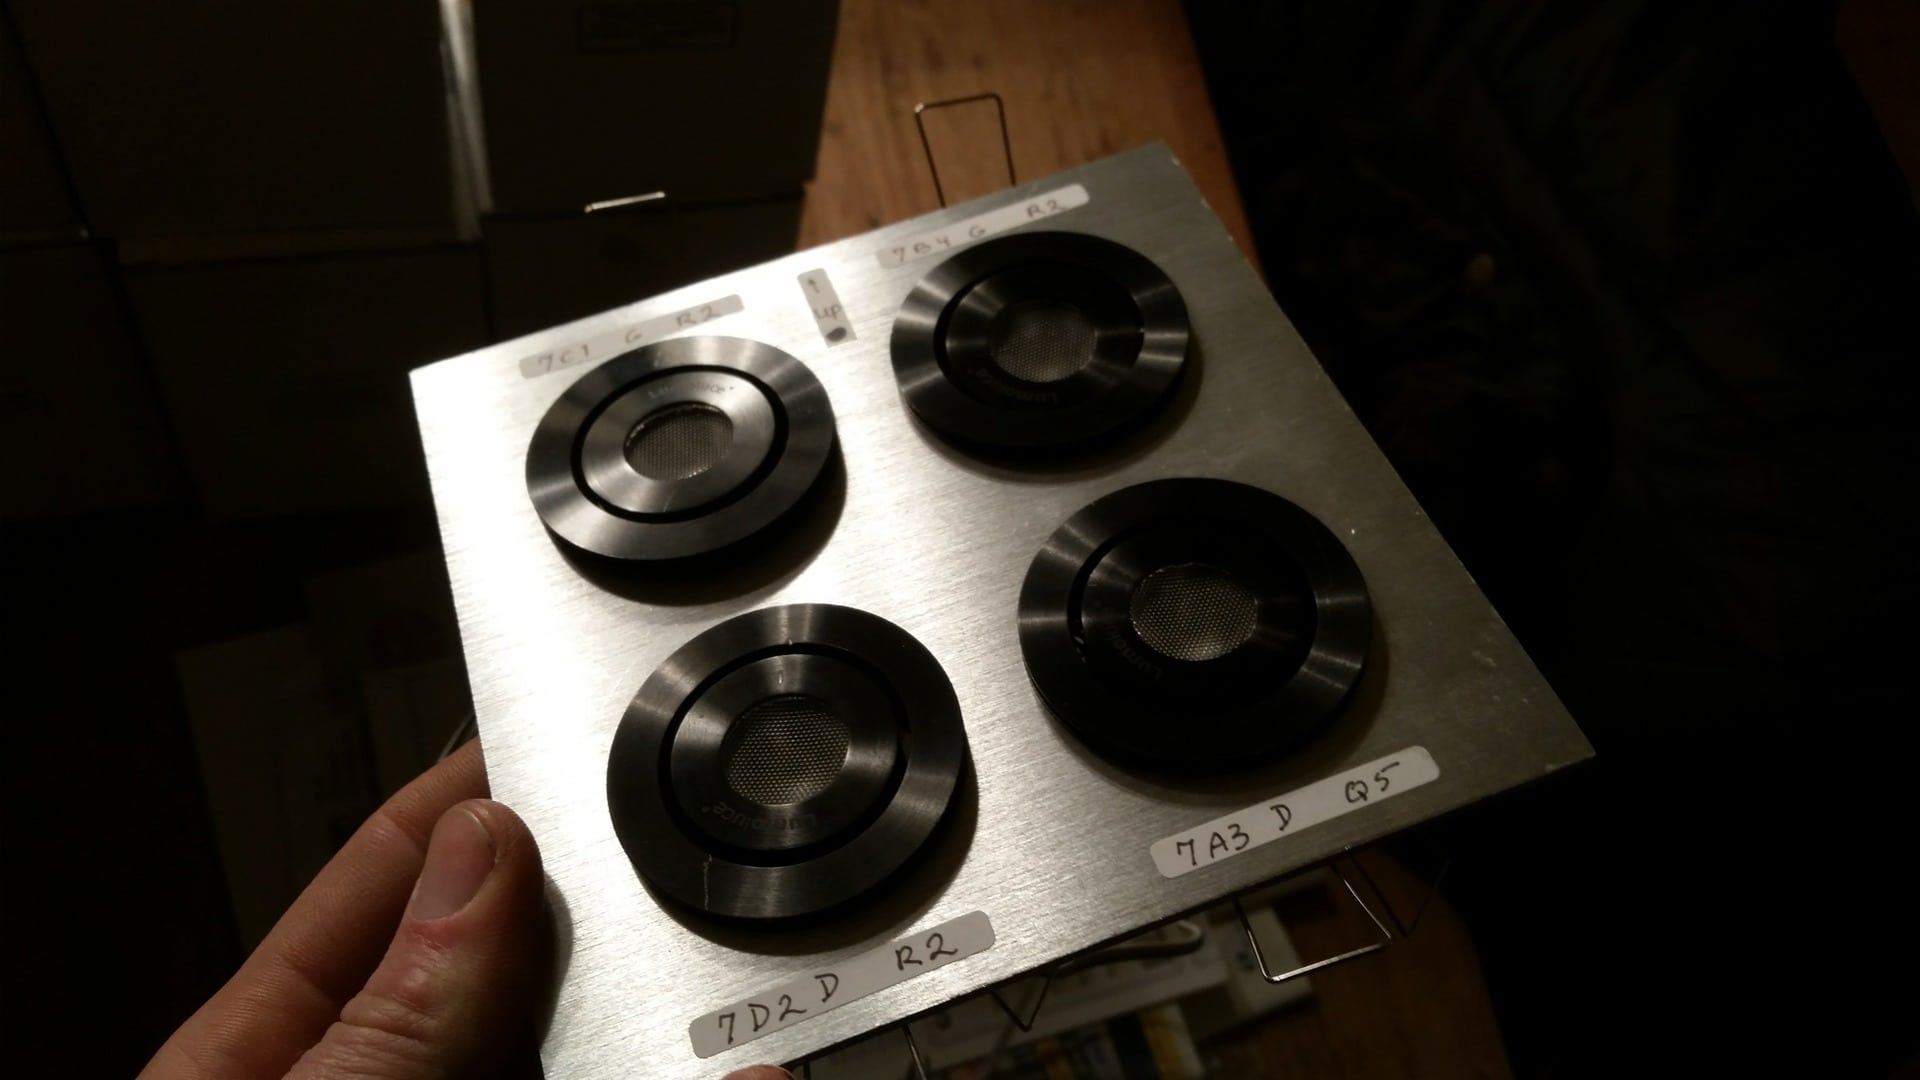
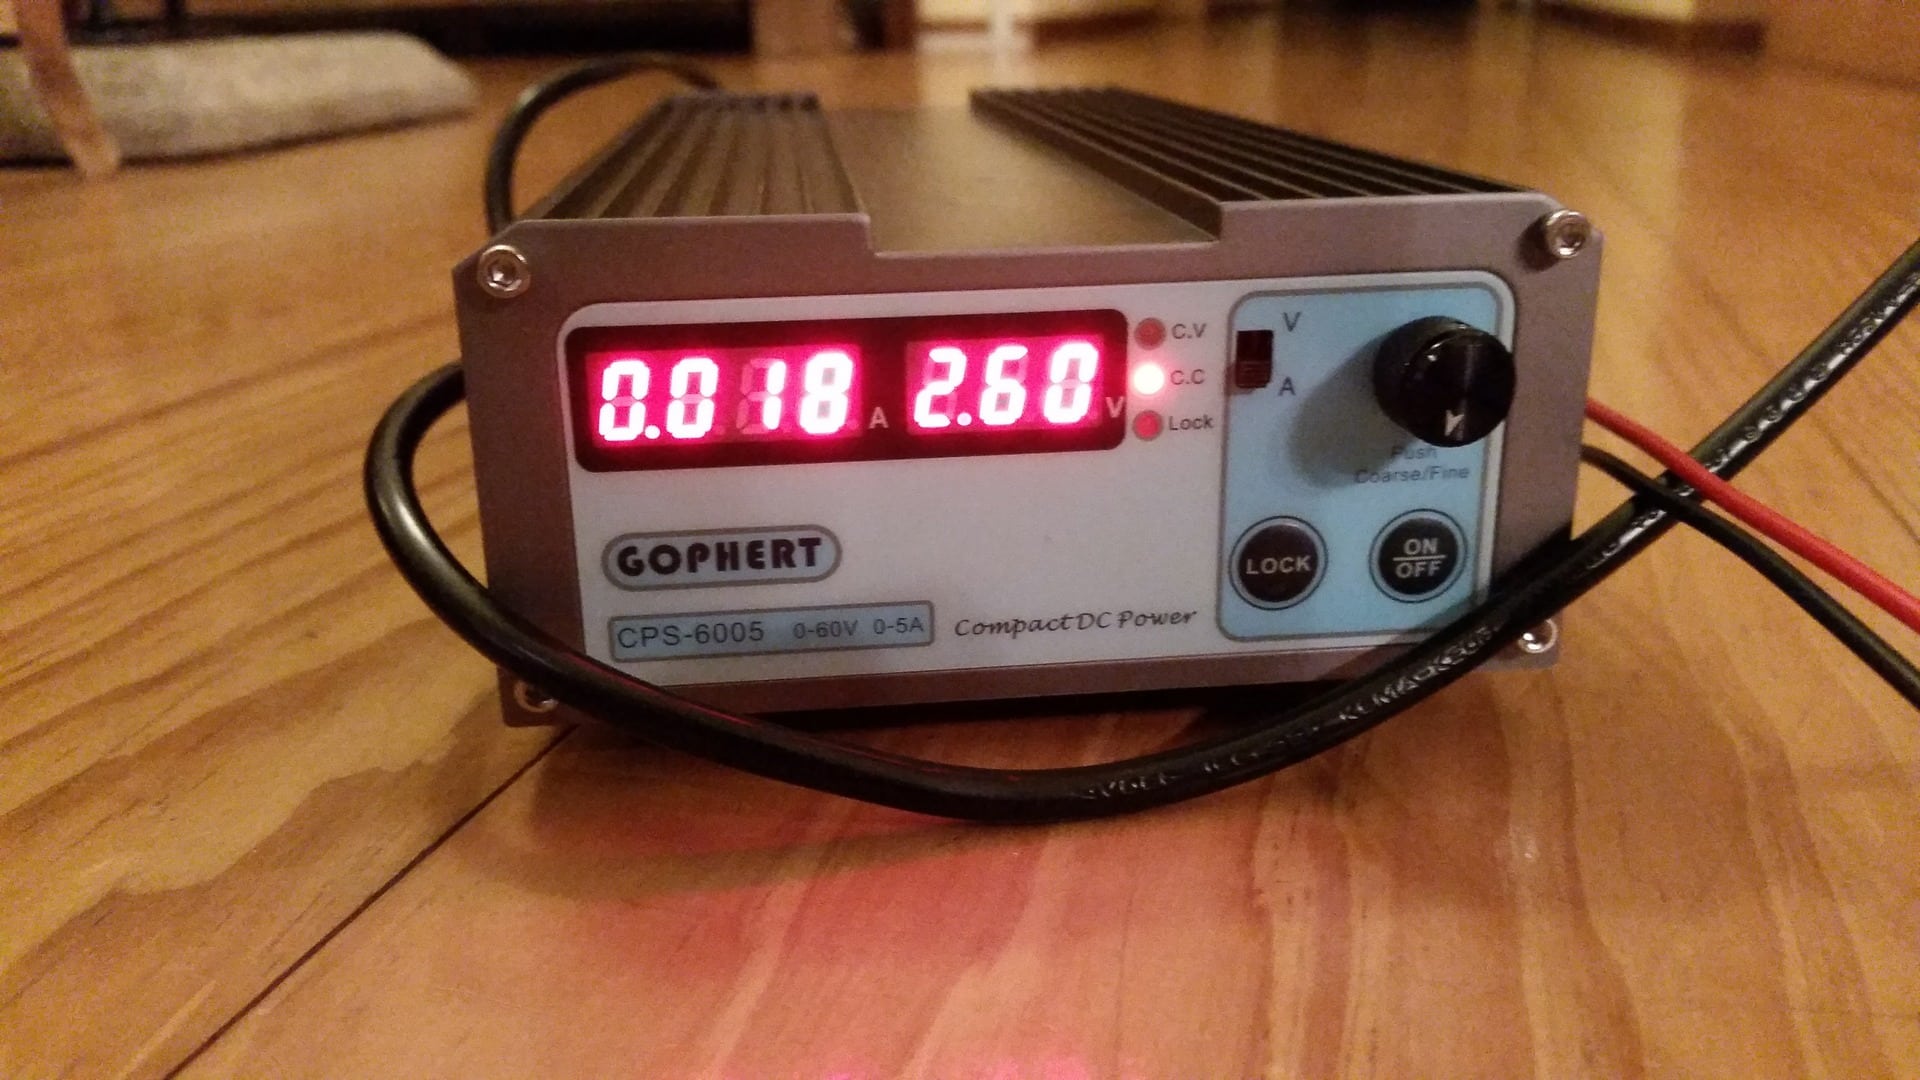
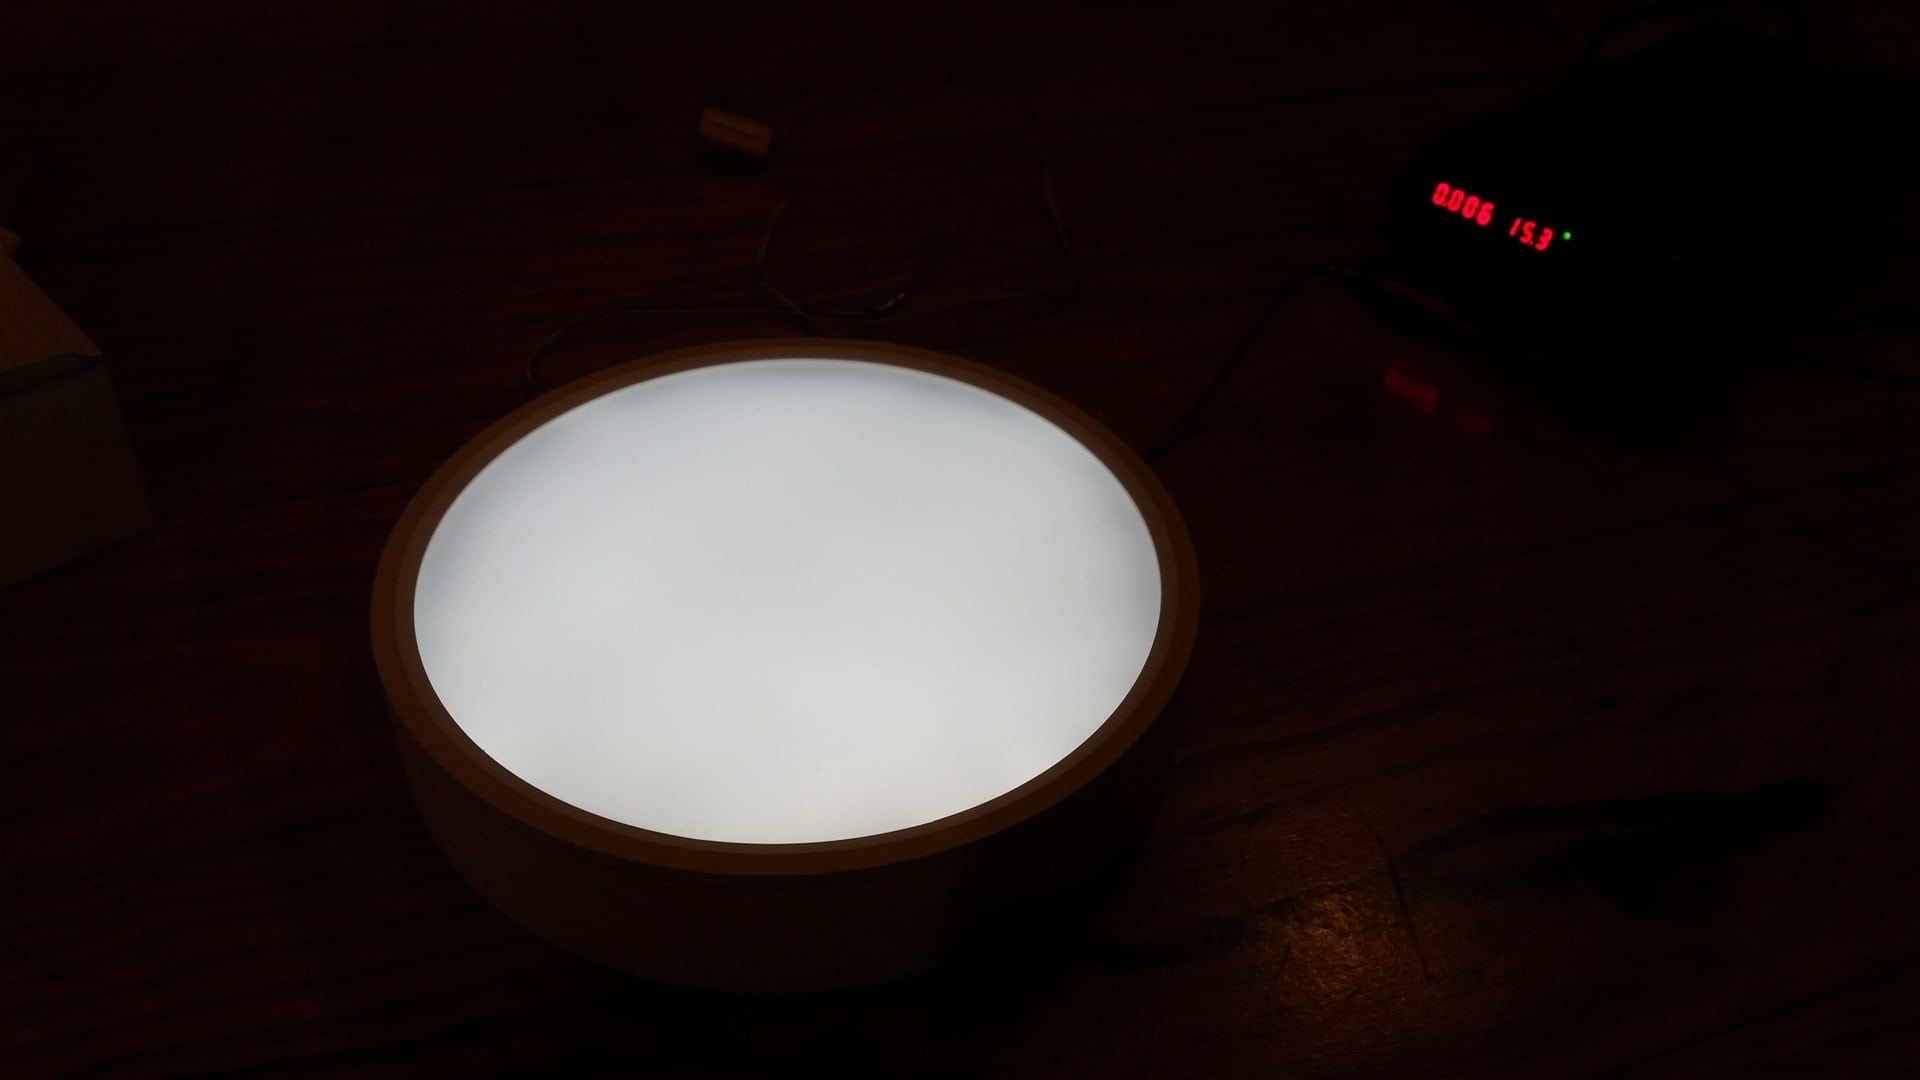
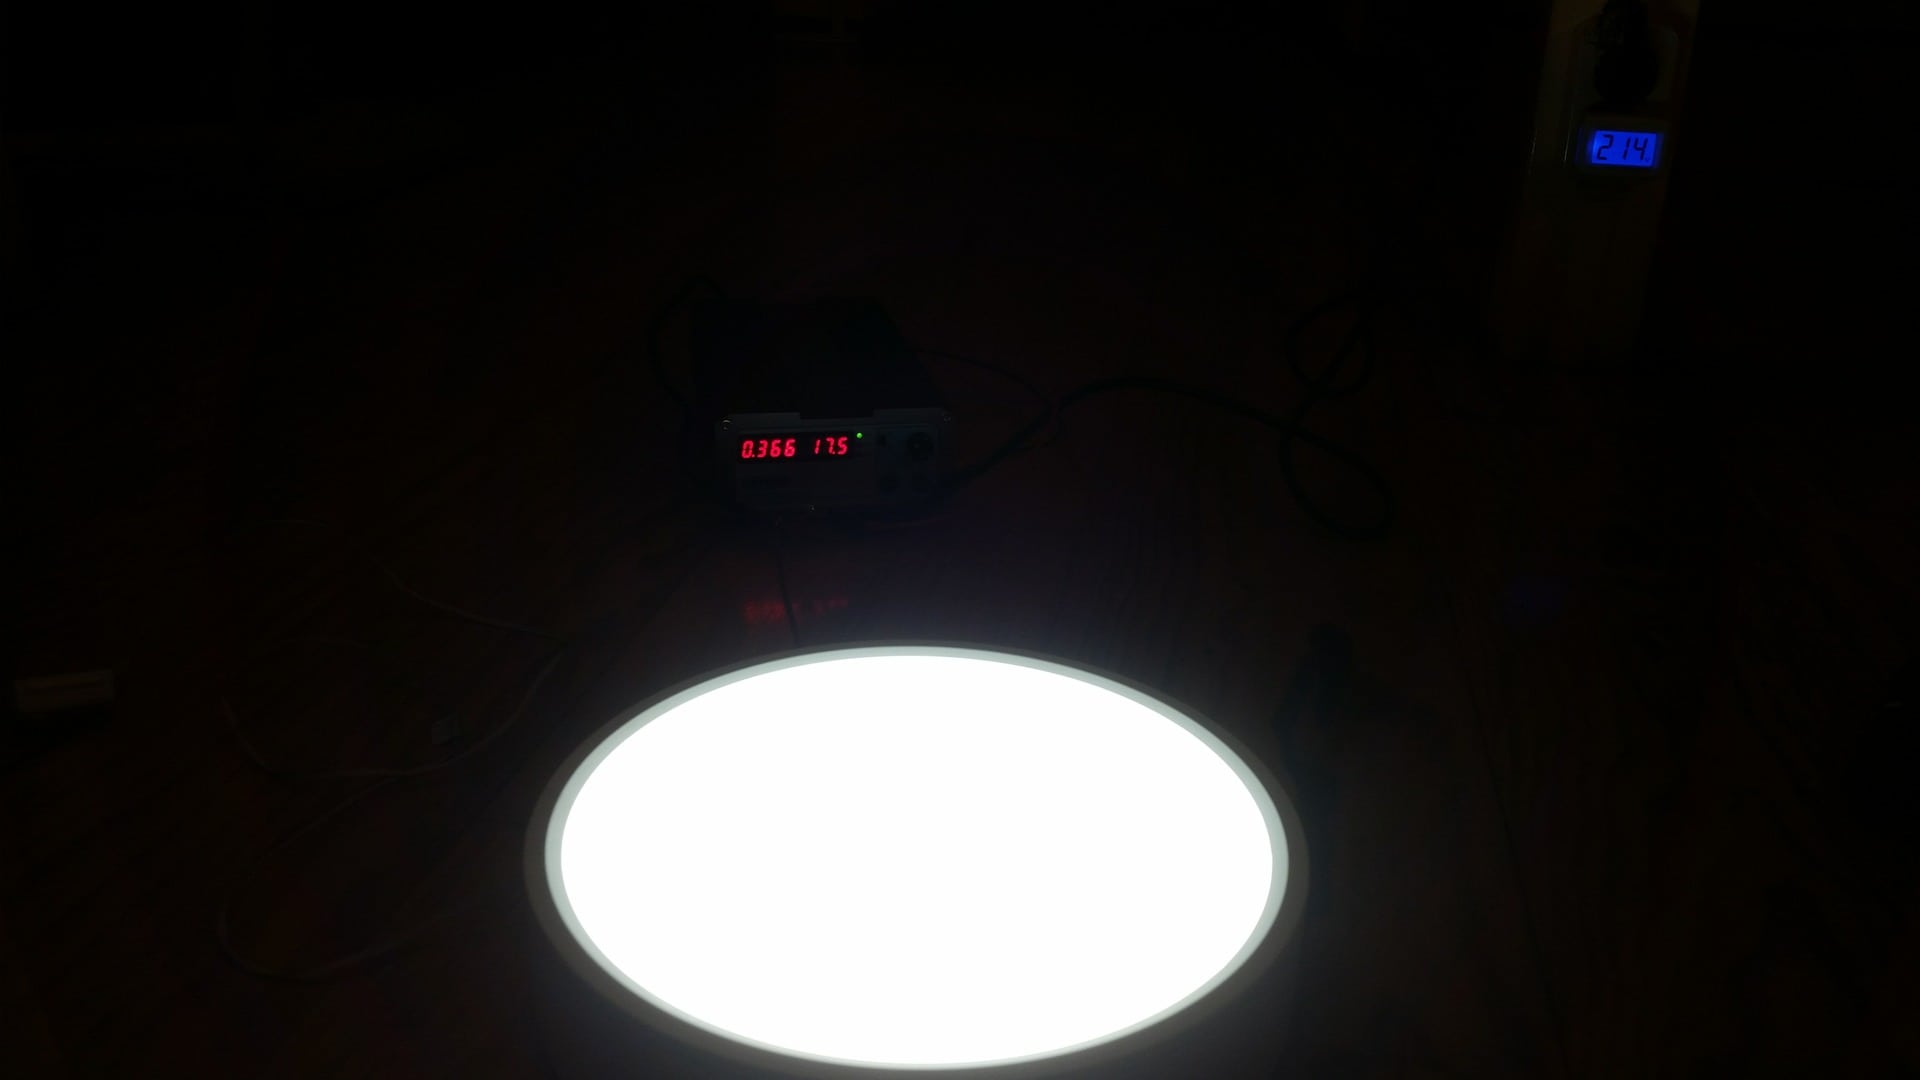
I went again to the electronics "store" to pick up a bunch of stuff and the first time we were there we bought a few LED panels.
Working on 30Volts and the light amount is amazing and little to no shade when you hang above it.
Very nice working lamps for in the garage, so he had 1 box left of these and i bought them all , 29 pieces with LED drivers and the drivers where free 
These will do in my situation, i was planning to buy LED fluorescent tubes, or should i say LED tubes .
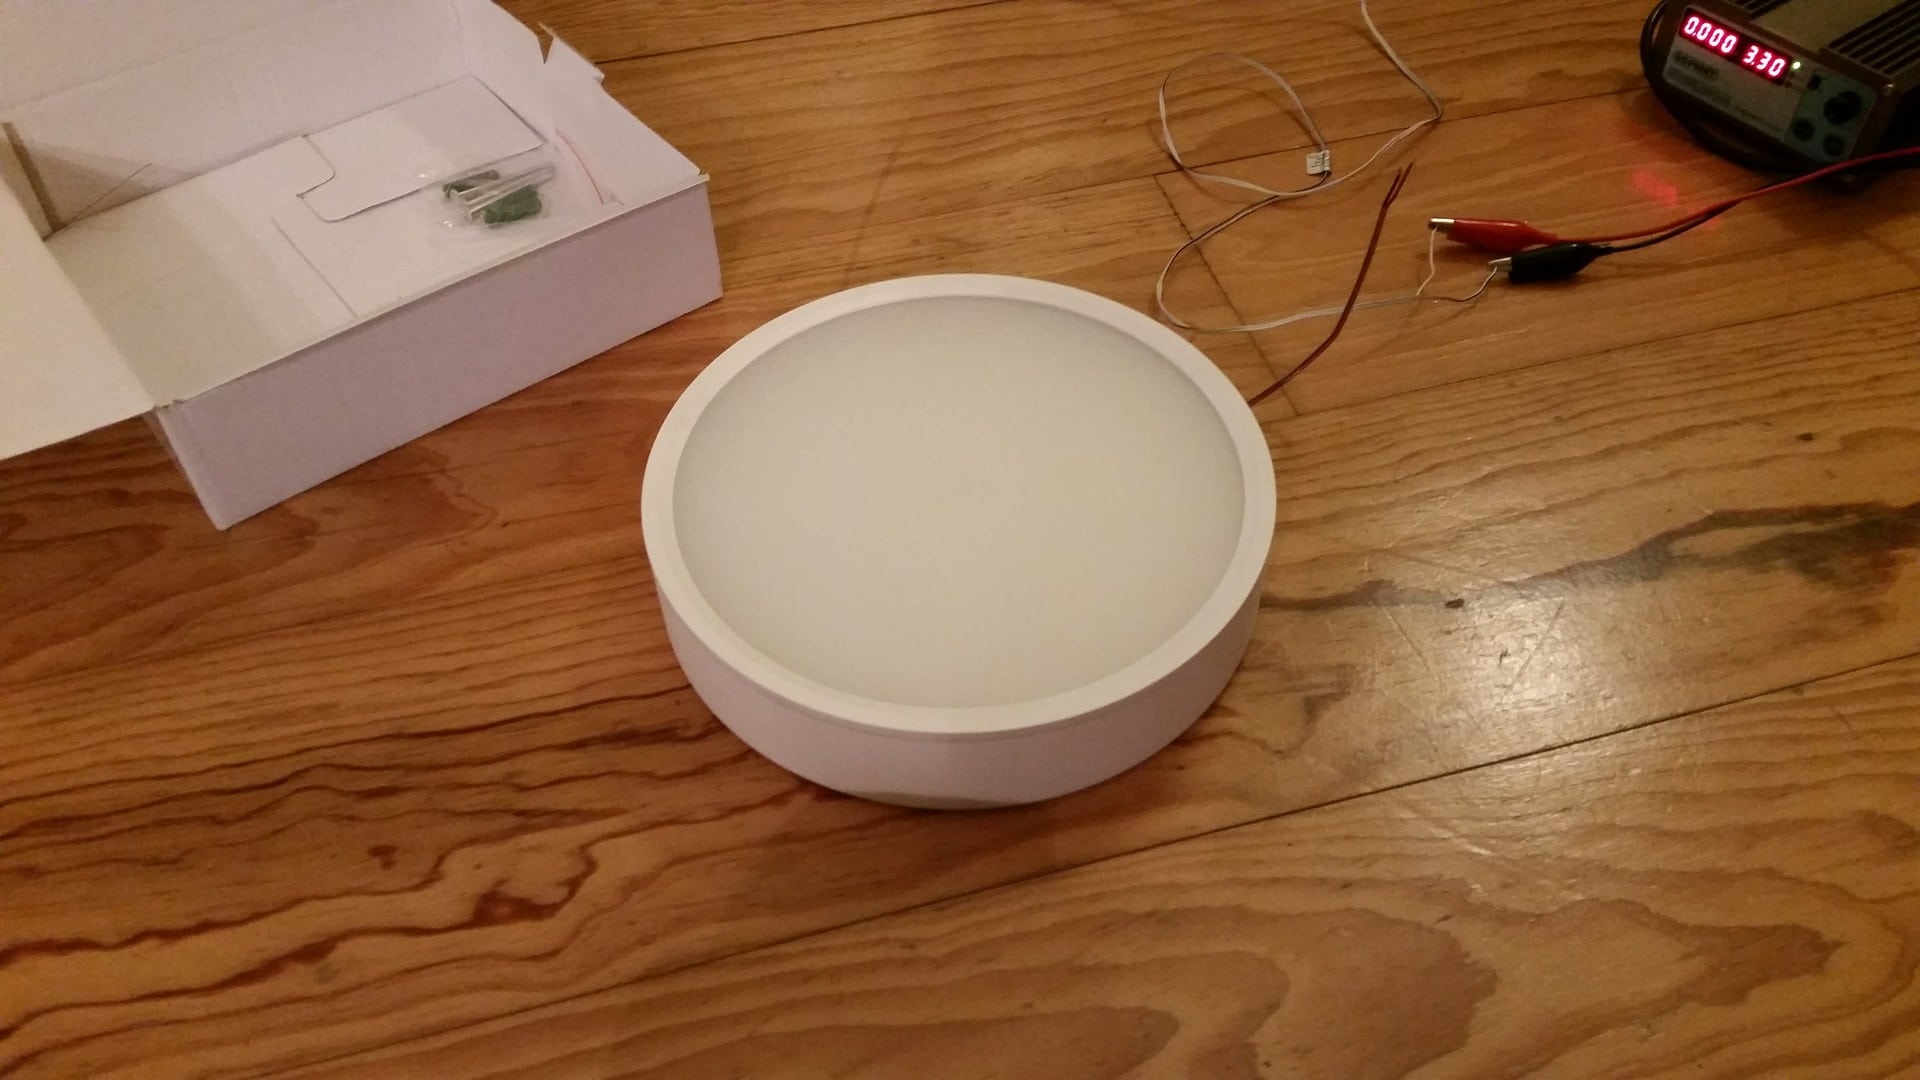
But now i will make some nice boxes and in front of these led plates i will place a thin layer of milk white polypropylene plastic that i get at a guy i work for allot so probably cheap/free
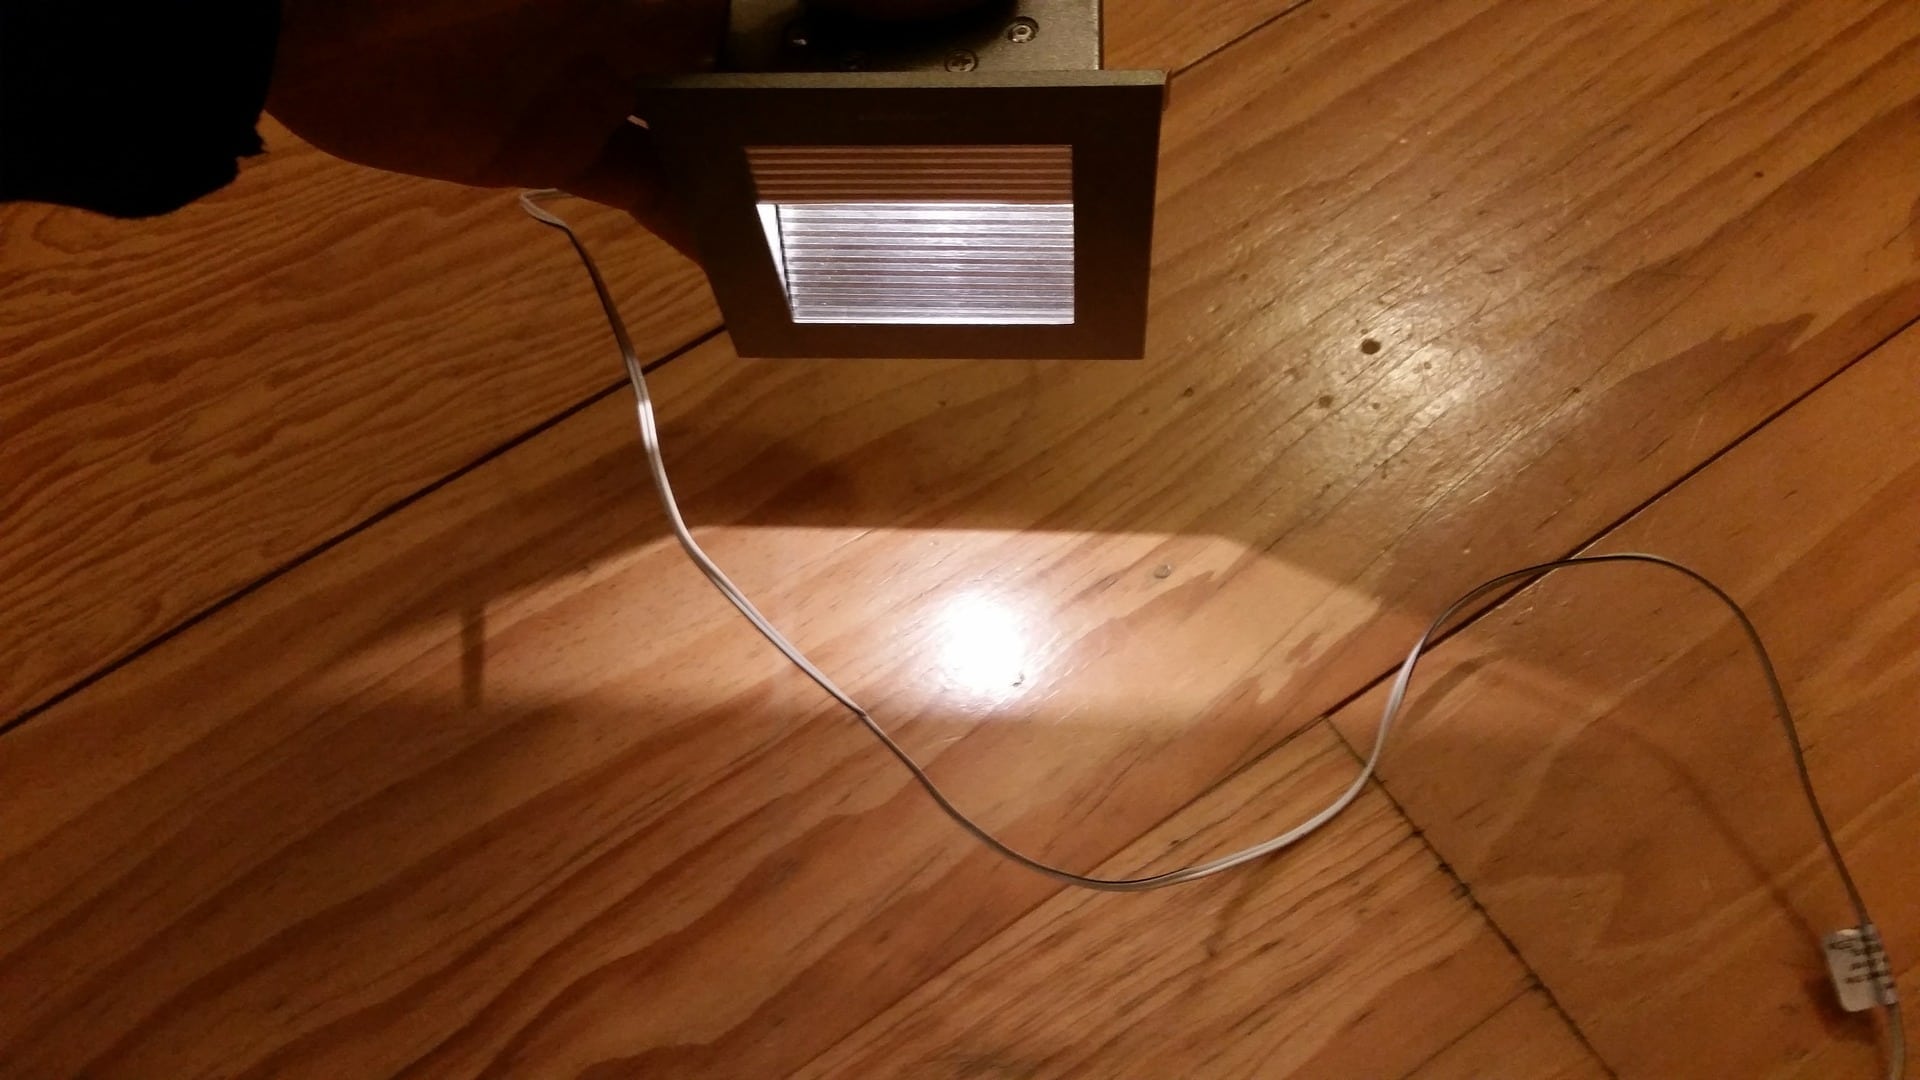
This is the light from 1 panel ( they use at 220V 70mA)

Turkish brand as far i could find on the internet

Also got a free pump, this will be placed in the tumble dryer, it has a reservoir that collects all the moist and i did not plan to empty this by hand all the time
Also bought 30 fuses that cover the 0-wire and the phase wire instead of just the phase wire, some for 380V for the garage and the same story 0/phase/phase/phase.
Started to primer the MDF wood for the light cove in the rooms, they do use allot of paint
at first i planned to spray polyester filler on them to get them nice and smooth but since i can't use a paint booth and i do not want to spray it in my garage because of the overspray and mist that will fall down everywere i decided to use a brush and a roller.
Just about 20 more to do and then use filler to make it nice and smooth (epoxy)
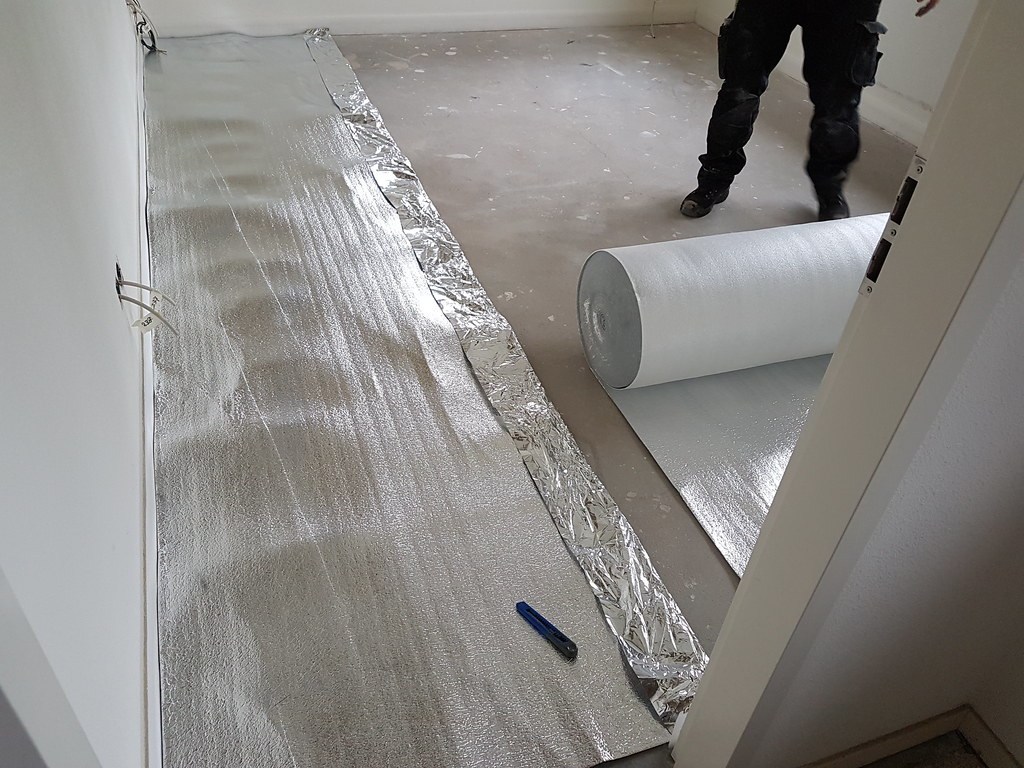
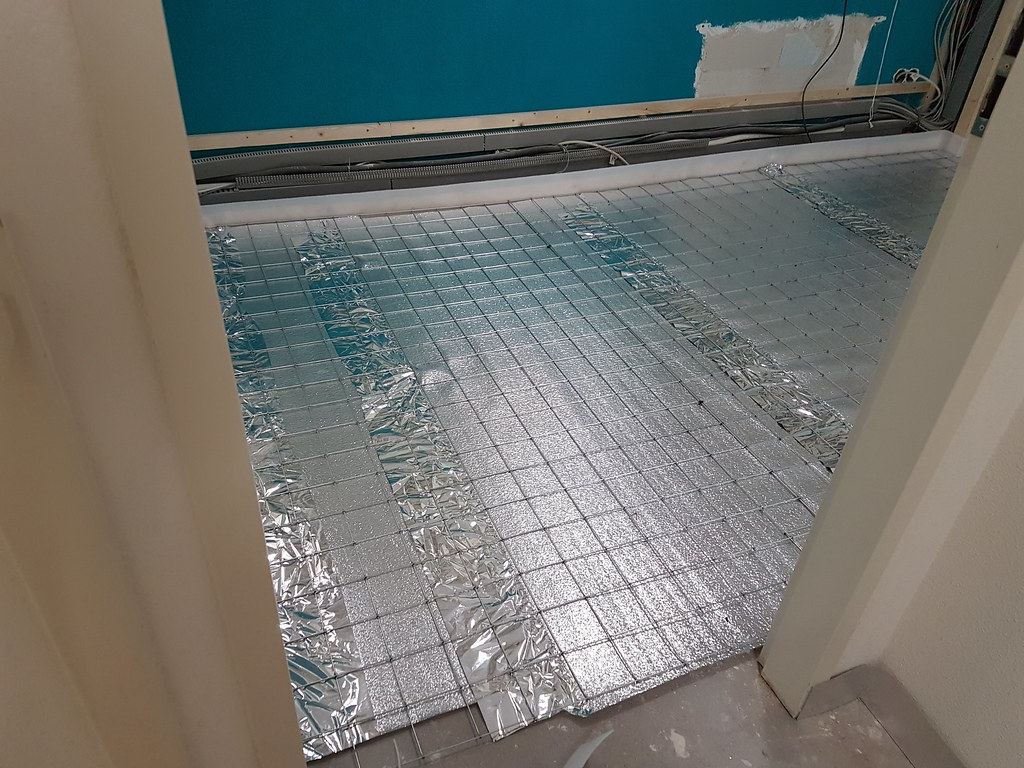
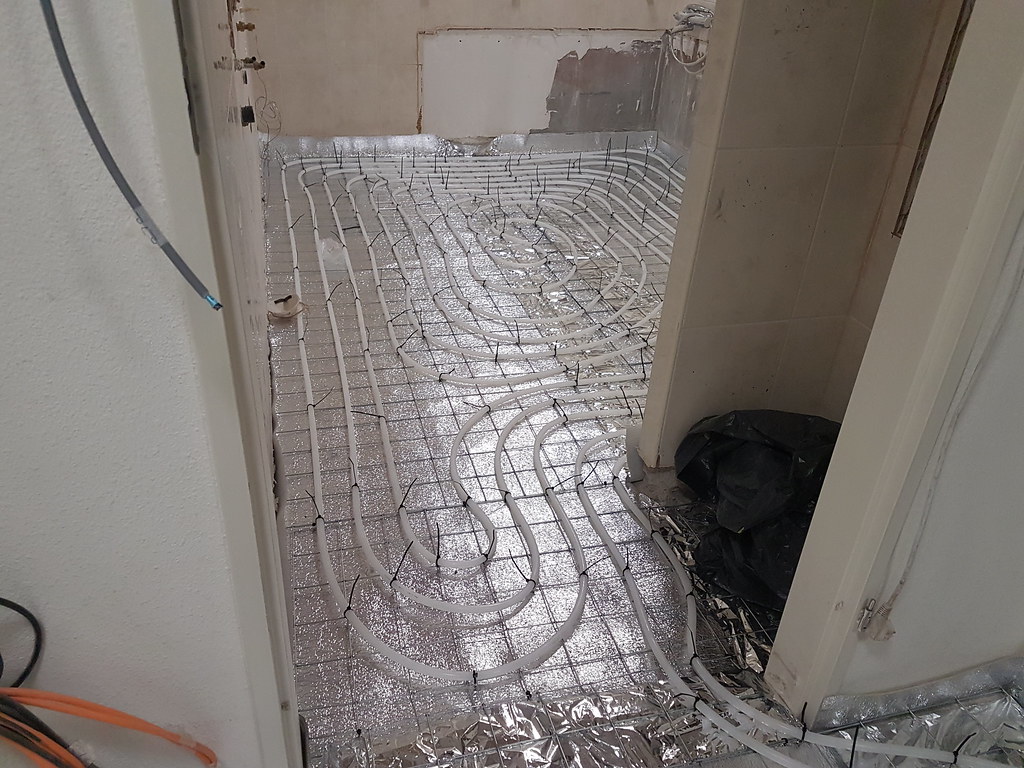
Also started to do drill some holes in the wall for the bathroom, going to redo the bathroom later since this only can cost allot and i got to much "projects" at my hands now to start with this as well.
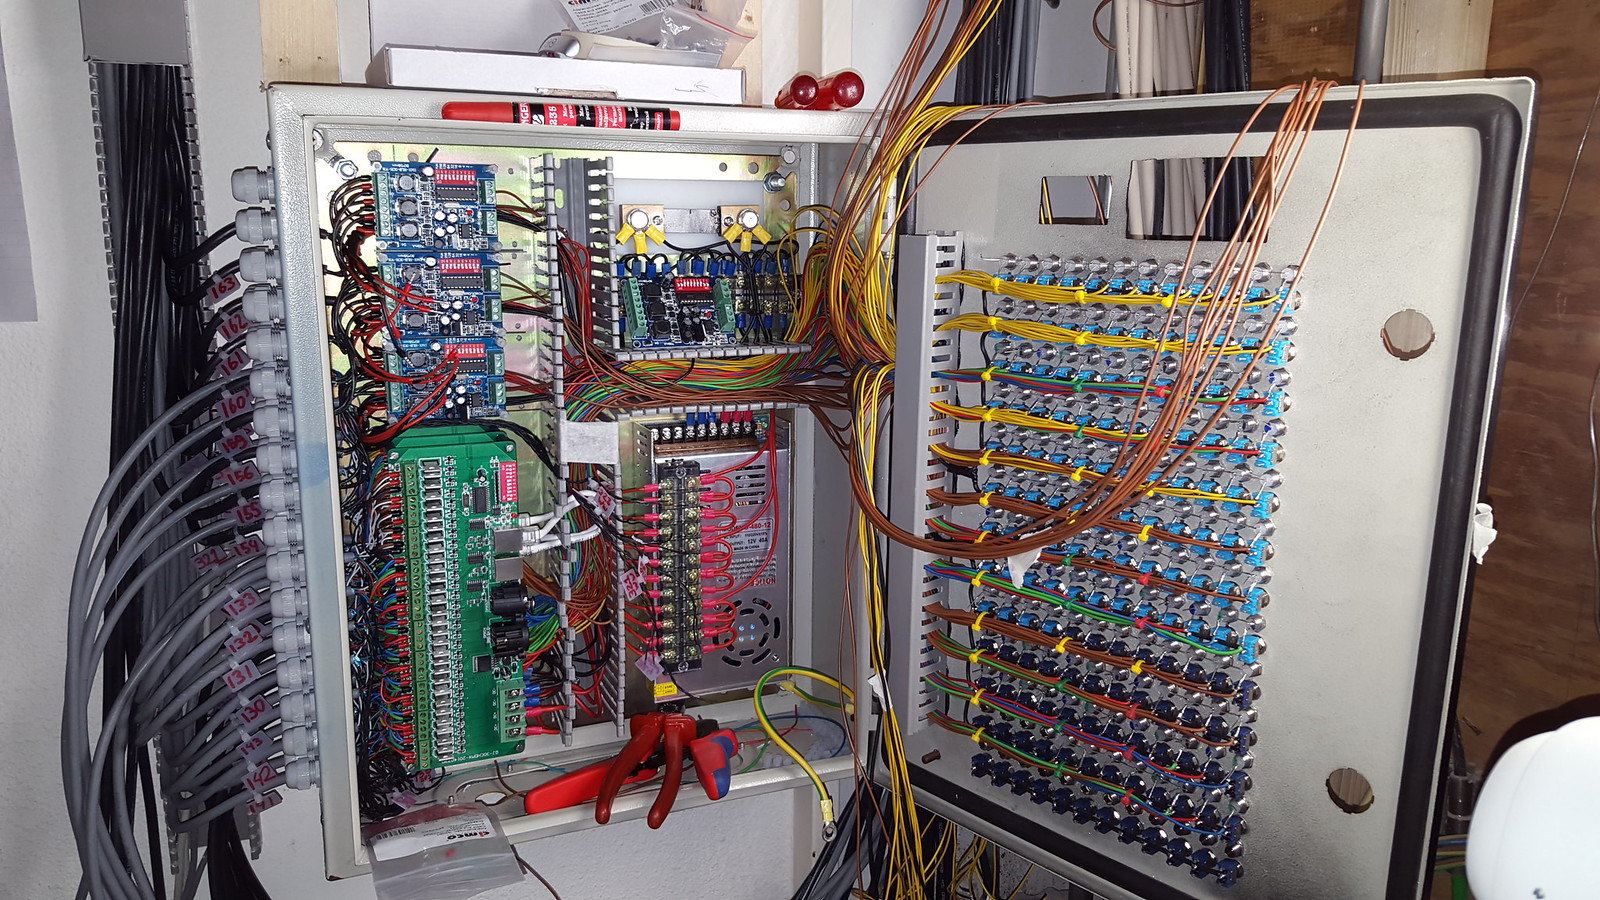
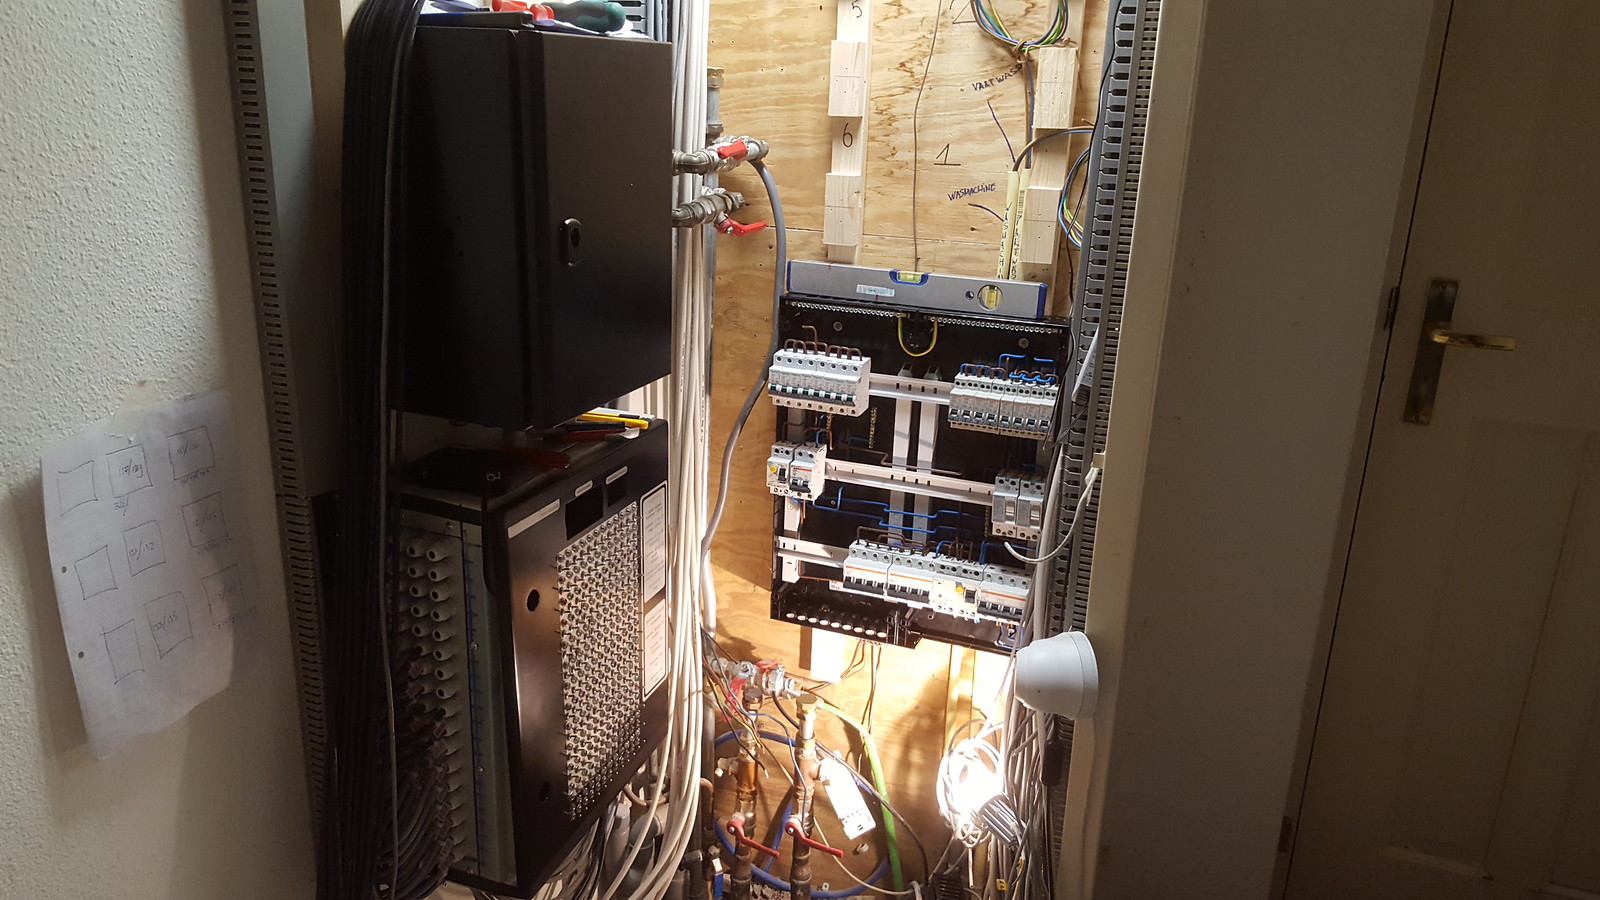
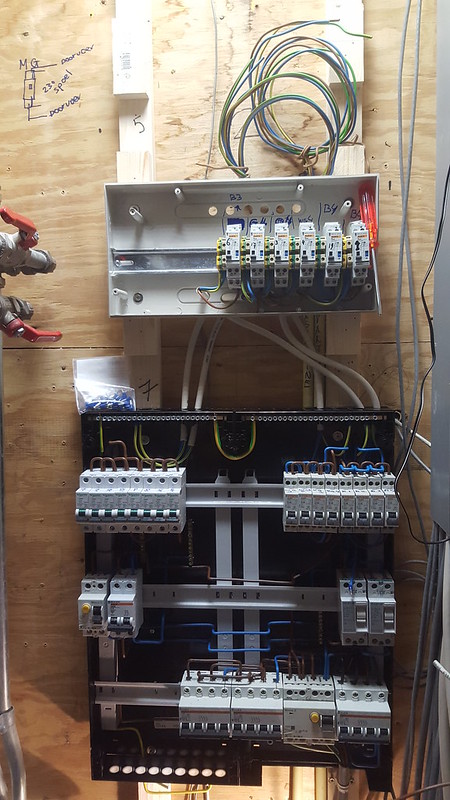
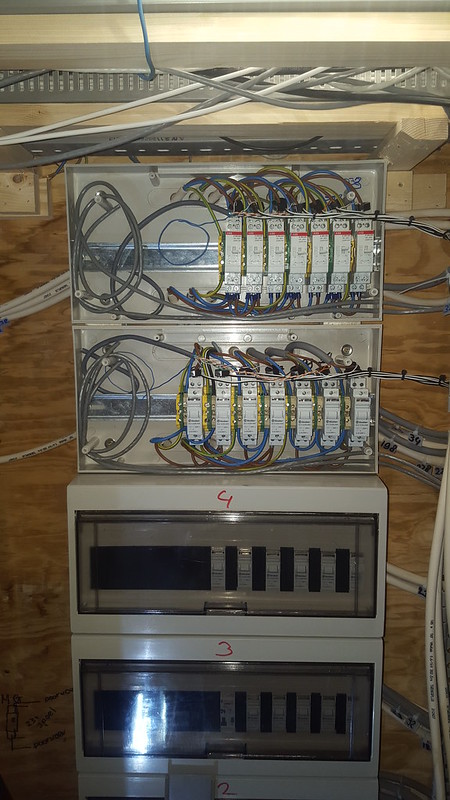
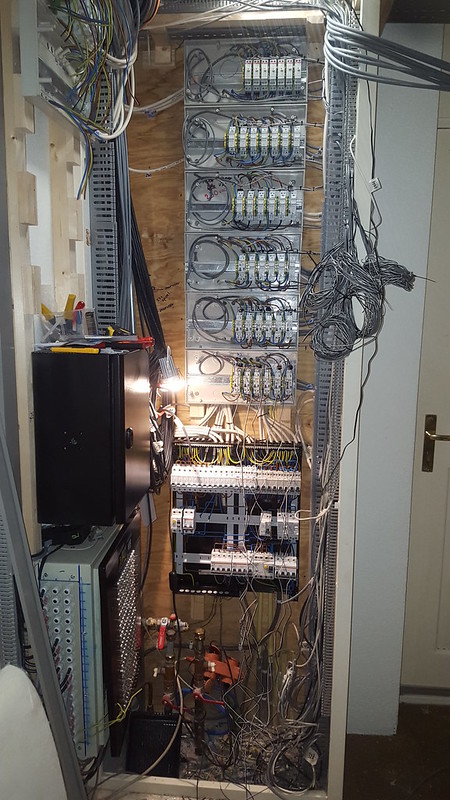
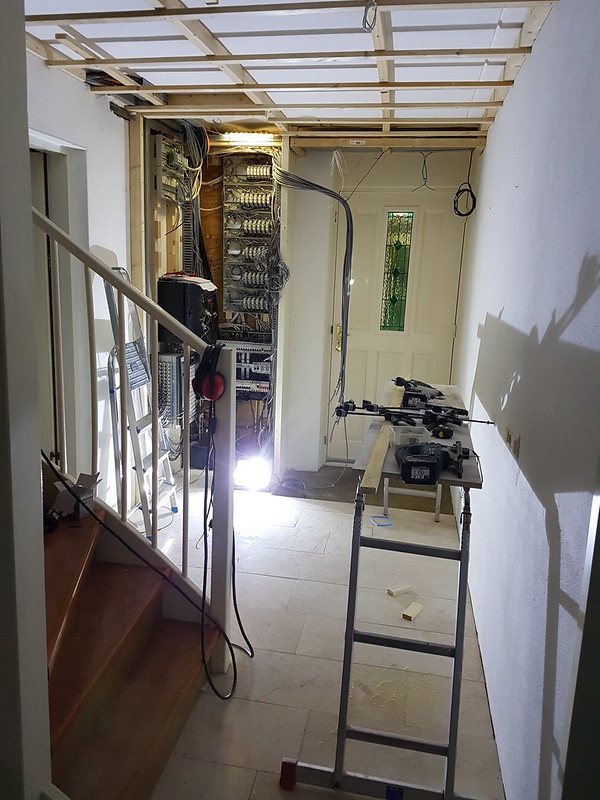
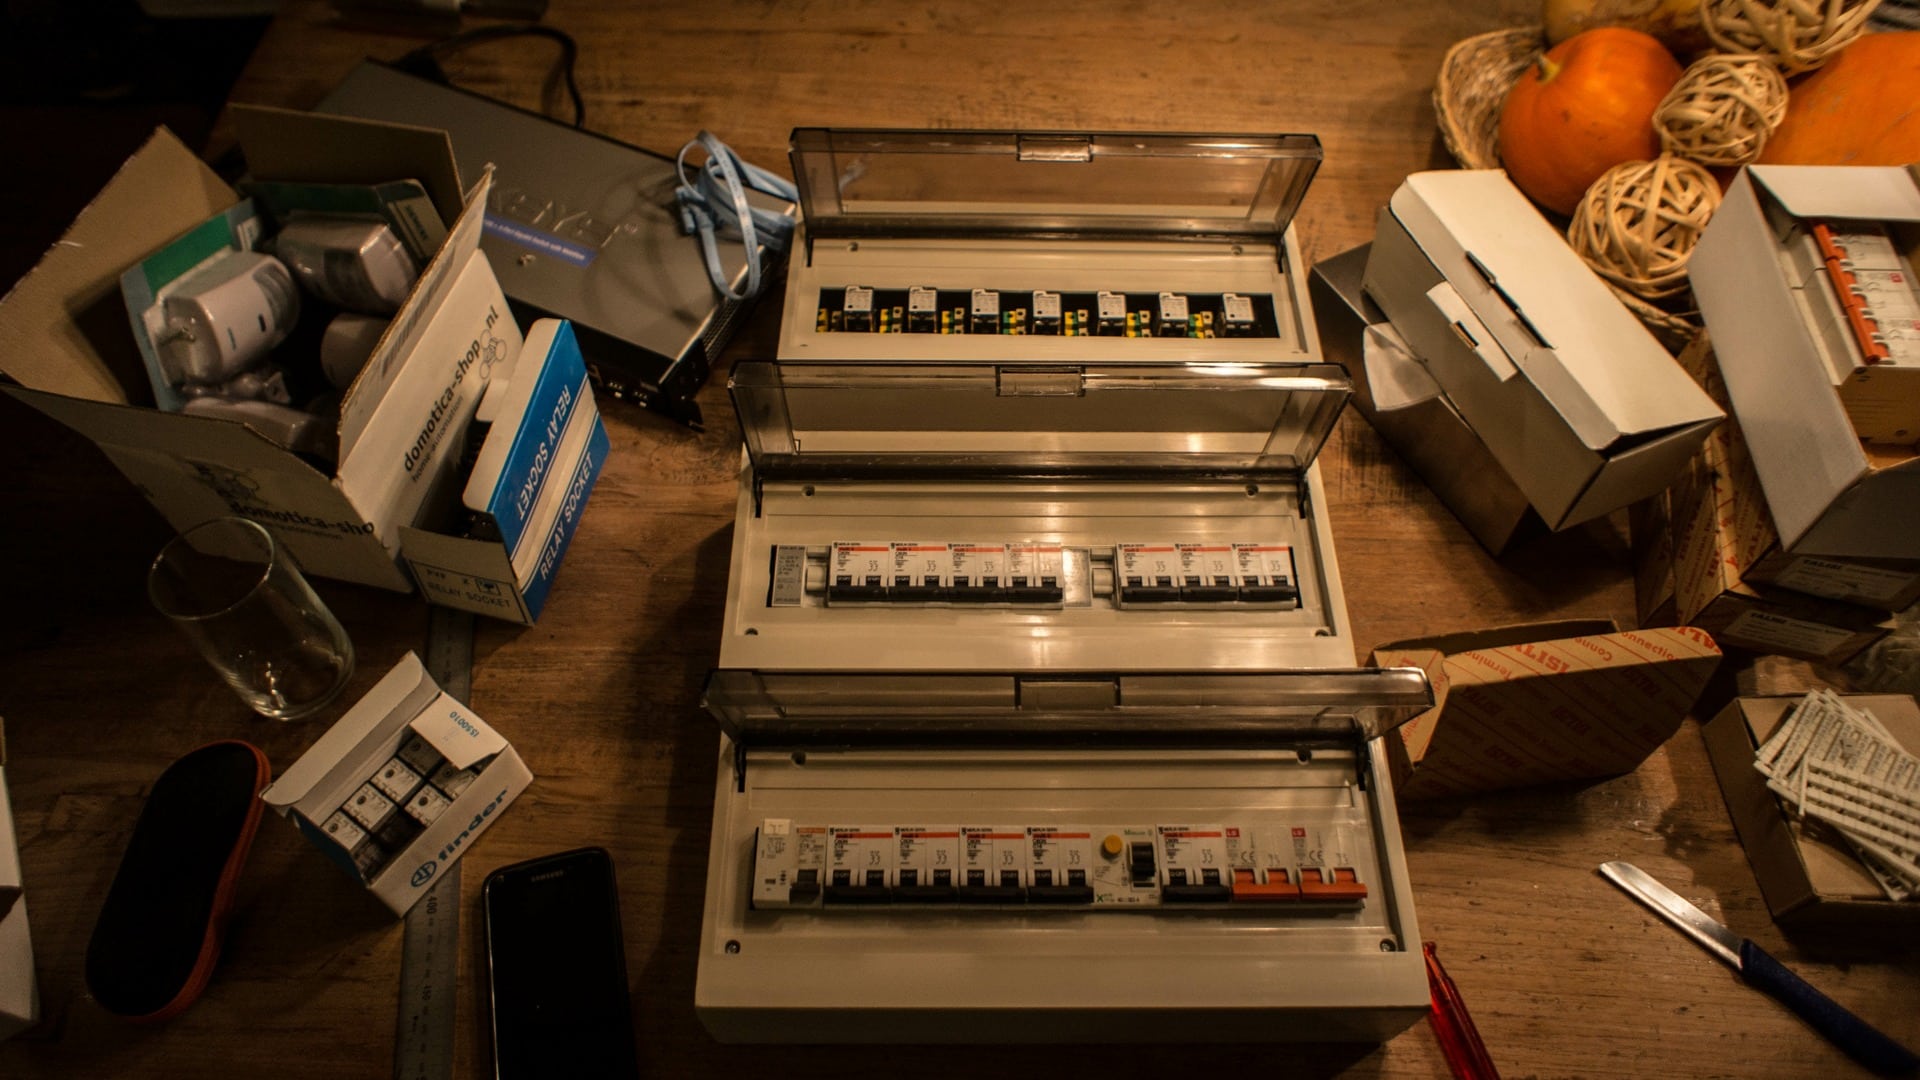
The fuse cabinet i have made a bit more tidy and placed some of the wires in the holder to see what and were because it was pretty messy.
The coming weekend i must drain the warmth pump and solar boiler system so i can relocate the old pipes,
probably the most funny/strange thing is, the previous owner was a entrepeneur, he was a plumber.
But you can't see it on the work he has done, its messy, not documented at all, faulty connections and thats the pipes, if you see the electrics and the things he has build.
Nothing is great to see when you look closer :roll:
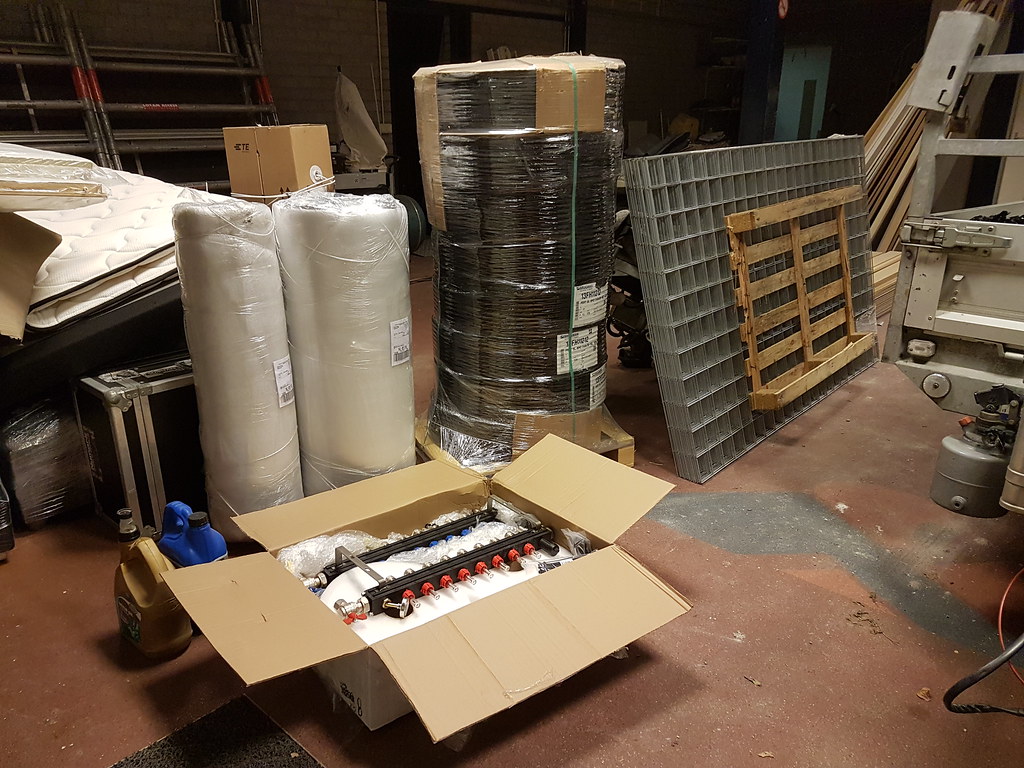
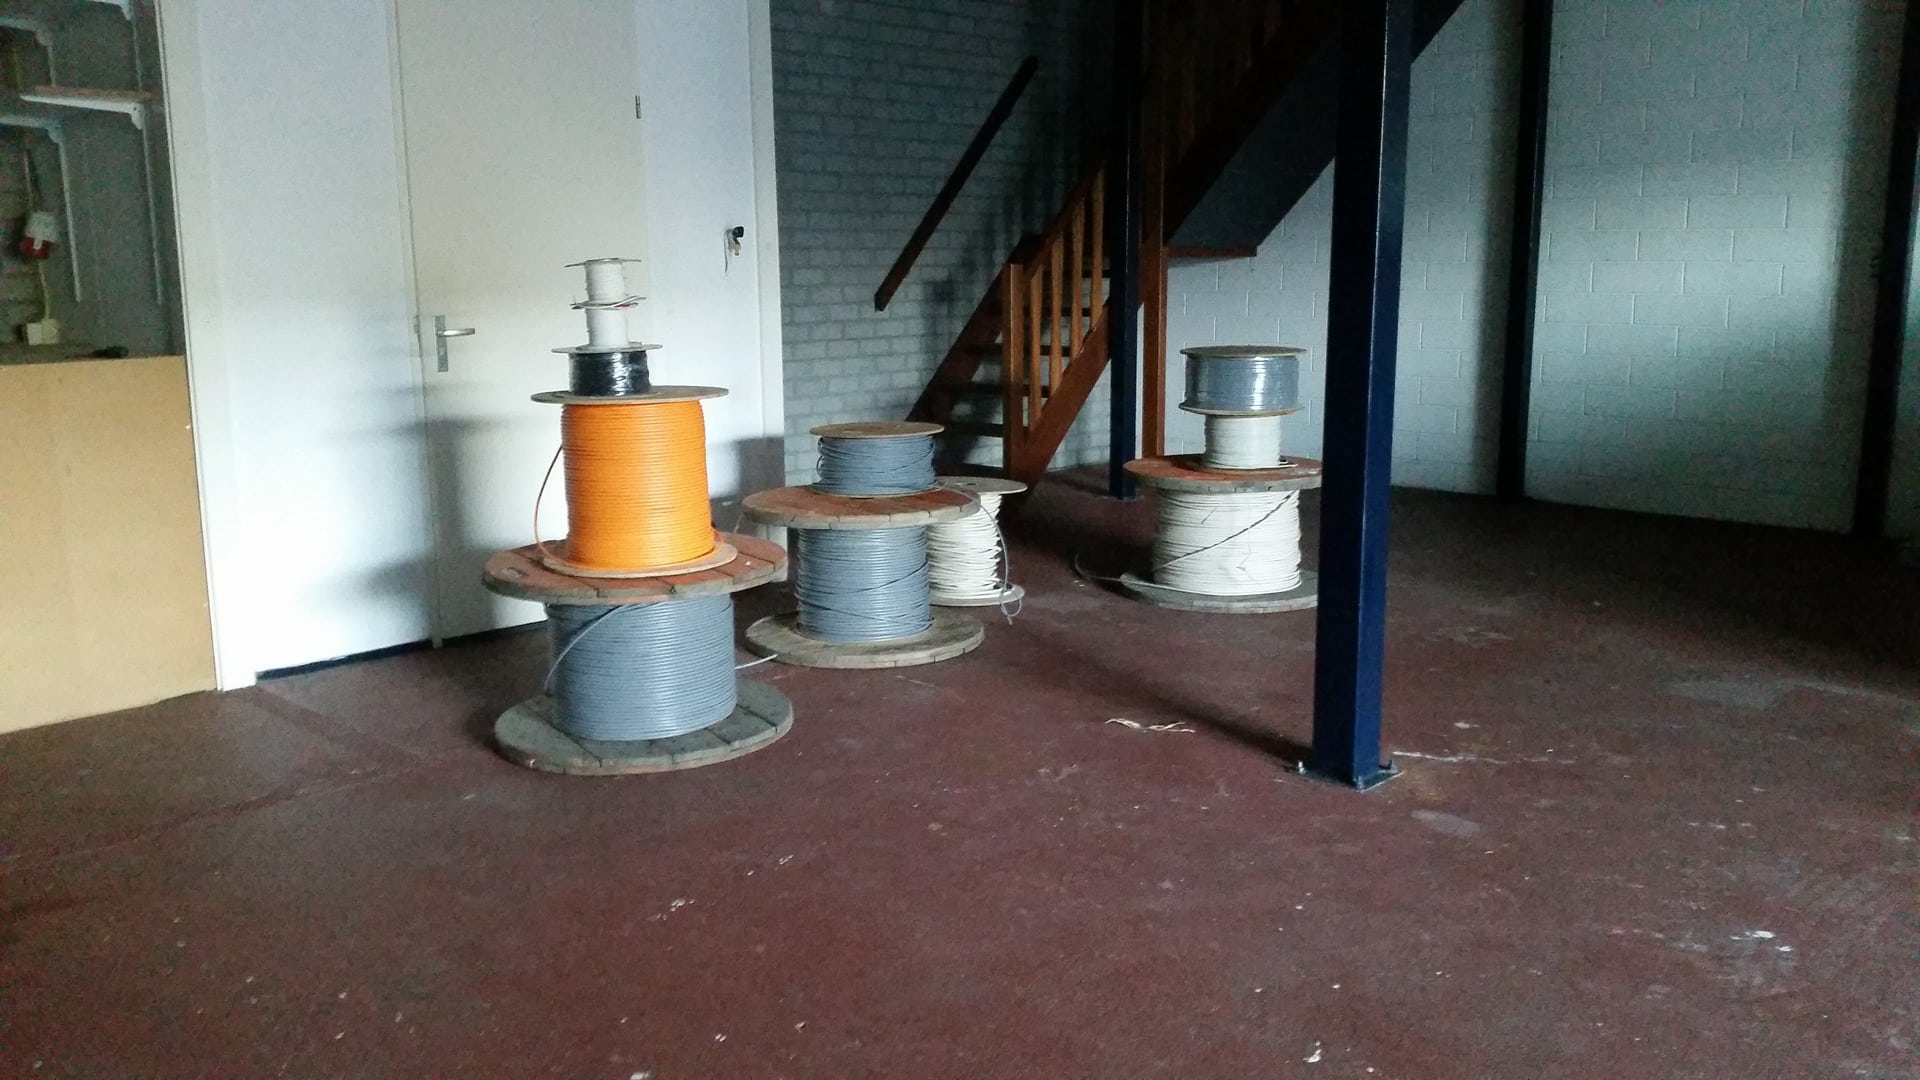
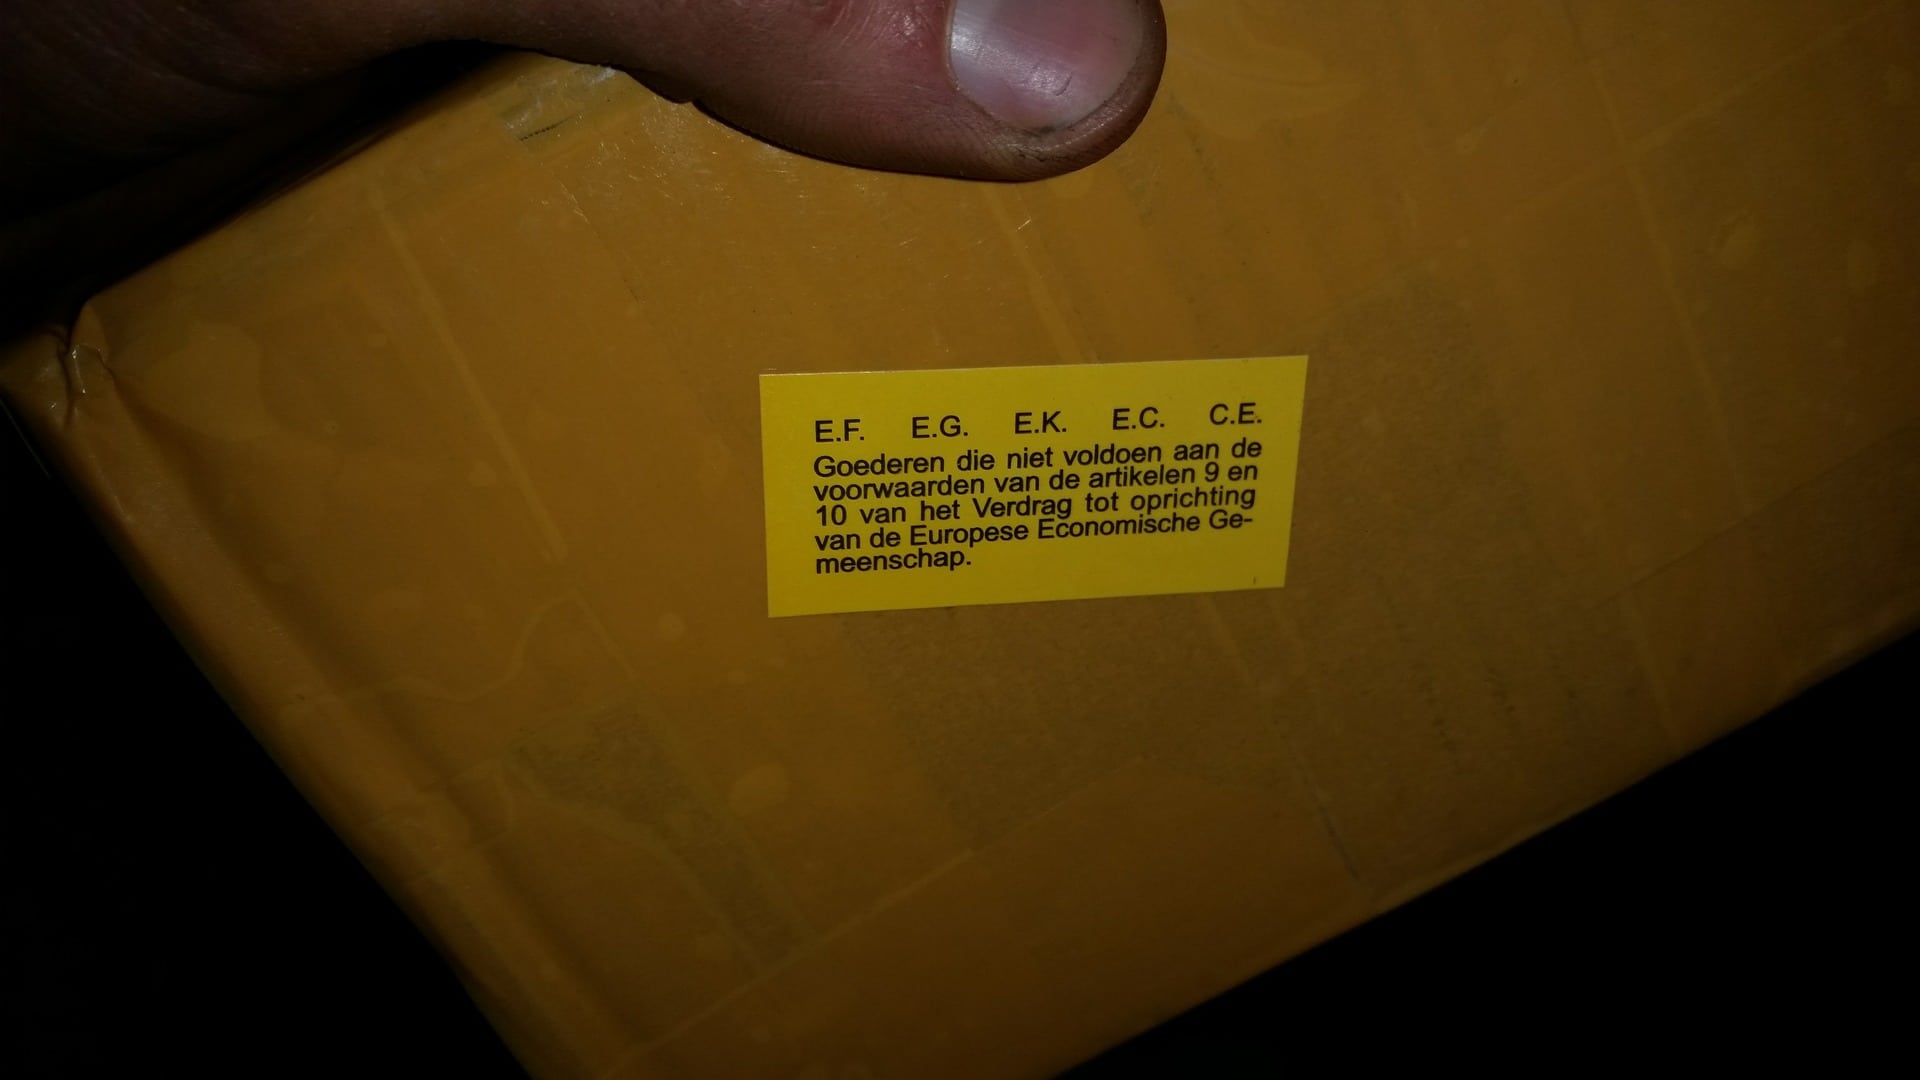
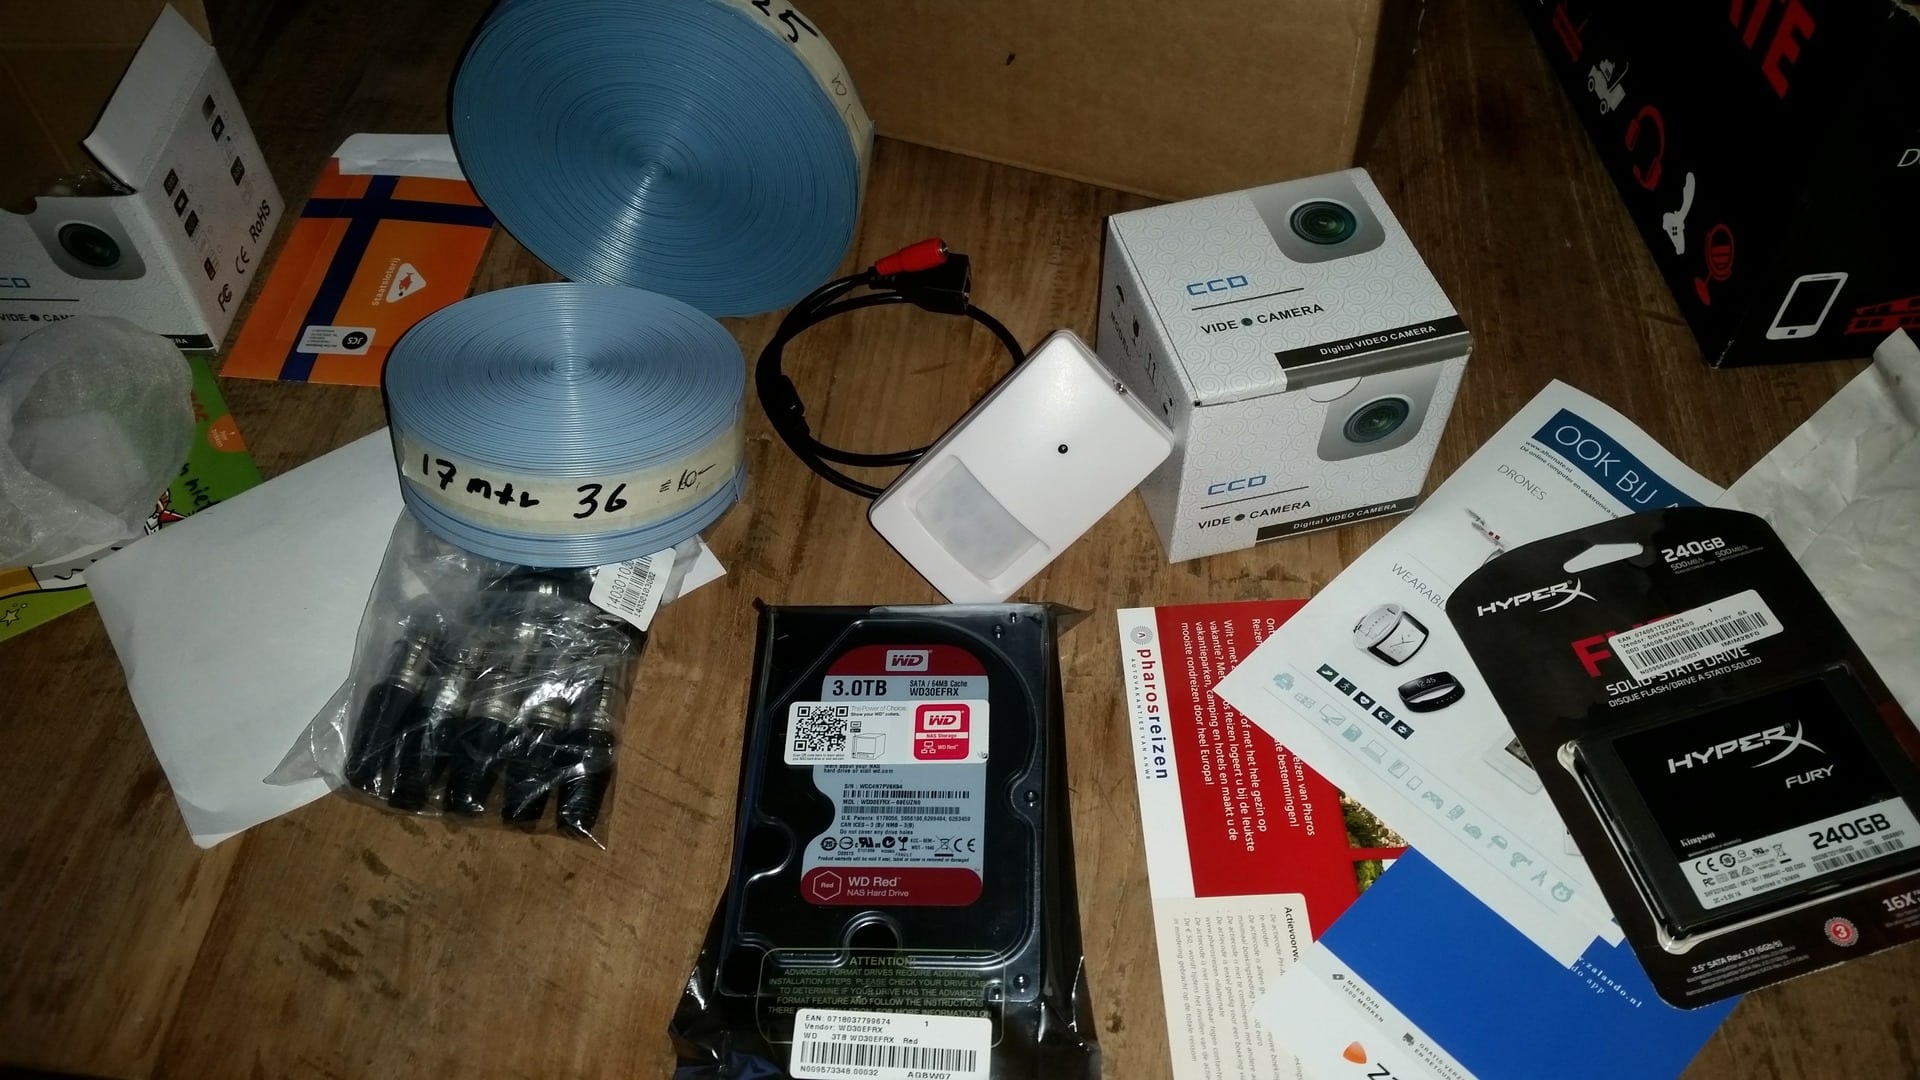
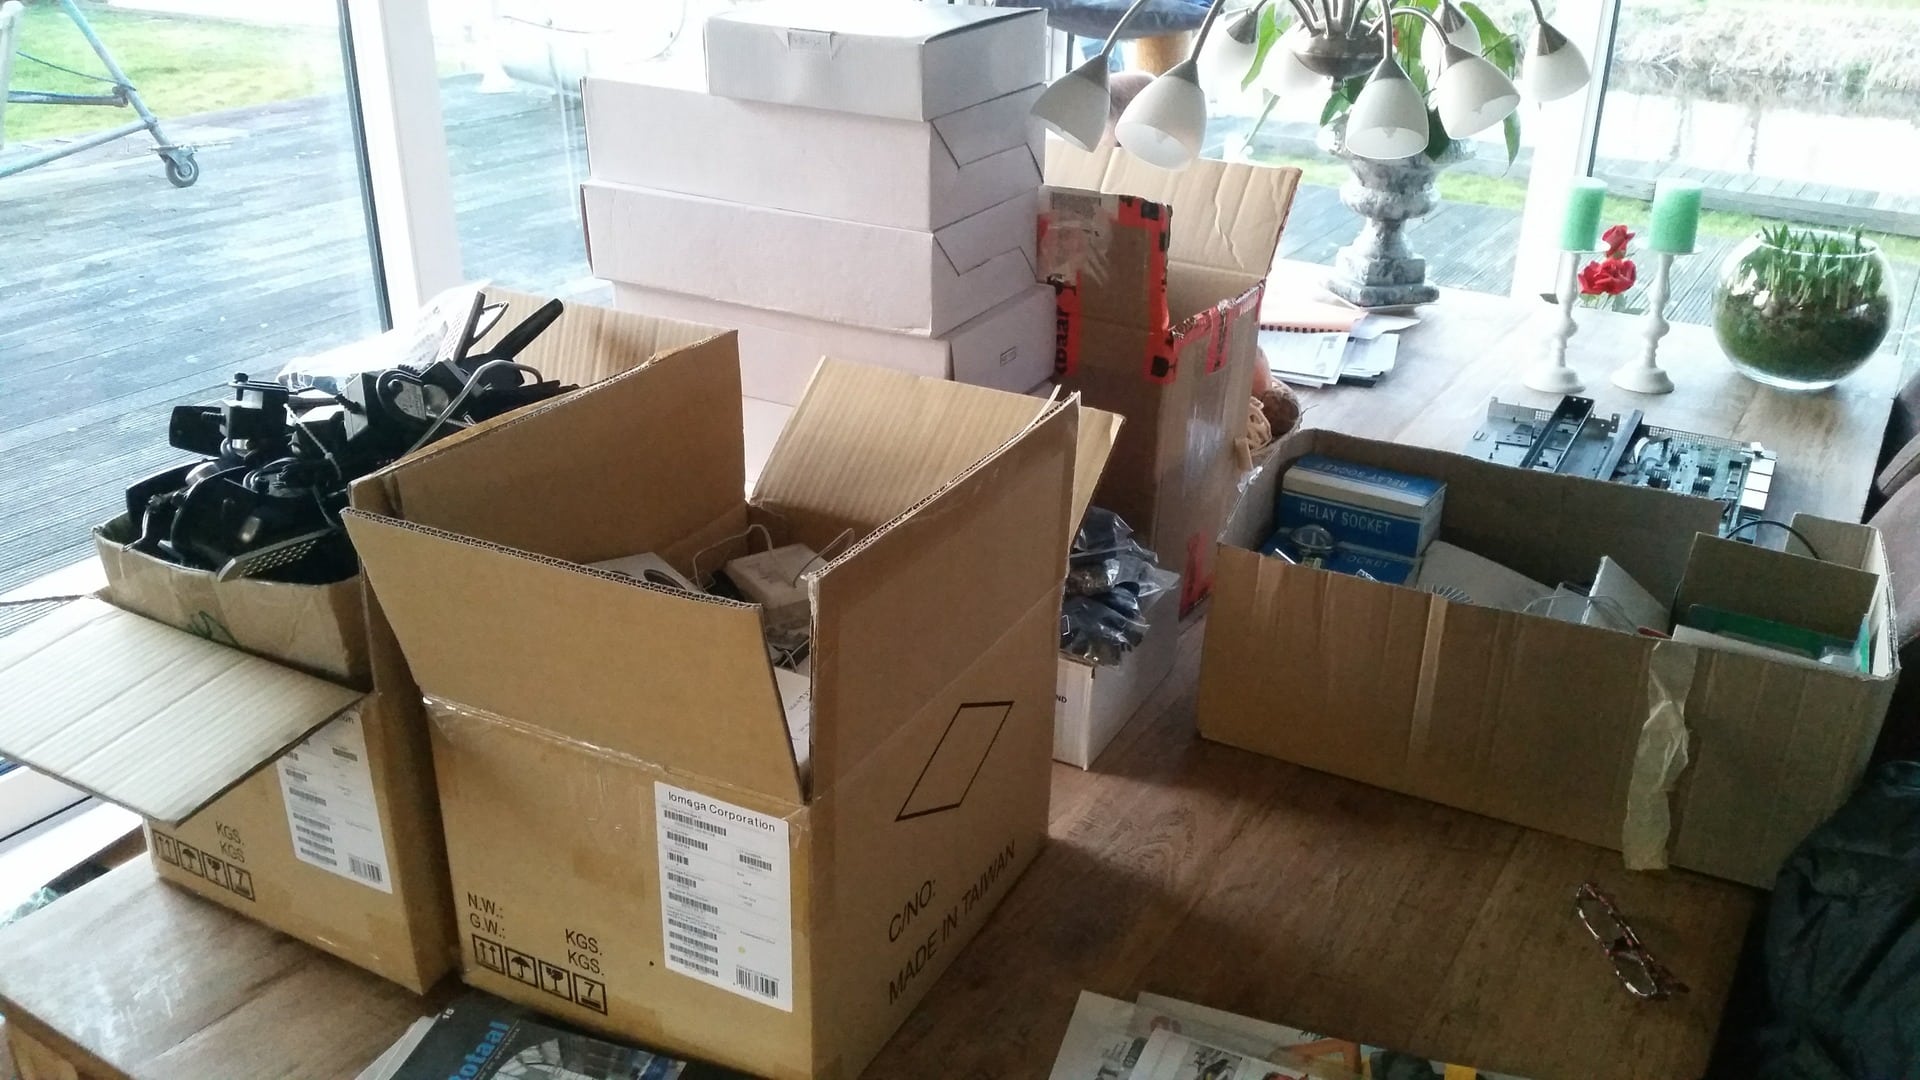
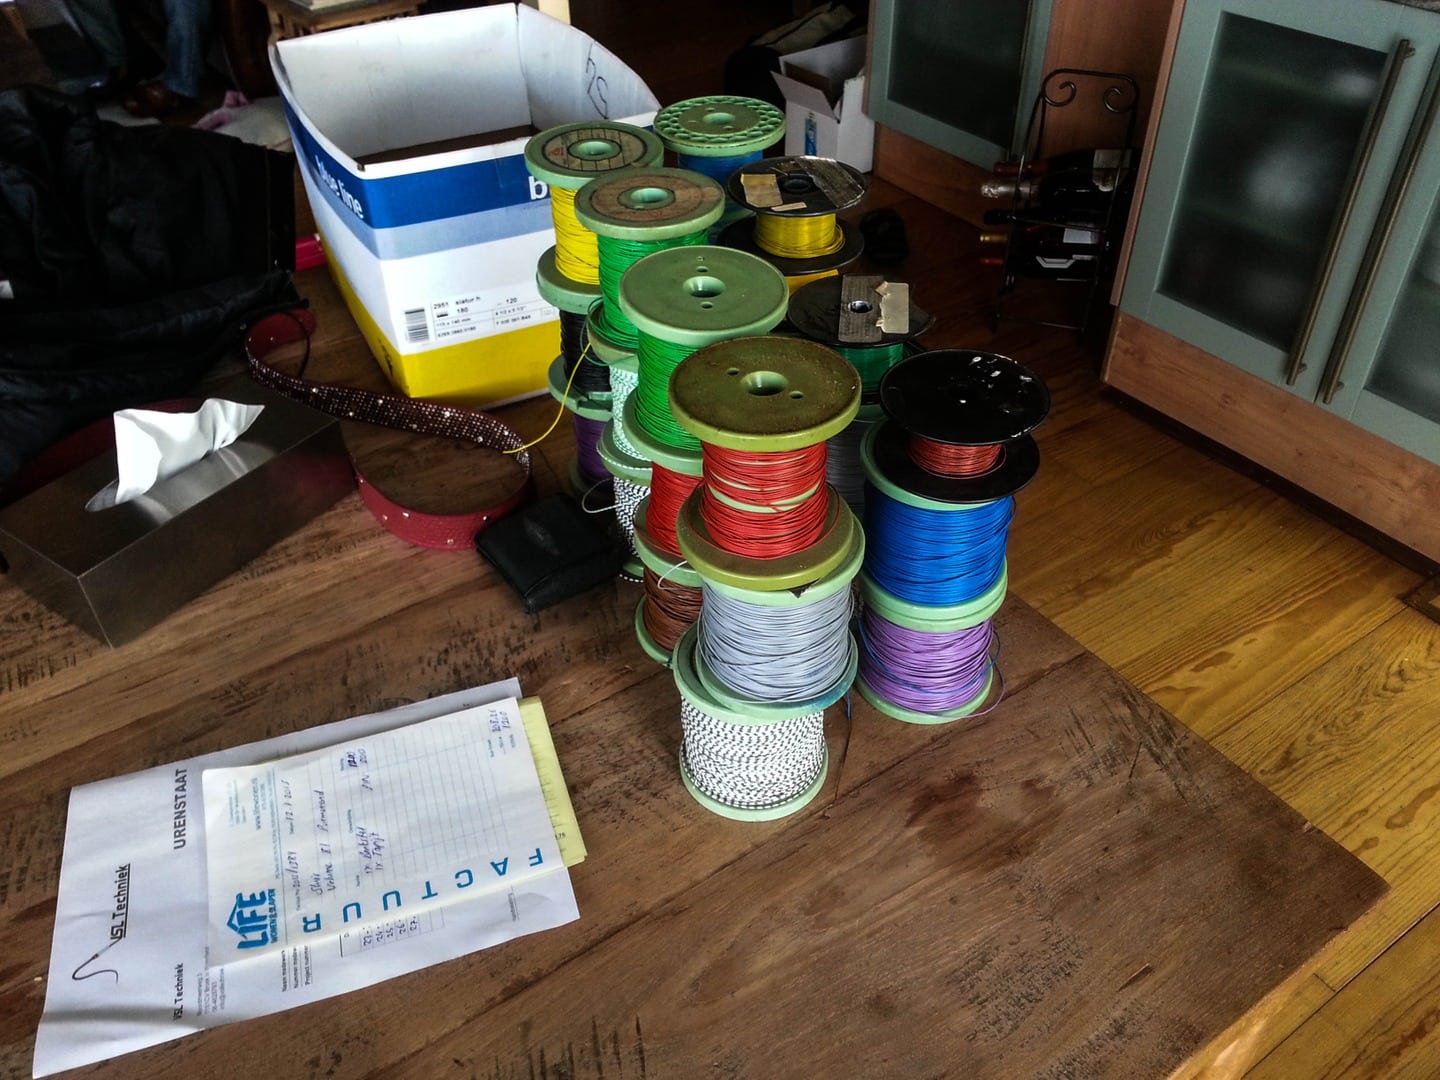
Also going to put a big part of the wire checklist hopefully into the house, today i received some of my packages and 2700m of wire
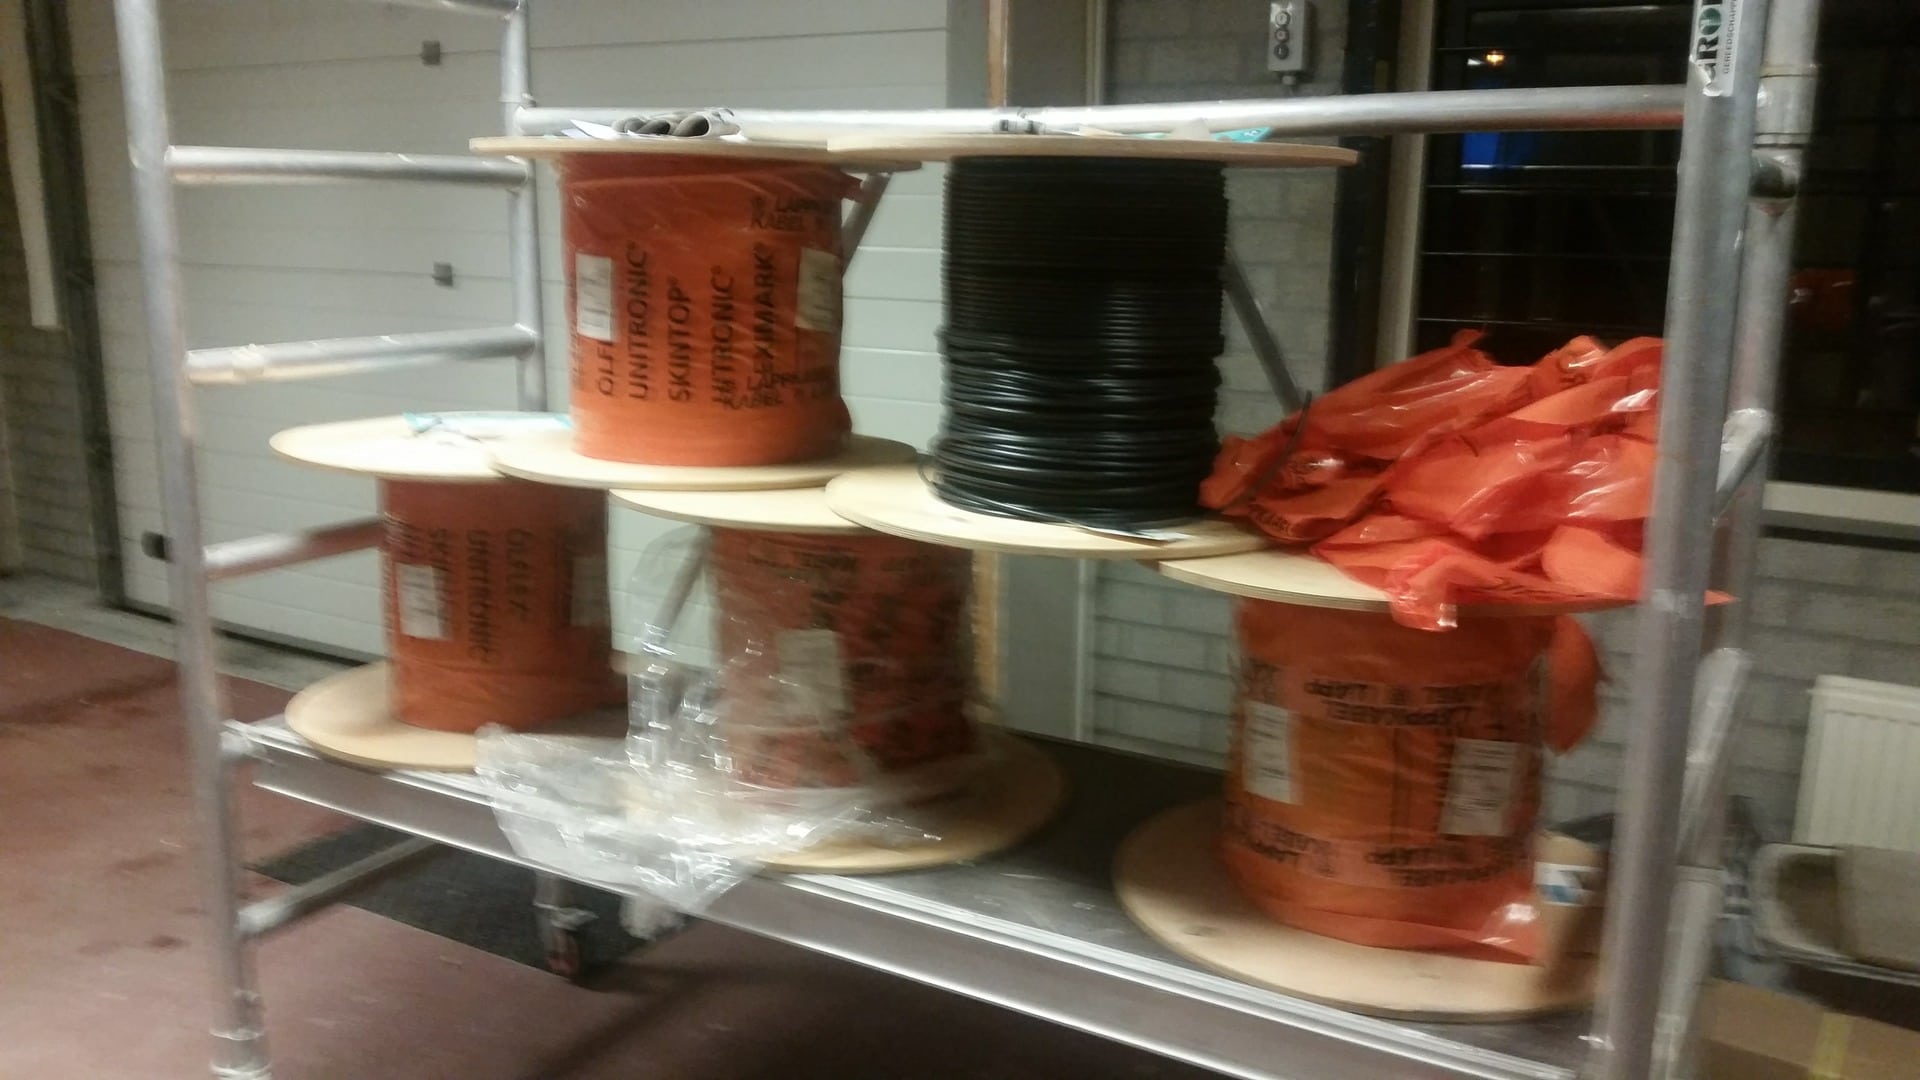
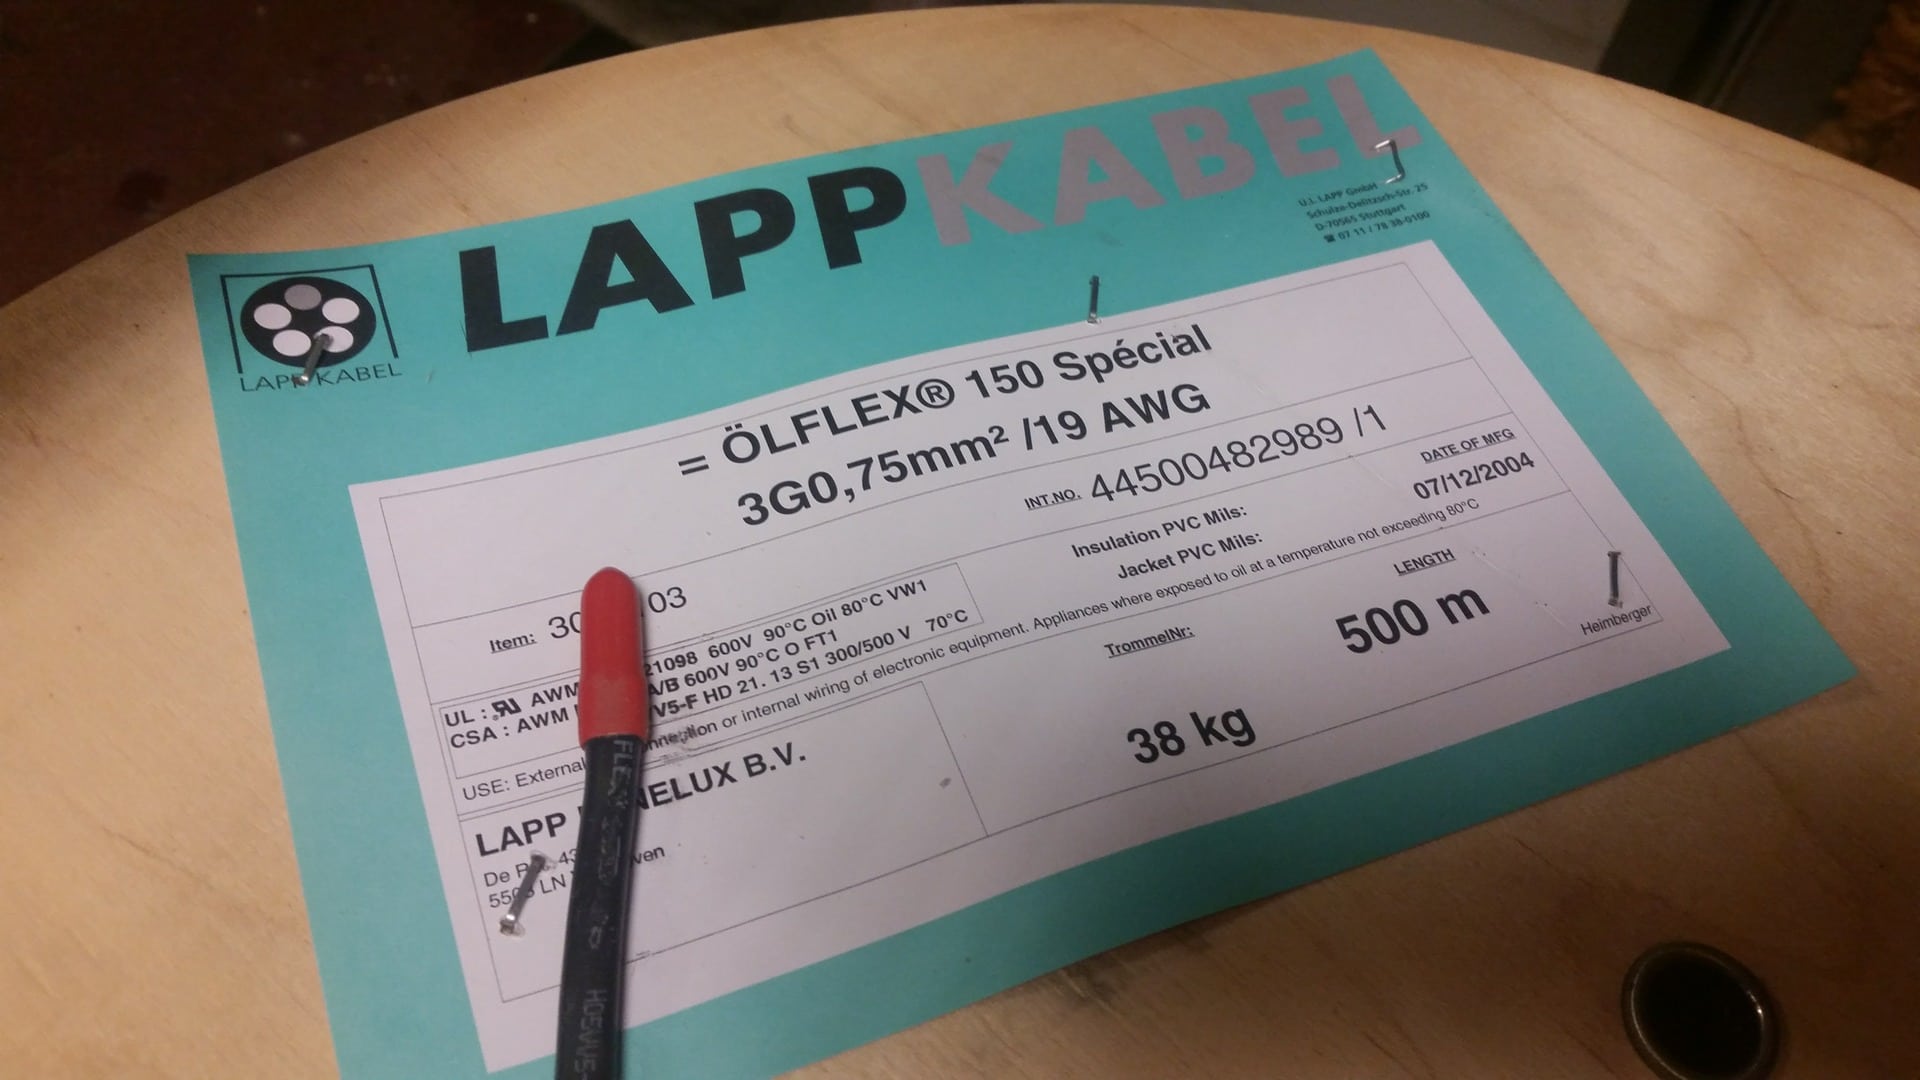
This is 3x0.75 mm2 Olflex cable, so if someone is interested in buying some cable ?!, leave me a pm.
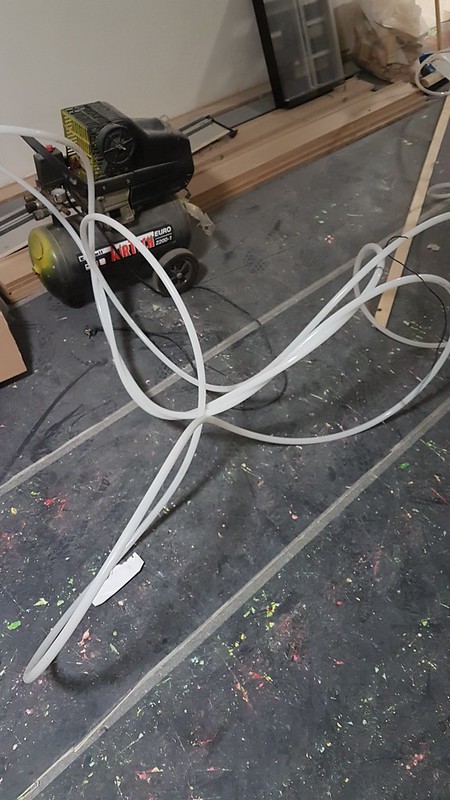
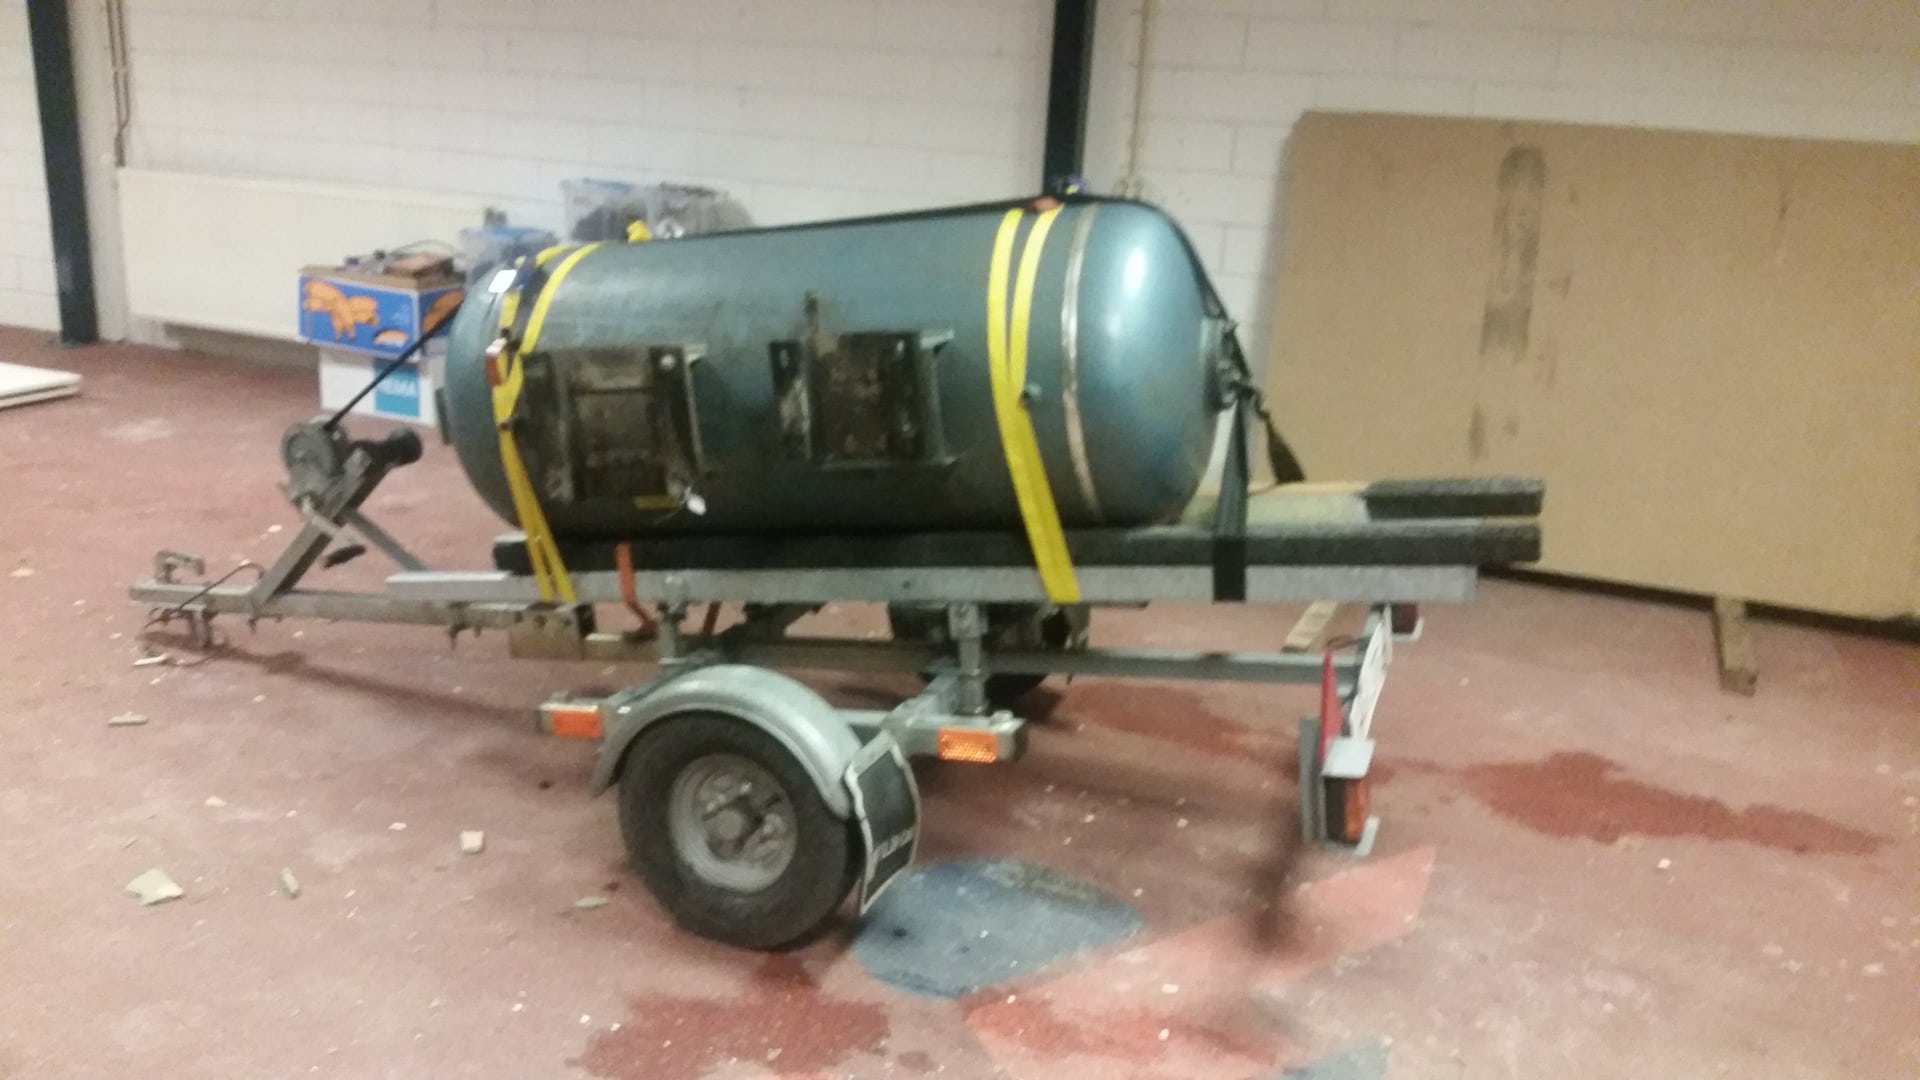
Got lucky today, not really HA related but a friend of mine called that they threw away an airtank of a compressor,
since i have a compressor that is only the pump and no resevoir this was a great win for free
Drove to the company and luckily it fitted on my jetski trailer.
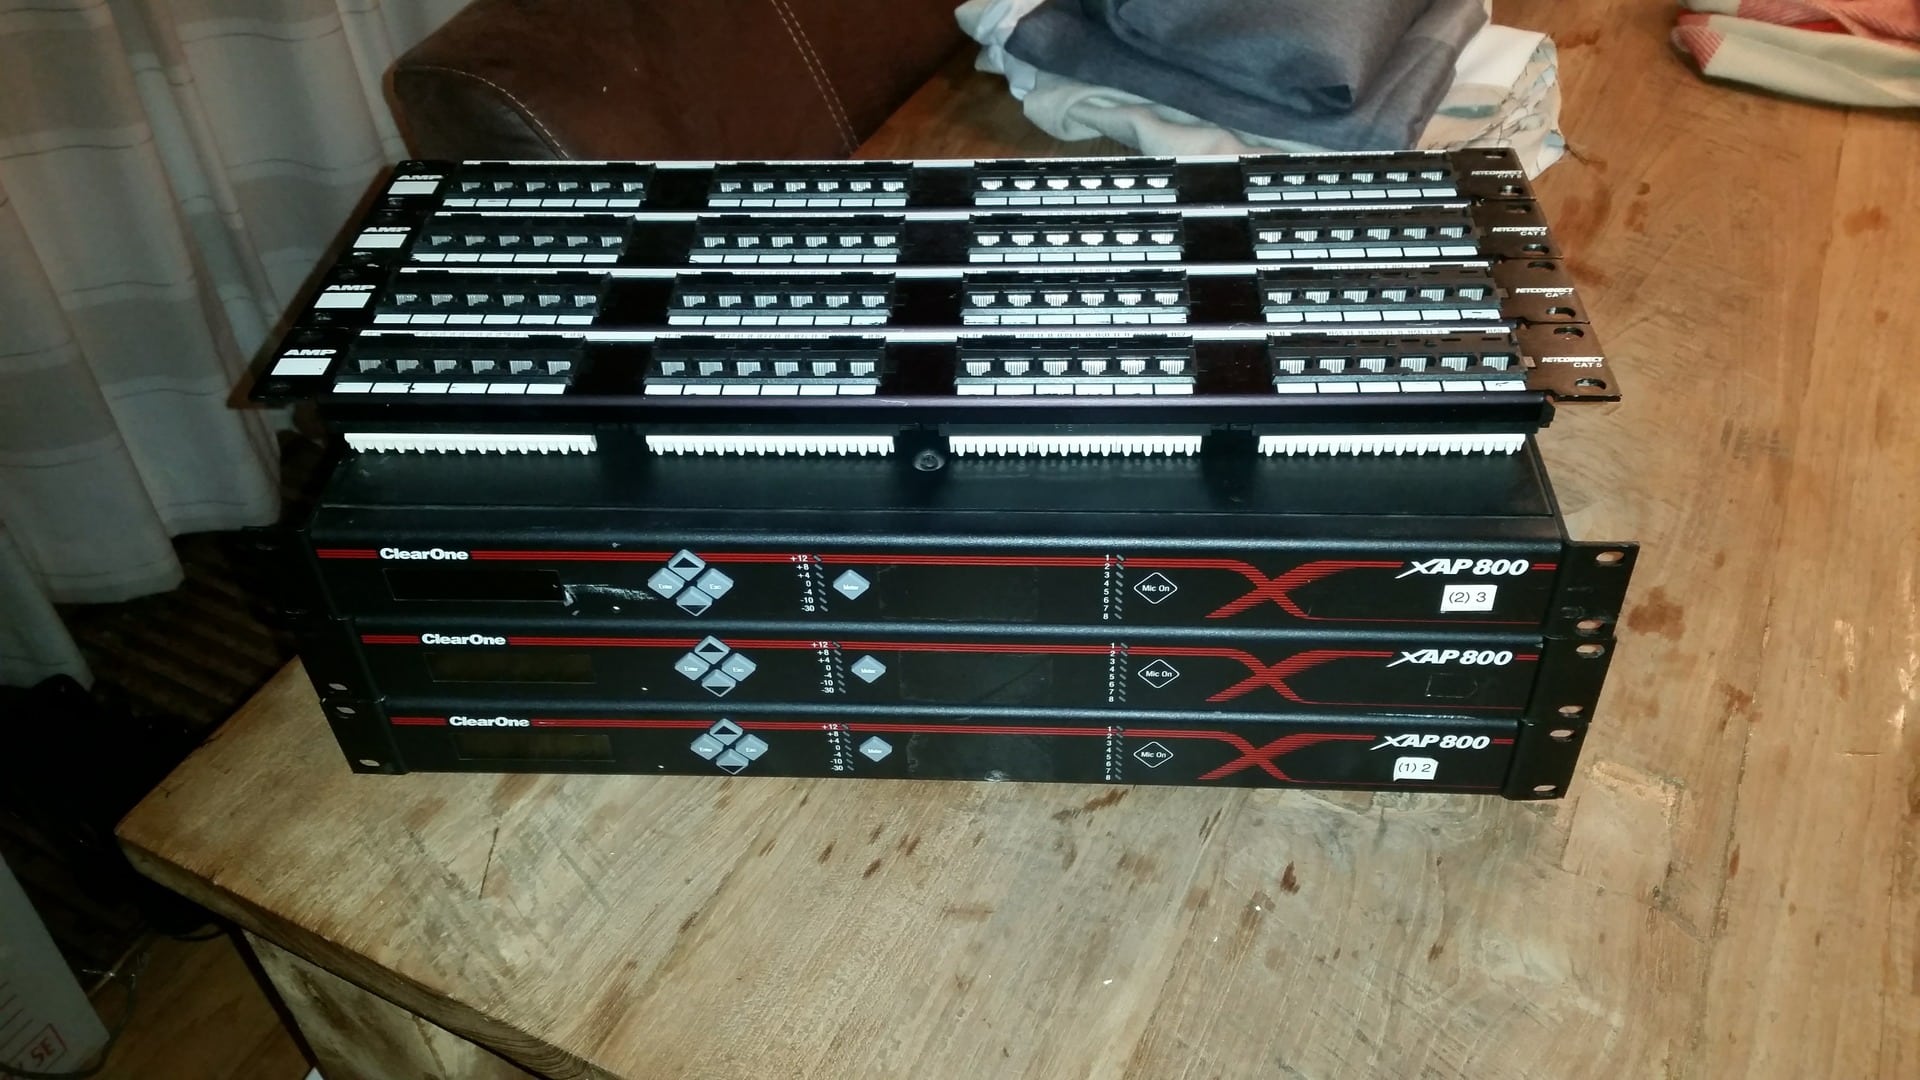
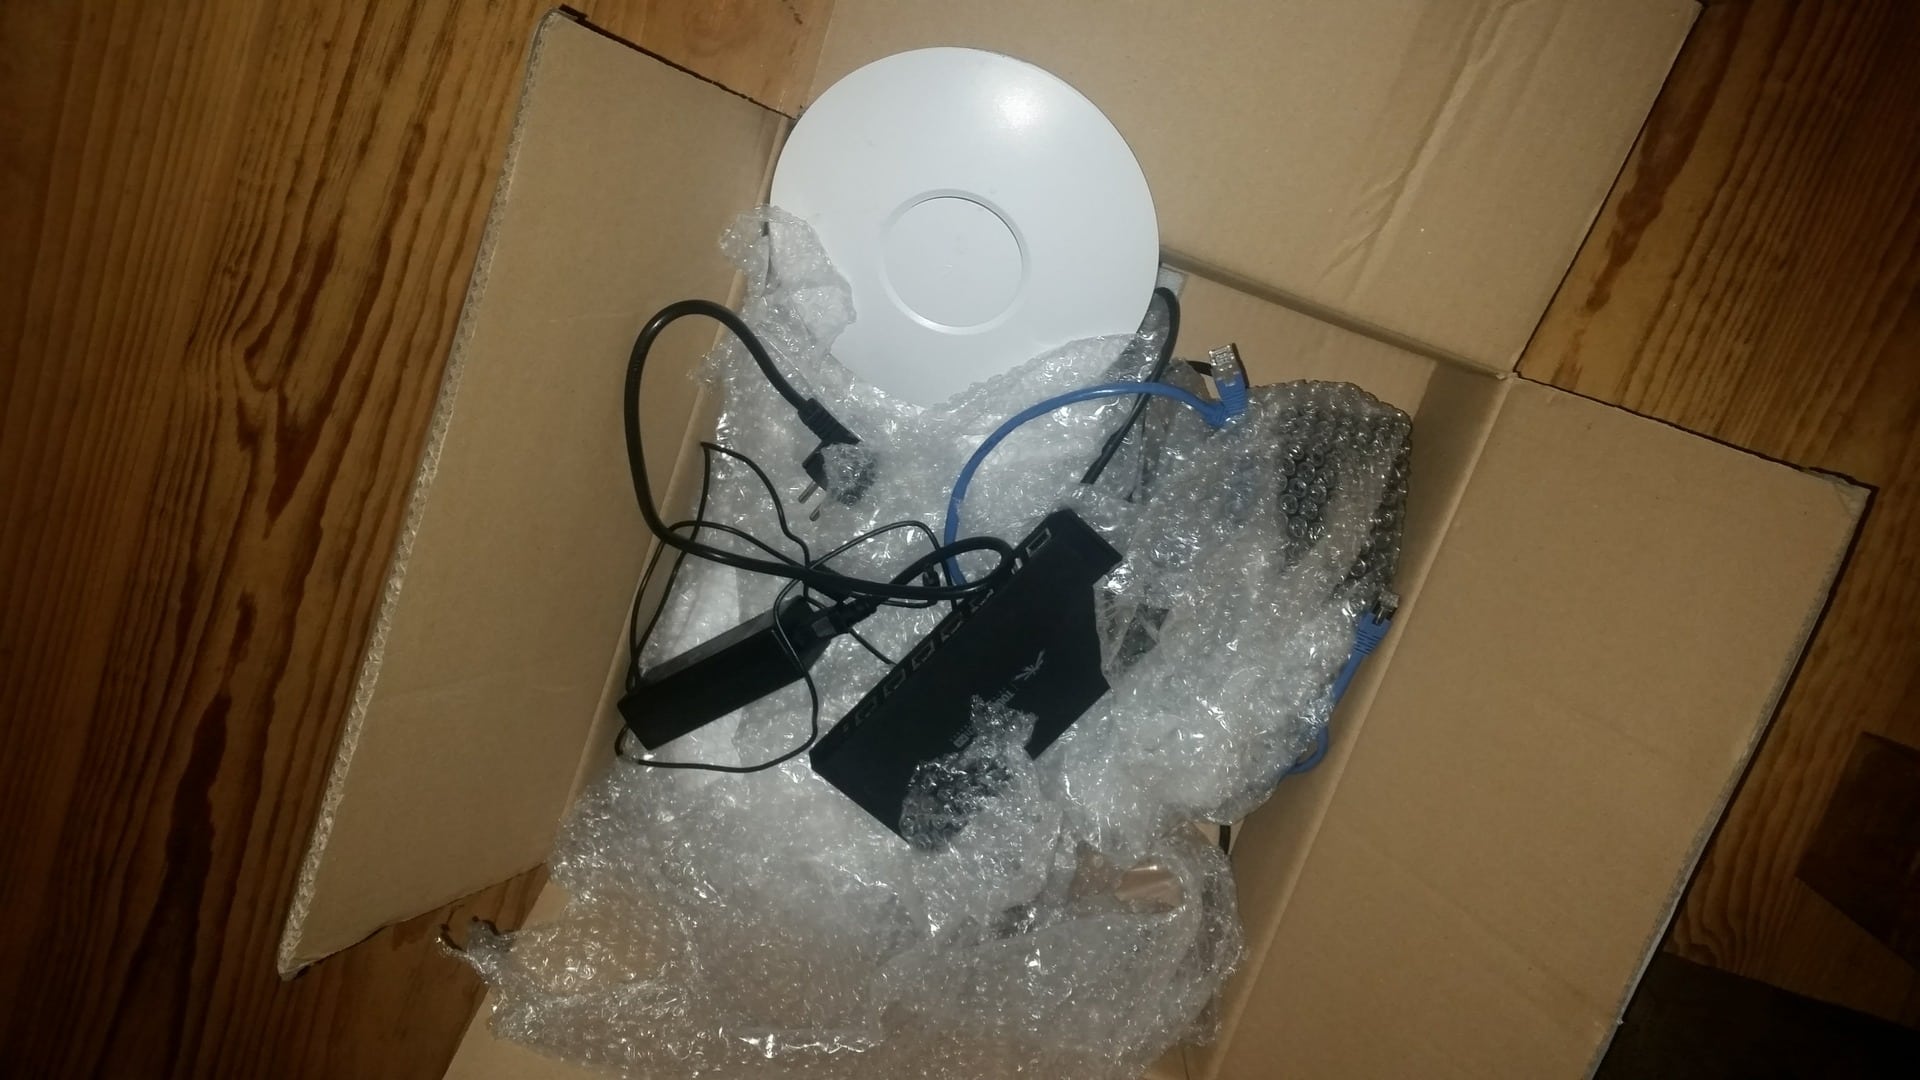
My package arrived from the US also, 3 XAP 800 units.
i probably need only one but leave a second one as a spare unit, 1 unit works but the lcd screen is broken and a cooling fan but this is a minor thing.
They do all start , hope i can set it by the menu and doing this by pressing the same buttons on a working unit so i know what and where i am to set the rs232 port etc.
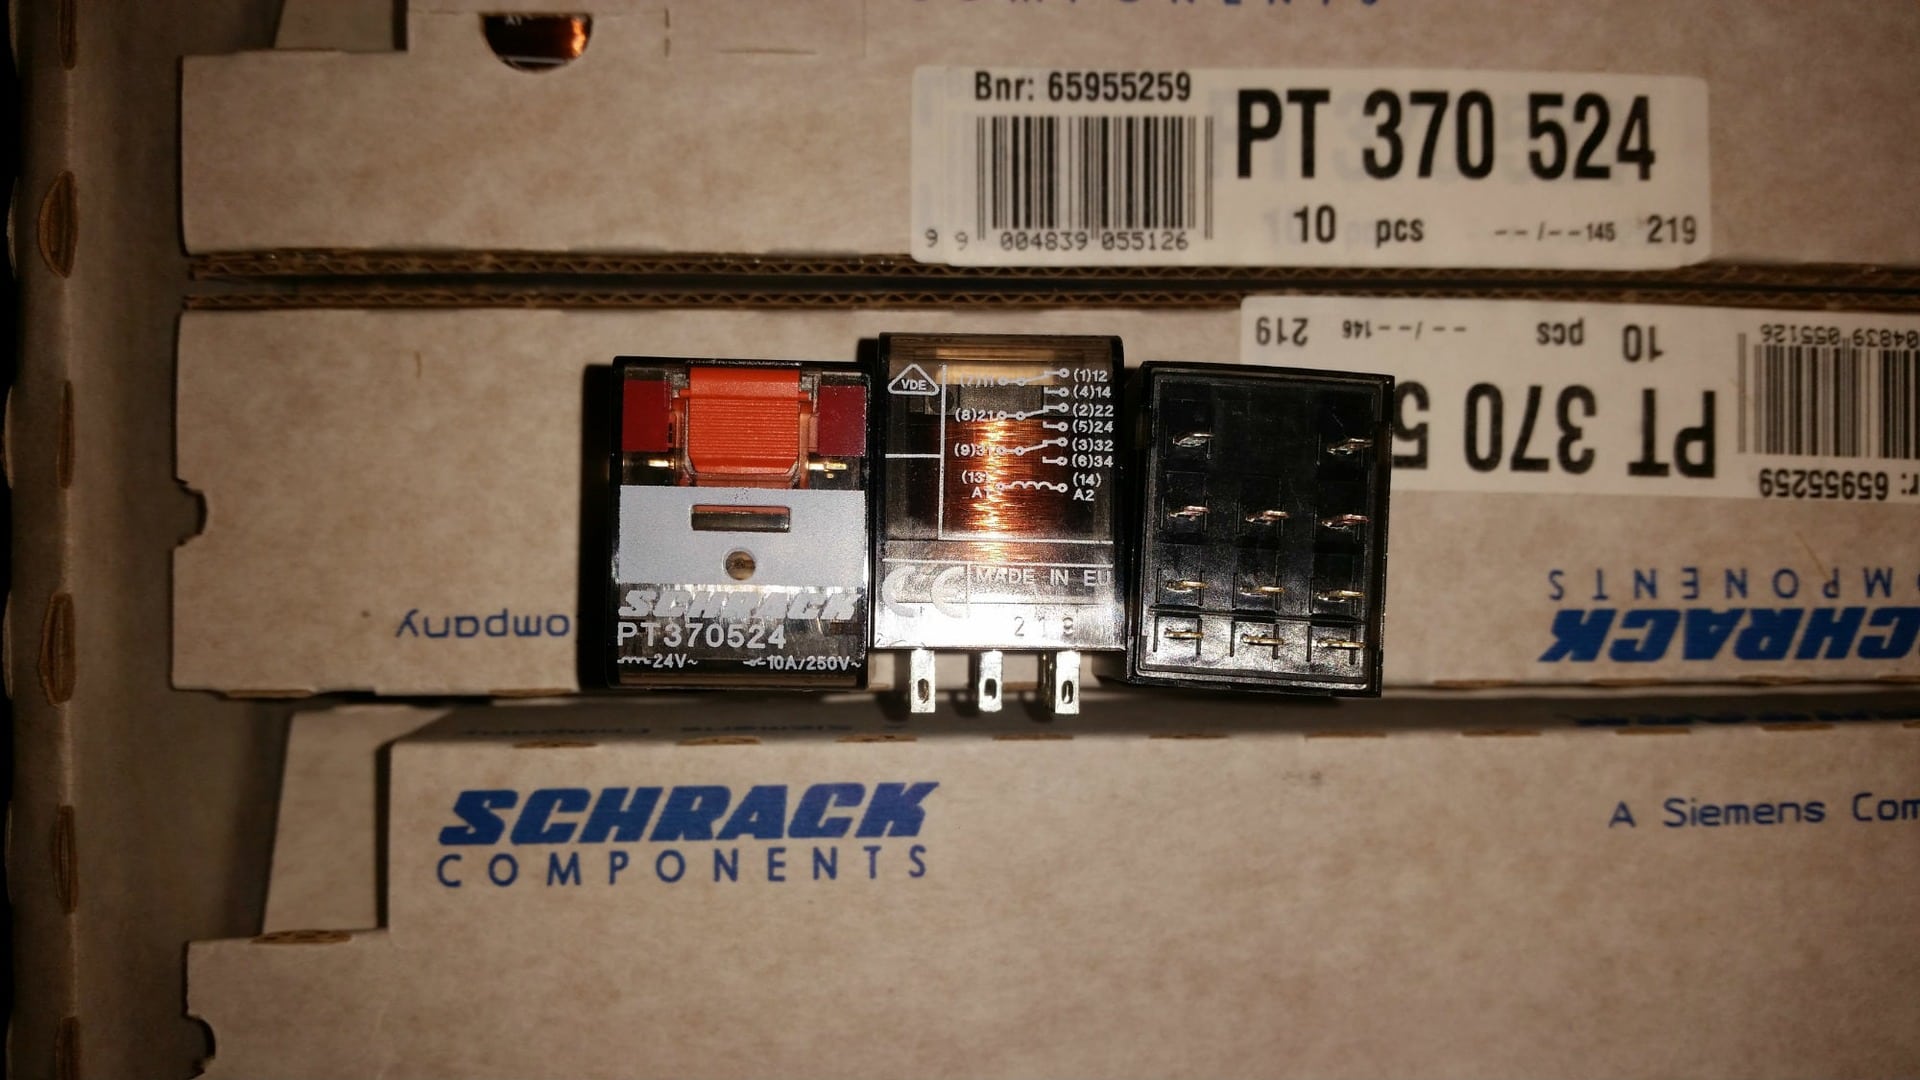
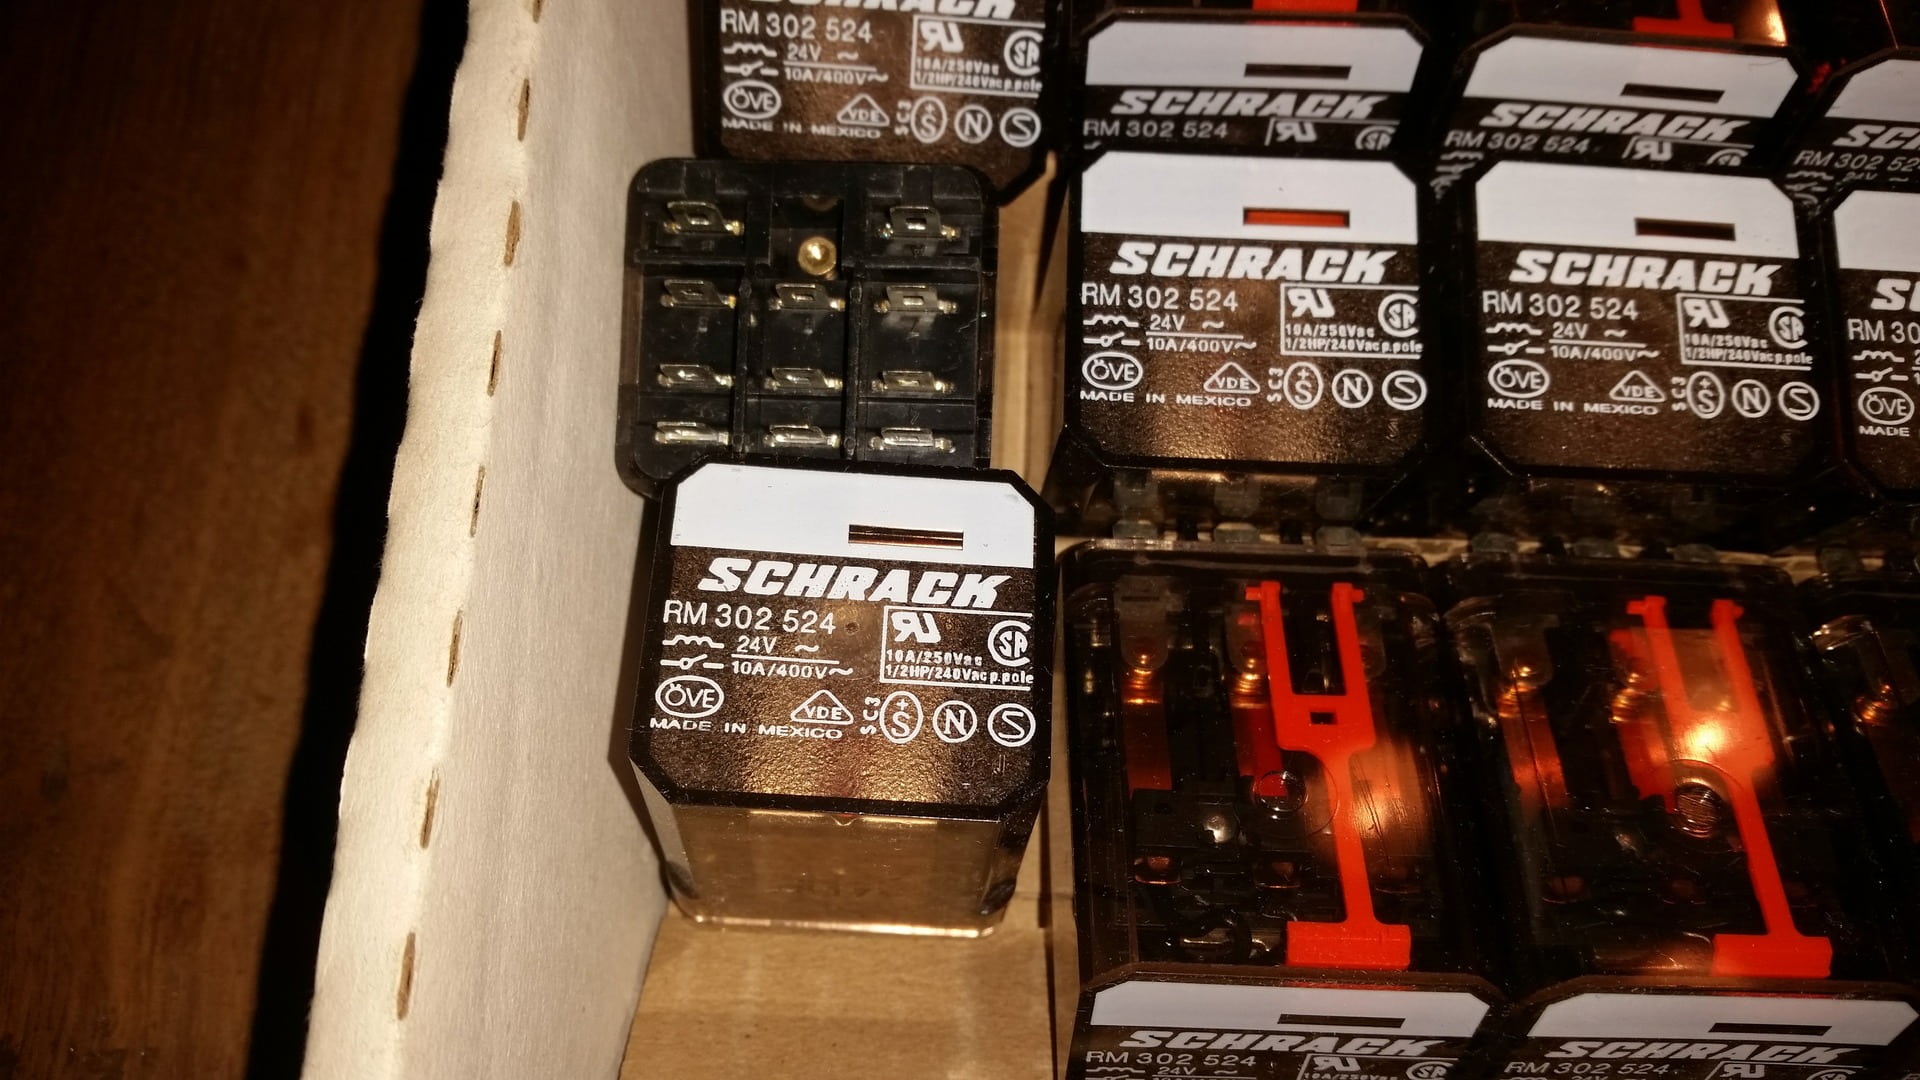
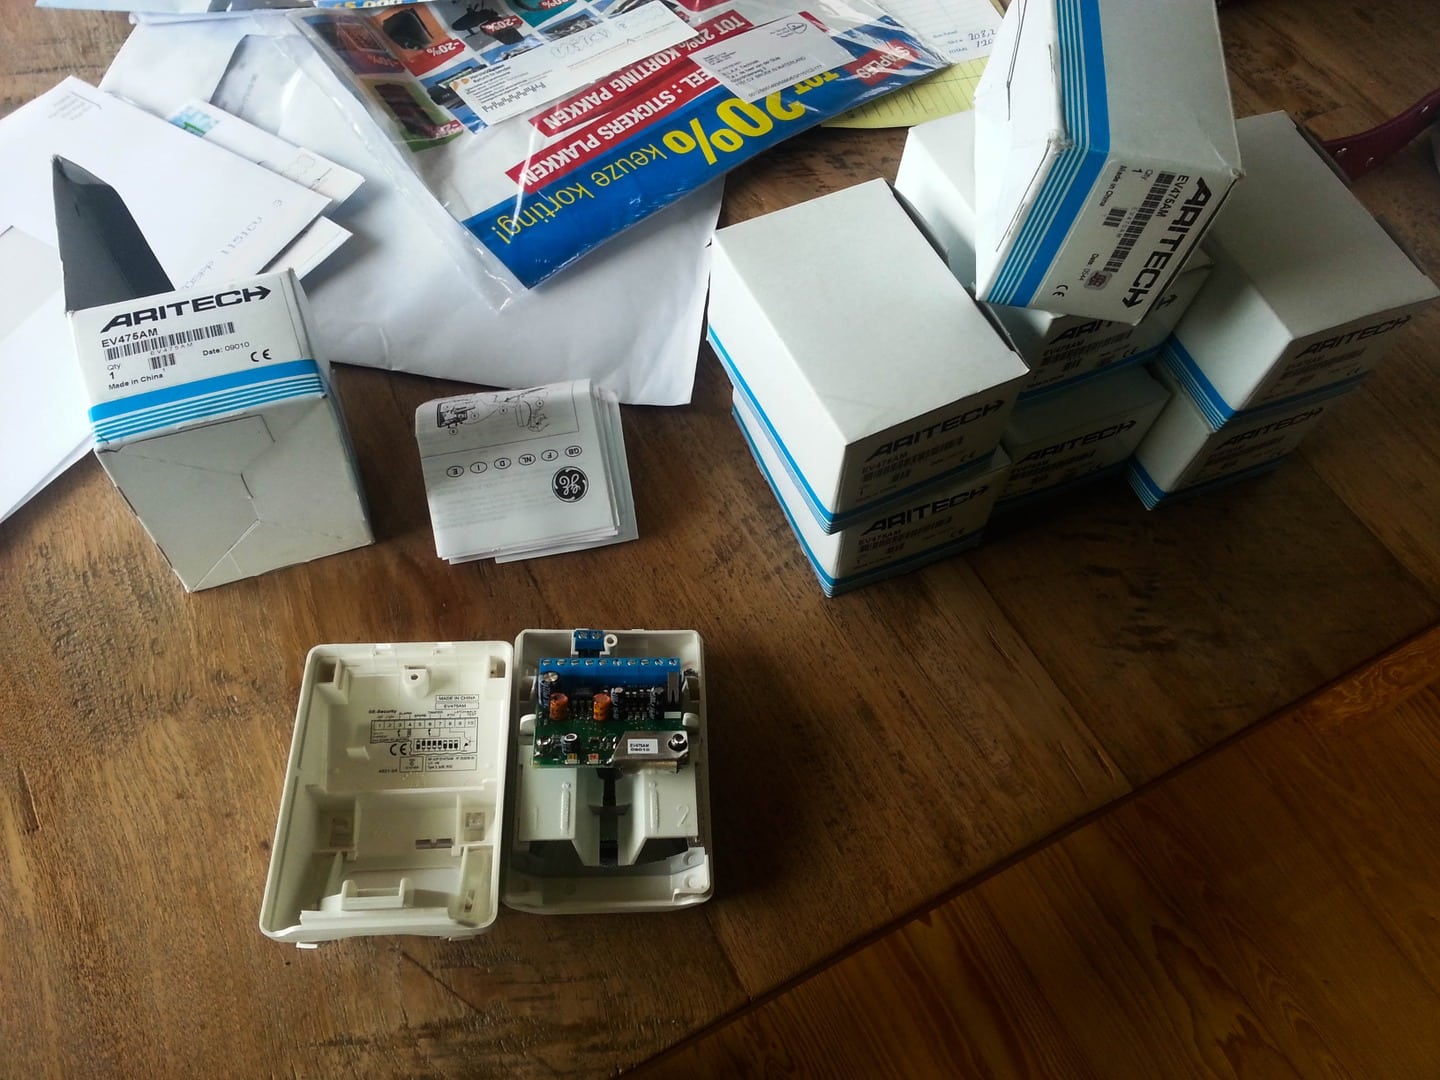
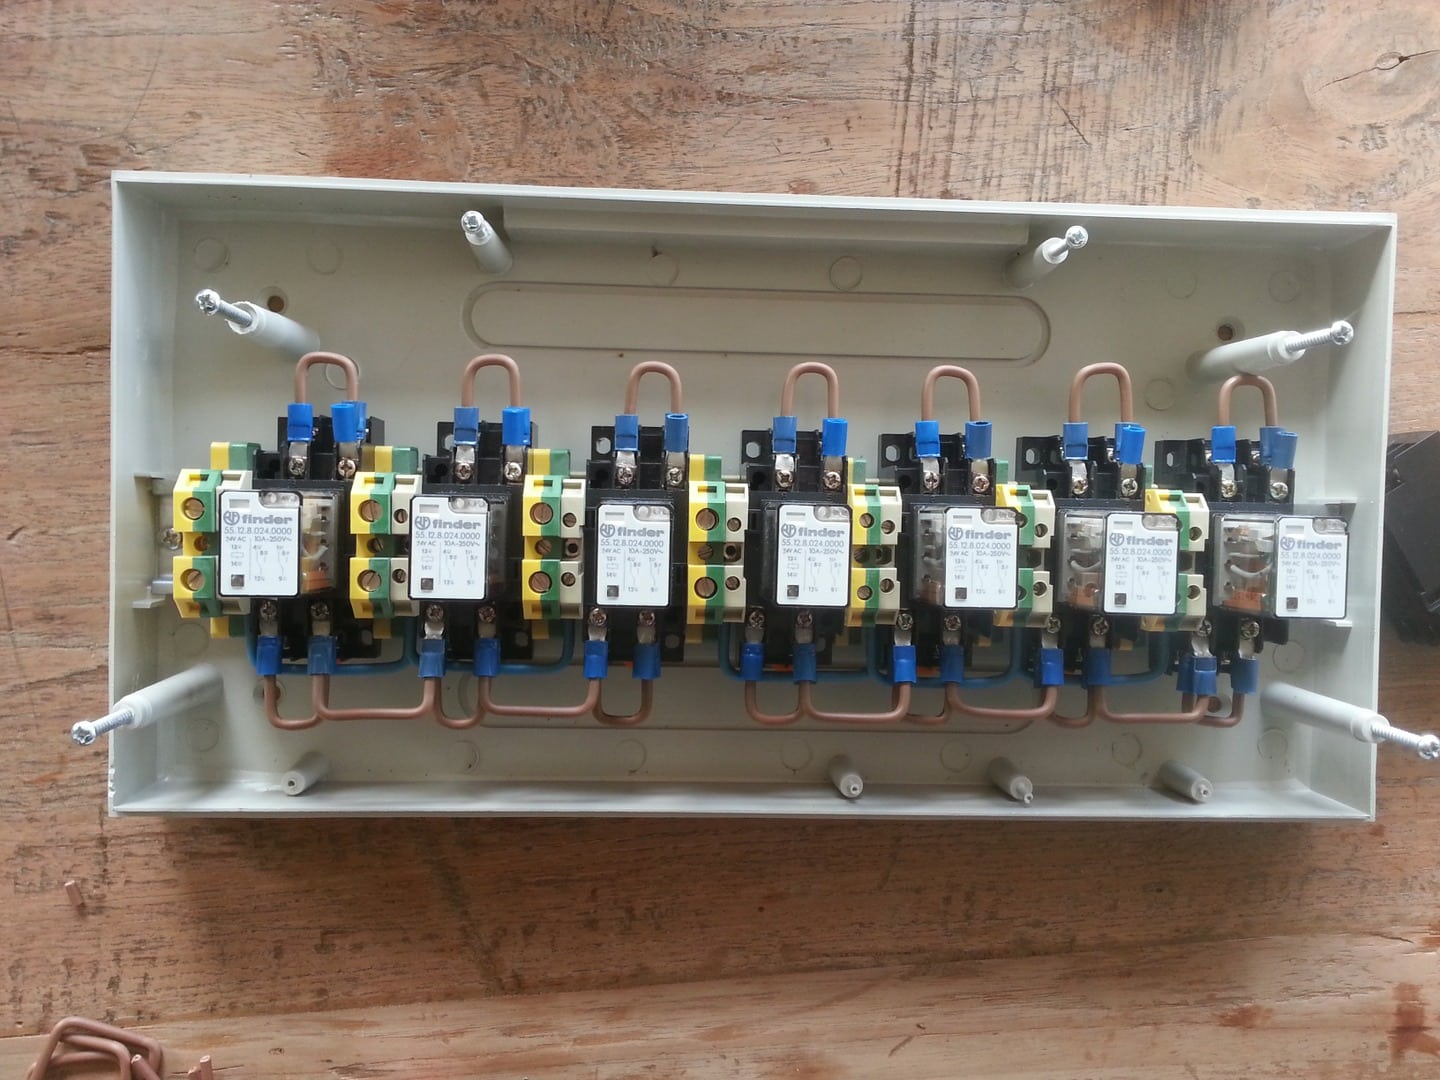
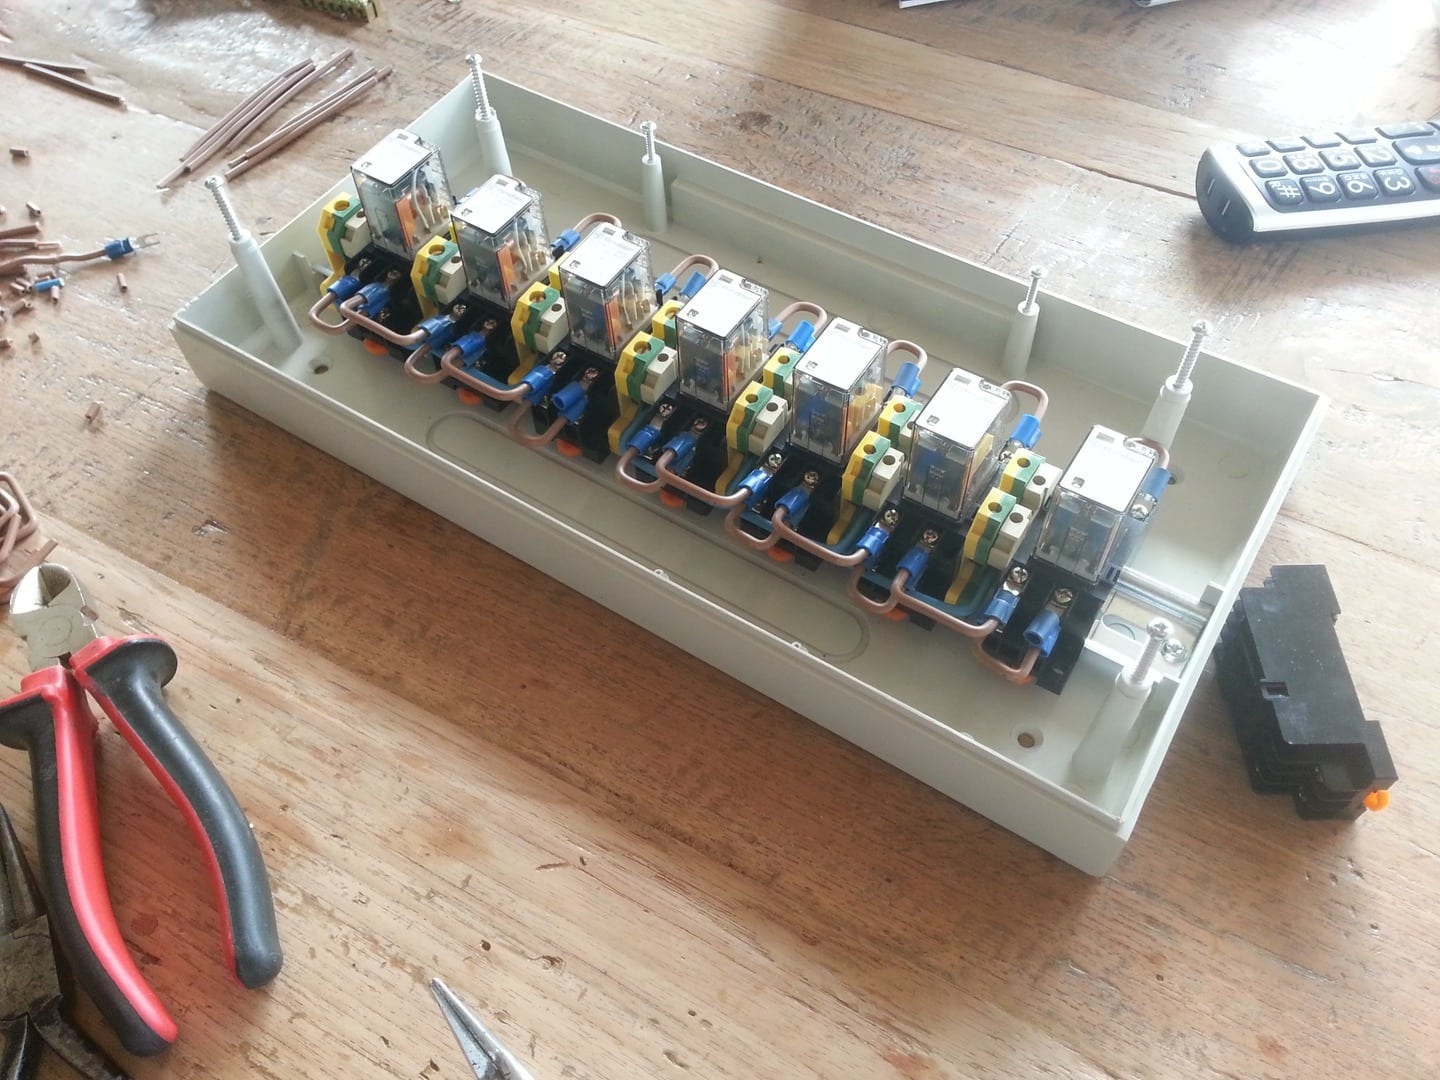
Also a bunch of relays arrived today, bought these last week from marktplaats could not resist.
Only have no holders/feet that comes with the relay but a soldering iron does a great job or buy a separate feet from internet.
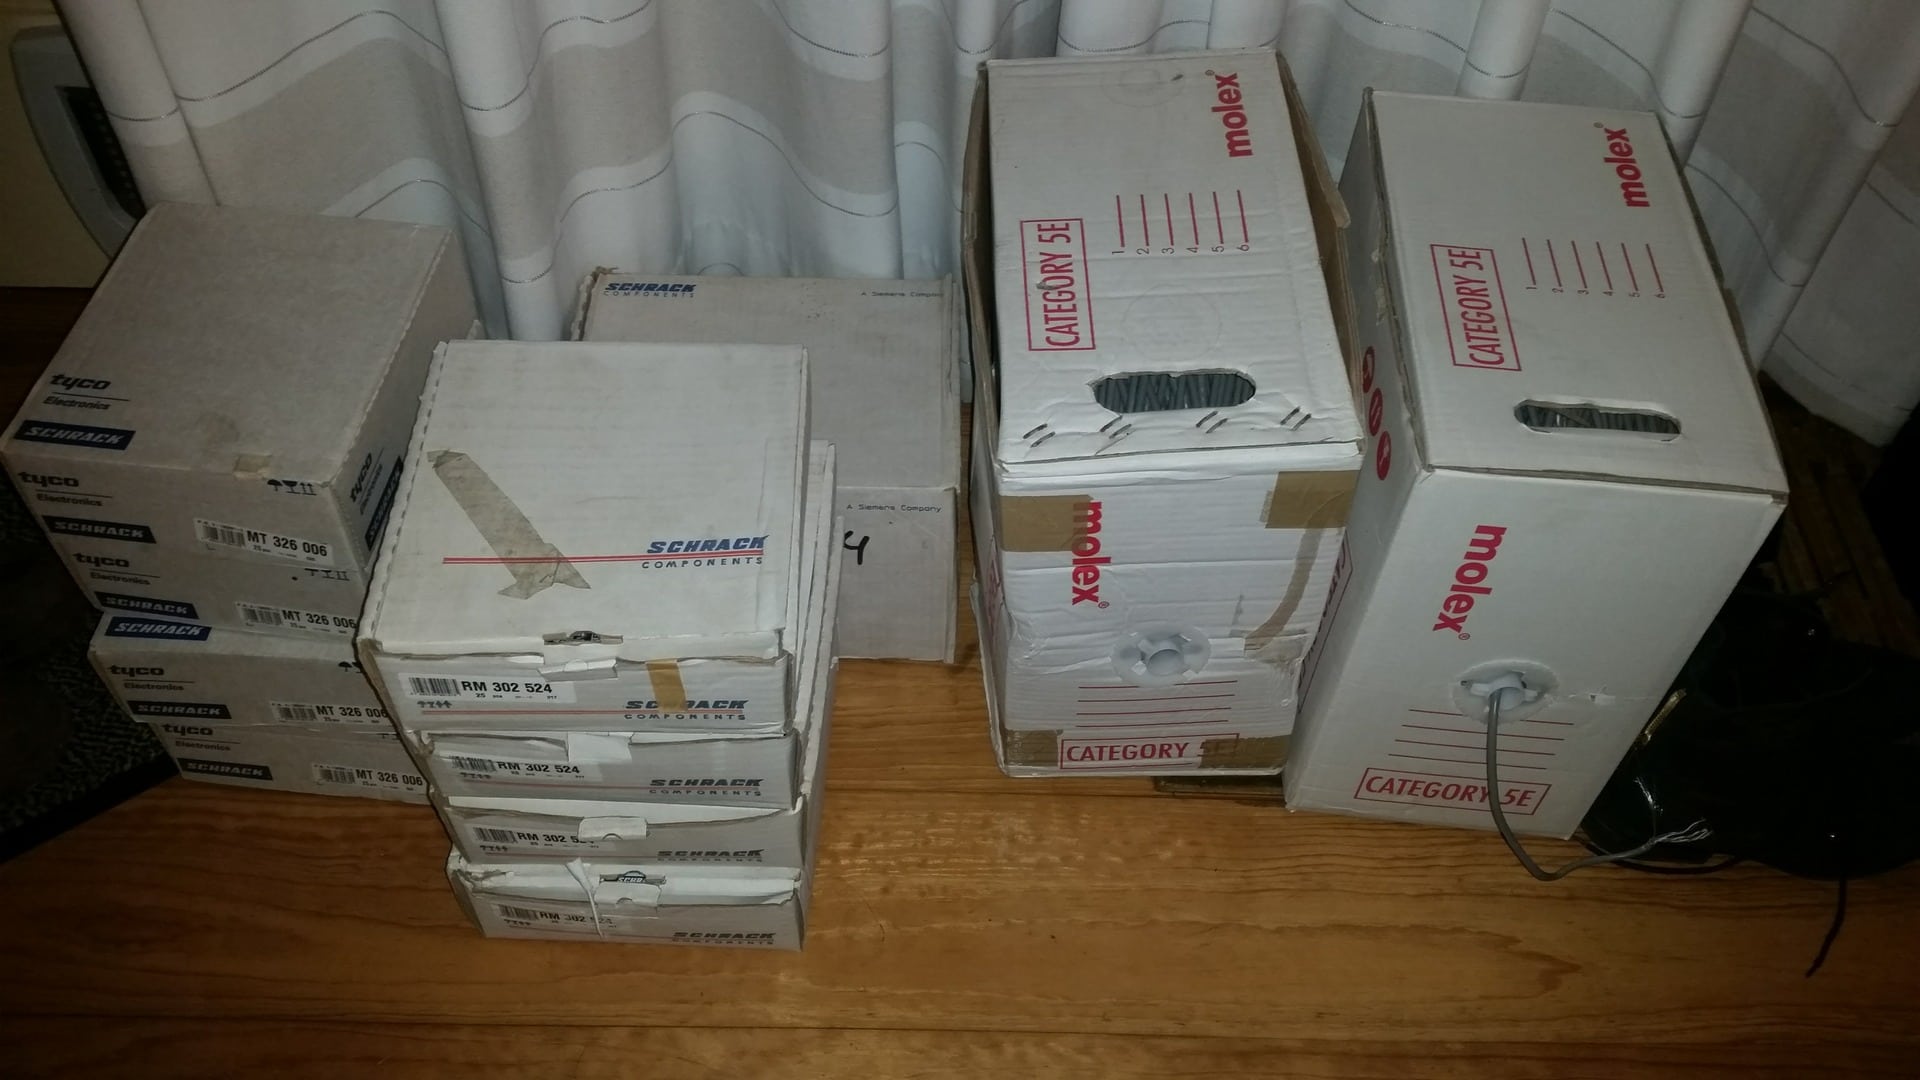
If anyone is looking for good relays, same as the cable, leave me a pm.

There have been some days passed since the last update,
and what do you think ?
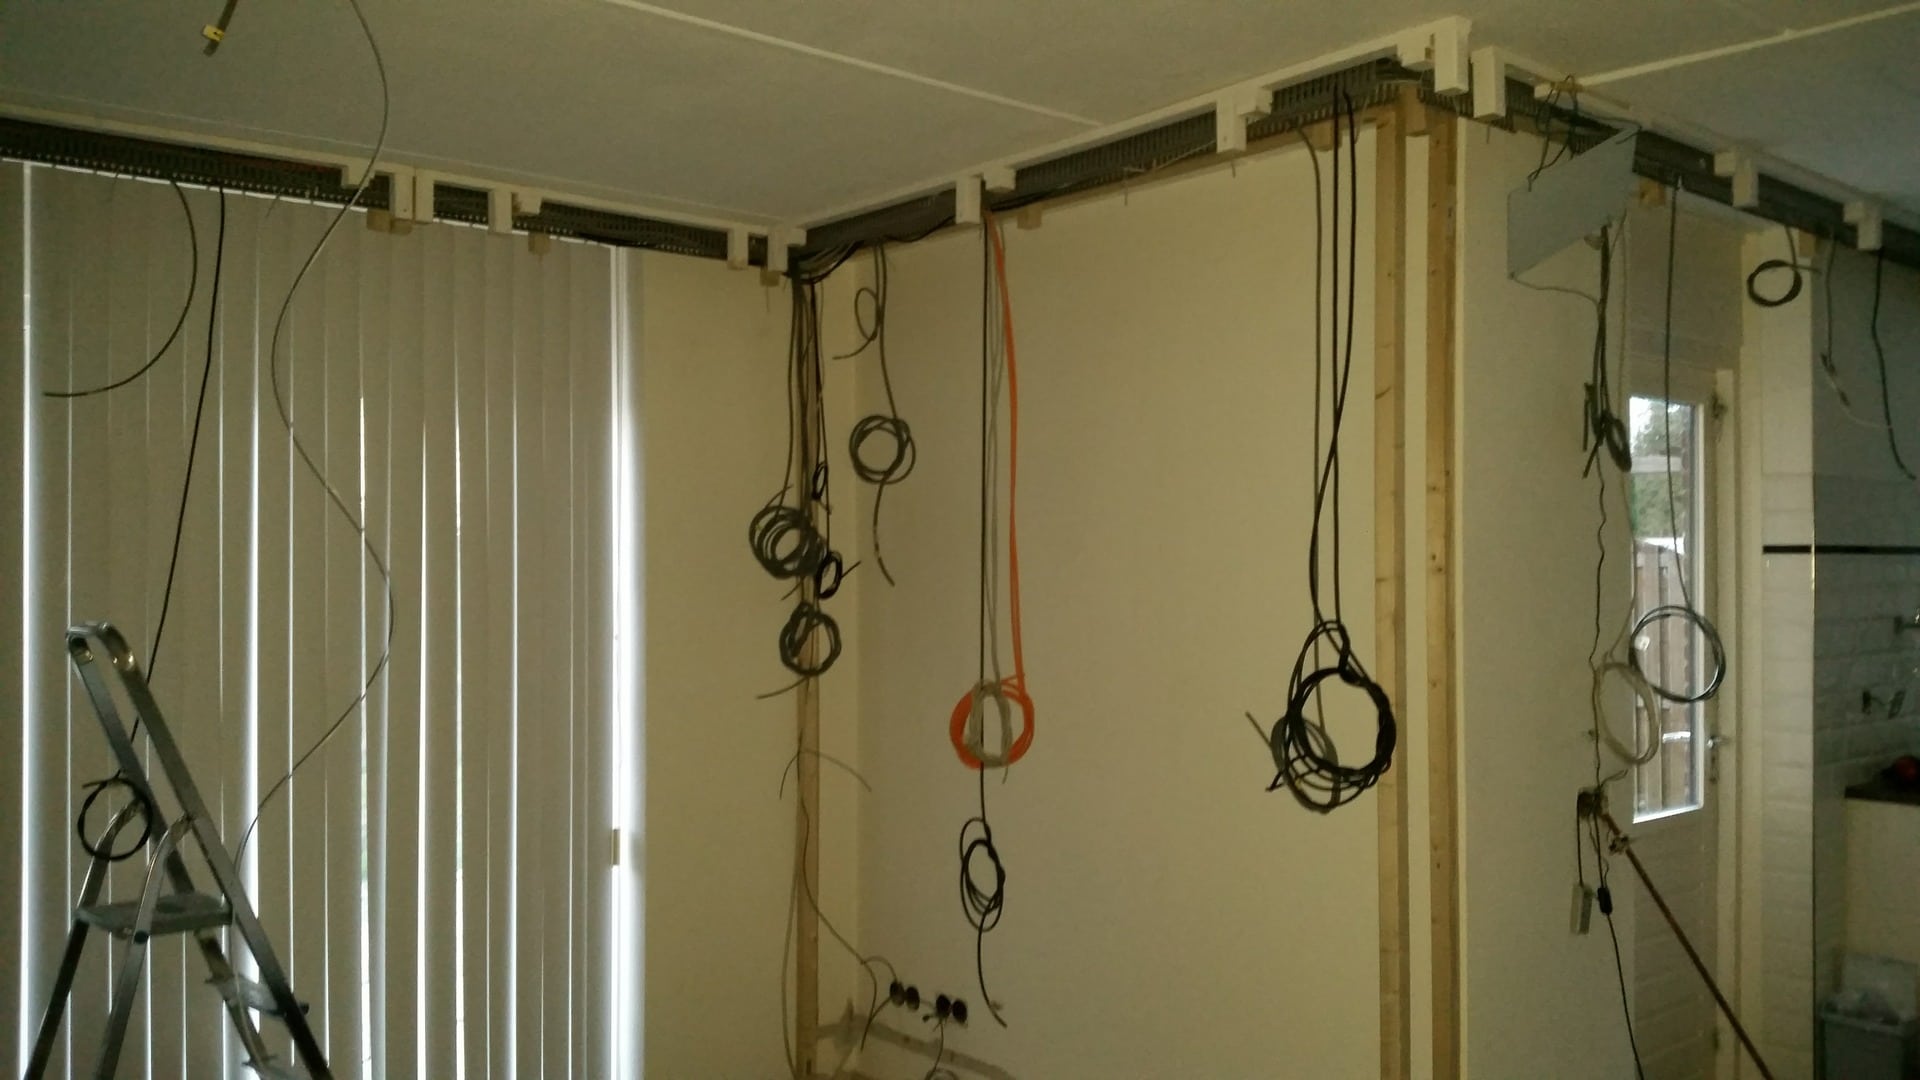
Haha right, still busy with wiring the whole house, but the living area seems to be coming to an end now.
Amount of cable that went in till now, about 3500M / 4000M.
The latest cable that i picked up, only 1 roll is left with 720M on it and 1 with 500M on it,
in 2 days we have done about 1200M of wiring :S and to be honest i can almost not see any wires anymore haha.
But what i started needs to be finished so were still going, last saturday i took a small break (was my birthday) after 44 days of work in a row paid and none paid.
Some pics , not really much to show since last time.
Most of it are pics that there are only more and more wires :roll:
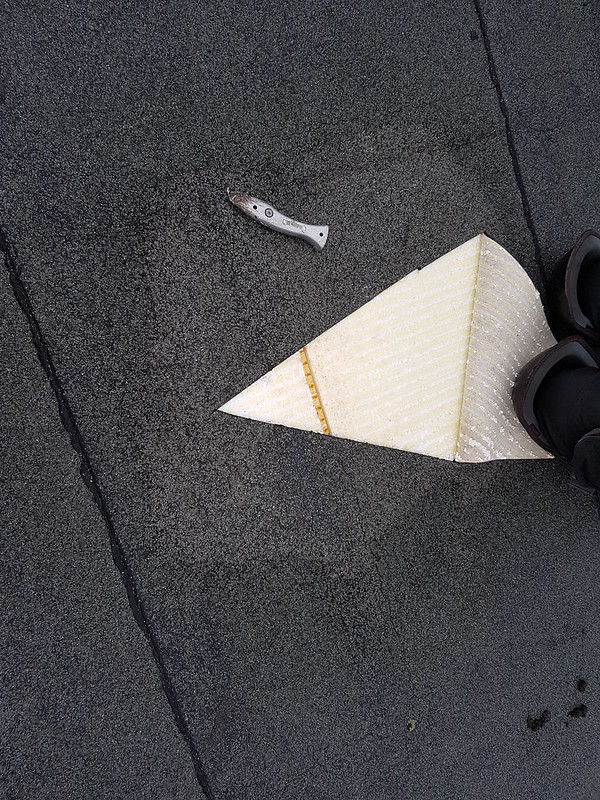
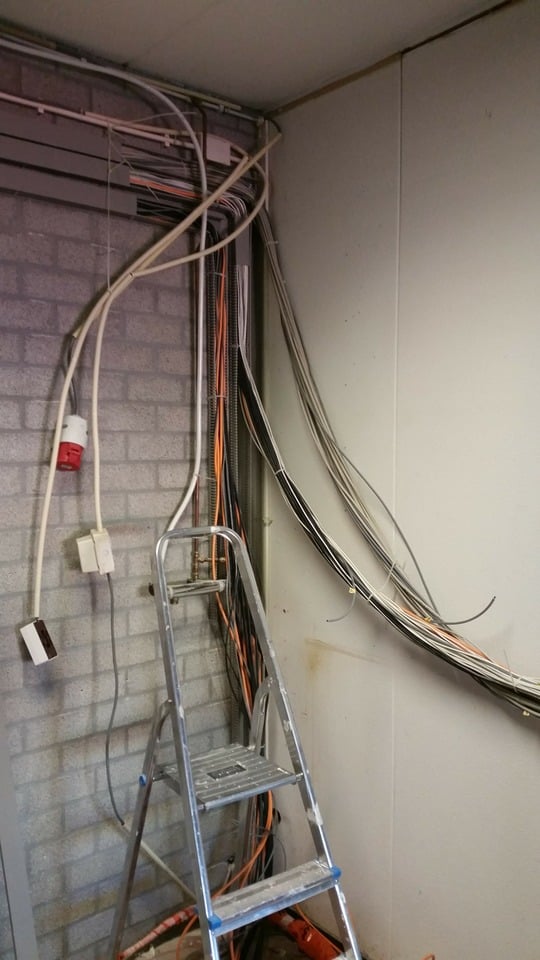
I got a long ladder to reach the roof and clean the solar panels, did not expect that they were so clean and did not needed any cleaning

(yes it looks like a dress haha, and its my dad, he doesnt give a S$%^ how he looks like )
)
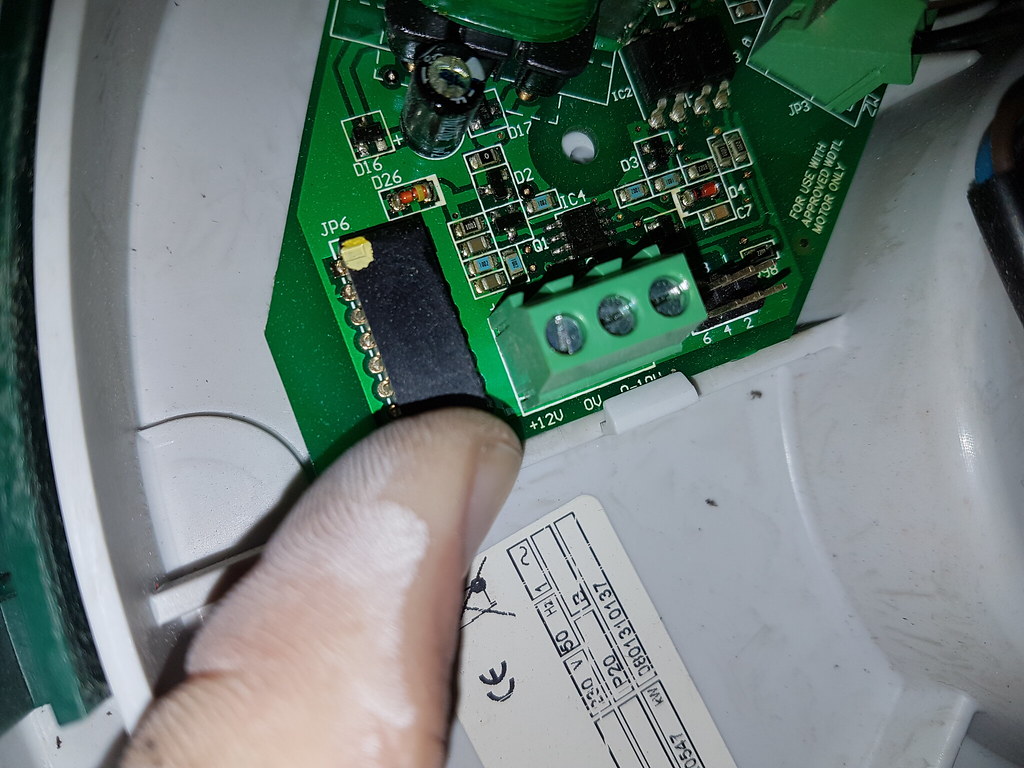
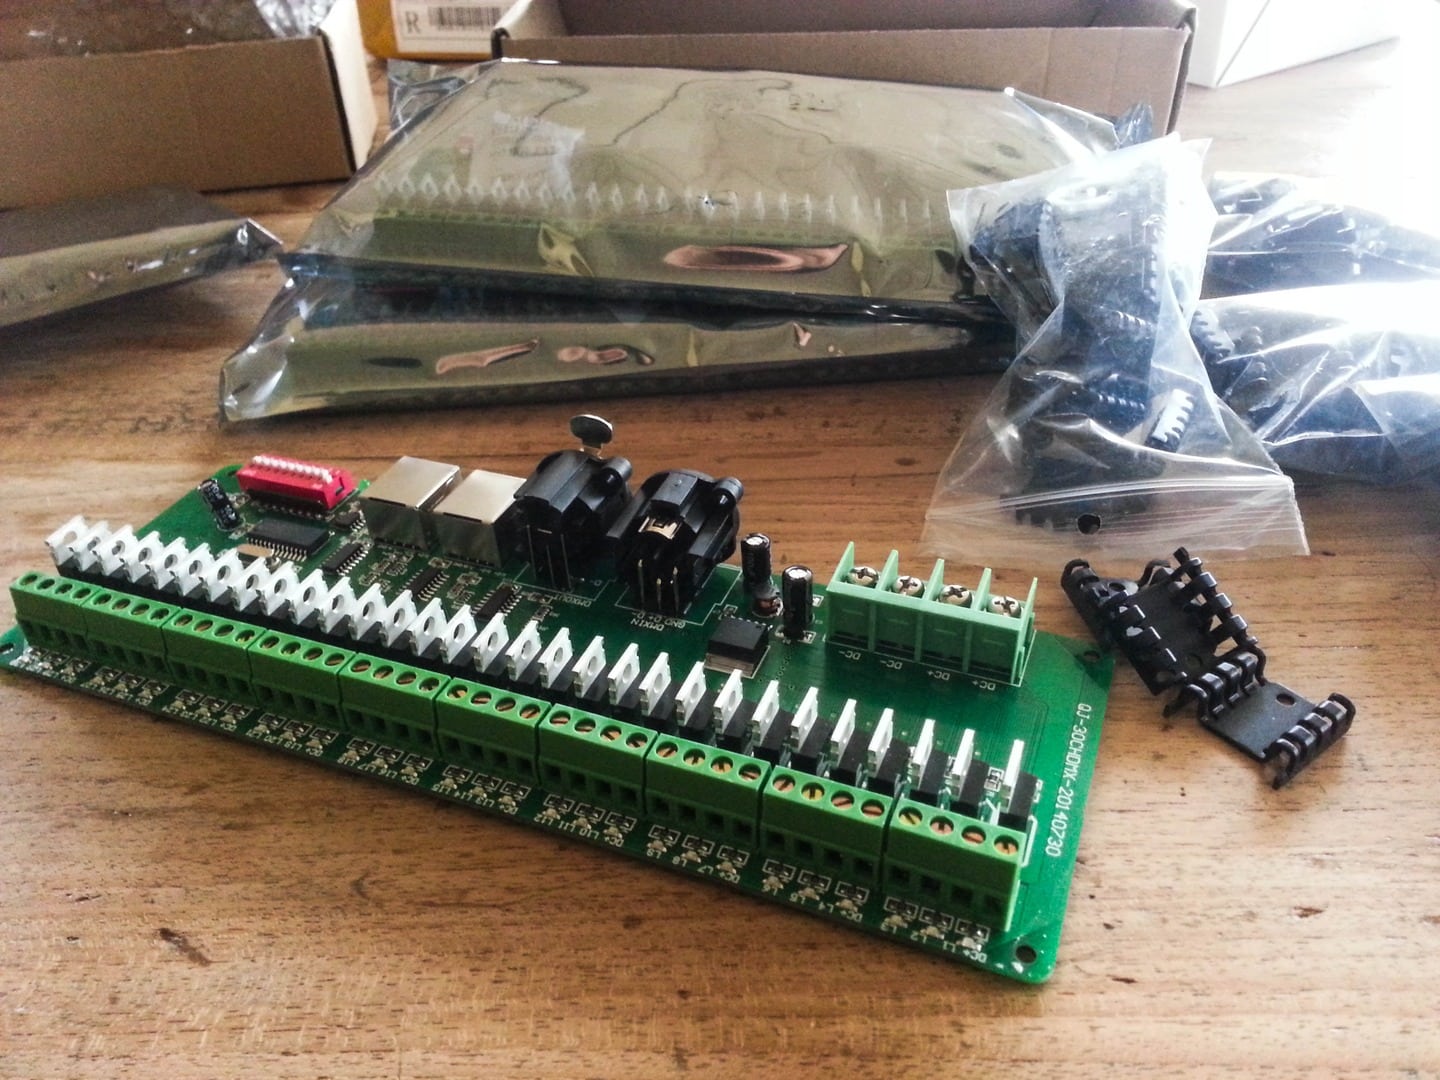
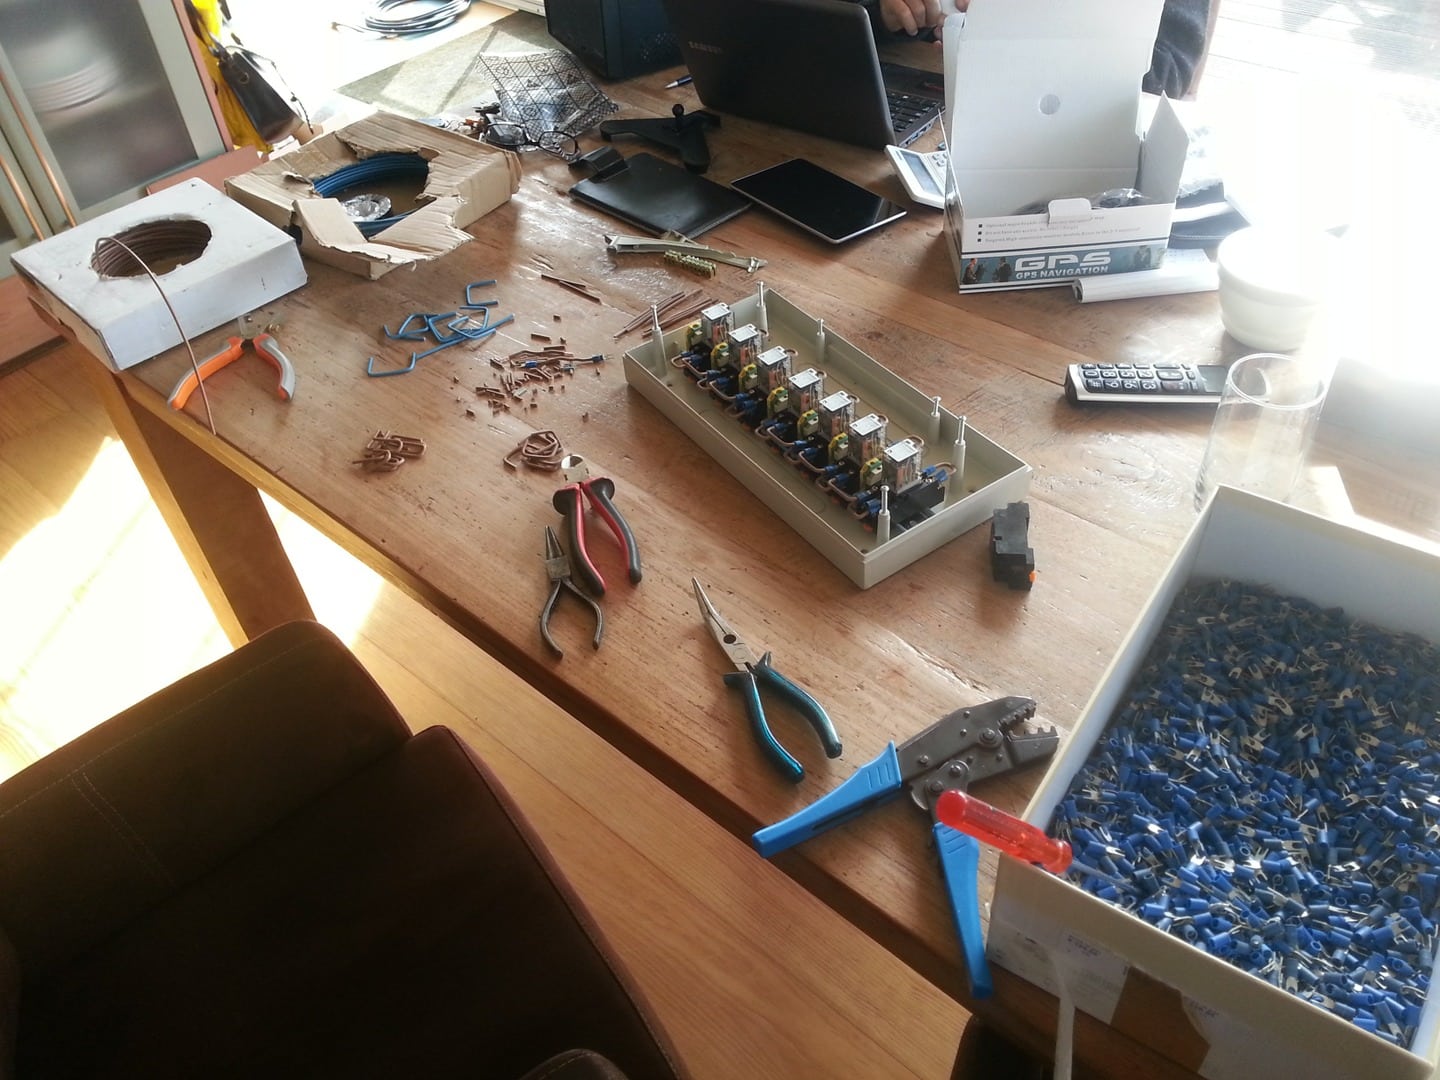
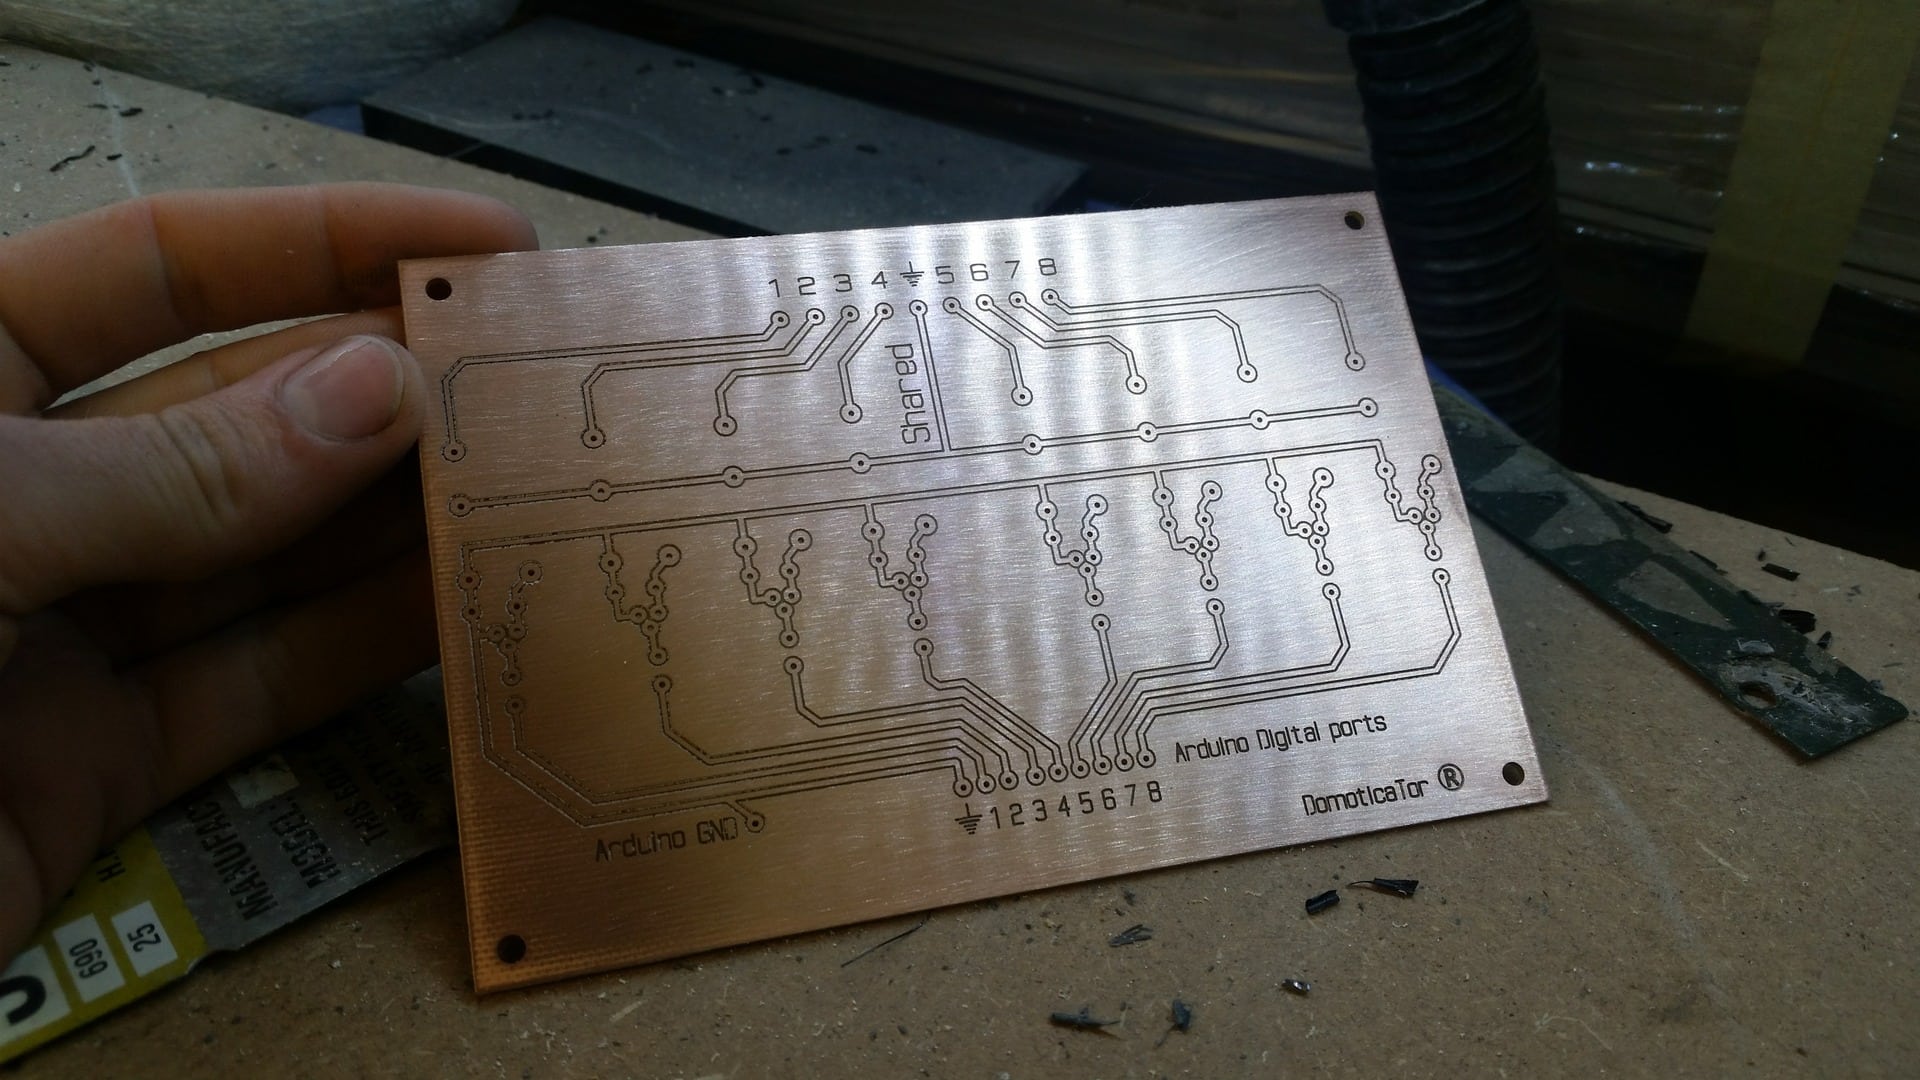
received my DMX shield for the arduino , a box of reed relais (door magnets ) and some fresh PCB that is getting ready to be engraved.

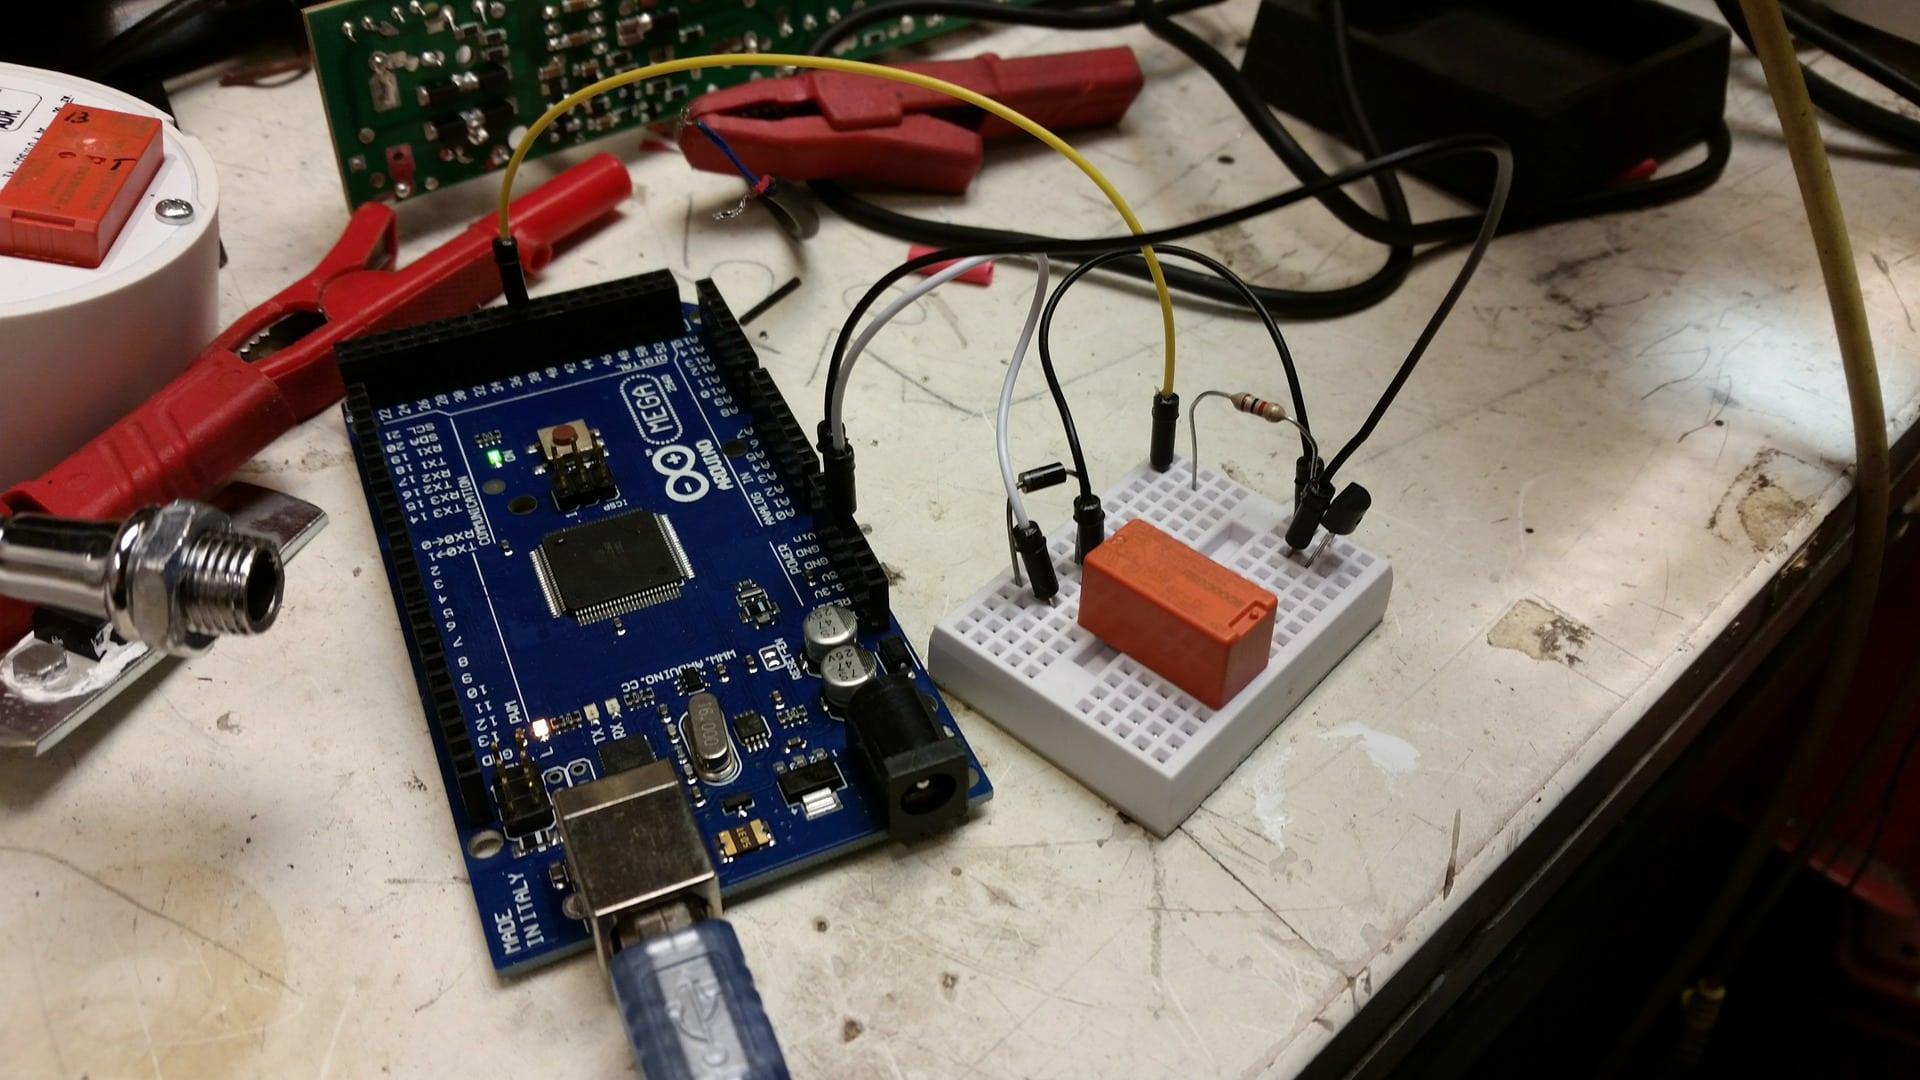
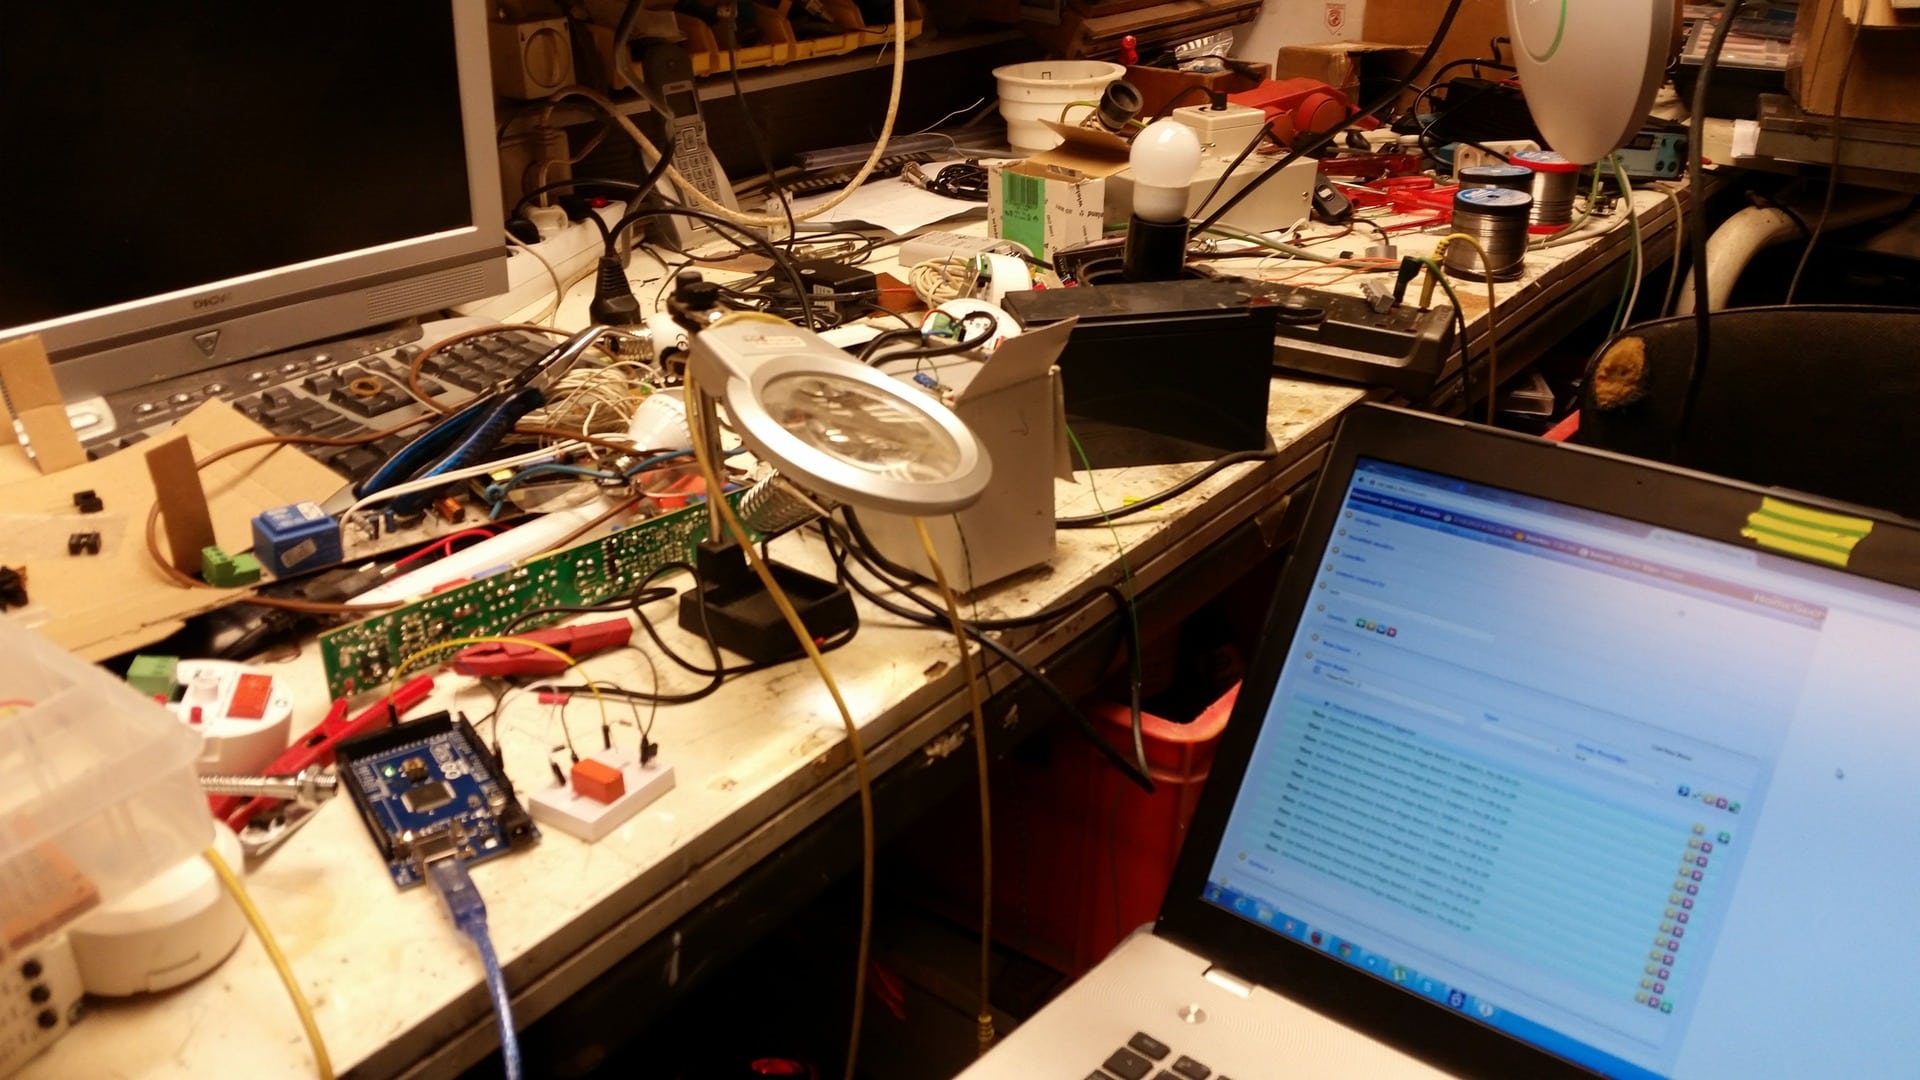
Testing here if the little schedule works to switch the small relais , and it did")
You ask , why not use the cheap outof the box know arduino relay boards ?
Well, those are the biggest problem in the system here at my parents , the optocoupler burned out 3 times in a row and resulting in 1 or 2 relays not responding anymore.
So i bought a more known relay brand and some BC547 transistors , some diodes to make my own relay boards that hopefully are more stable compared to those ebay boards.
I am probably the one of the few persons that have problems with those but since a big part of my system relies on switching relays i found it important to make them myself with better components.
Also made some holes in the wall for 86x86 boxes, these are for some DMX light controllers that i ordered.
These are the models i am talking about , this is for visitors that do not know how to control the lights from a tablet or phone etc..

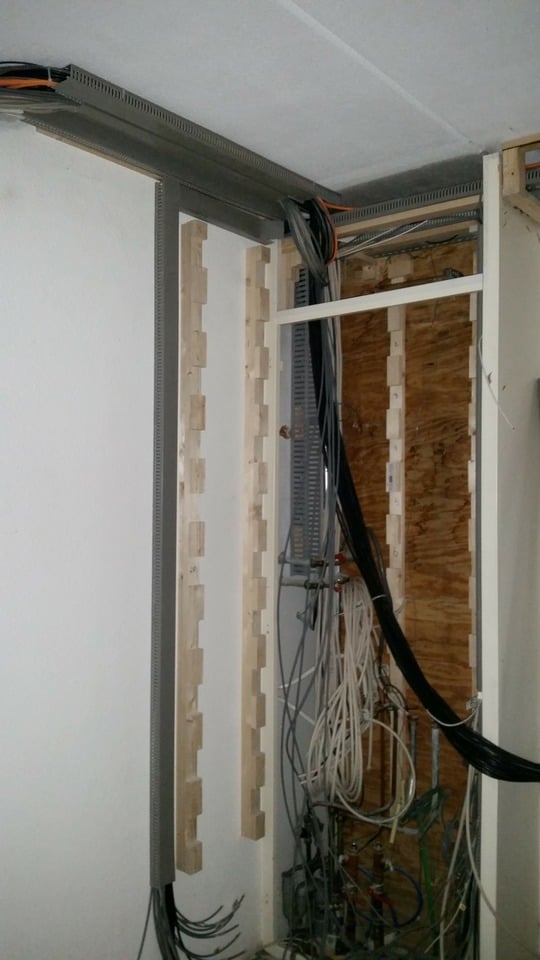
Here are now somewhere about 280 cables laying around and waiting to be connected

I must say, be prepared since i have allot of pictures ( pictures say more then text
)Please be gentle when you enjoy reading my Dutchlish since English isn't my foreign language
So here we go , i copied most of it from another forum thats all about HA.
Well i just bought a new house and it comes with some "green" options.
The house has a few solar panels on the roof, i am not sure how many but coming Friday or Saturday i get the key so i can check.
renedijkstra.nl/bg-22106-7-4979/bog/vol ... erend.html
Also using a solar water heater thats build on the roof and i am using heat from the earth to warm up the house and water.
So far i got this fairly cheap since it came with the house, now i do like gadgets allot and have allot of them collected in the years but to keep in a bit in the green energy saving style i thought would it not be great to be able to switch everything in the house.
All the power sockets , lights , that i am able to turn everything off except the equipment like a fridge or something that needs to stay on of course.
My question is to you guys, what do you think is the best solution or is a better solution of what am i not thinking of.
First idea was to use SSR , easy to use and i want to use Homeseer with an Arduino to control everything.
The advantage of these "relays" is
-its easy to connect on the arduino since most of them are usable from 3-30 Volts.
-Will not fail fast if used normally
-smaller size then a mechanical relay
-SSR itself uses low power to switch
-No sound when switching
But the disadvantages are
-always "leaking" power and the higher Amps it can handle , more it lets trough when it should be closed so giving problems with LED lights and still leaking power so resulting in a higher billing the end of the year.
-needs a heatsink when using some load on them
-if being used with a heavy load lets say a 1000w light it can peak/draw up to 60Amp i have been told, even just for a few mili seconds, not sure what the result is in this in the end.
------------------------------------------------------------------------------------------------------------------------------------------------------------------------------------------------------------------------------------------------------------
Using Mechanical relays, i am not sure what the correct name is
things i have found an can think of are
Advantages
-doesn't have leaking power
-doesn't need a heat sink
disadvantages
-bigger
-using more power then SSR
-Wears off faster contacts burning in
-using higher voltage
-Sound when switching.
-when using the arduino to trigger the relay you have use with most bigger relays 12 or 24 Volt so i use the arduino to trigger a small relay that uses 5Volt to trigger the big relay 12/24 Volt that is being build in the power socket or next to it.
------------------------------------------------------------------------------------------------------------------------------------------------------------------------------------------------------------------------------------------------------------
Then comes the other part when installing one of these options, i need to put cables to all of the sockets and light switches in the house and need to find a solution to hide the relays as best as possible.
Hiding the cables will be some work, thinking of a bigger in dutch called Plint to put the cables behind but then there are still the relays with there sockets or ssr with heat sink.
I am aware how much work it is, since in the house of my parents and in the garden is placed about 2200M wire roughly but these are things that if all works ok makes it more satisfying and my experience is with wireless equipment that it is much more stable.
In France at my parents house its much more easy to get things like this sorted since all sockets have there own separate power line to the fusebox...
-------------------------------------------------------------------------------------------------------------------------------------------------------------------------------------------------------------------------------------------------------------
Plugwise
I have read into this system and it looks very promising but after founding some other websites with reviews i see many bad messages about the system.
Especially about the software restrictions they suddenly are putting in the updates.
Also that they send your information to there servers is a thing that actually they do not have to know if you ask me (gaat ze gewoon niks aan !)
but i have read that if you block the outgoing port and program you can stop it with most firewalls.
A big advantage and fun to have also informative is that it logs the power usage of that plug.
I am running homeseer and i read about the new plugin not using the software anymore that comes with plugwise but now being read straight by the plugin.
What are the advantages about this system except the power usage loggin.
So the advantage i can see here is:
-works out of the box
-using a mesh network that should be covering the whole house without problems
-measuring the usage of that plug
Disadvantages i can think of are:
-its a big plug in the socket ( has anyone opened it yet and build in there power socket ?)
-price is rather high compared to a relay and some wire (not counting the installation time of the wires)
So guys, what is wise to do , any more advantages or ideas about the above solutions ?
I'd like to hear your opinion about it.
Maybe its a bit overkill for some people but its something i like to have , since i am away from home for some weeks for my work its satisfying to know that i am using less power then is necessary.
And because its just fun if all this works and to make it in the house.
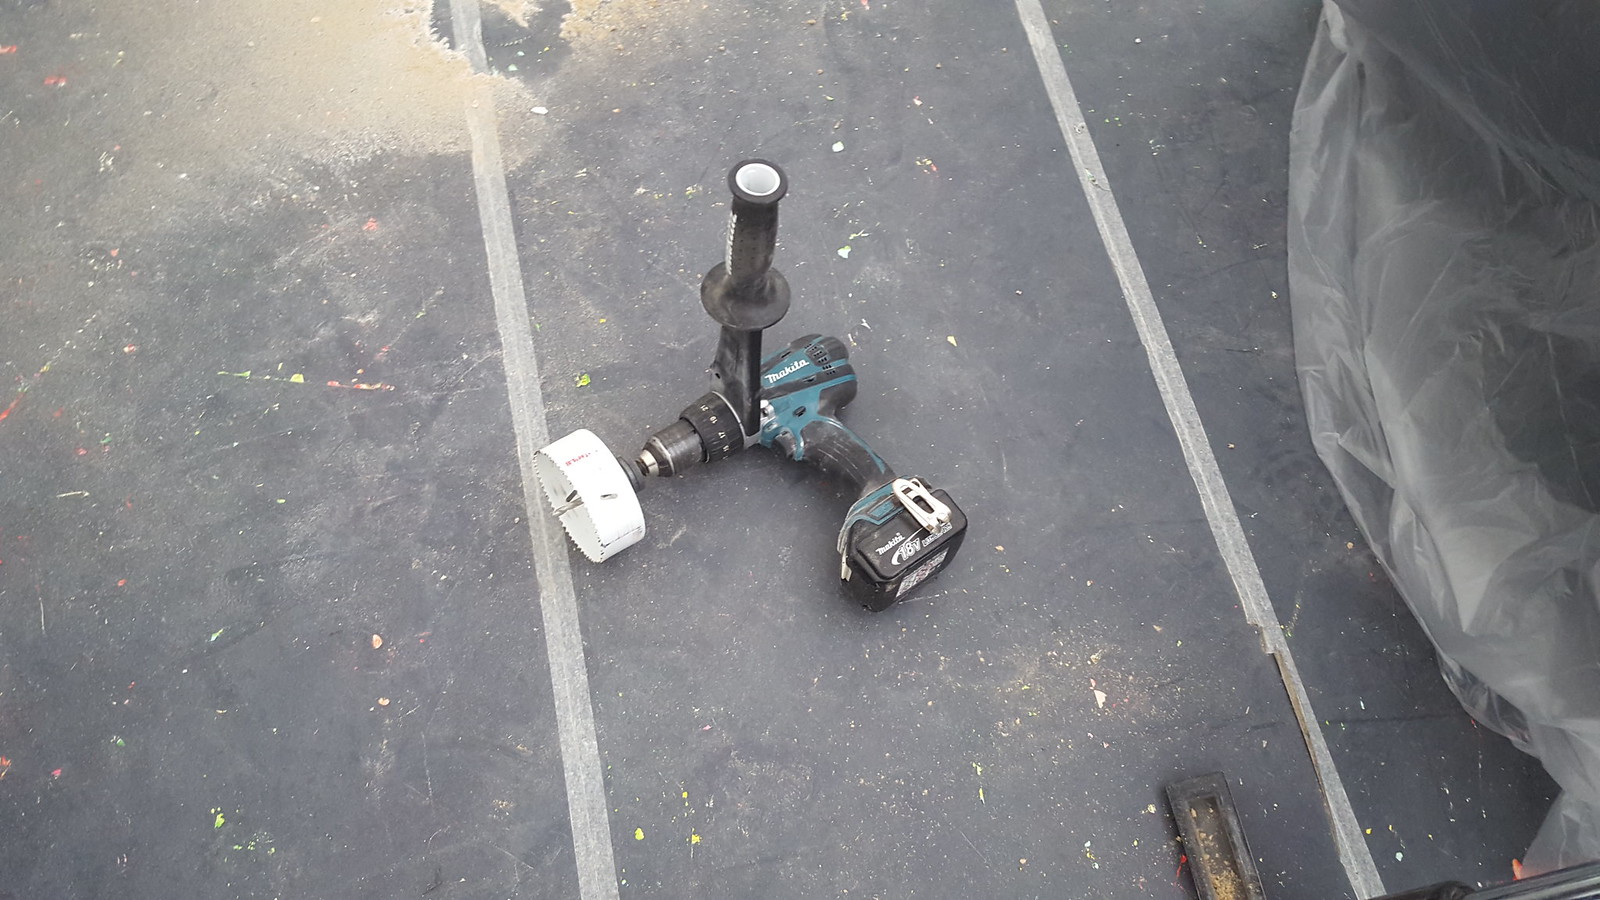
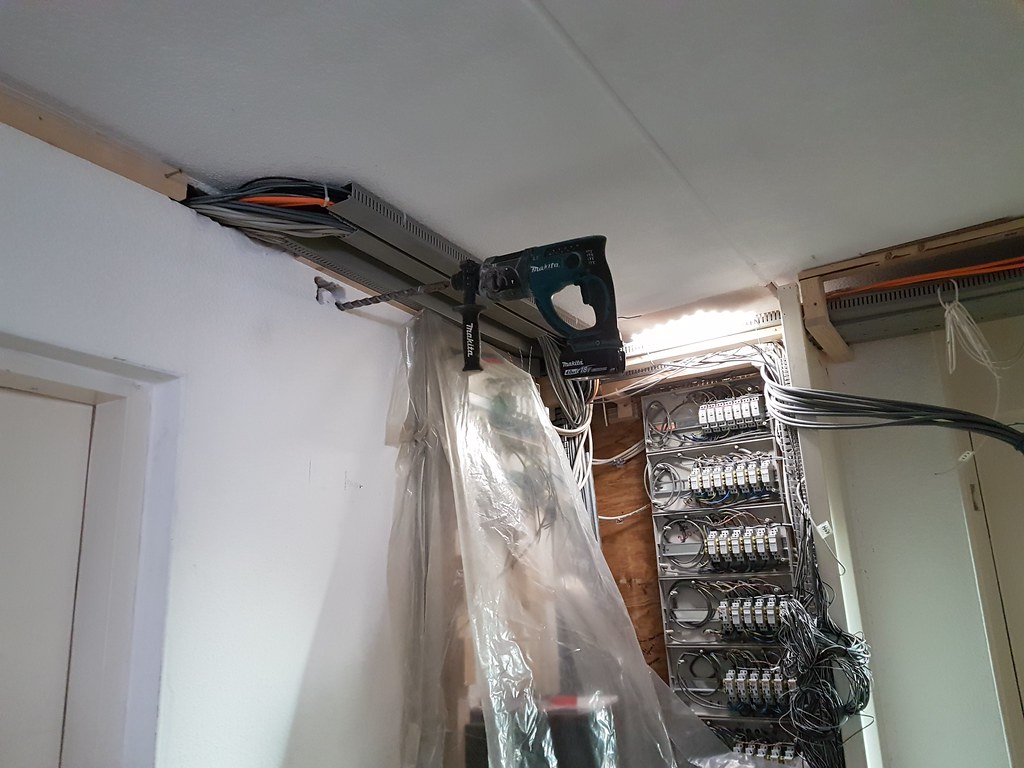
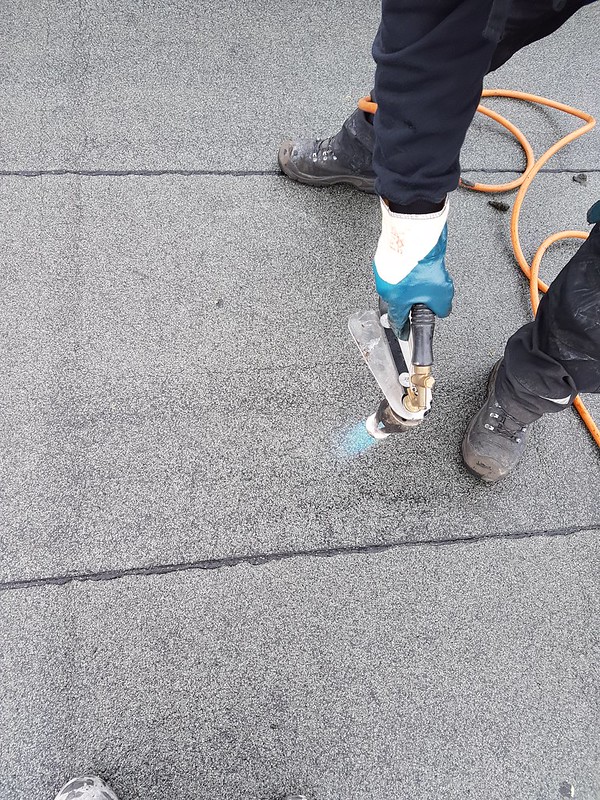
Well its not really the time of the year to start with making the holes in the wall and such but i tried a little part.
Tomorrow i am going to start and hopefully finish it so i can use clambs to put pvc pipes in the wall for the wires.
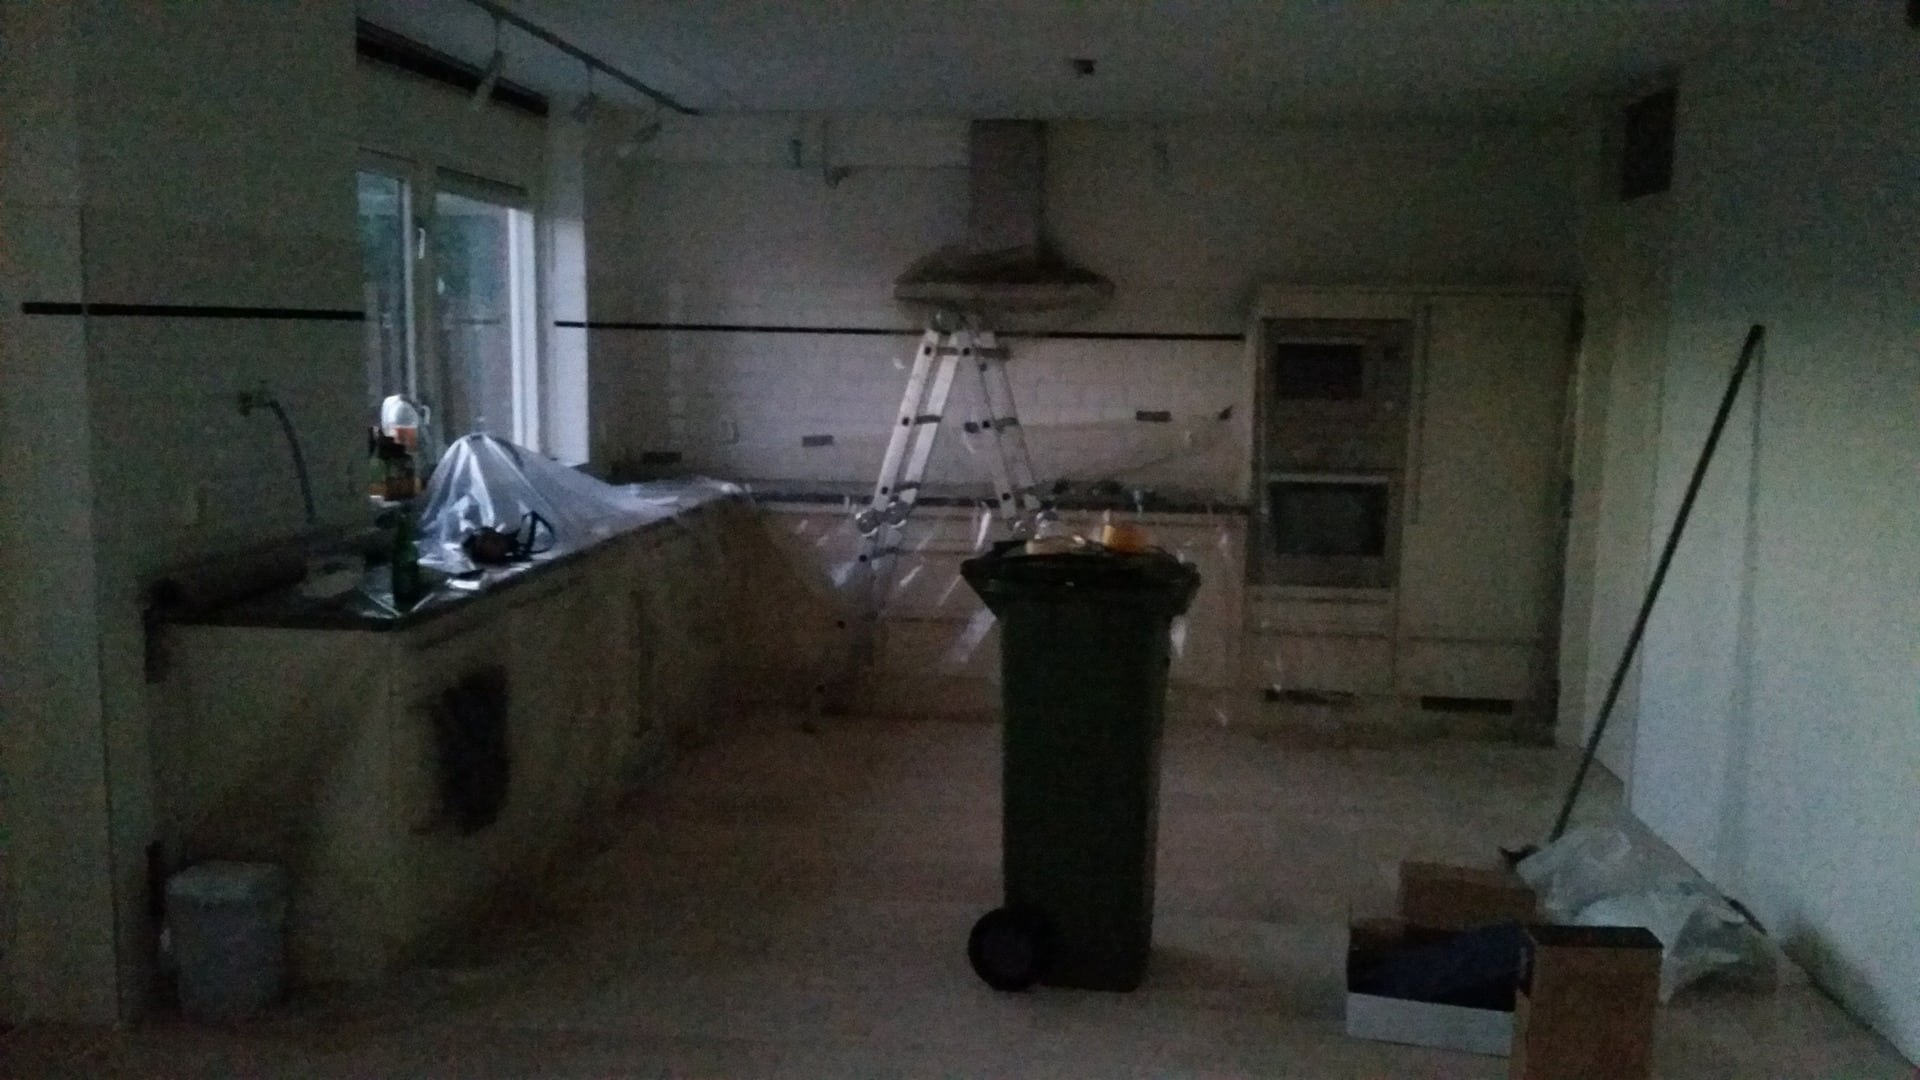
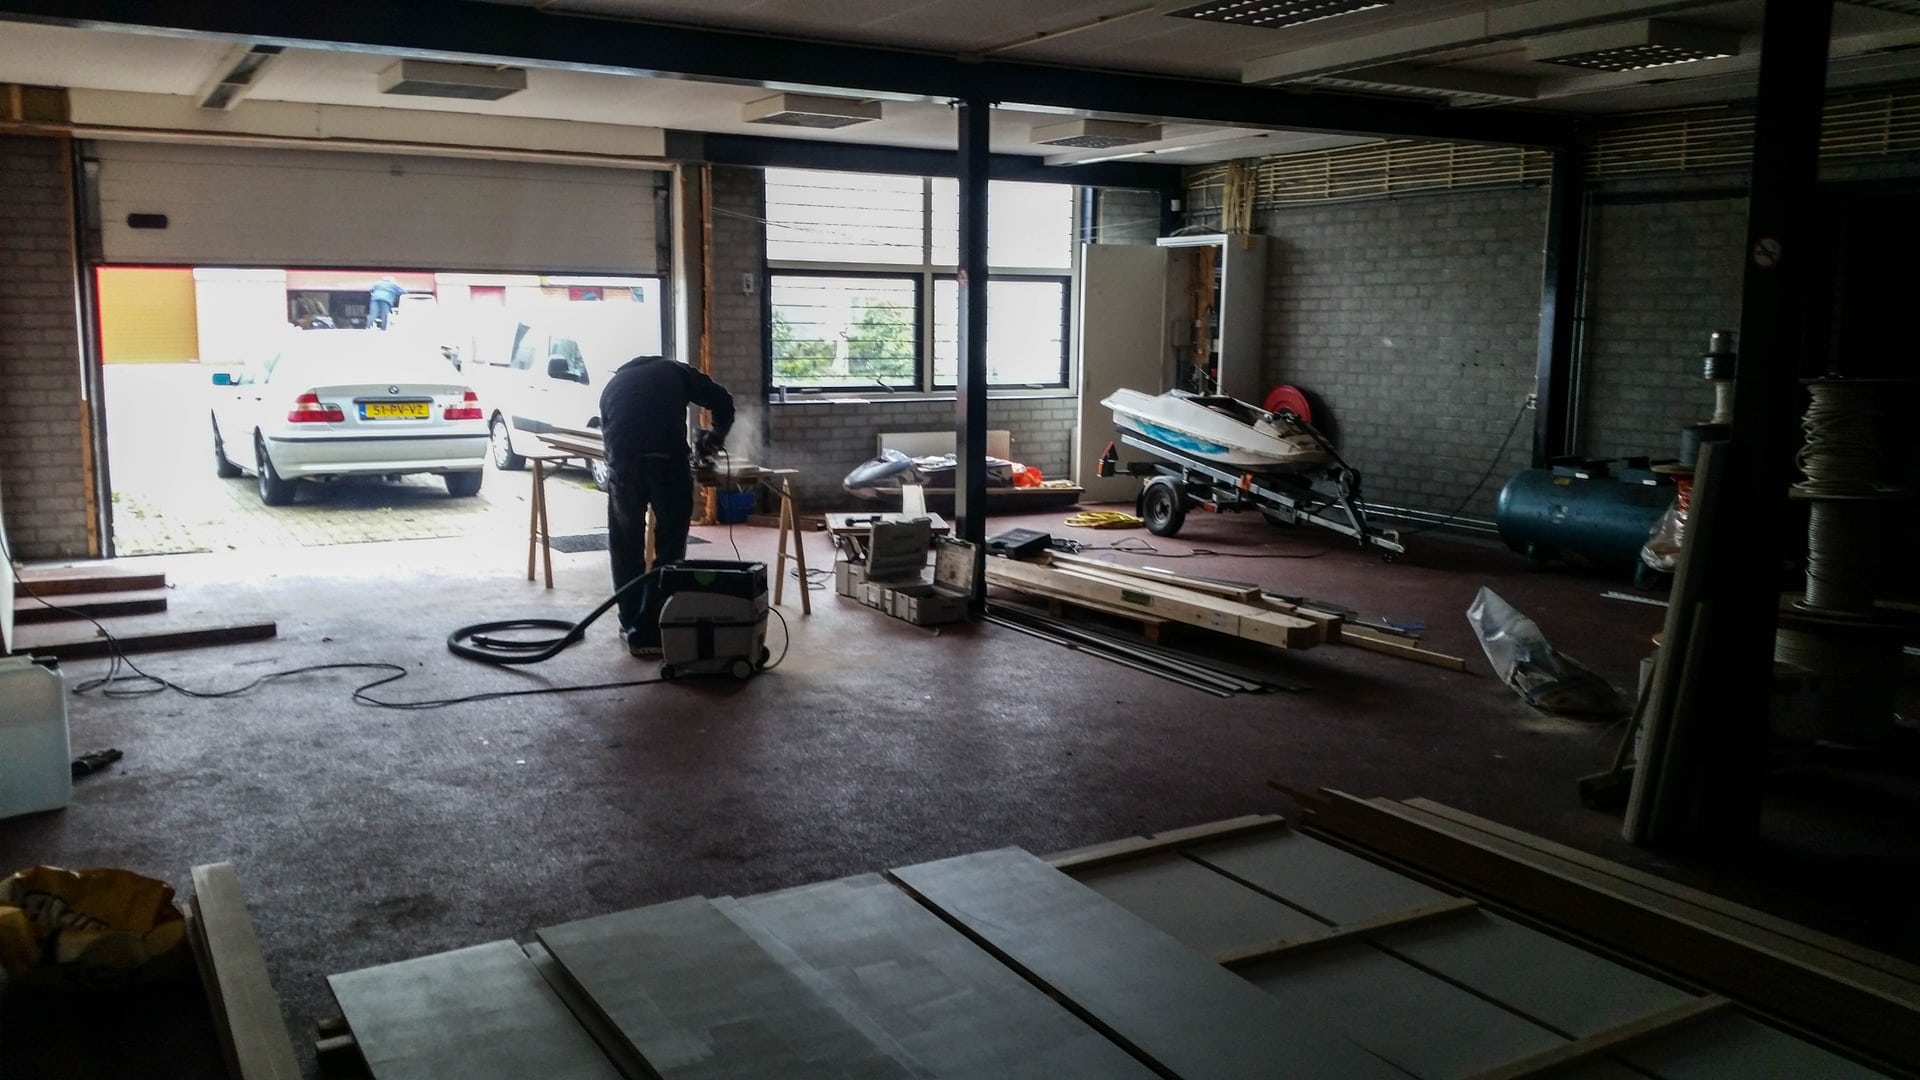
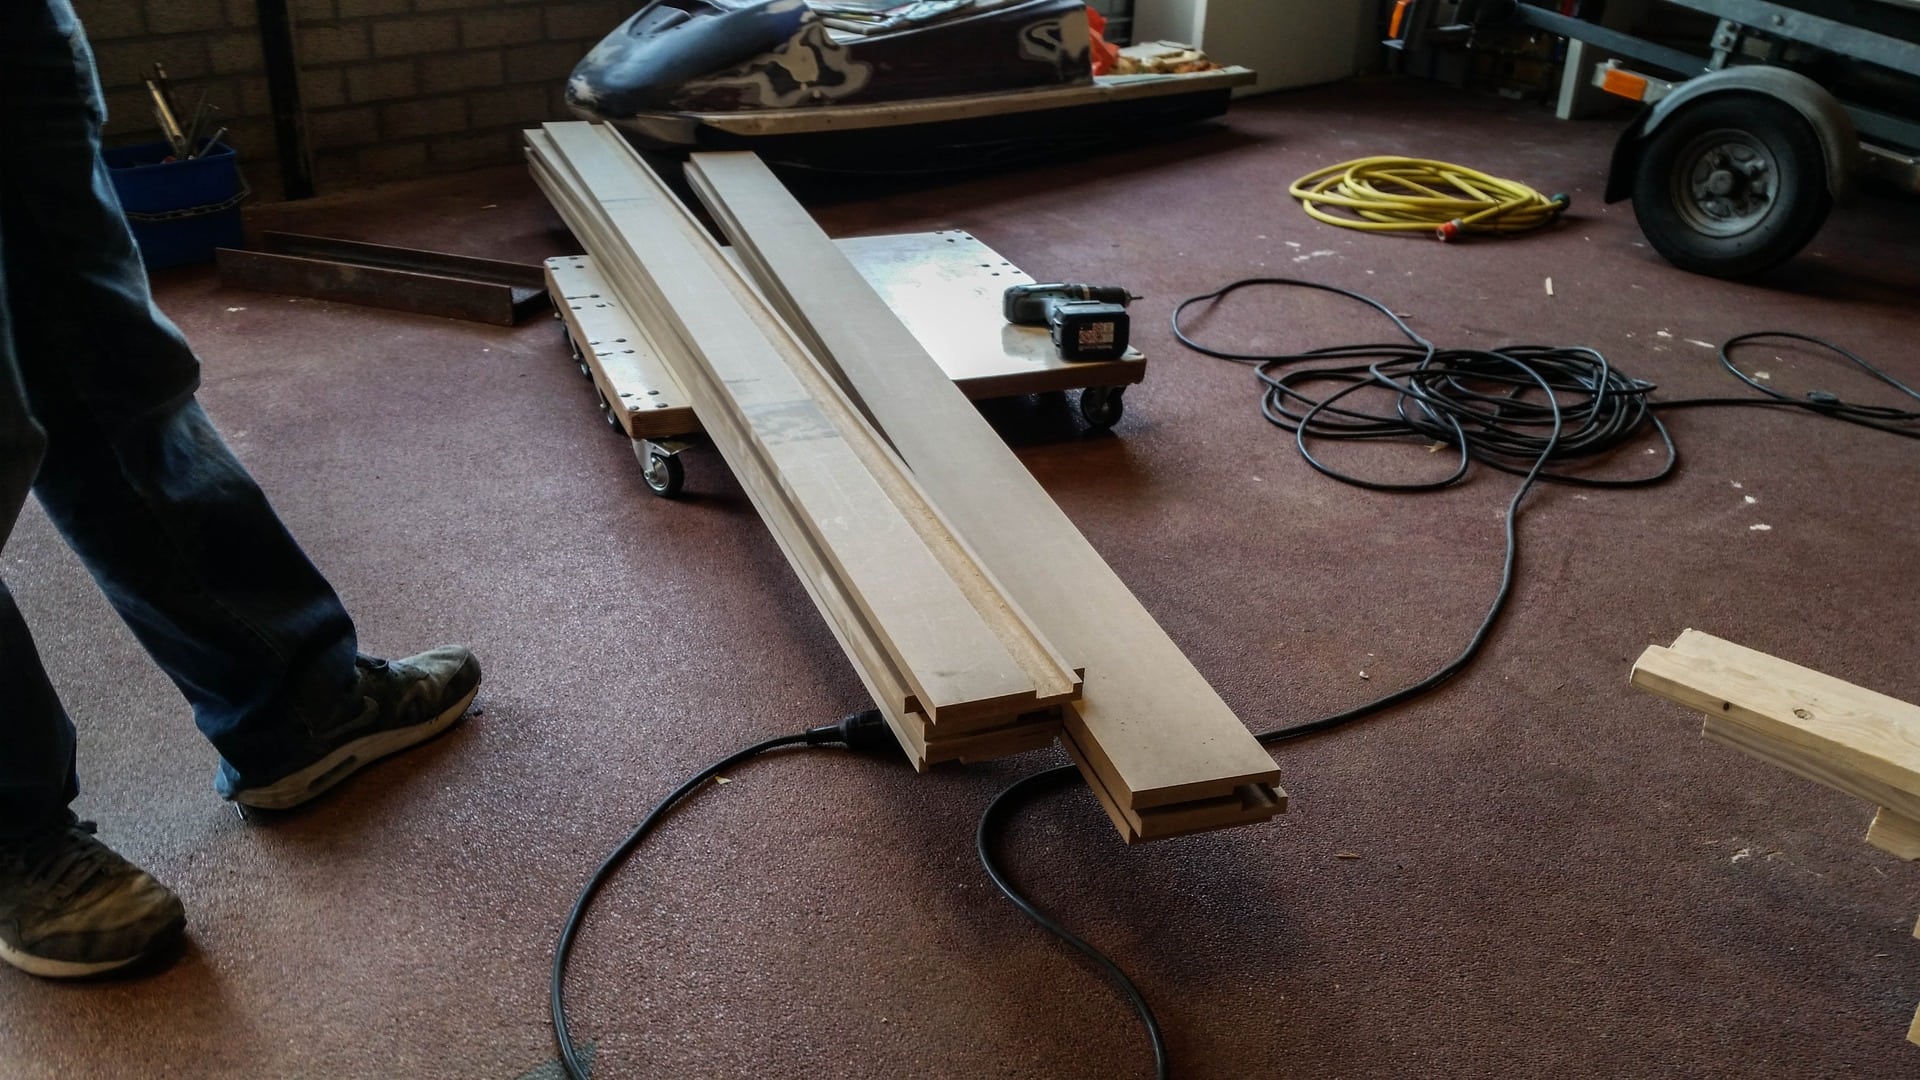
used plastic to cover up everything because it makes a big mess, very dusty
First test with the machine.
Some of the wire thats going in the house.
Thanks, but i used my festool vacuum machine, not sure if its stil ok after this job but the dust is not as bad right now as the fist time i used it.
The old wiring is a mess, and the whole living room and kitchen are on 1 fuse......
So its good that i do this because i would have had allot of problems then, and the suction hood for the gas stove i opened up .
The pipes that should let the air outside go out was not even connected so behind the stainless steel cover were the engine is it was all greasy and yellow :S
Well , i have done some work again.
Big project but little time :S
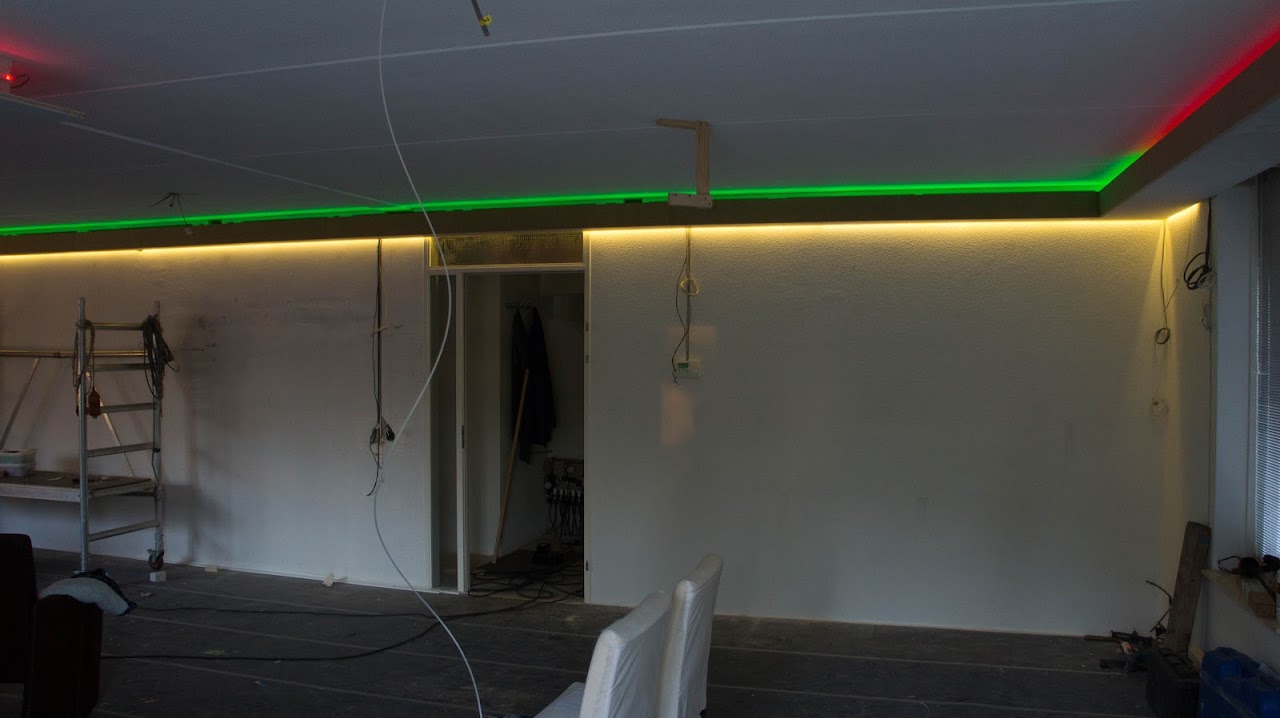
Anyway, what i was planning to do, since i am going to use allot of LED lighting.
I want to use a DMX controller and some decoders to control the lights.
Also wire some of the lights in case there is a error in whatever that breaks down, so i can turn a switch and some lights turn on for emergency for example.
But, the question here is, i am reading and reading for a few days now, is there anyone that is using DMX at home to control his lighting ?
And more important, can you control it in Homeseer ? (HStouch)
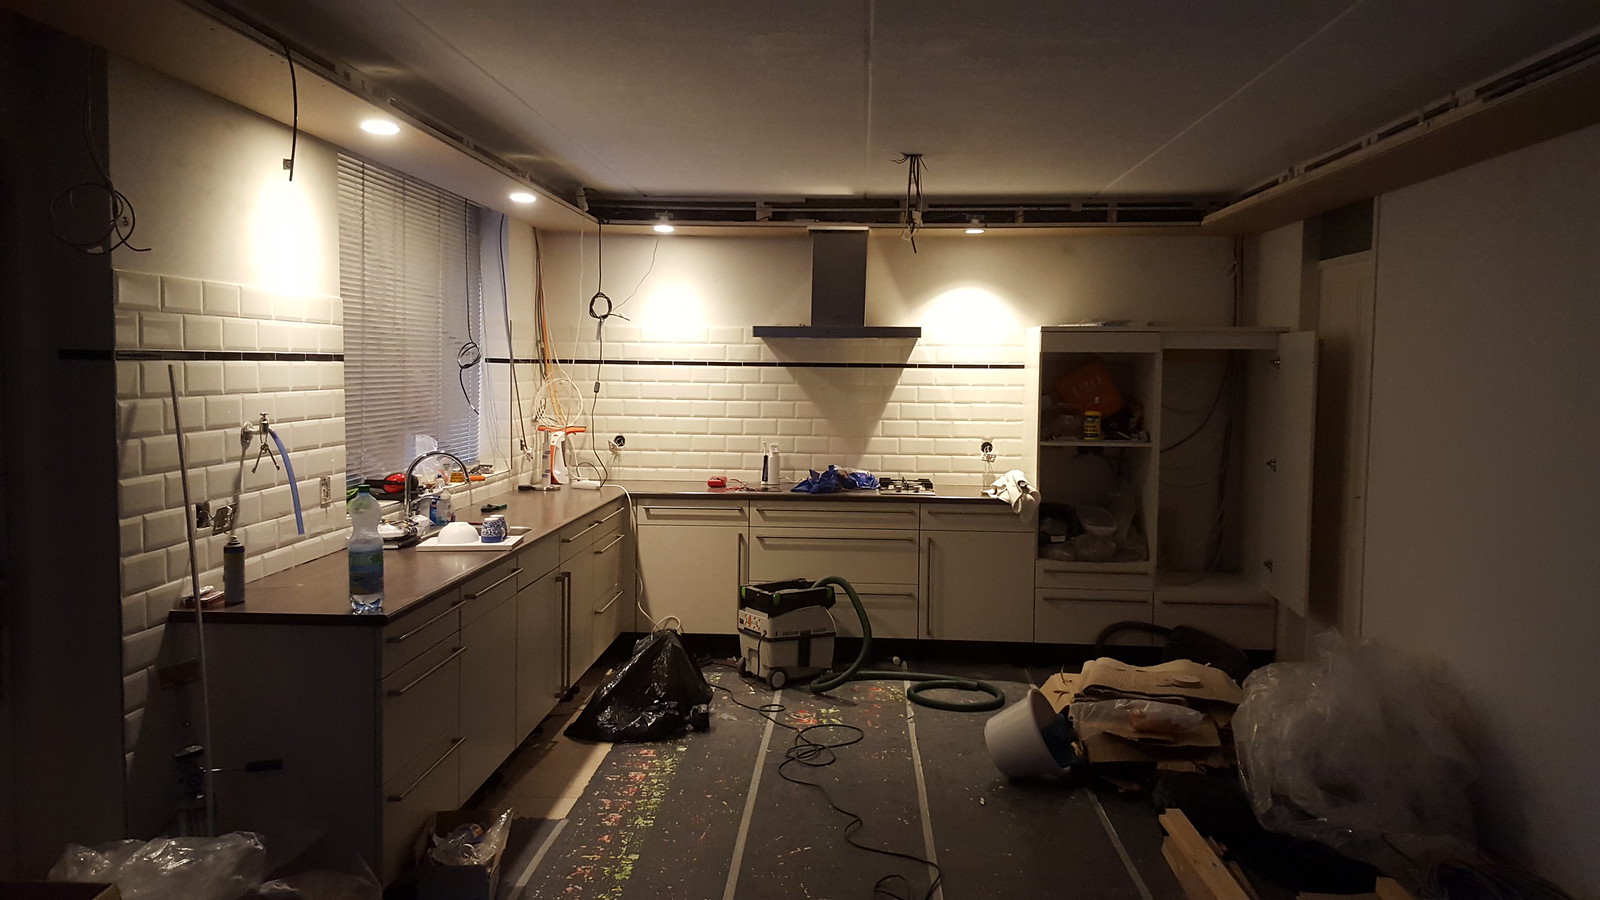
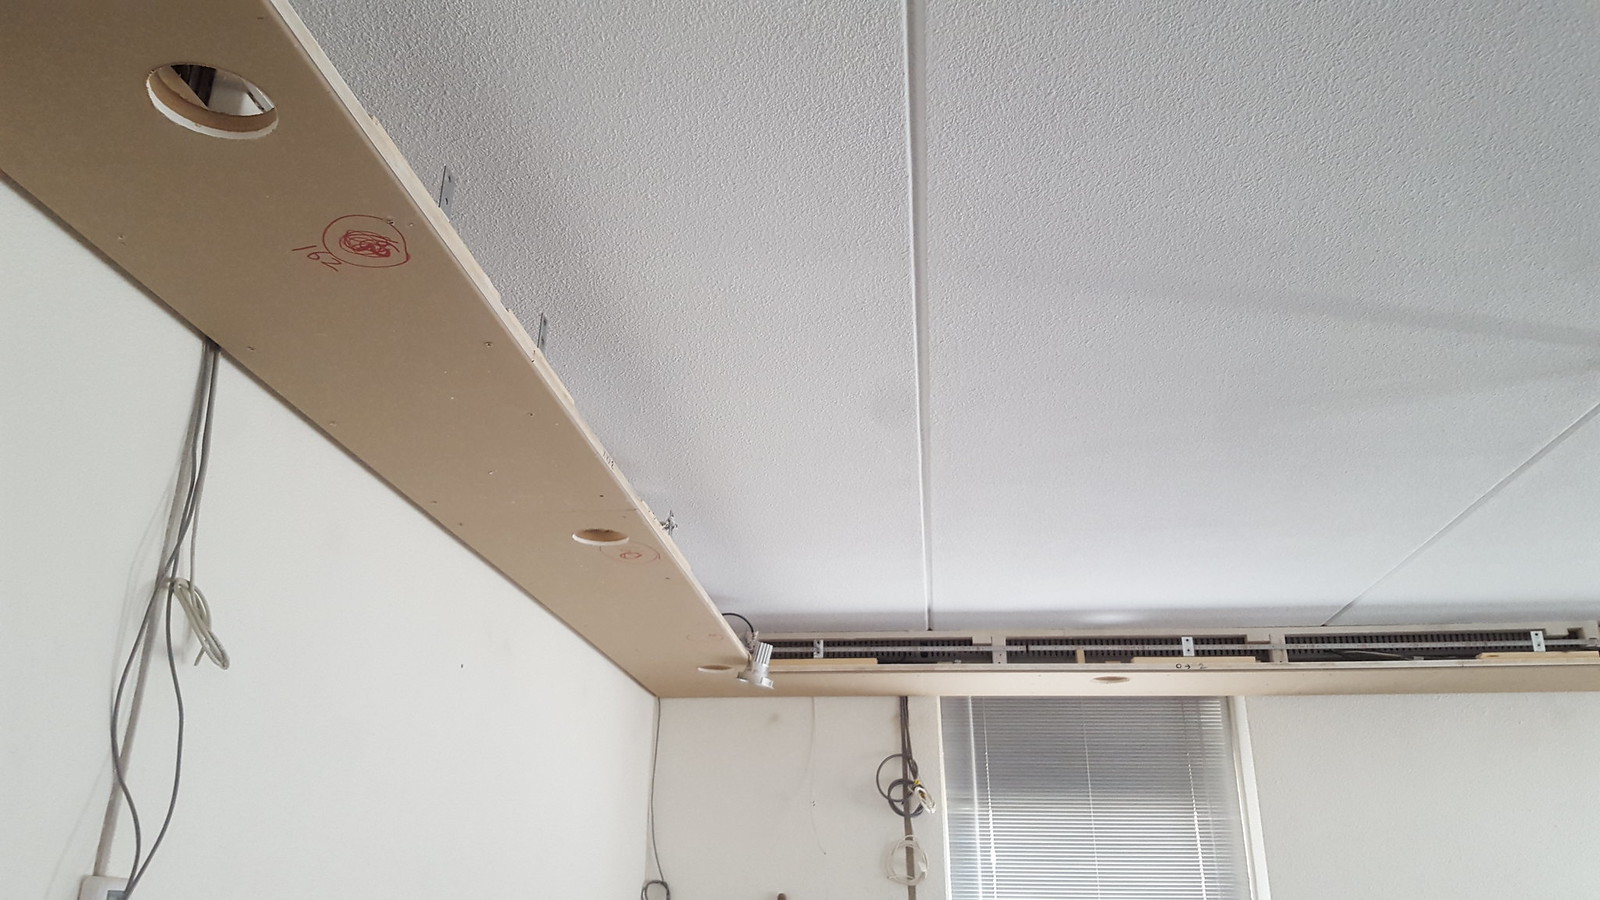
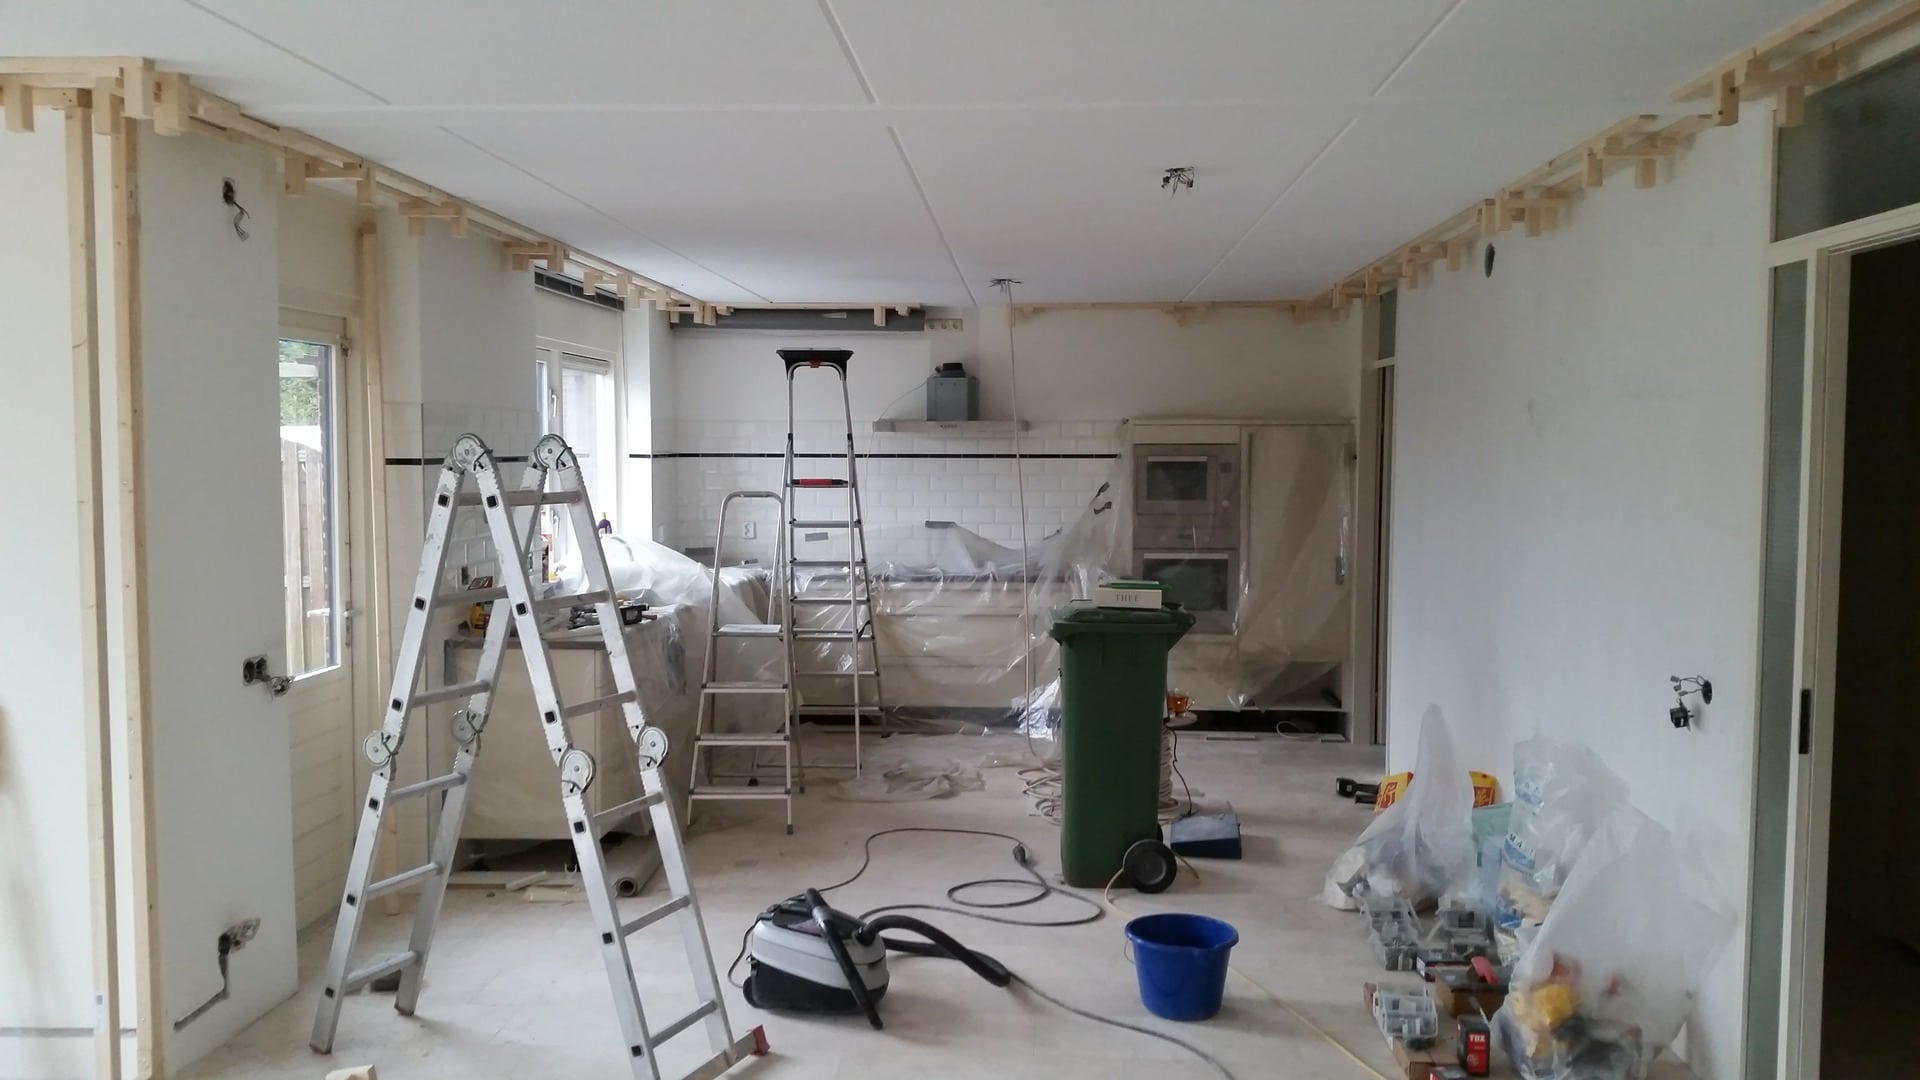
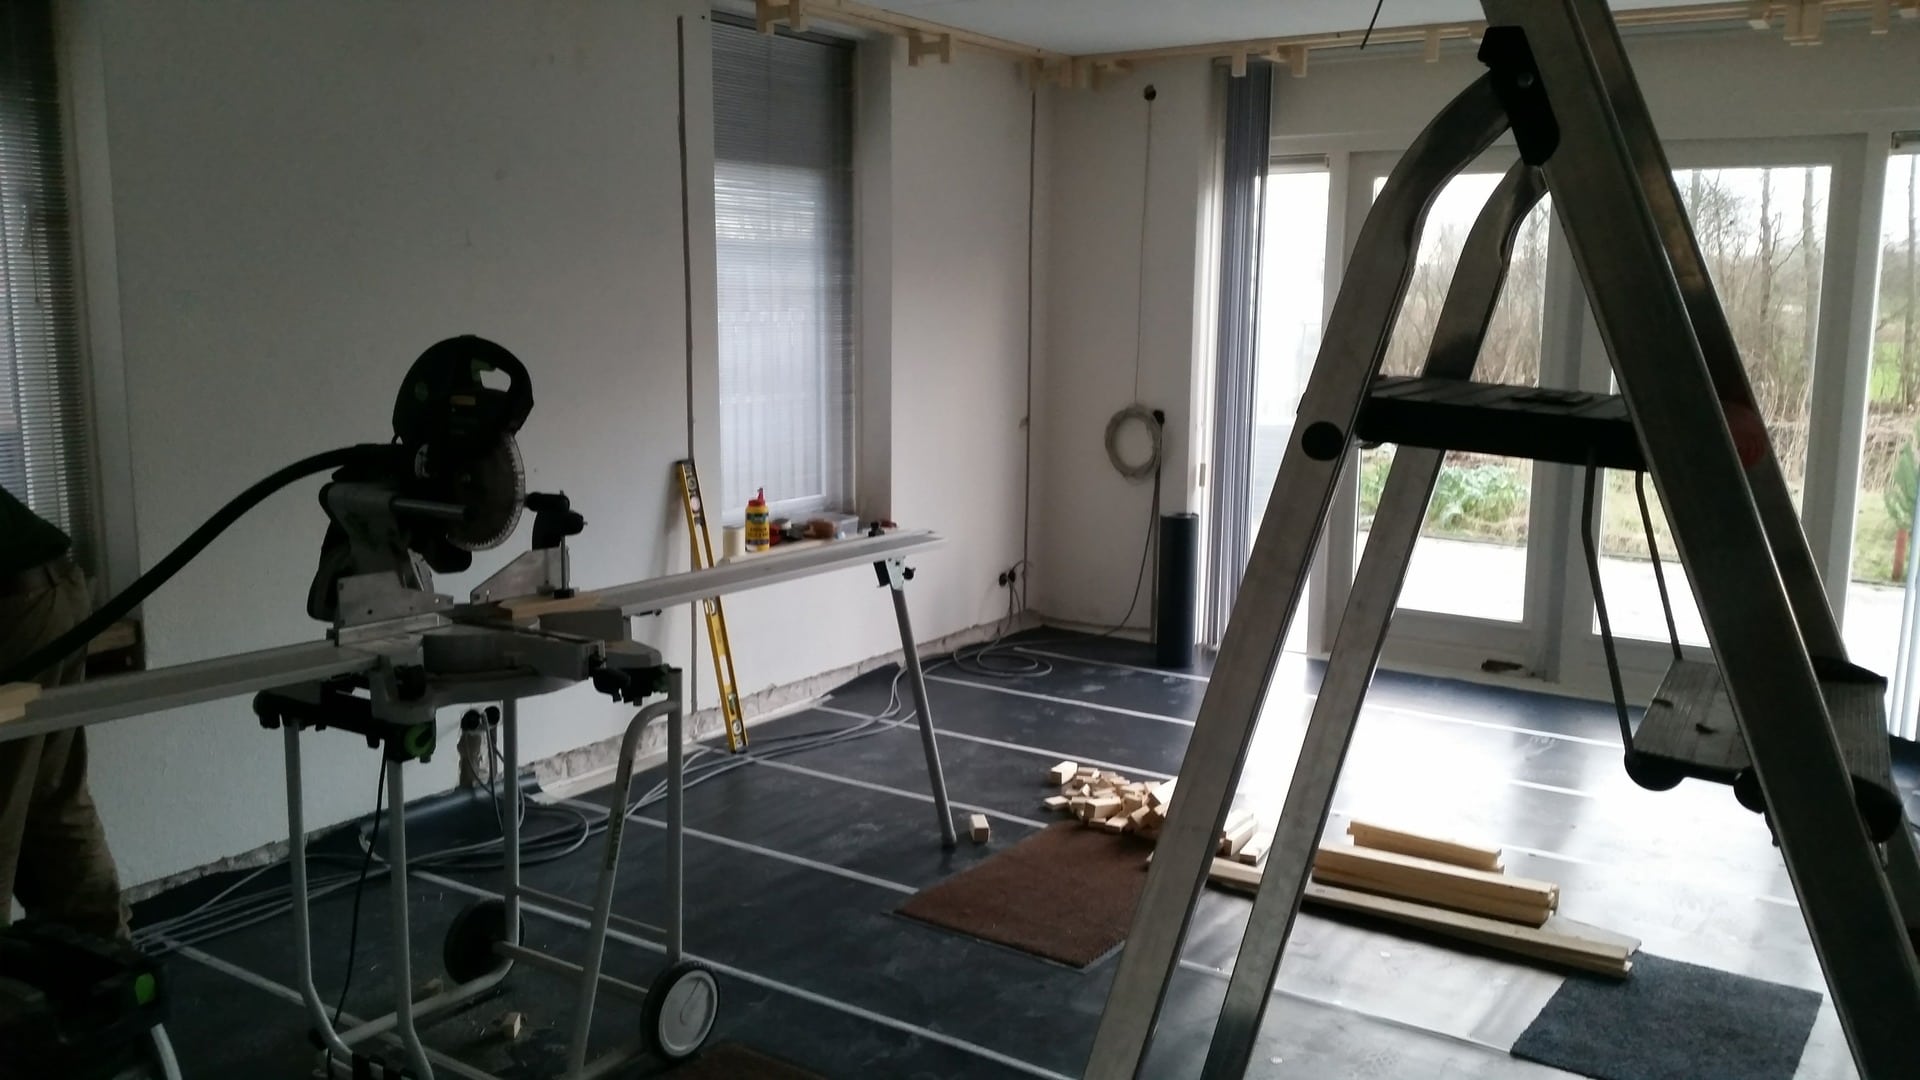
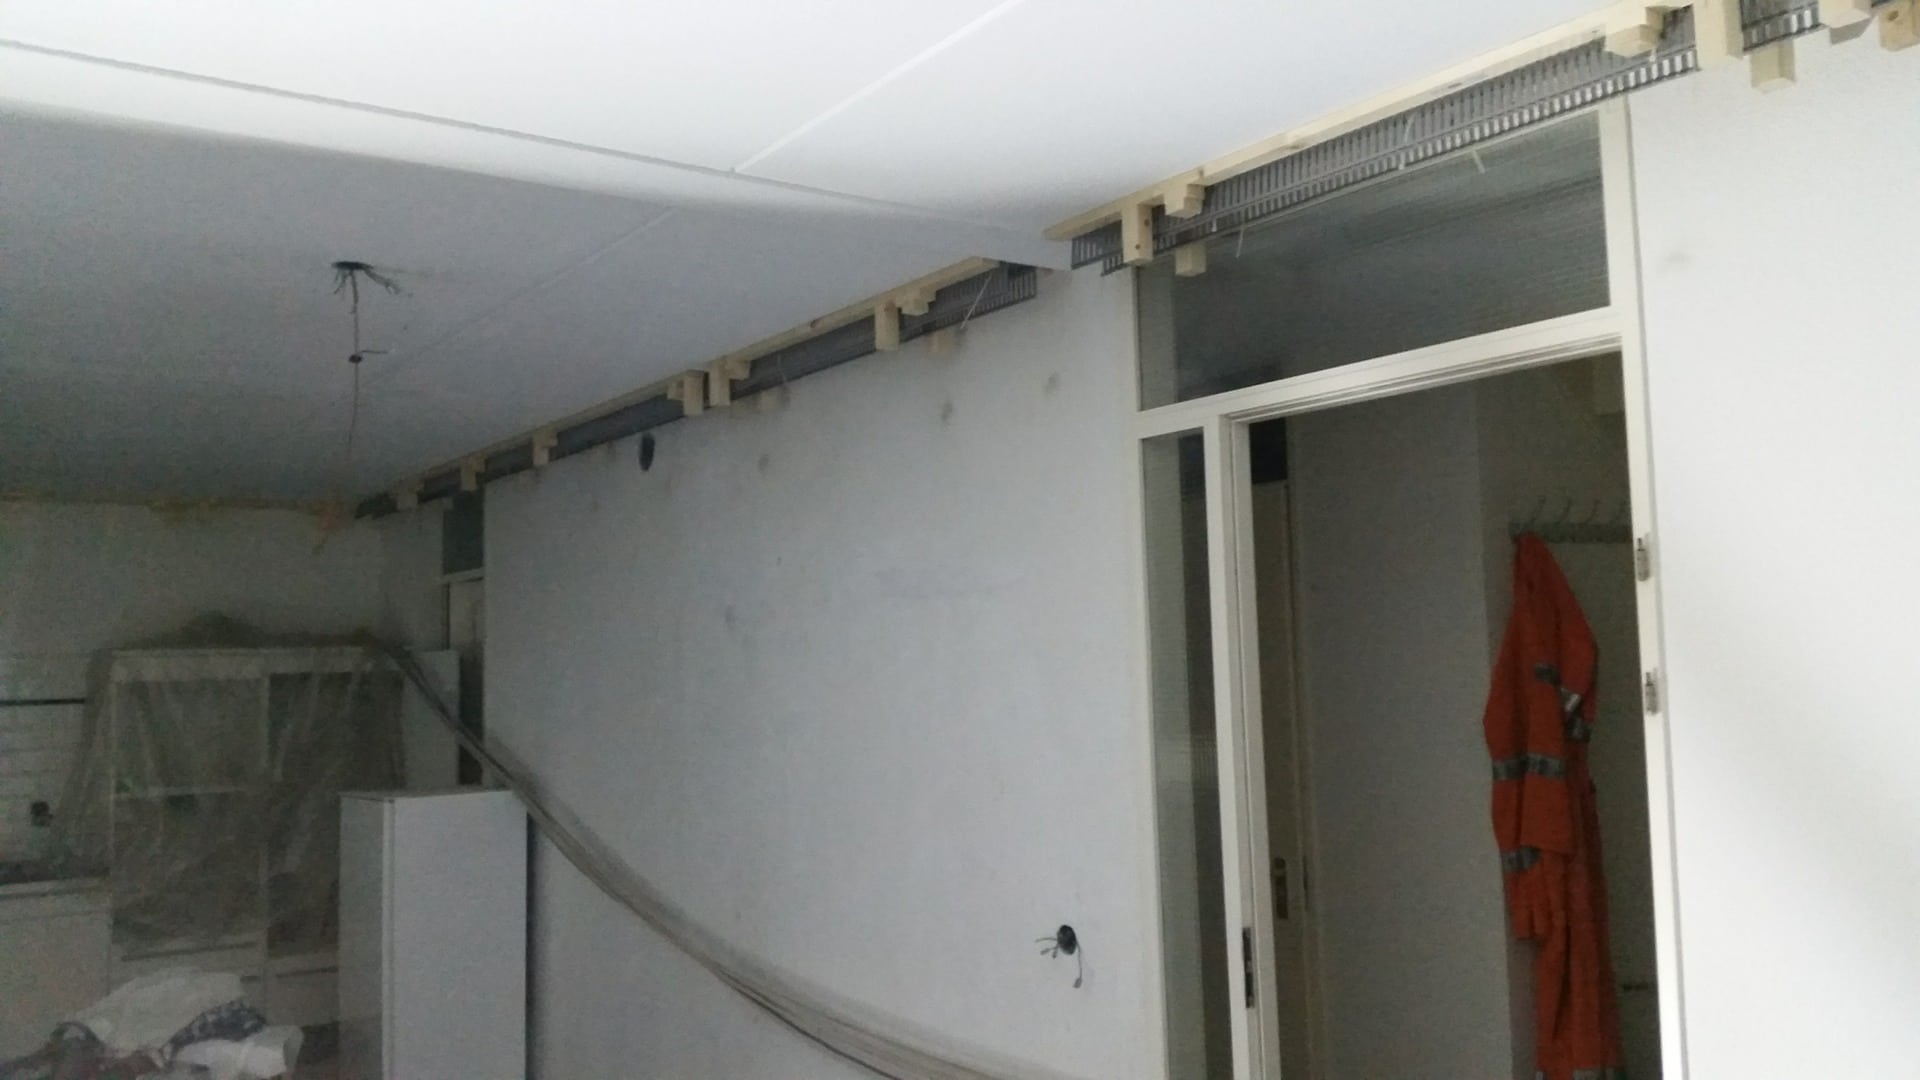
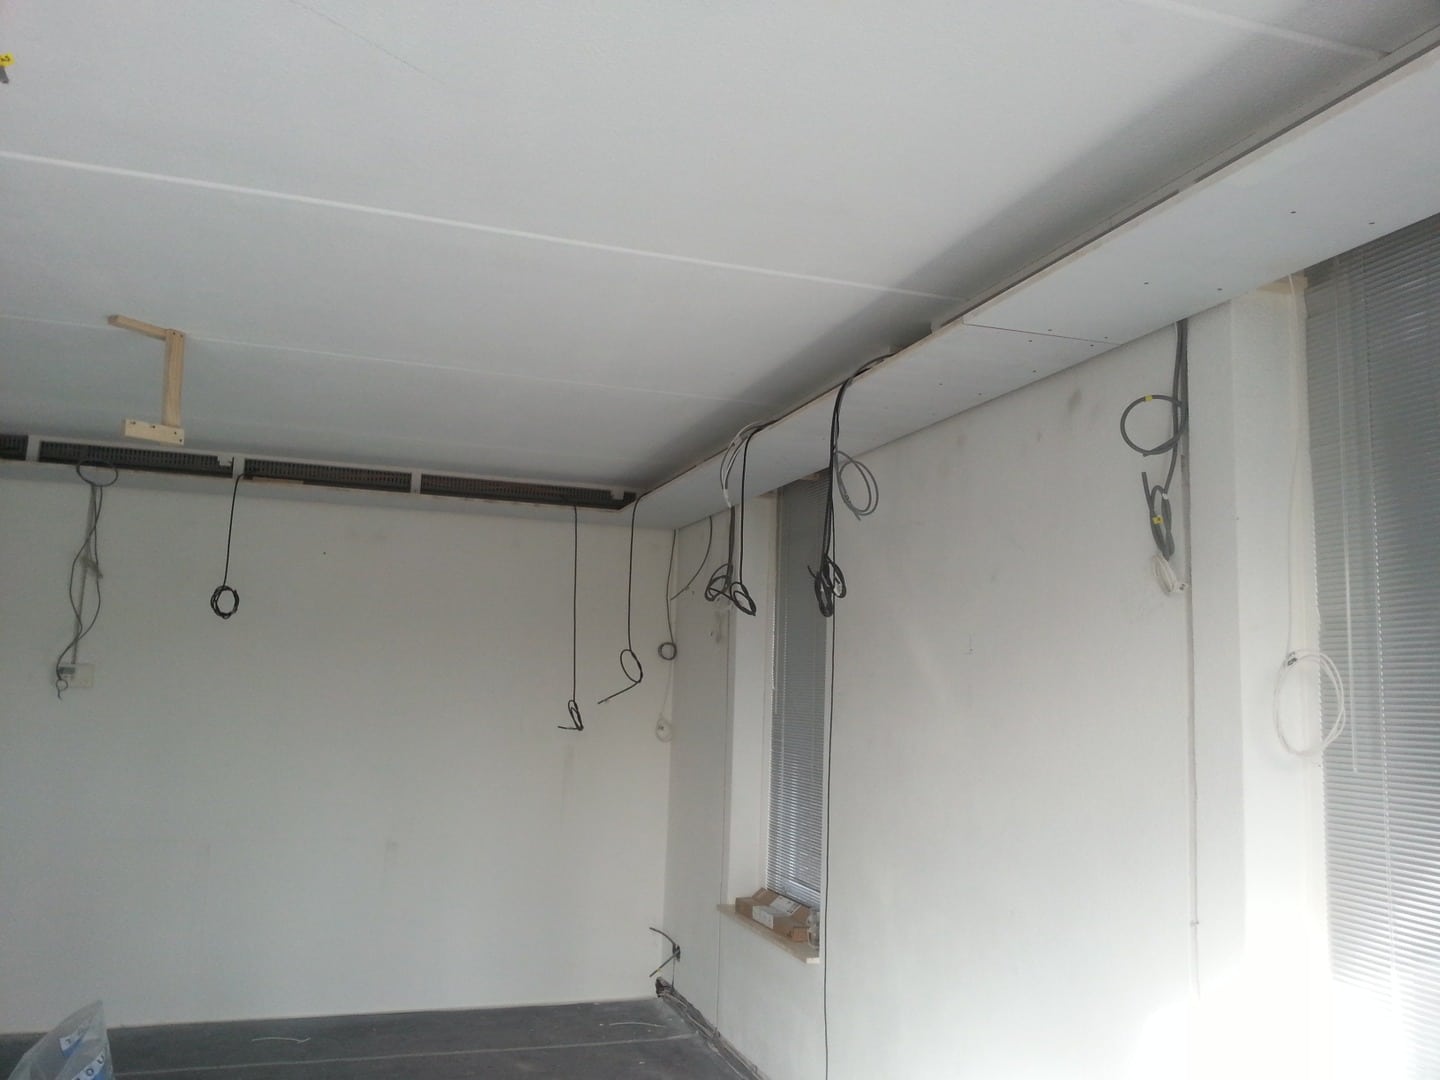
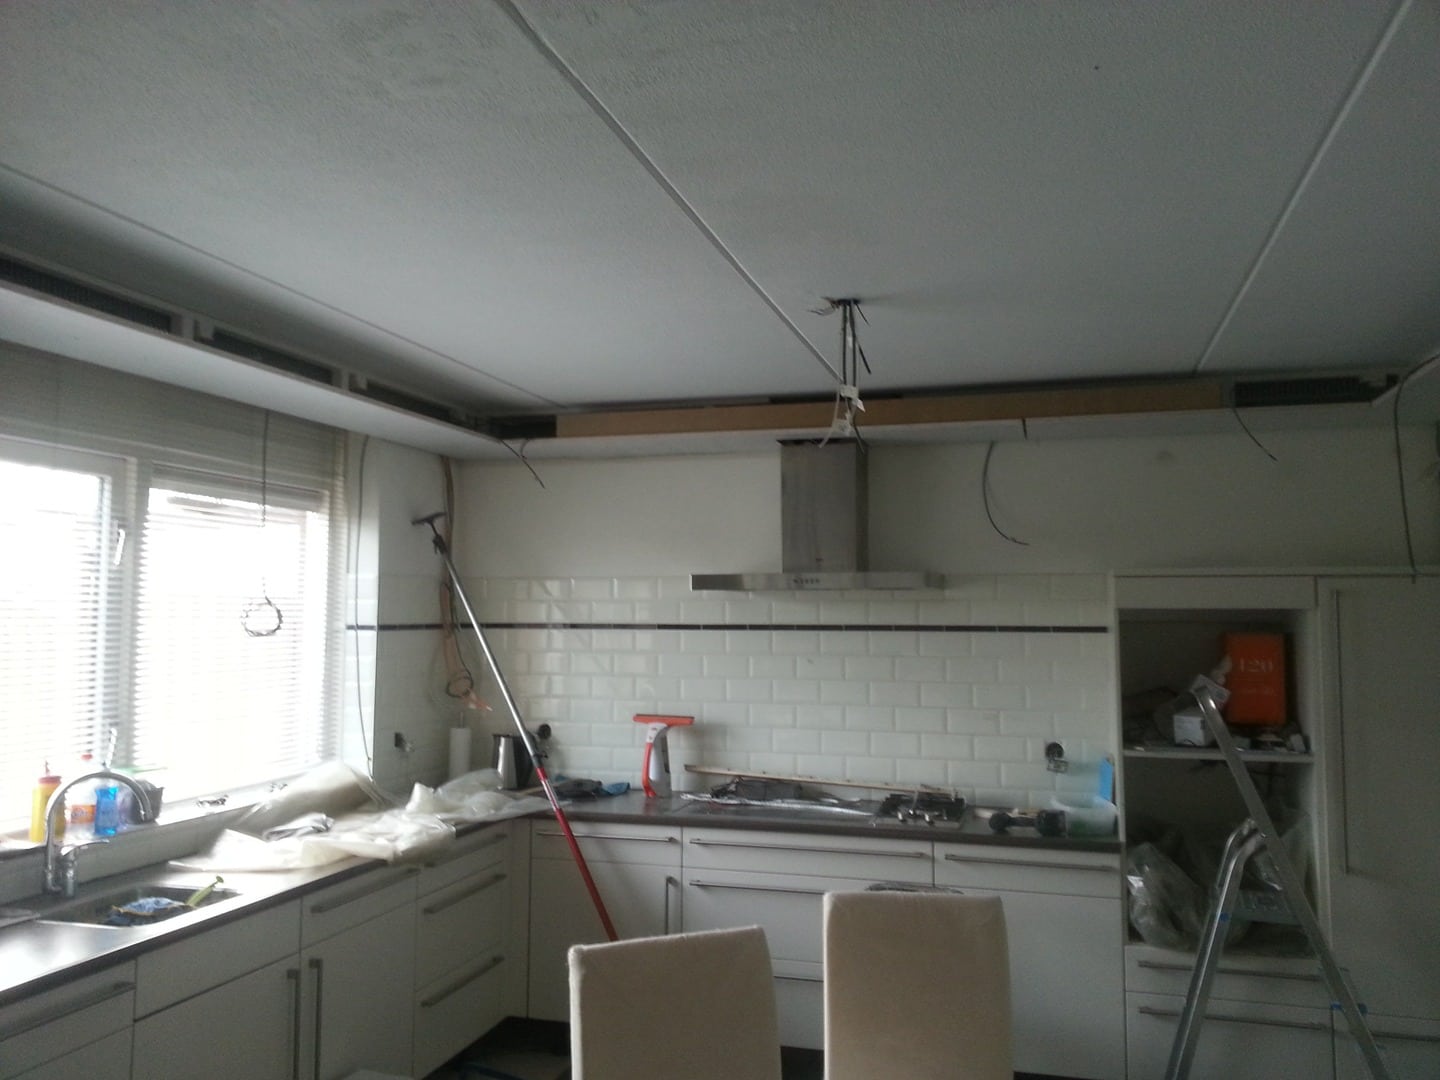
Well some pictures of the progress,
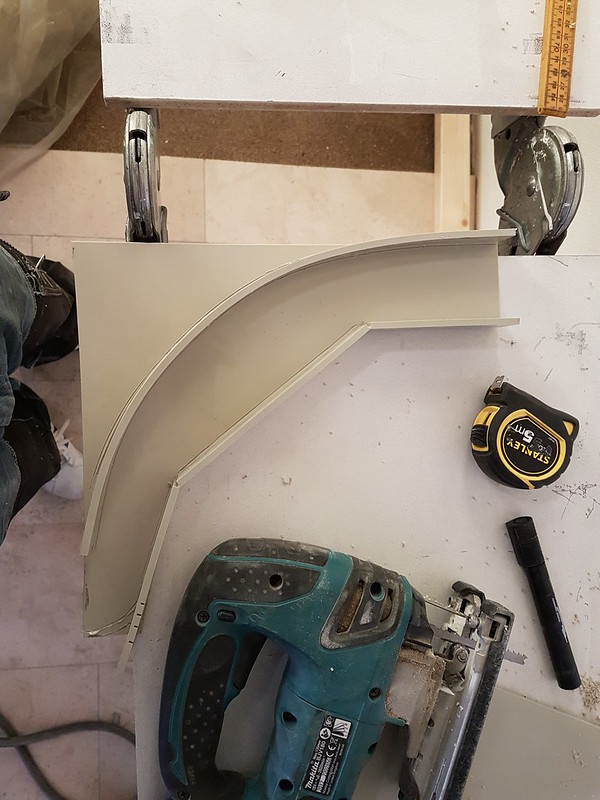
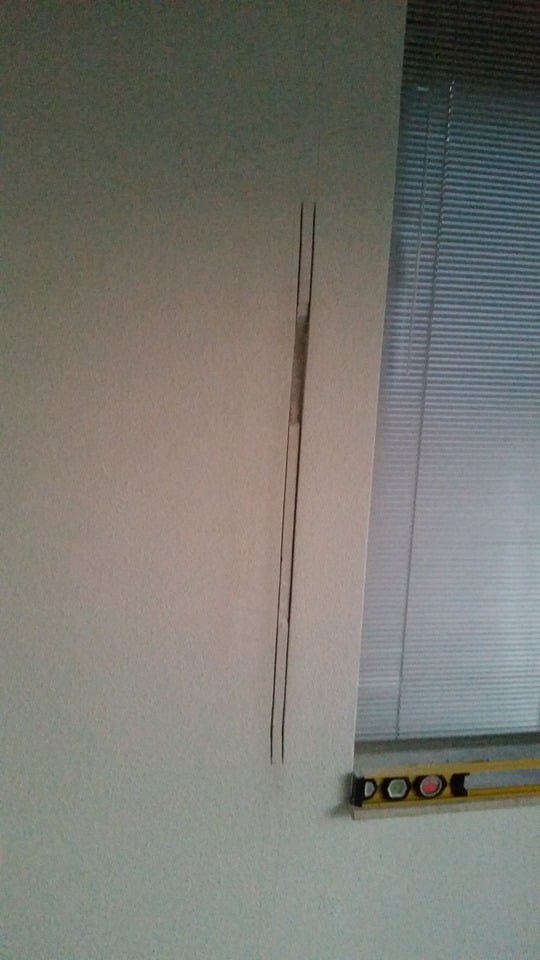
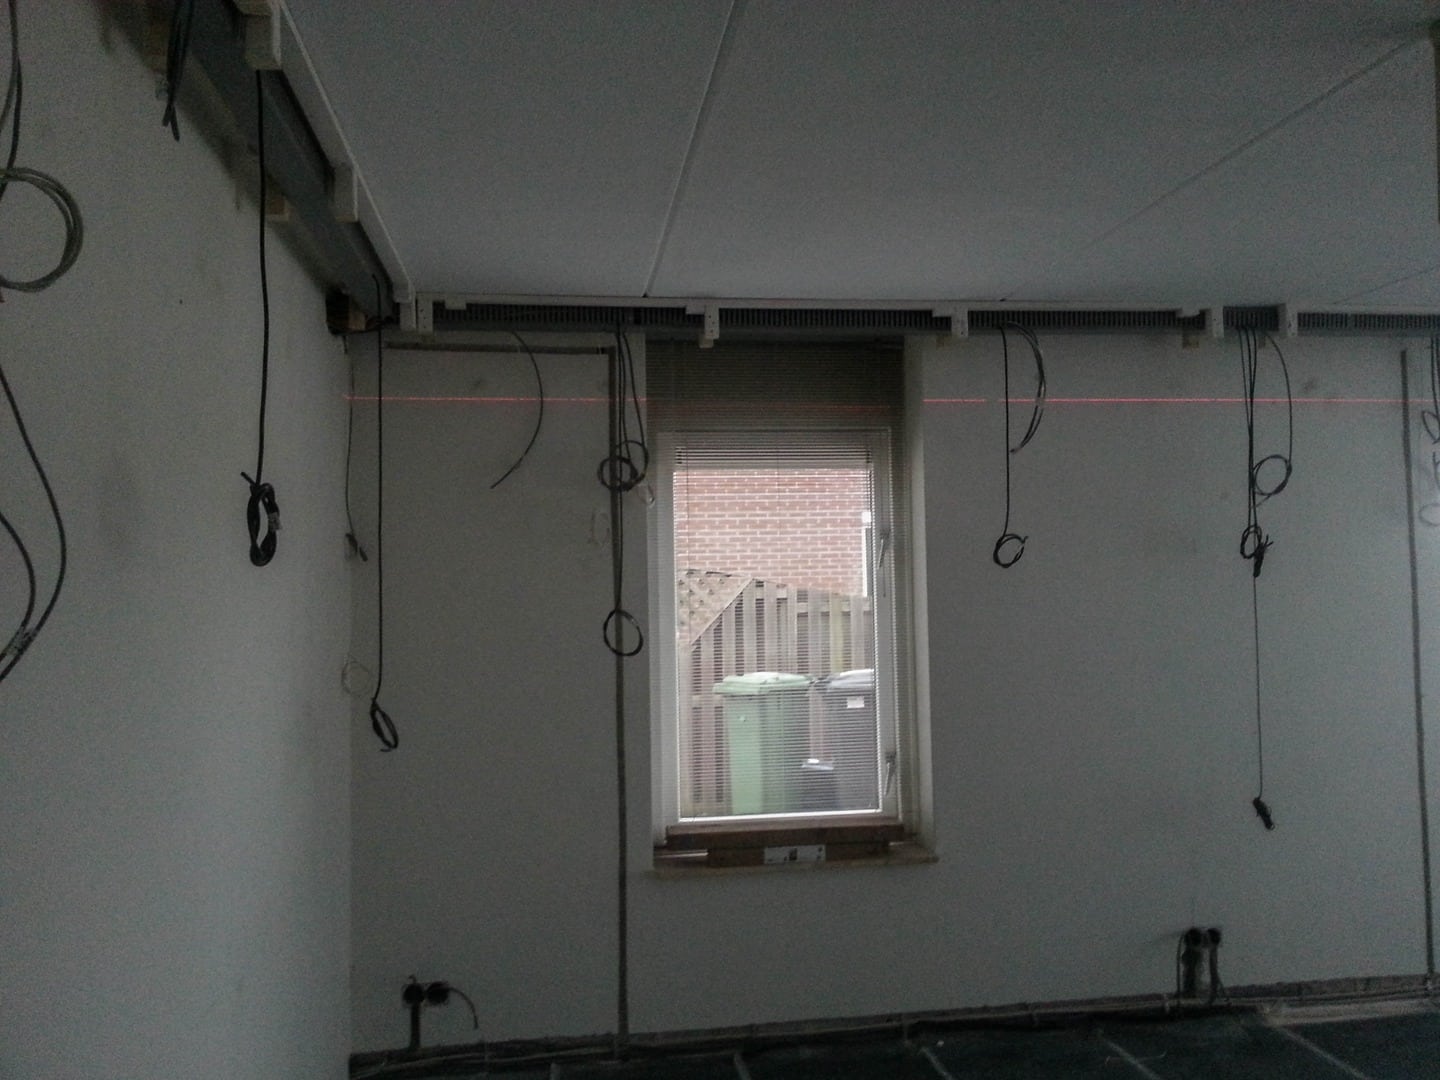
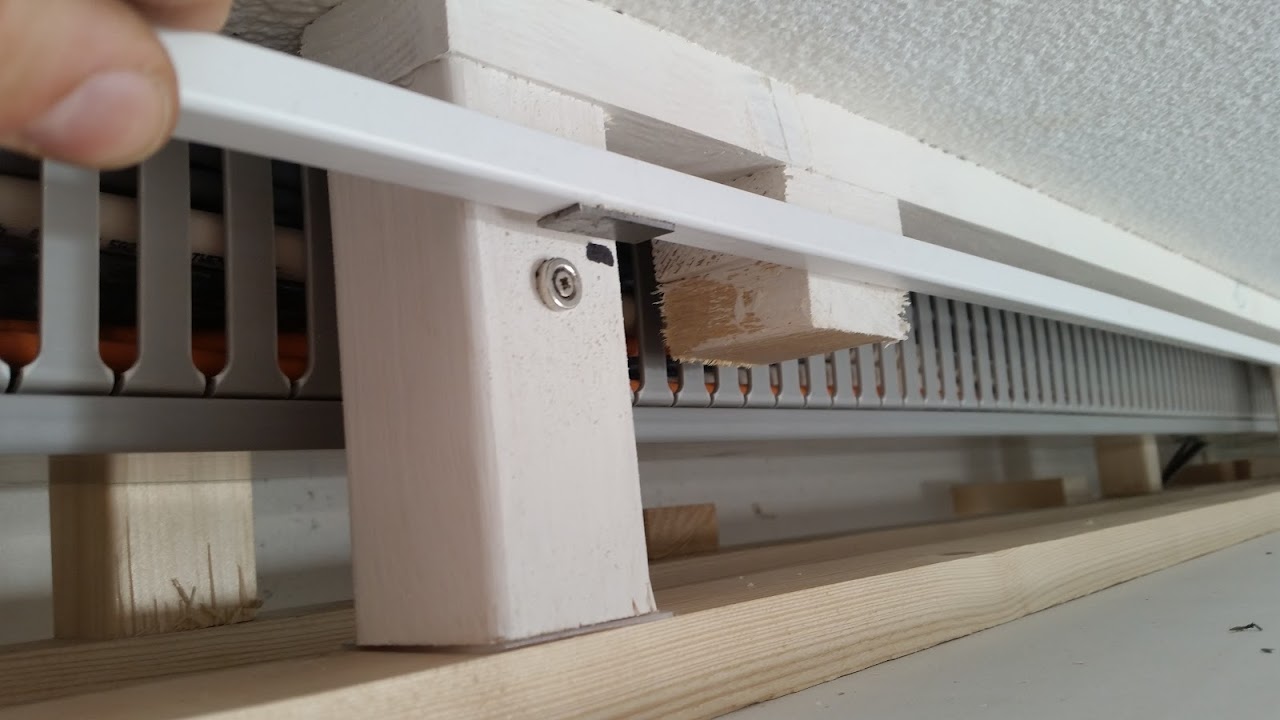
You would think that in a house that is build in 2001 that they can work more precise (haaks) but its not everywhere the case.
anyway i got some tools that make it easier.
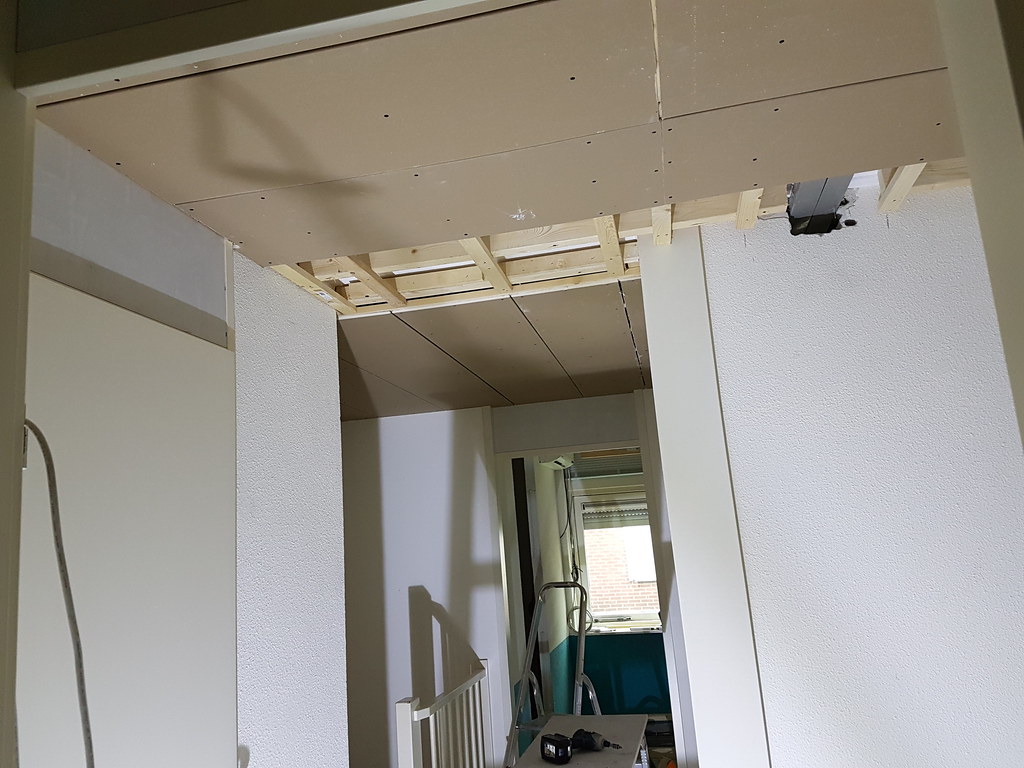
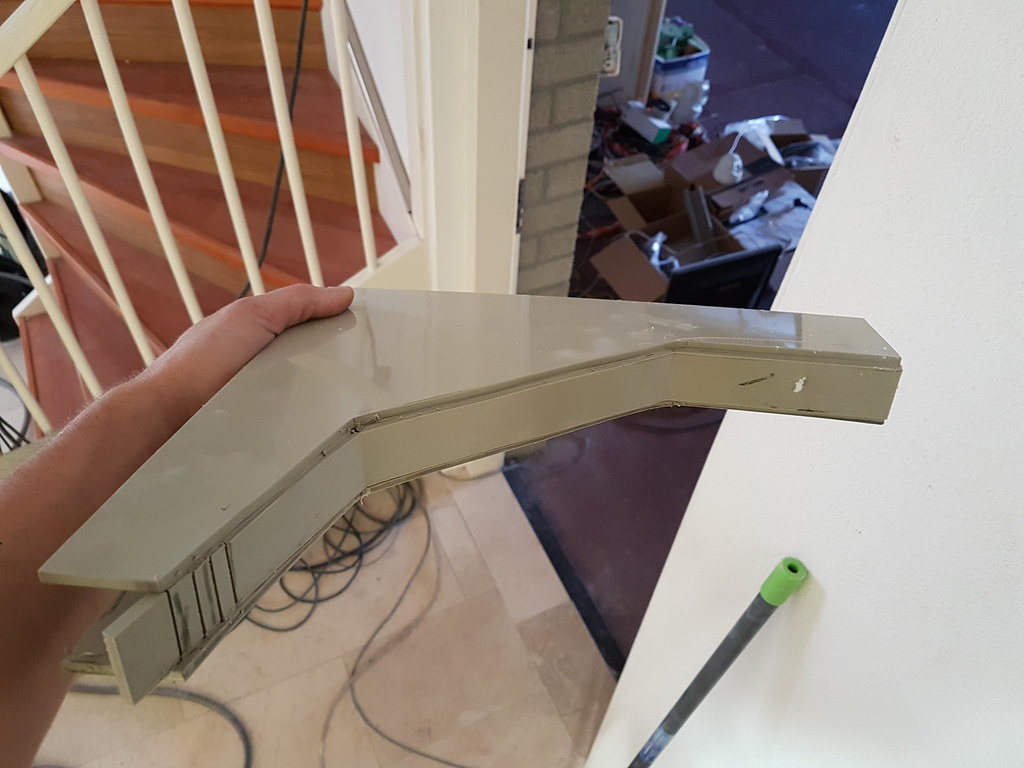
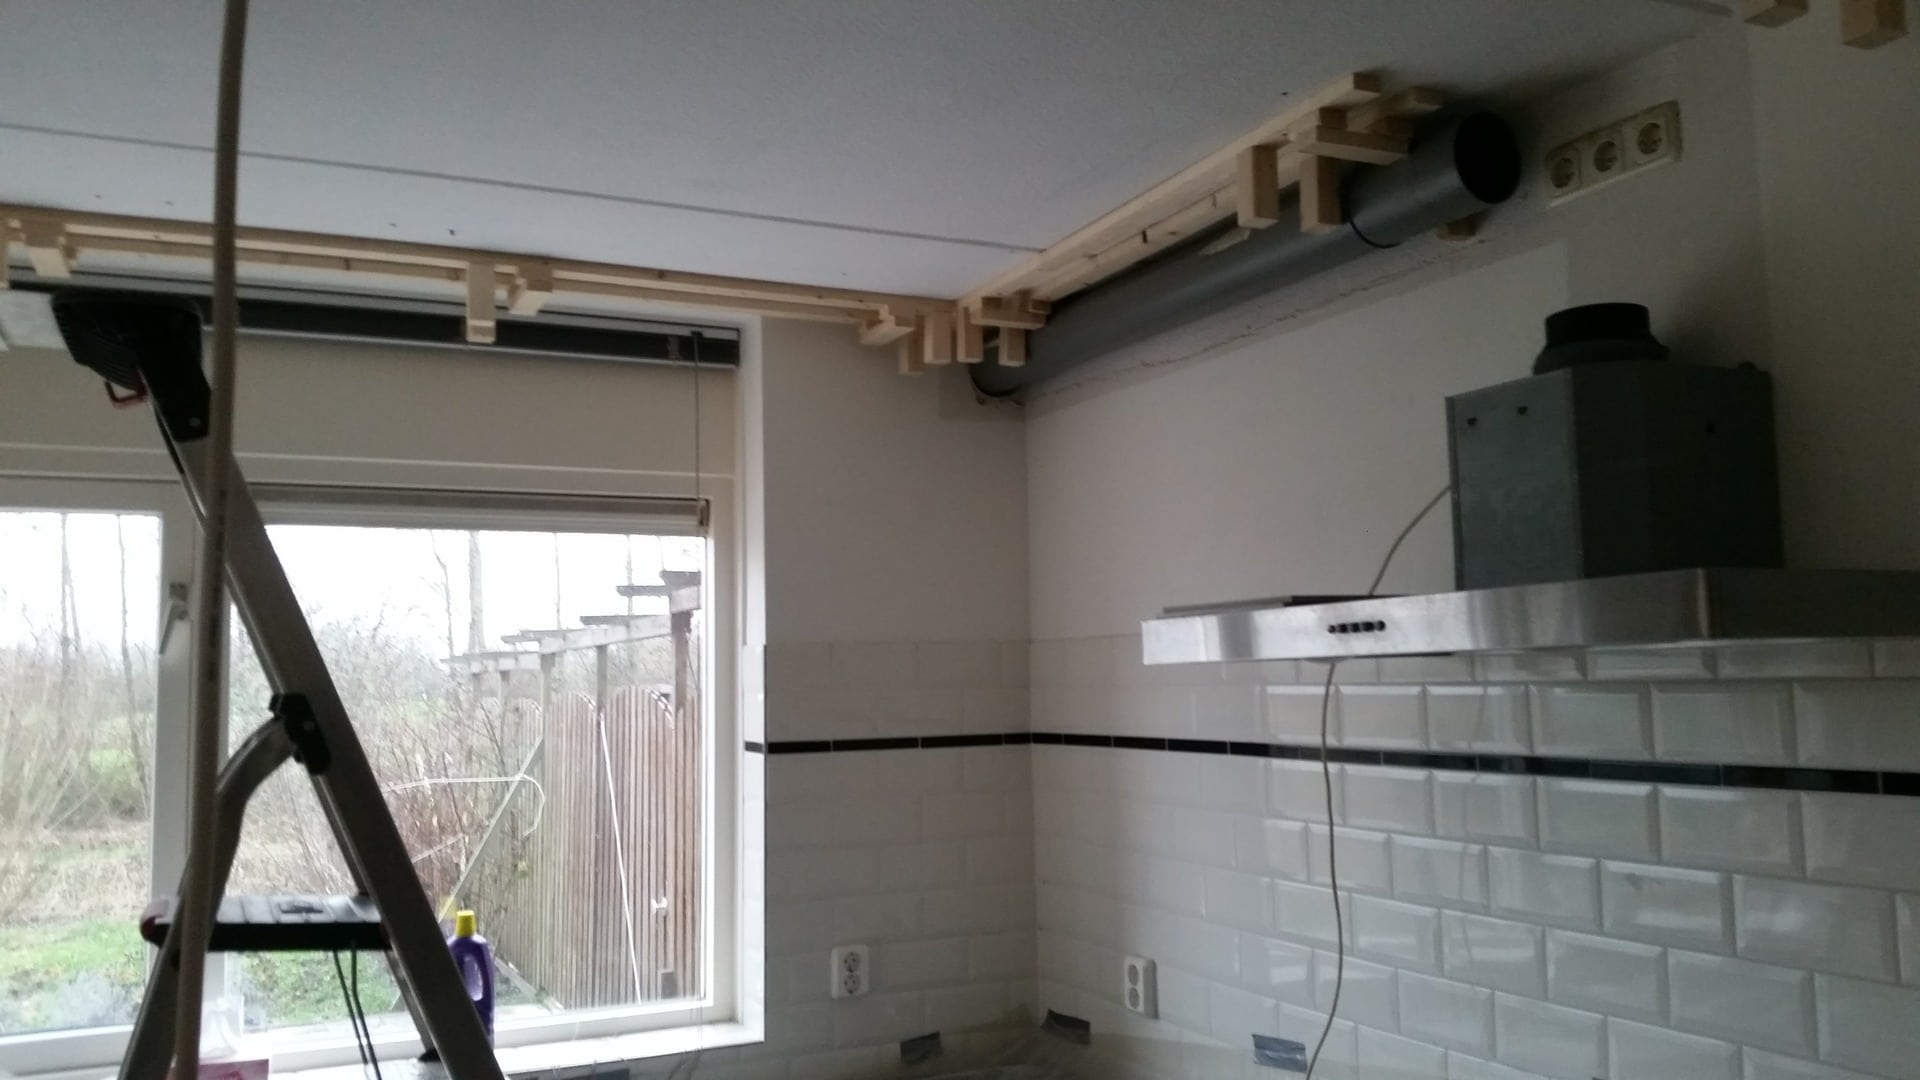
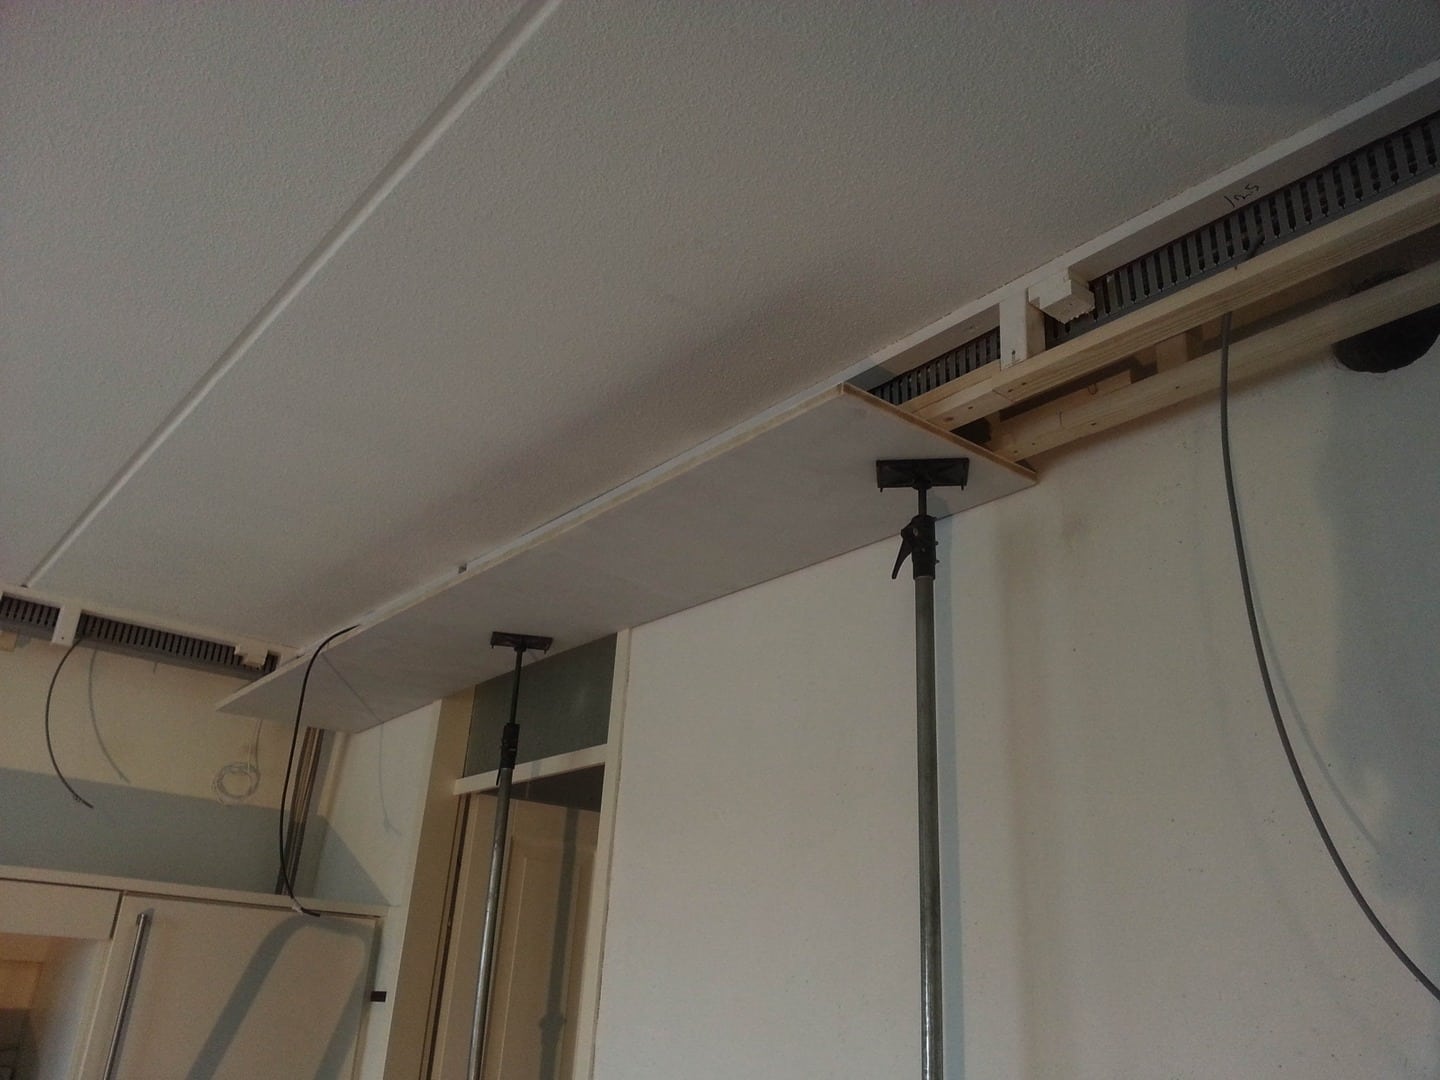
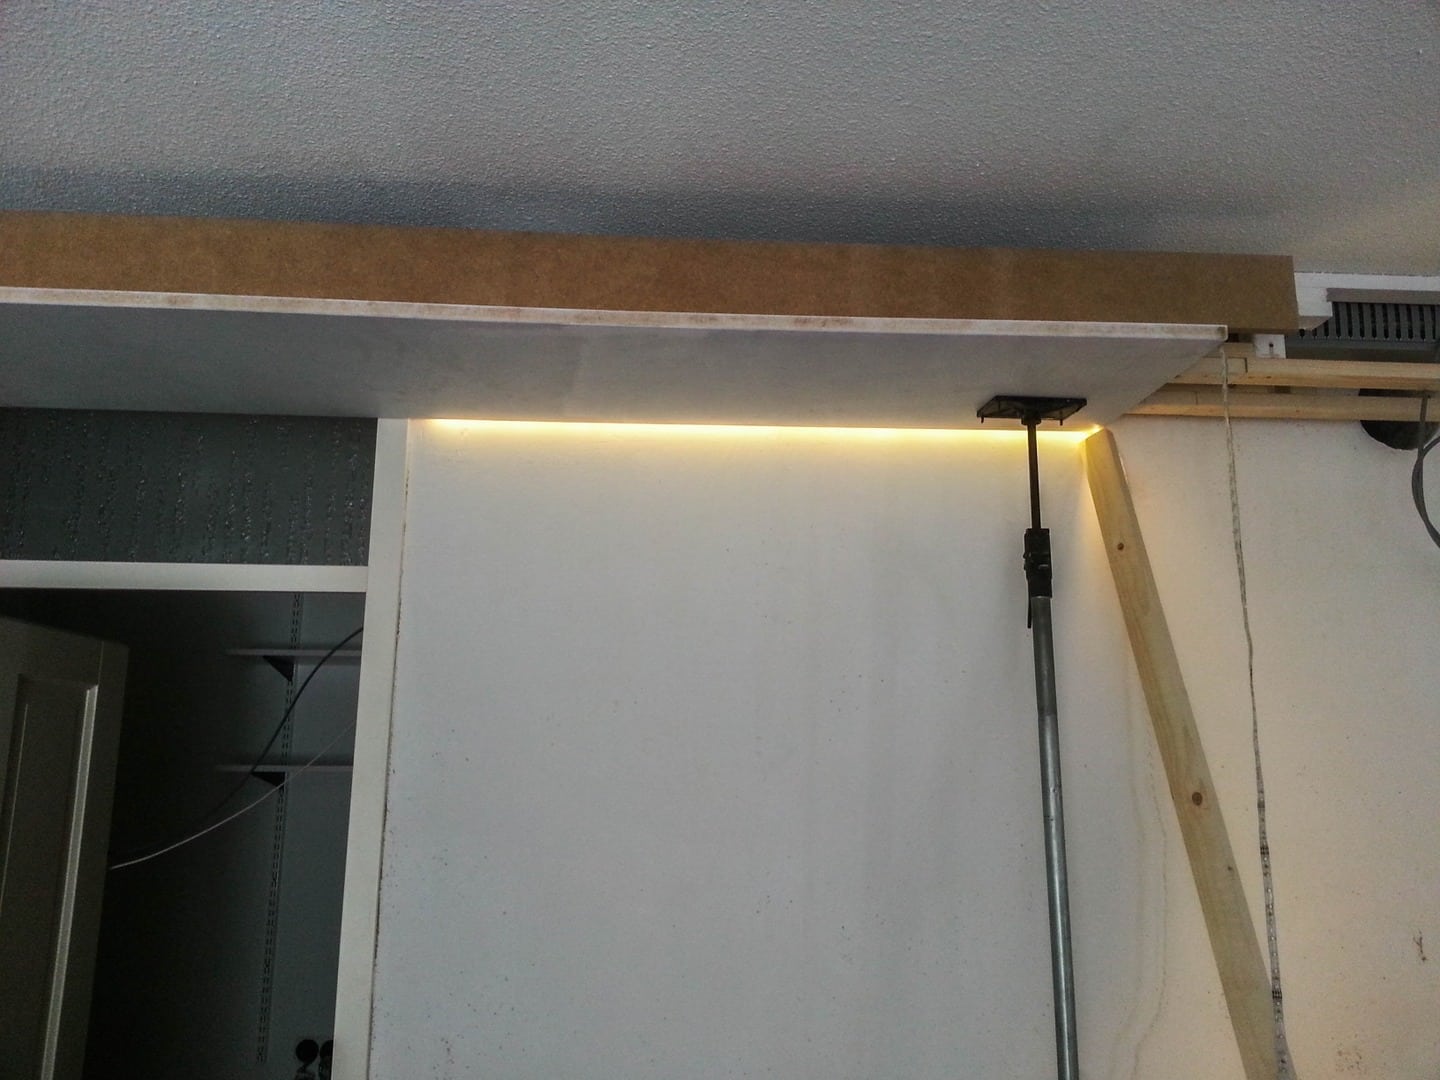
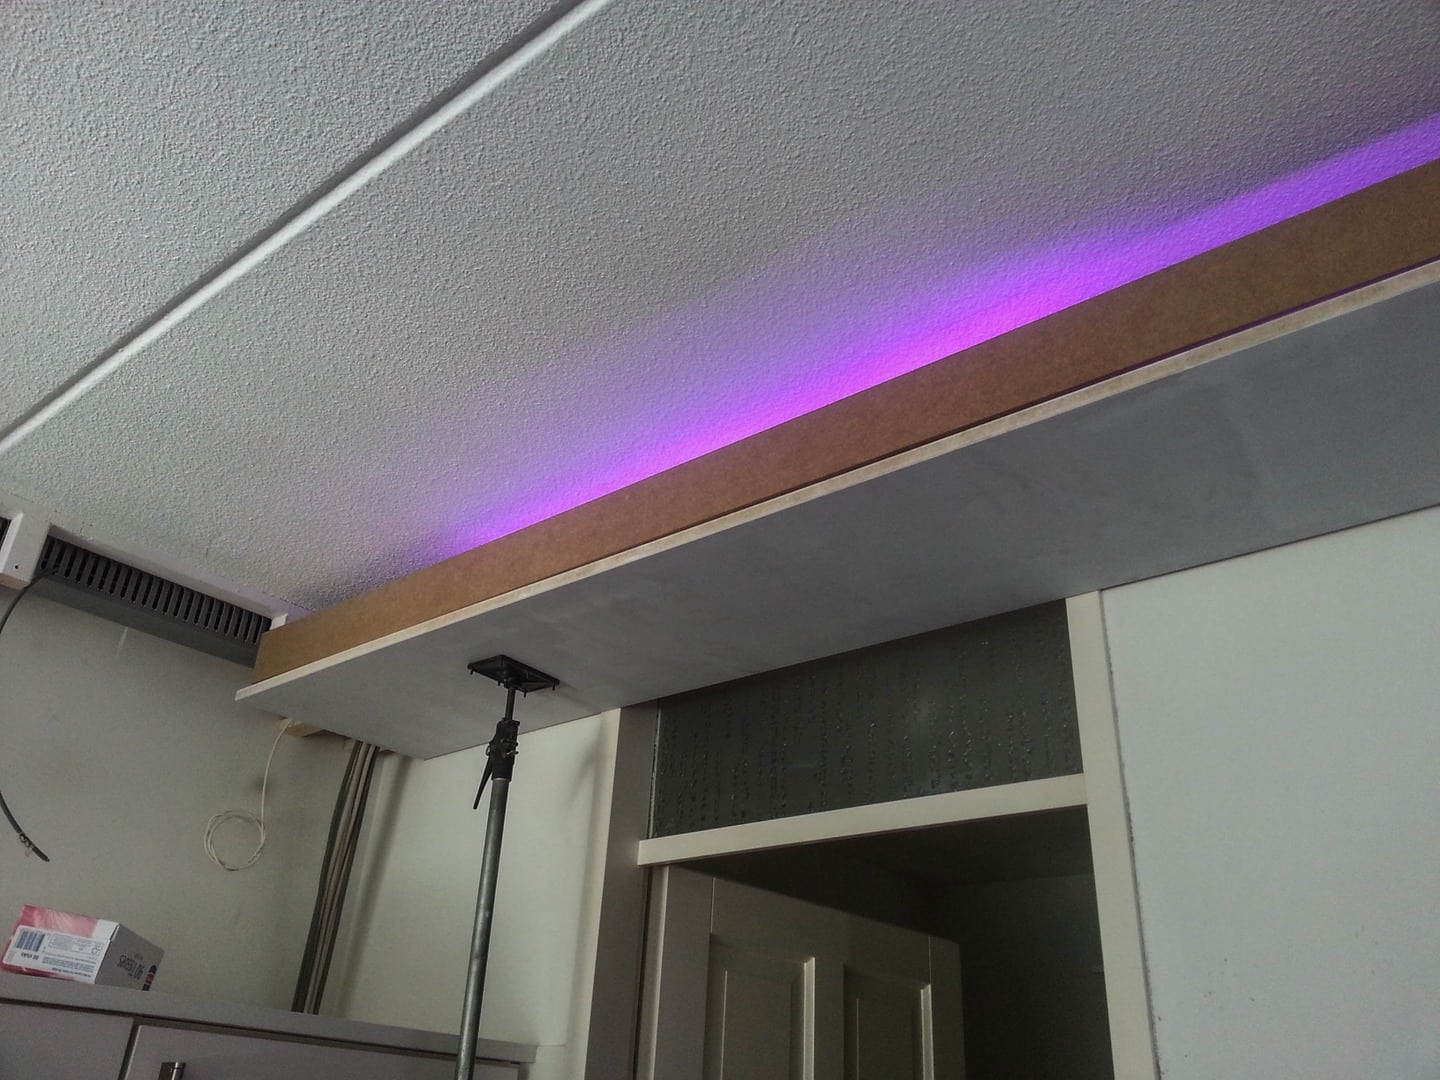
at first we used screws to make some sort of a base for the cove, but this took to much time so i grabbed the air tacker and some wood glue.
i had to work around a bit for the tube that goes outside for the cooking fumes.
Part one is finished now, only needs some small pieces more so the cove can be mounted on the frame , but the guy that is going to "stuc" the walls said its easier for him without the frame being fully installed.
My dad helping me.
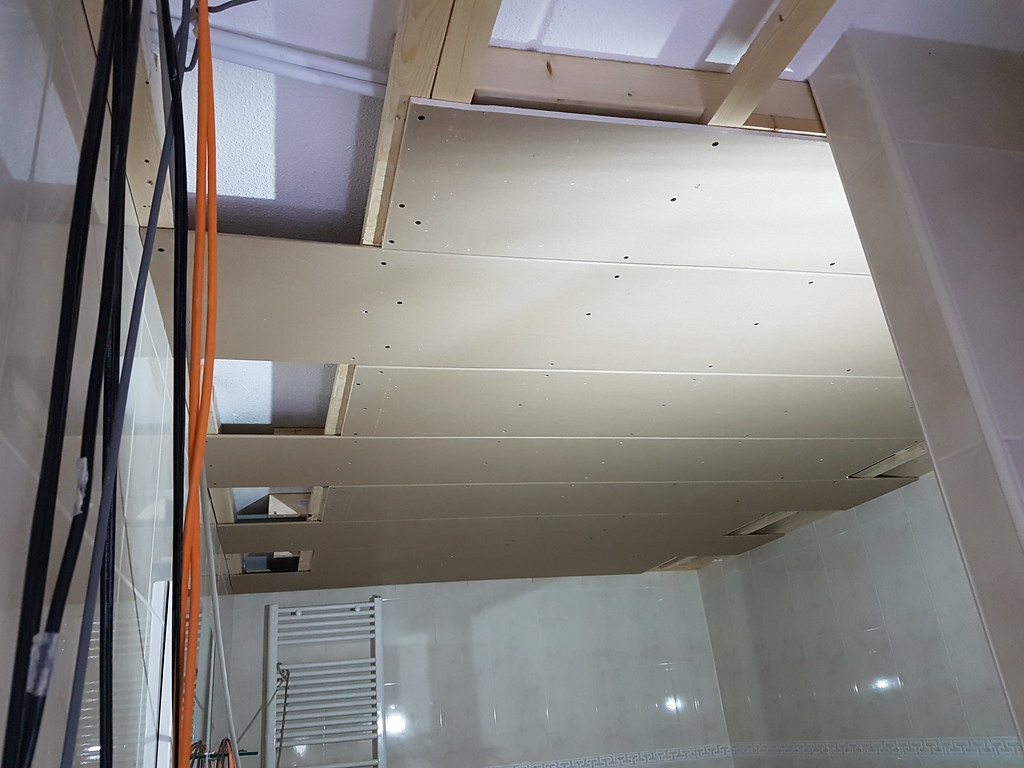
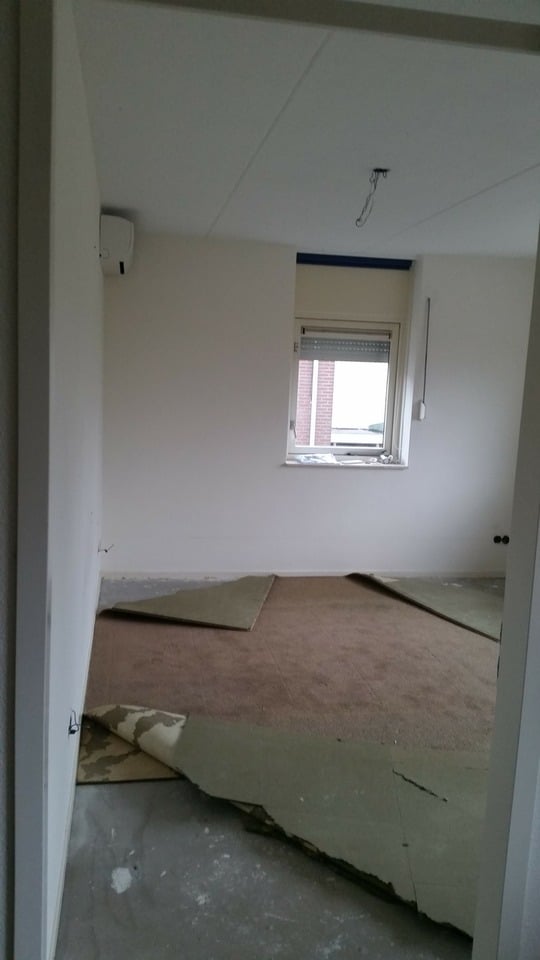
taking out the carpet since its very old and dirty, putting in some wood later on.
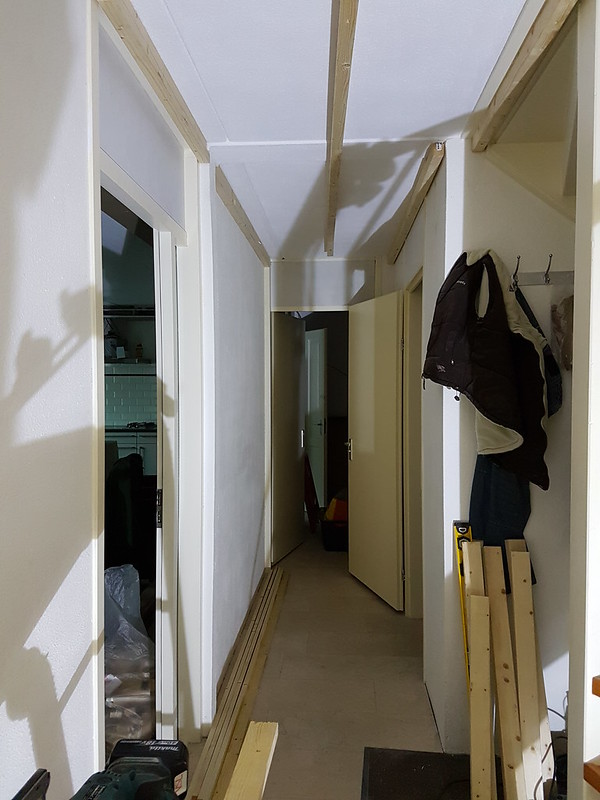
other room on the first floor we pulled out the carpet and put some cove frames on the roof.
Thats it for now, tomorrow hopefully i can find some time to go on.
First i am going to pick up about 100 Relays with sockets that are being used for switching every socket and device.
This weekend i had some time again, but the coming weekend not so much.
Luckily i got some extra work the coming Saturday because the money goes out very fast :roll:
Anyway, Saturday i went to a little electronic parts store about 35 km away from home and i did some shopping.
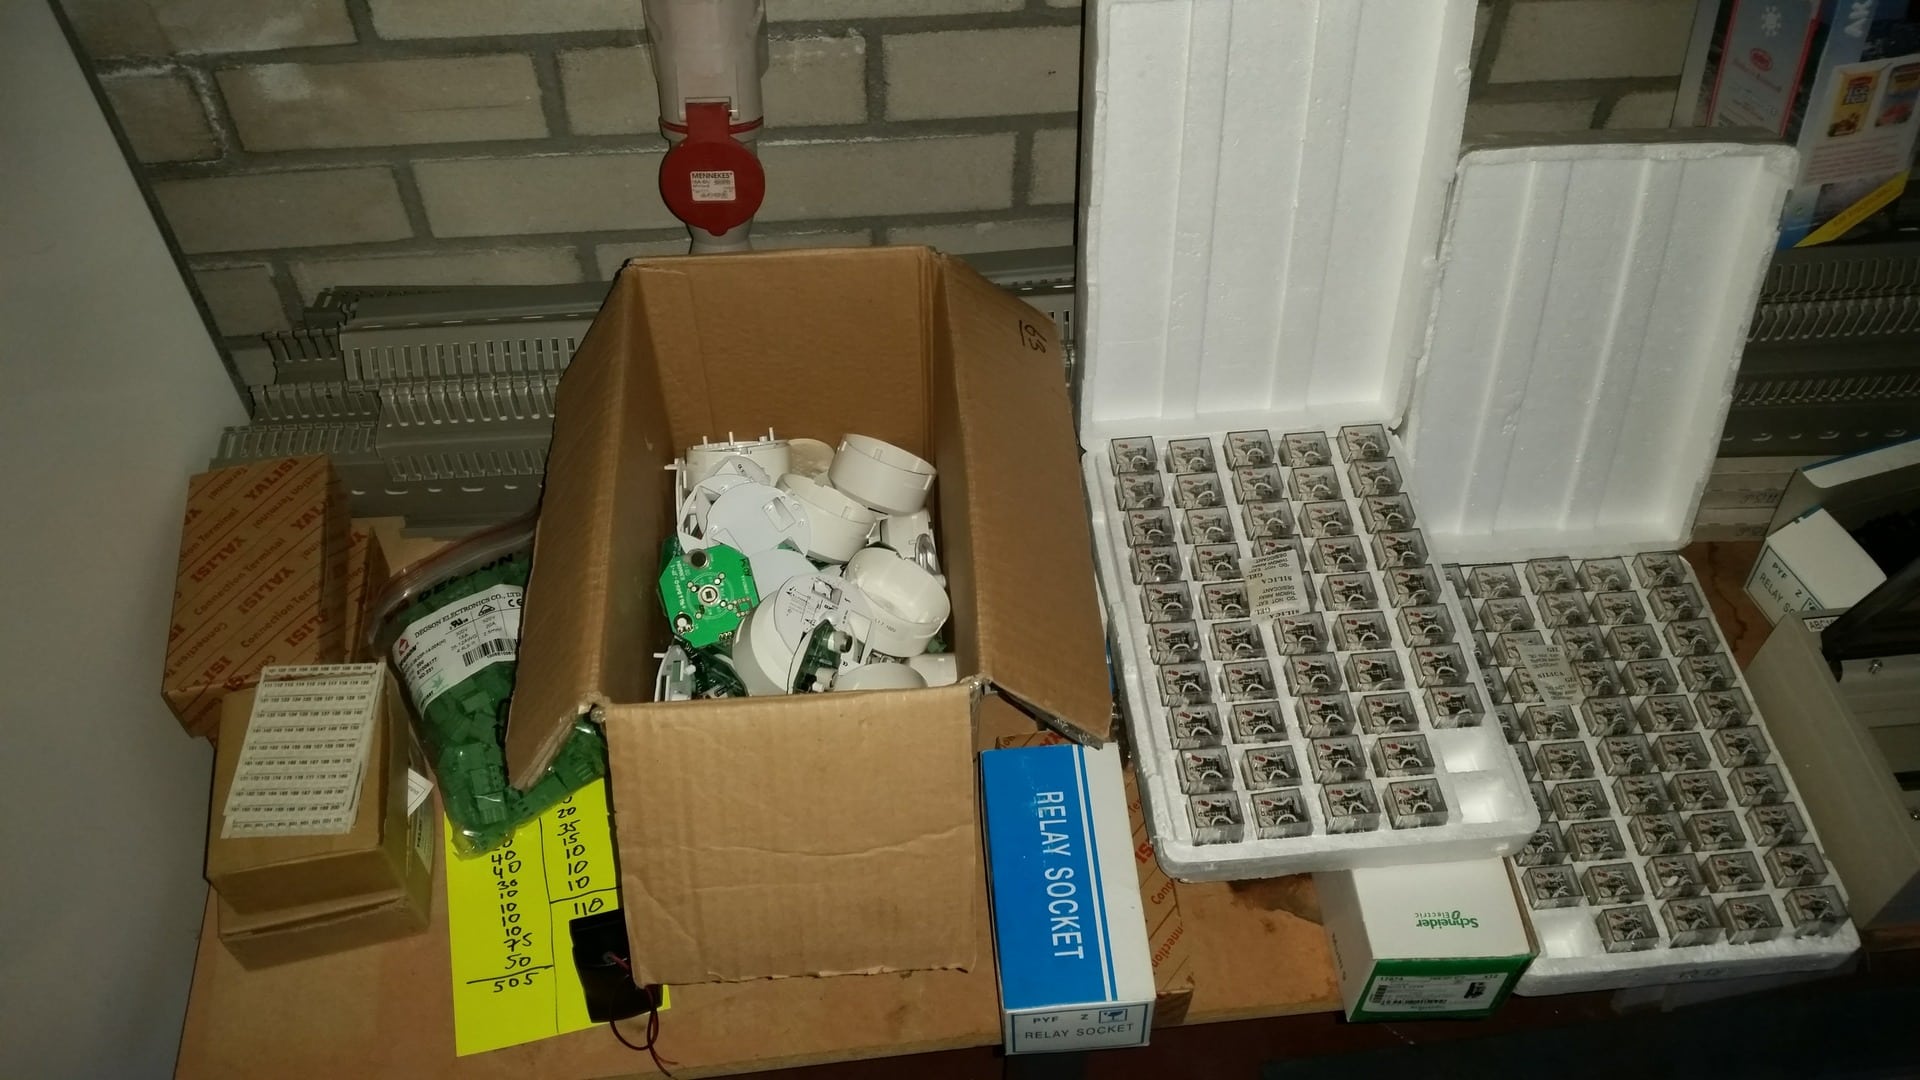
Got 100 relays with sockets from Omron, 8 Din boxes that can fit 11 Relays per unit.
100 relays 5V for the arduino since the coil power ? (spoelspanning) of the omron relays are 12V i need to switch them with another small relay :roll:
A pile of 16A Automatic fuses, all kinds of small electronic components.
Got allot of free stuff as well
30 pvc tape rolls and some switches , small components etc :wink: Also bought the din rail earthing connectors and some other connectors which i do not know the name.
Some very nice LED lights, and these are bright and real 3500K yellowish warm white instead of the Chinese warm white that is still pretty cold cool white.
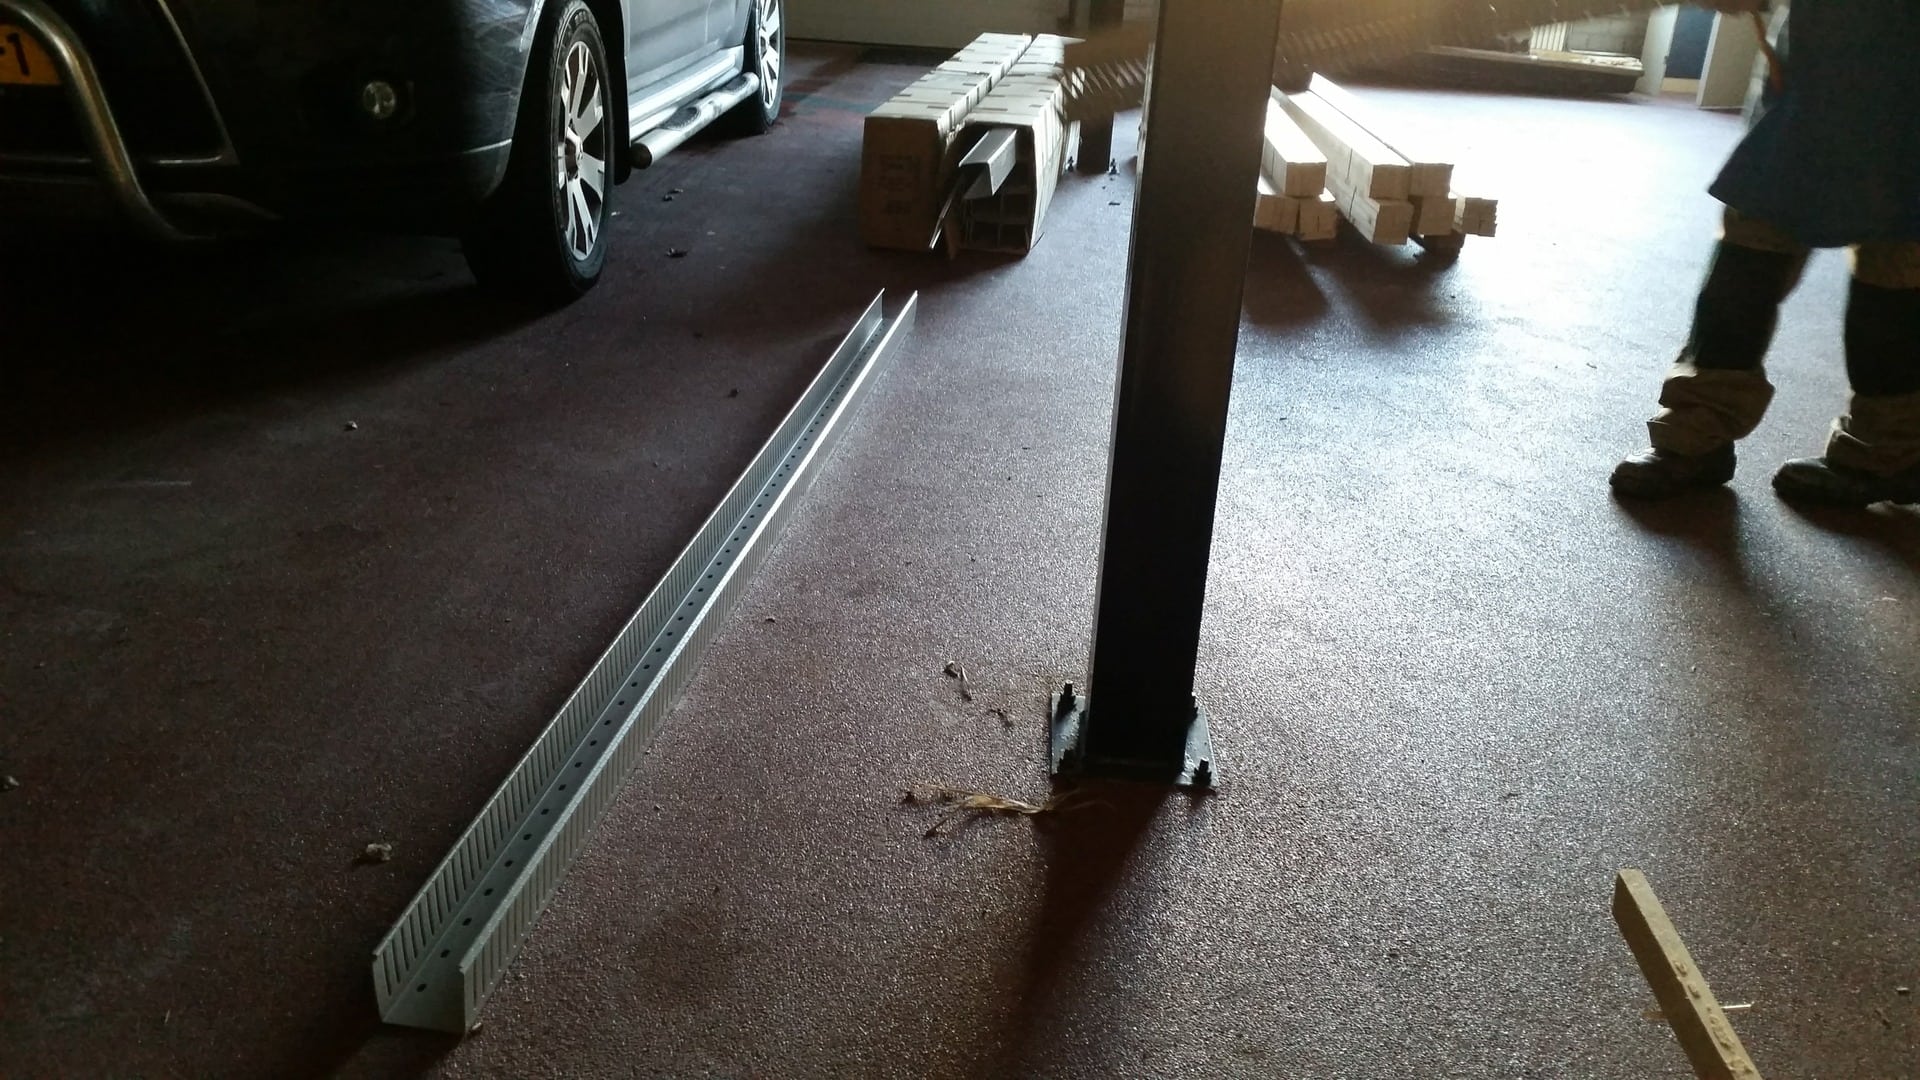
Some very nice cable trays.
And allot more parts , the price ? 505 €
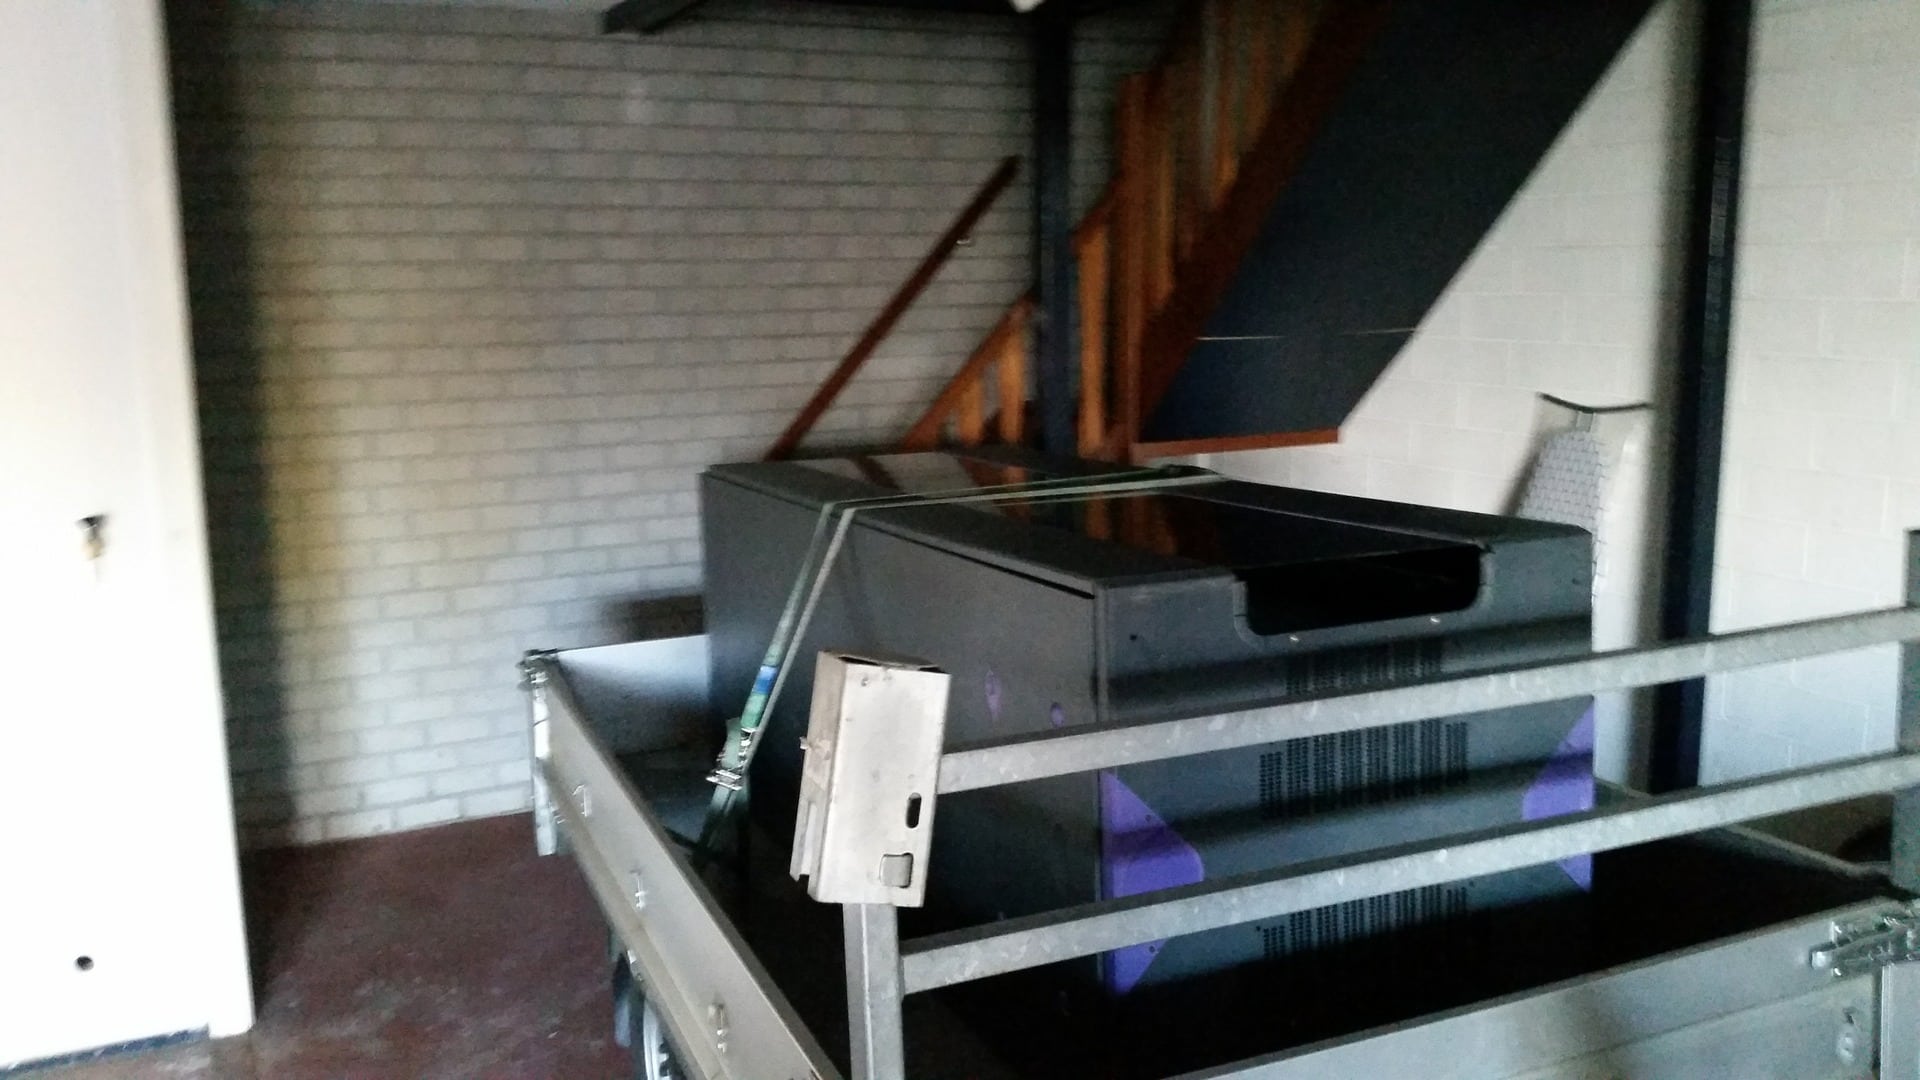
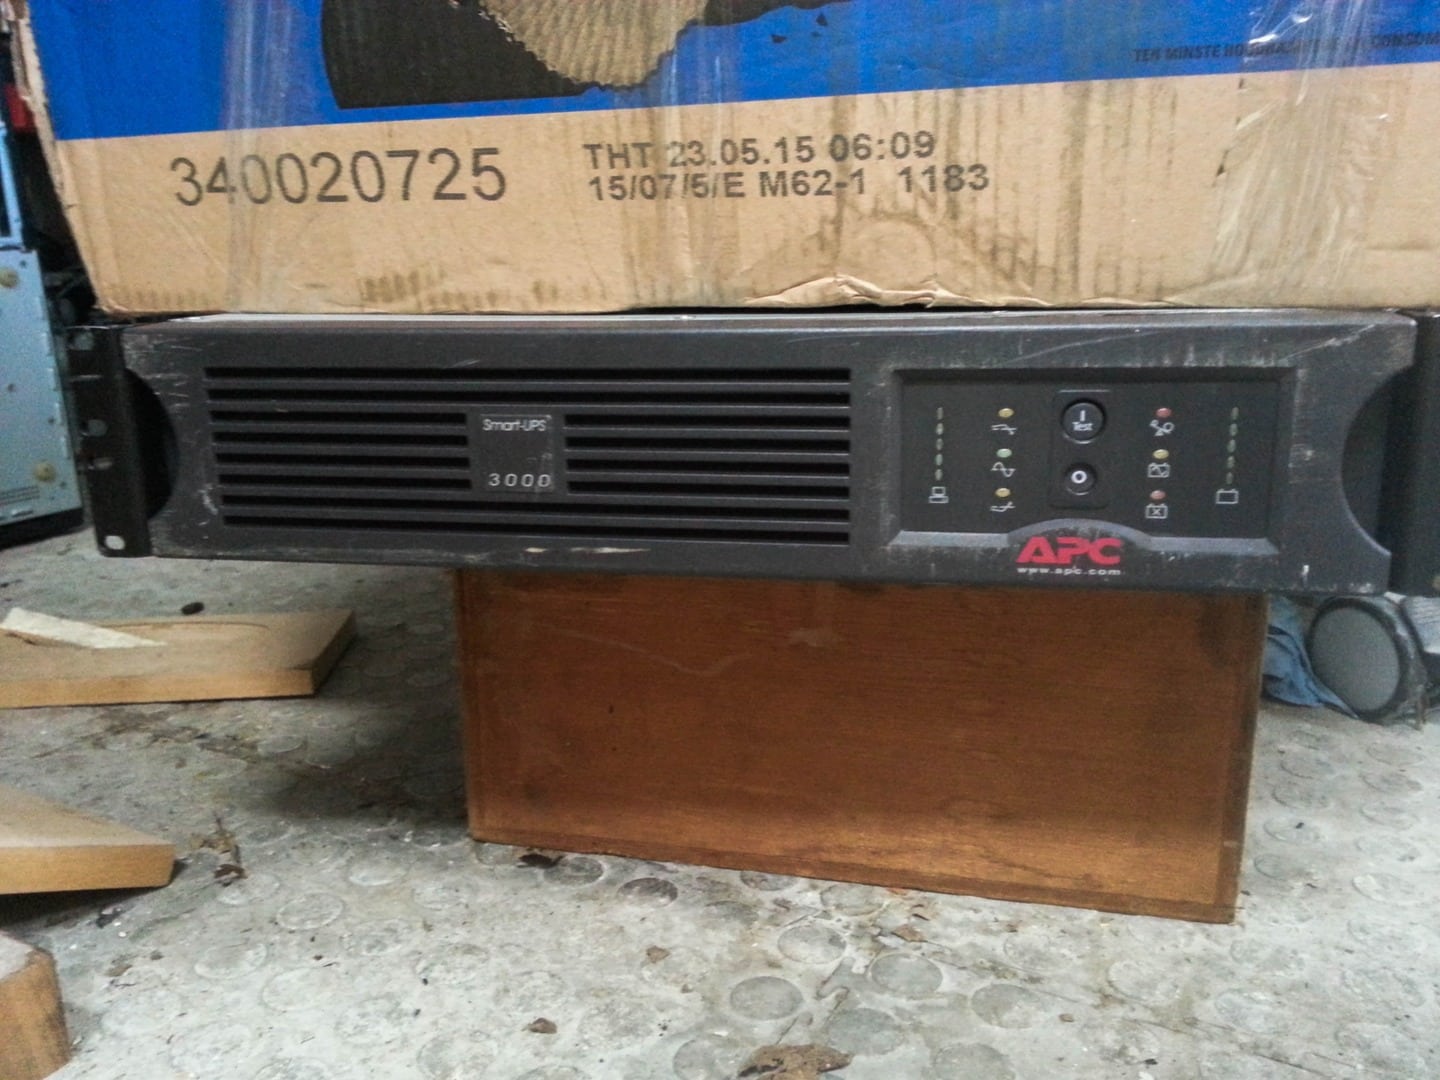
Also picked up a server rack somewhere close by where i live what is going to hold most of the equipment like amplifiers/server/modem/switches/apc/ups/ etc etc.
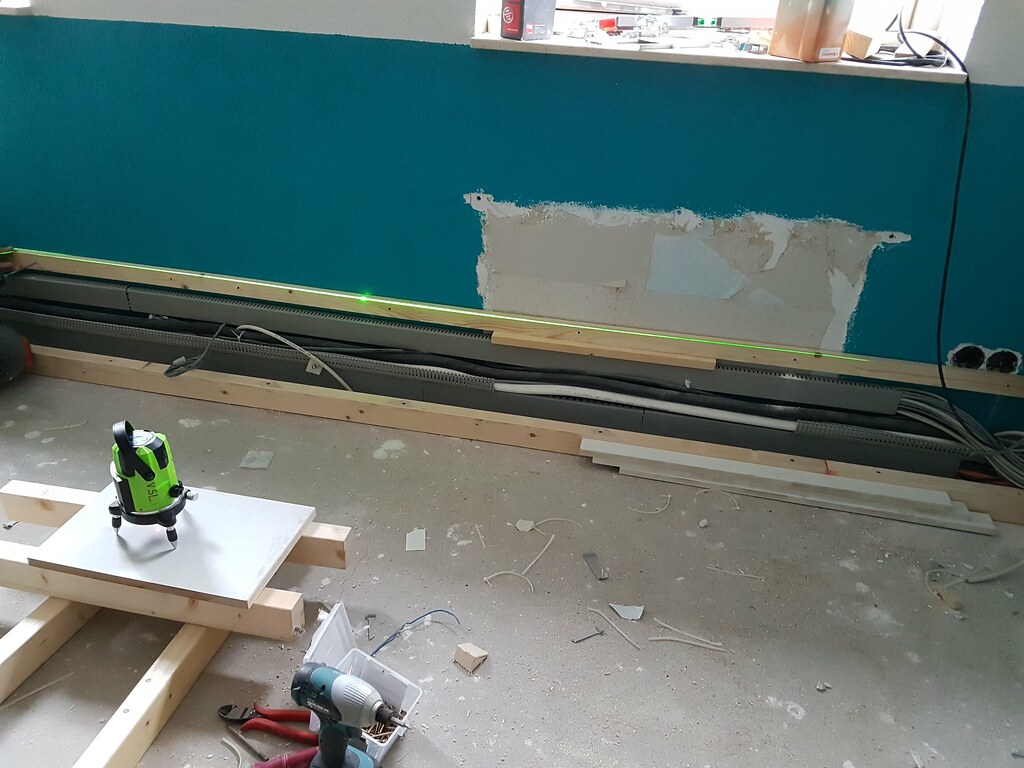
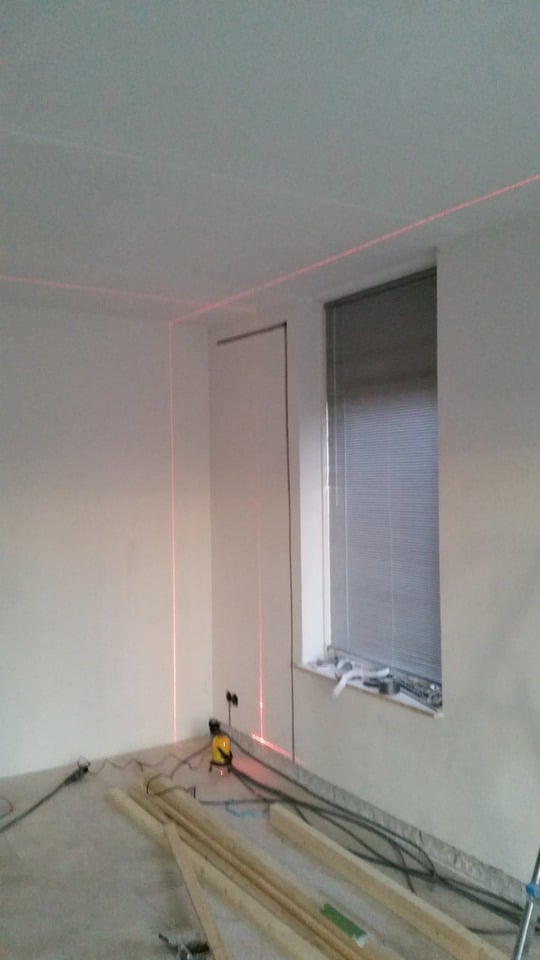
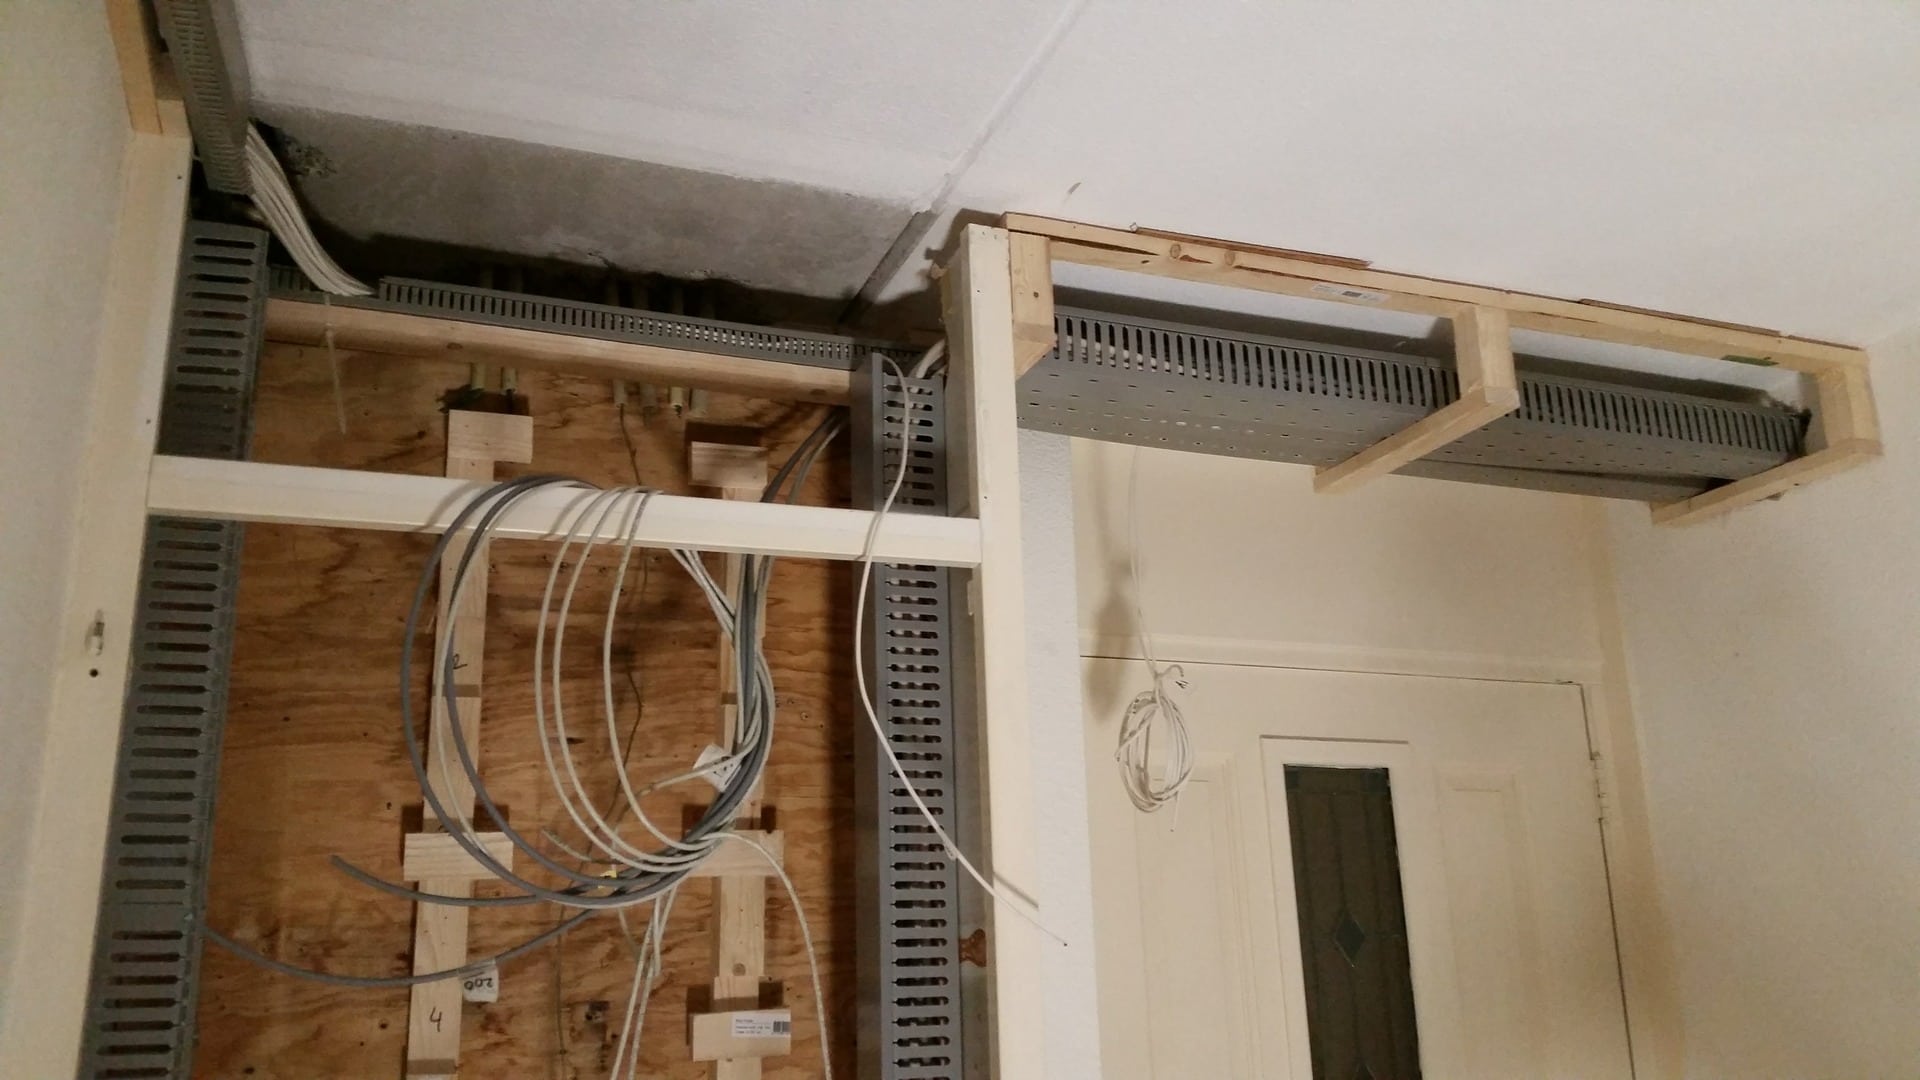
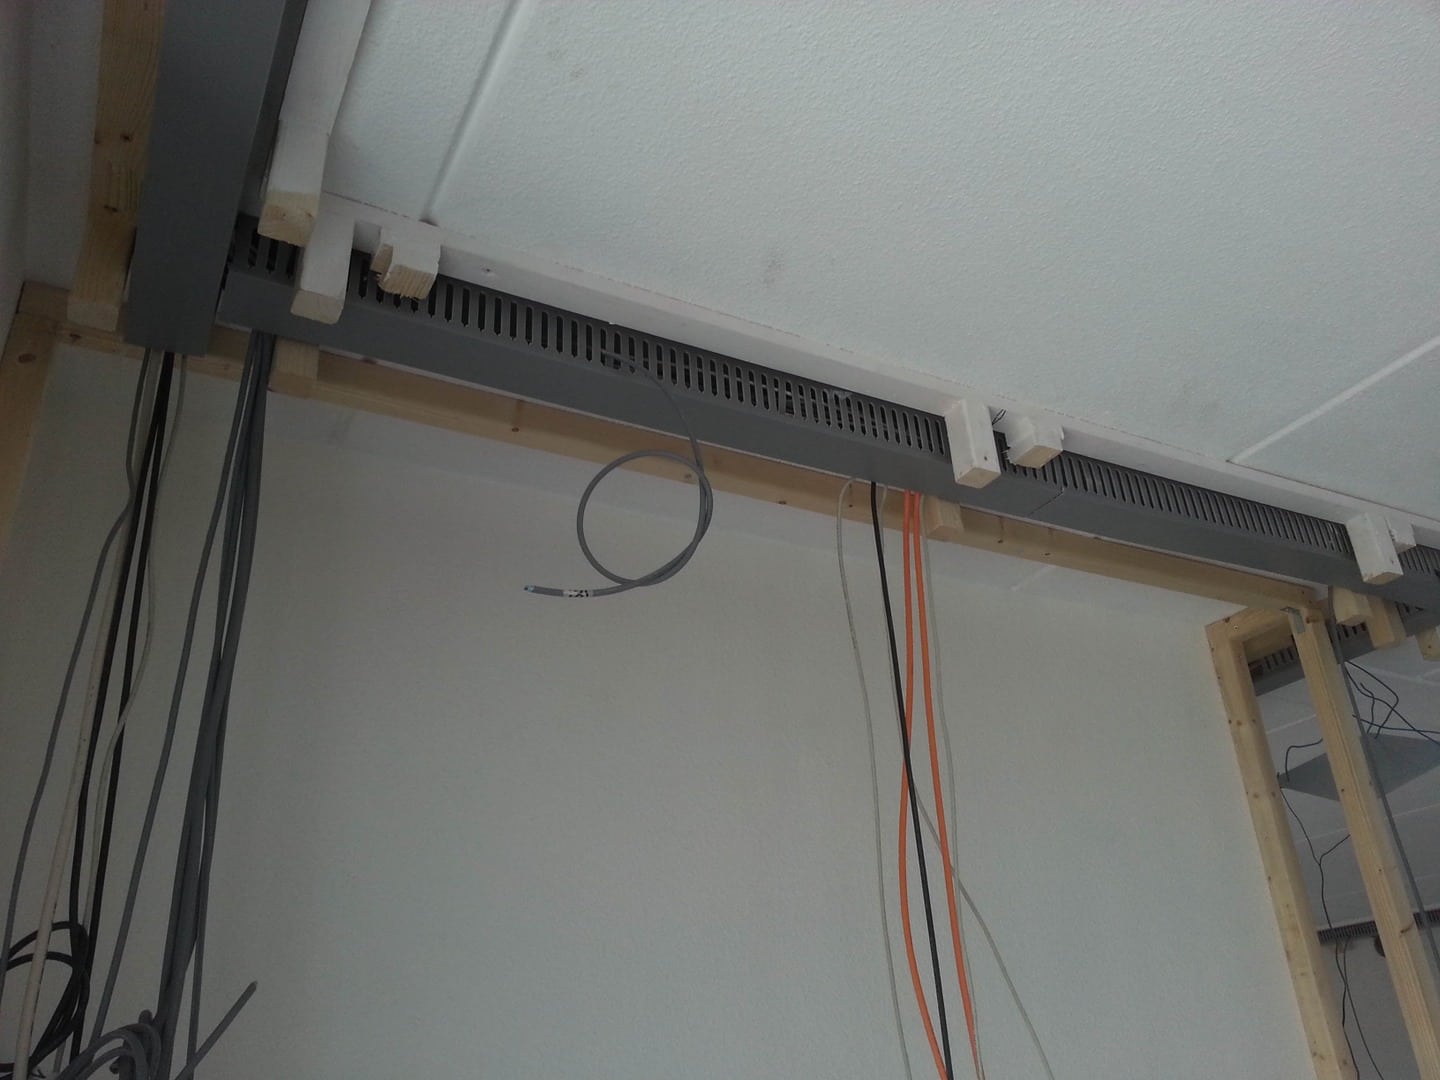
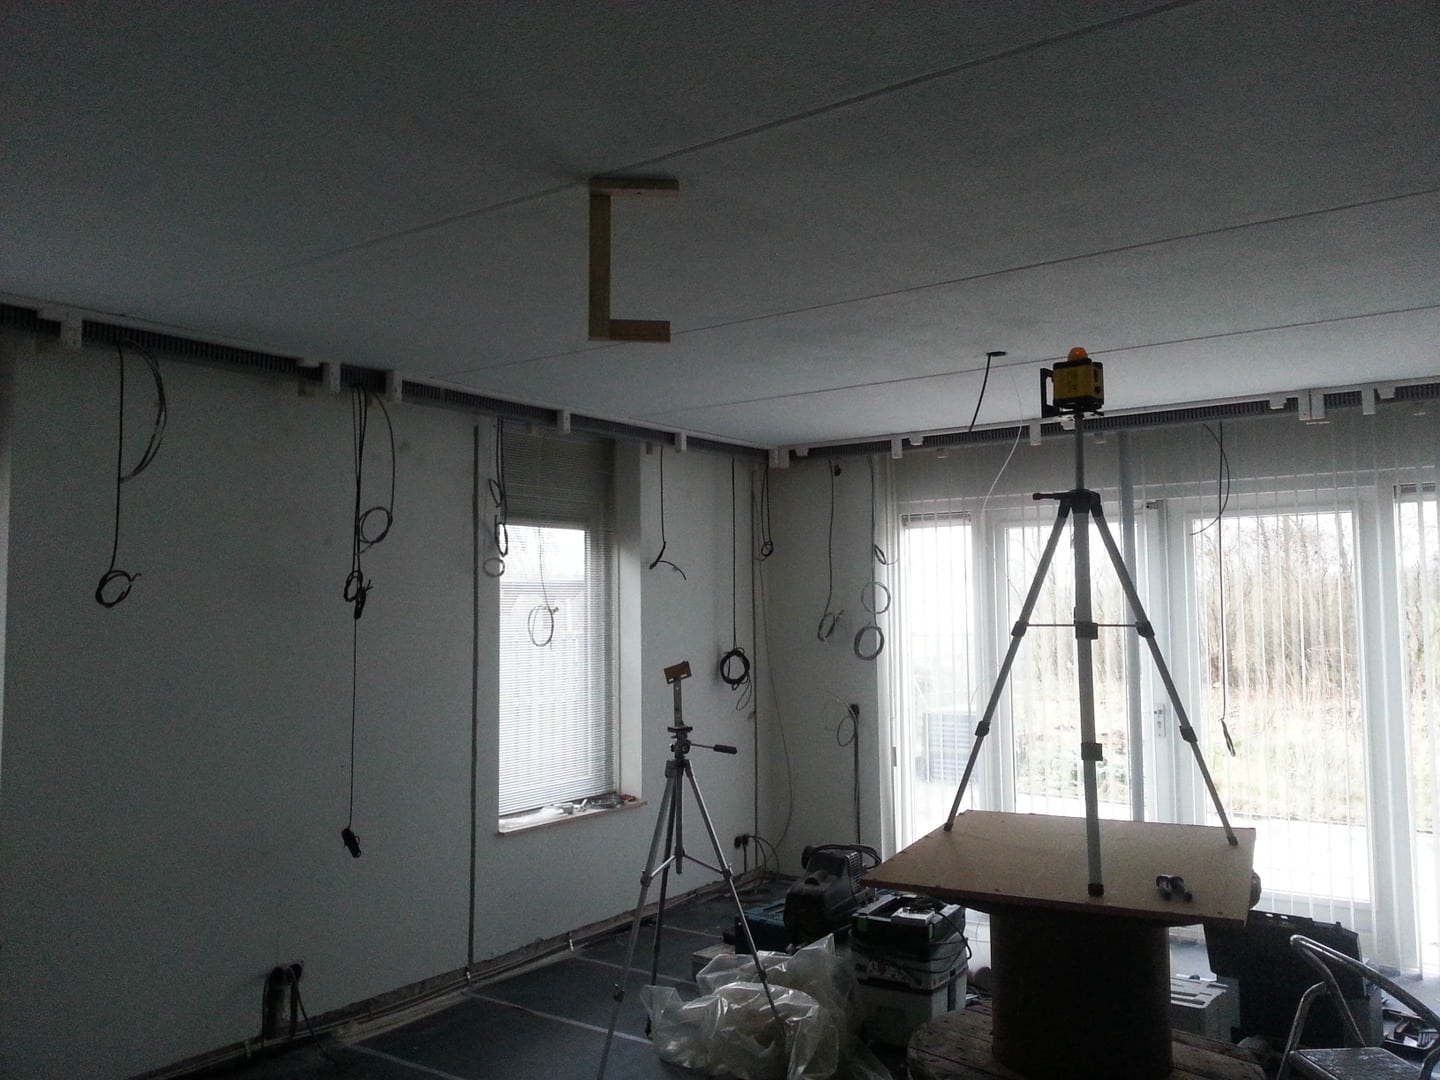
Finished the frames for the cove, but since the roof is not level and allot of the walls are not "haaks" either i first need a laser that i can mount on the wall to make the cove level.
This is the final step i have to do because i get problems otherwise when the L shaped parts will be mounted on the cove frame.
This process will only cost some spaces and more time ofcourse.
I did manage to put some 3x1.5 / 3x2.5 and 5x2.5 wires in the tray, i am thinking of placing between the frame a aluminum tray to place the cables in.
Not sure if this is necessary but can be done whenever i want since there is enough space.
The wood parts also arrived somewhere the last week and need some work also.
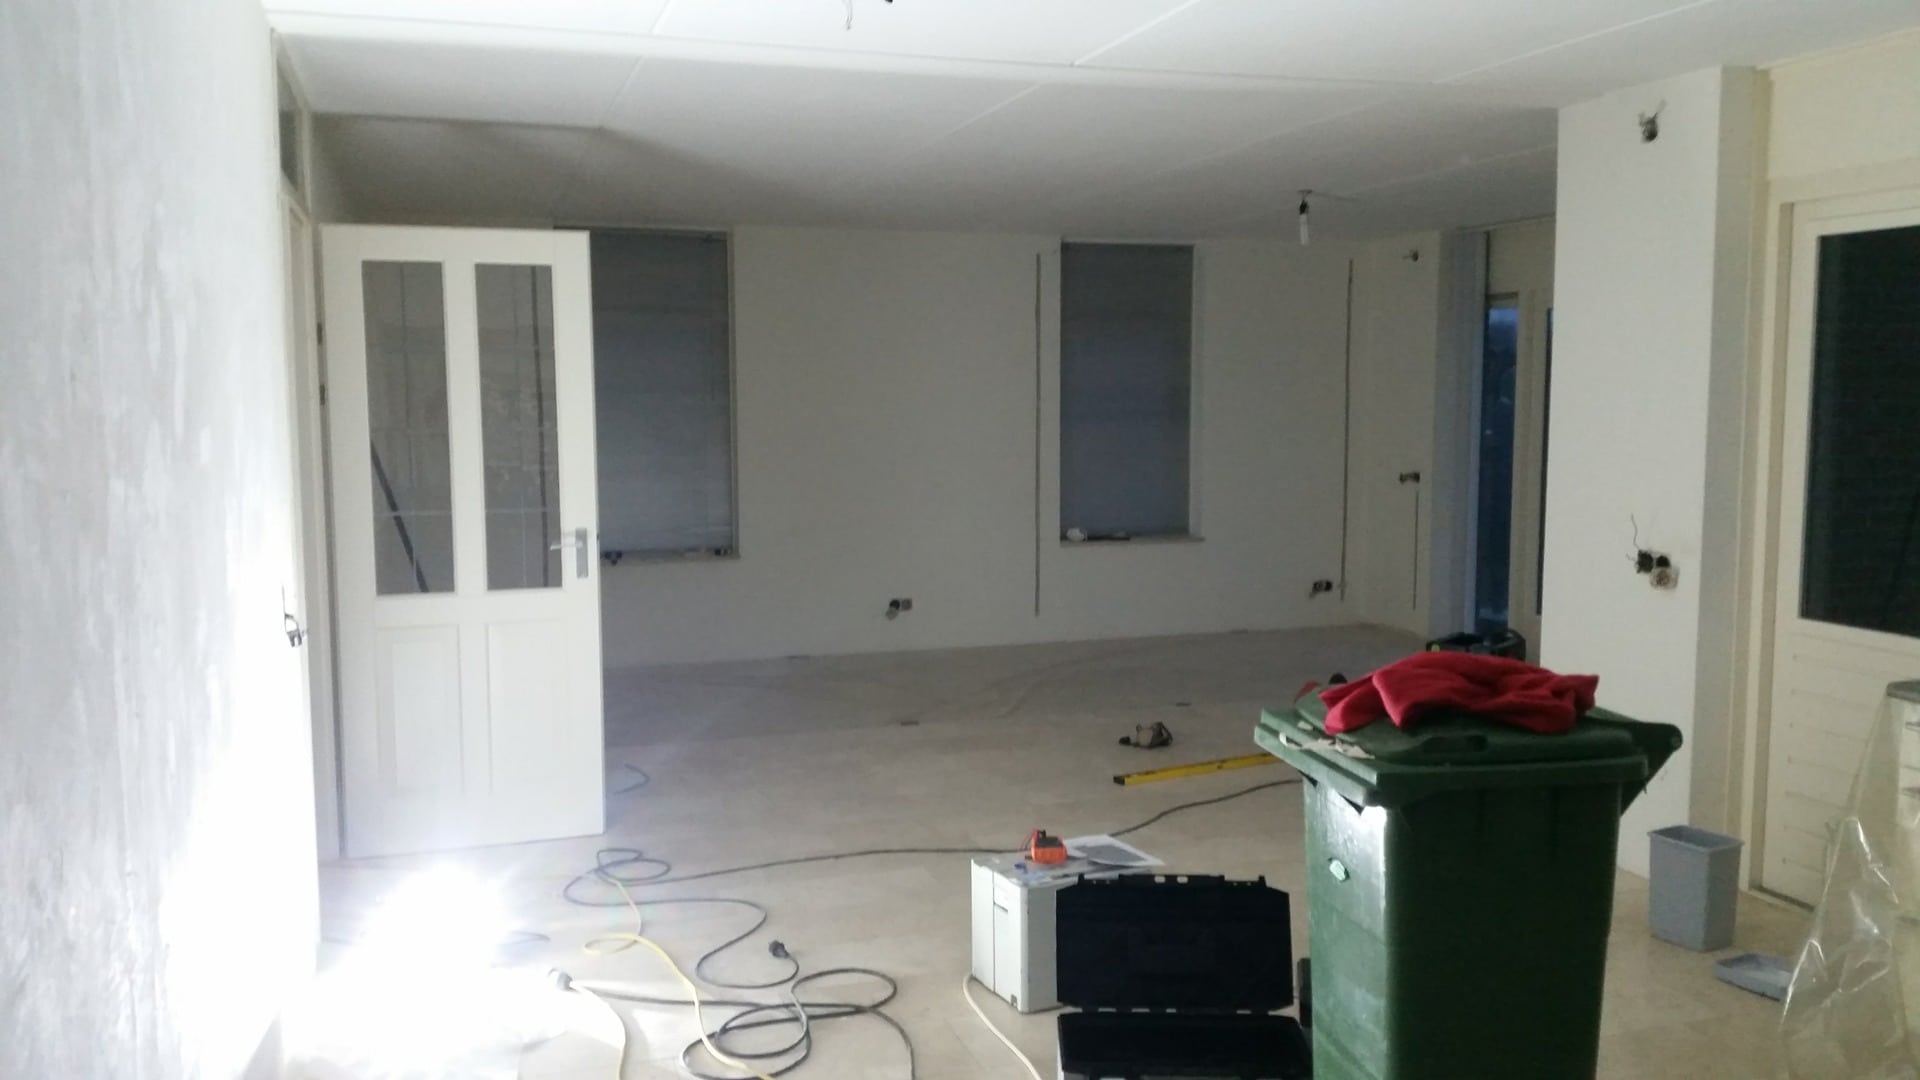
Placed some plastic/paper sheets on the floor to protect the marble since we were walking and hammering on the wall allot of concrete was pressed in the marble, and the walls/roof are going to be made smooth later on with plaster.
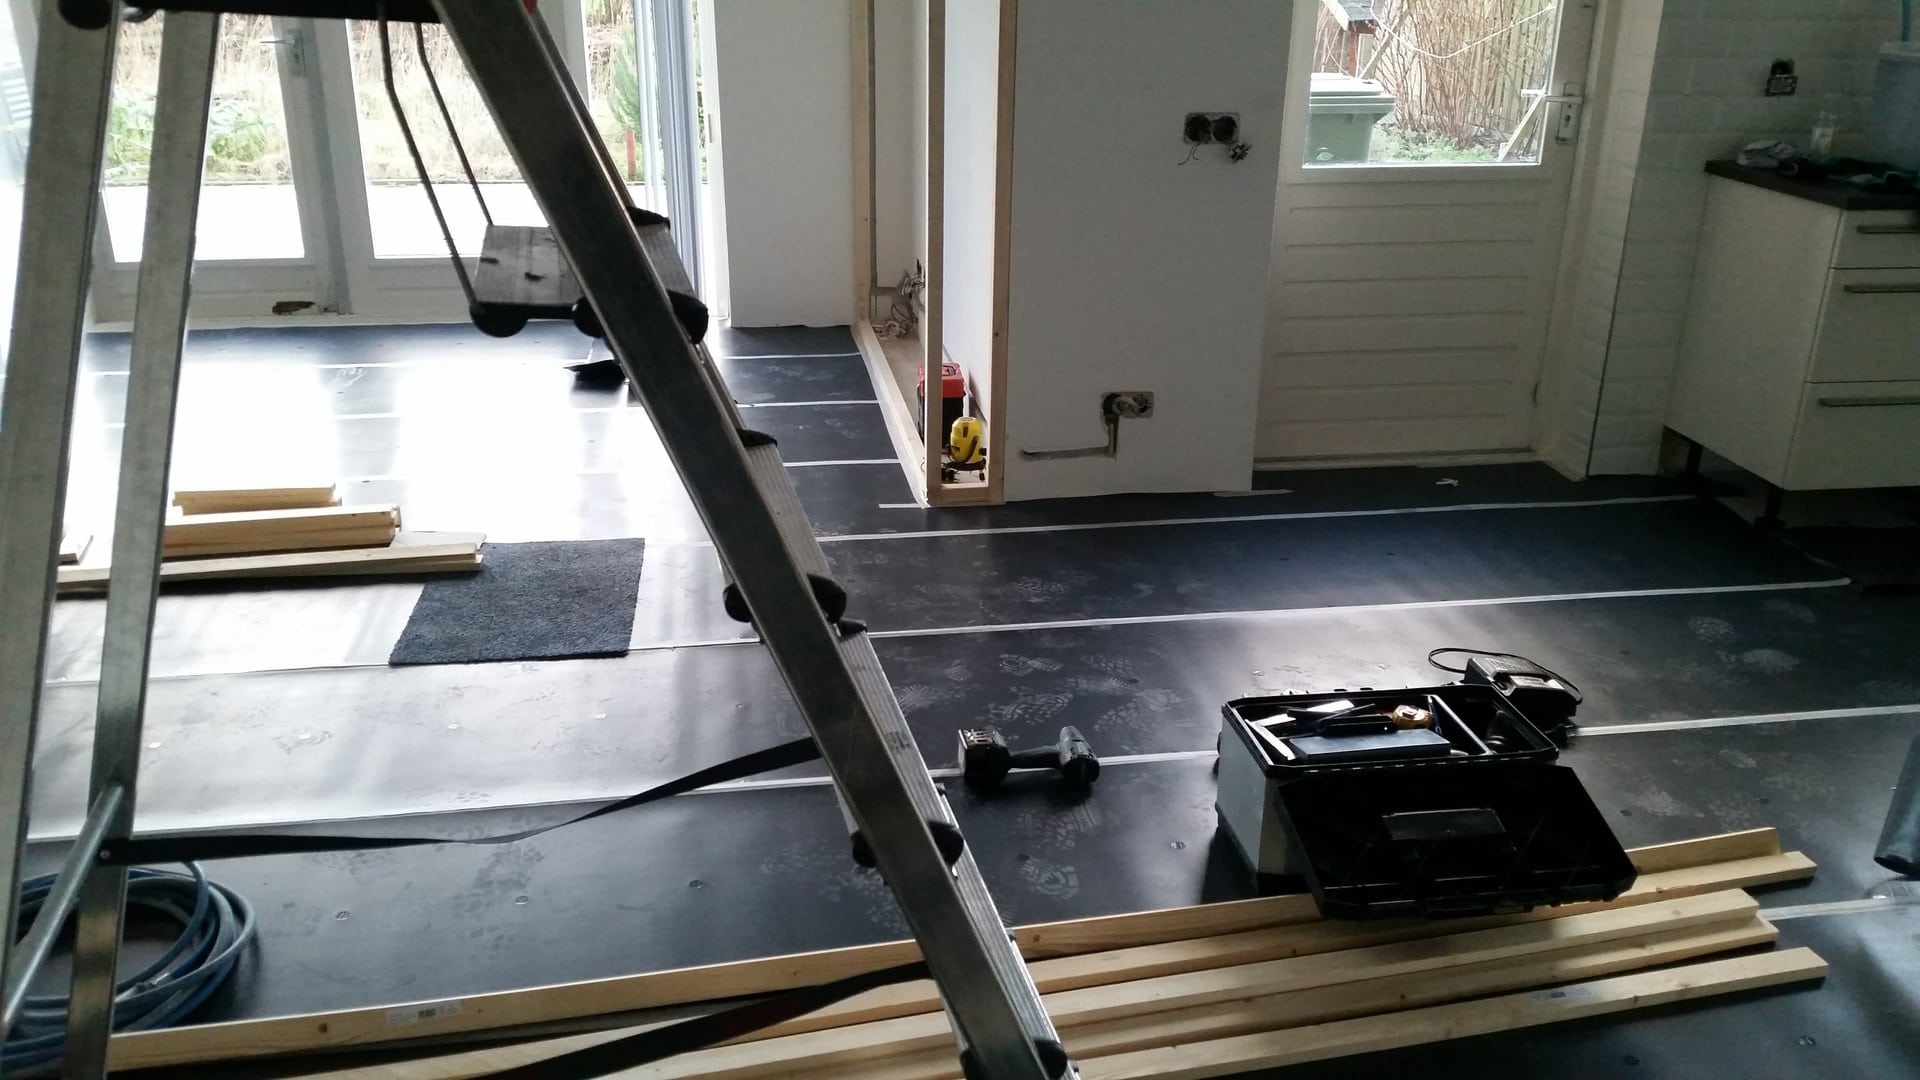
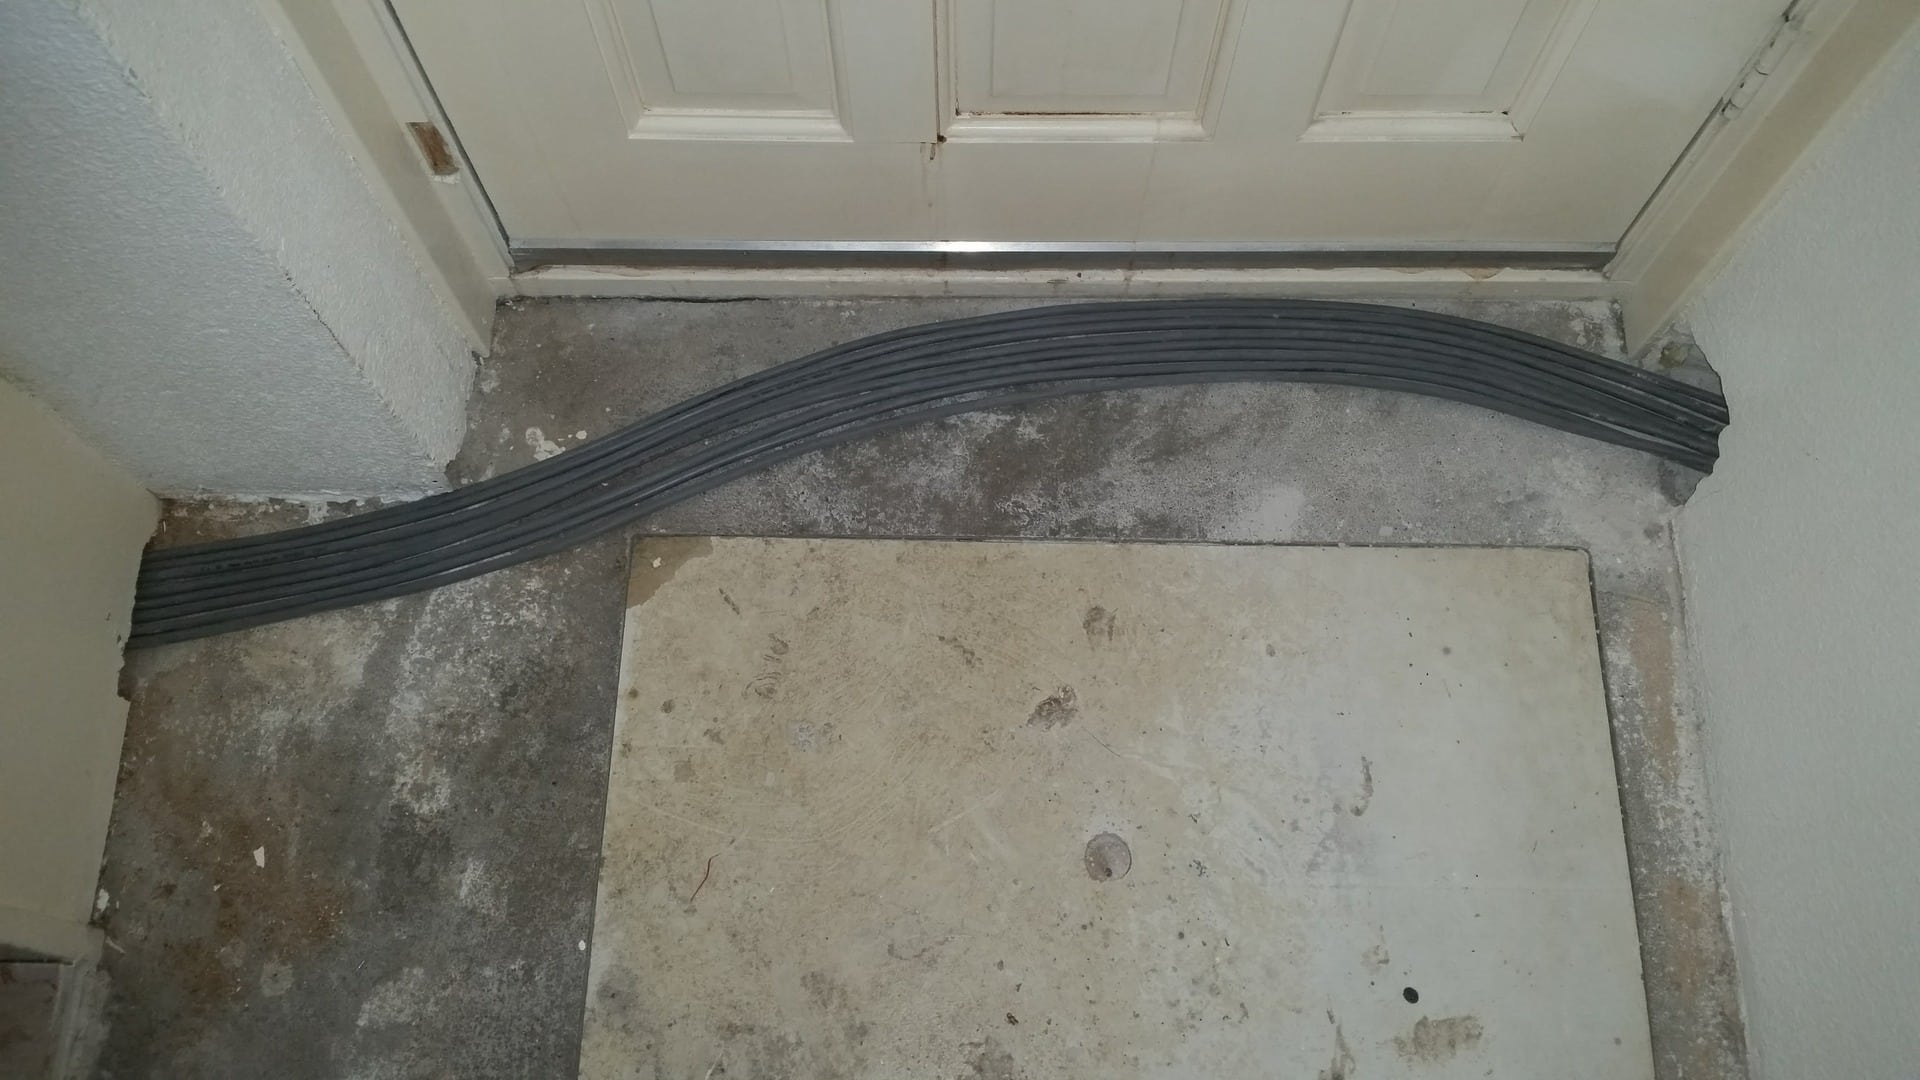
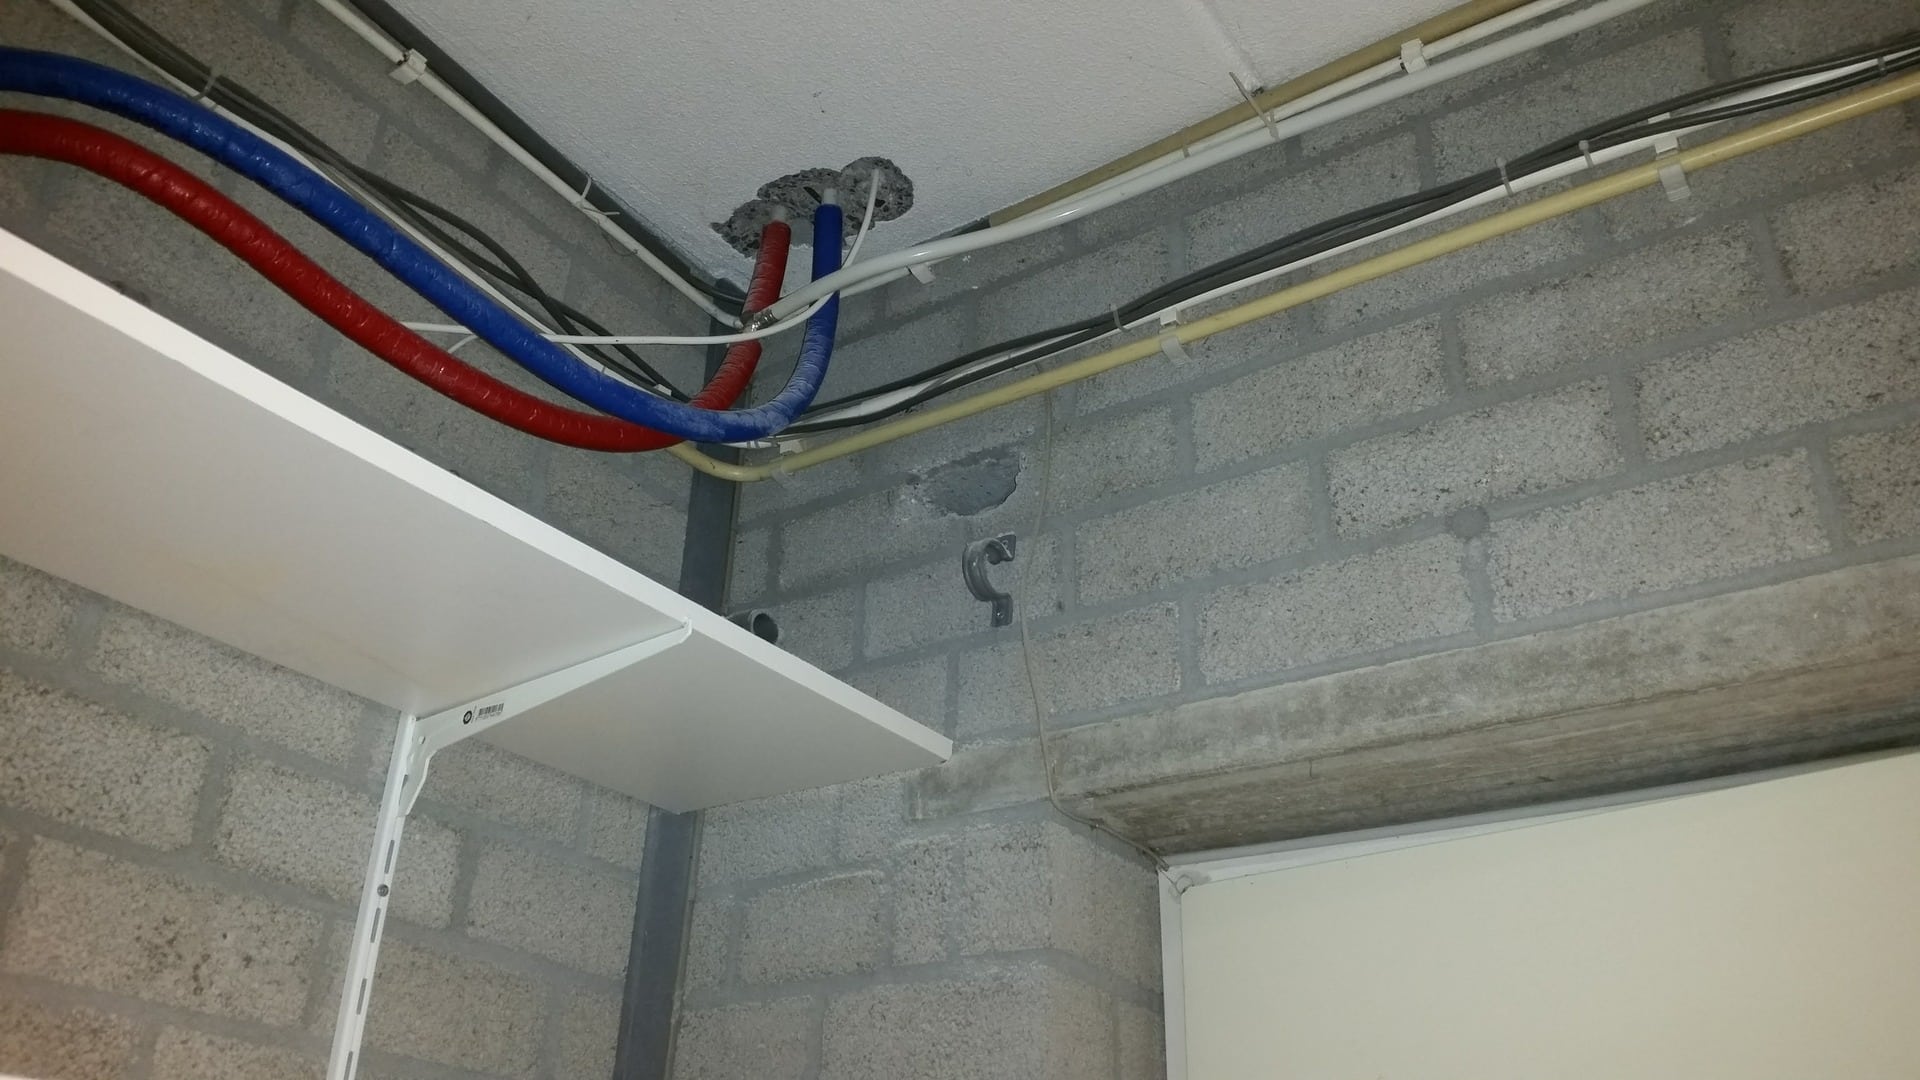
Some of the cables for the power sockets in the living room, going to make a gutter , and since there are 2 tile floors put in this house the doorstep is allot lower so i can place it up about 4cm.
This gives me some nice space to hide some cables beneath.
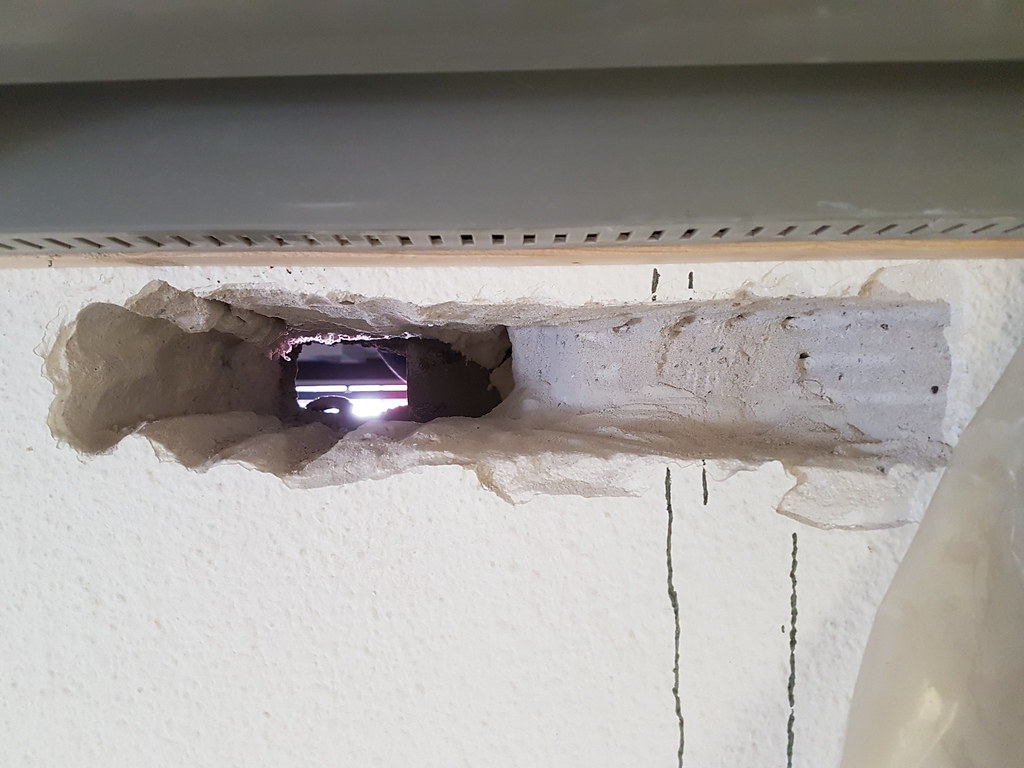
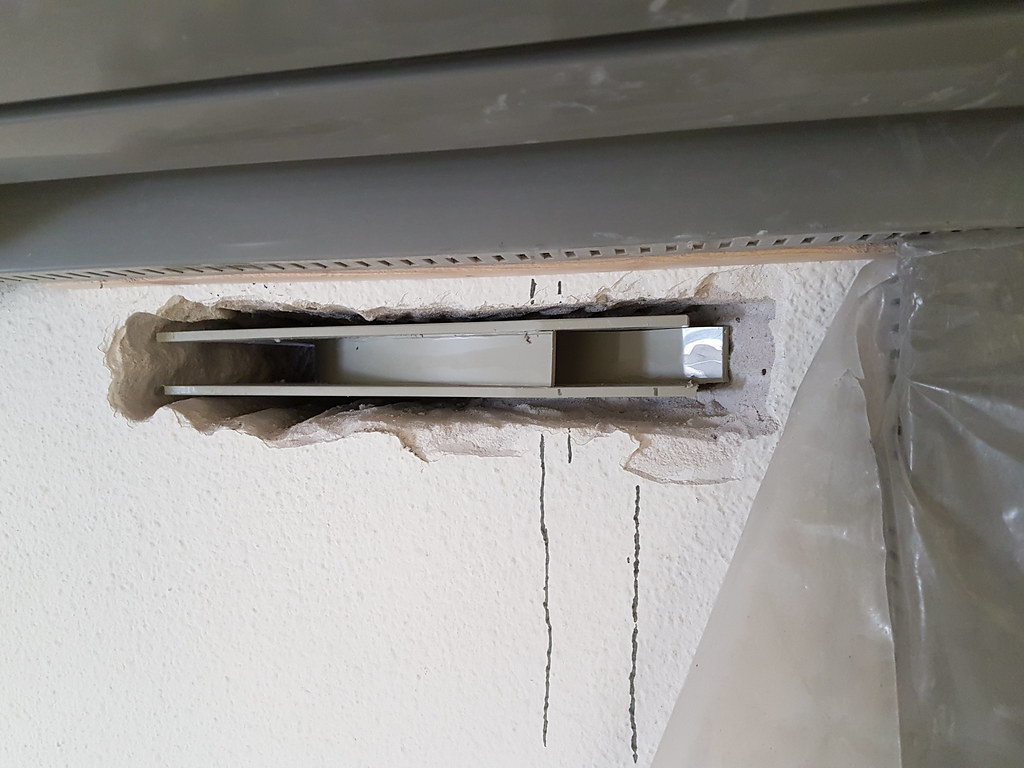
Here is the hole for the wires that are coming from the cove in the living room.
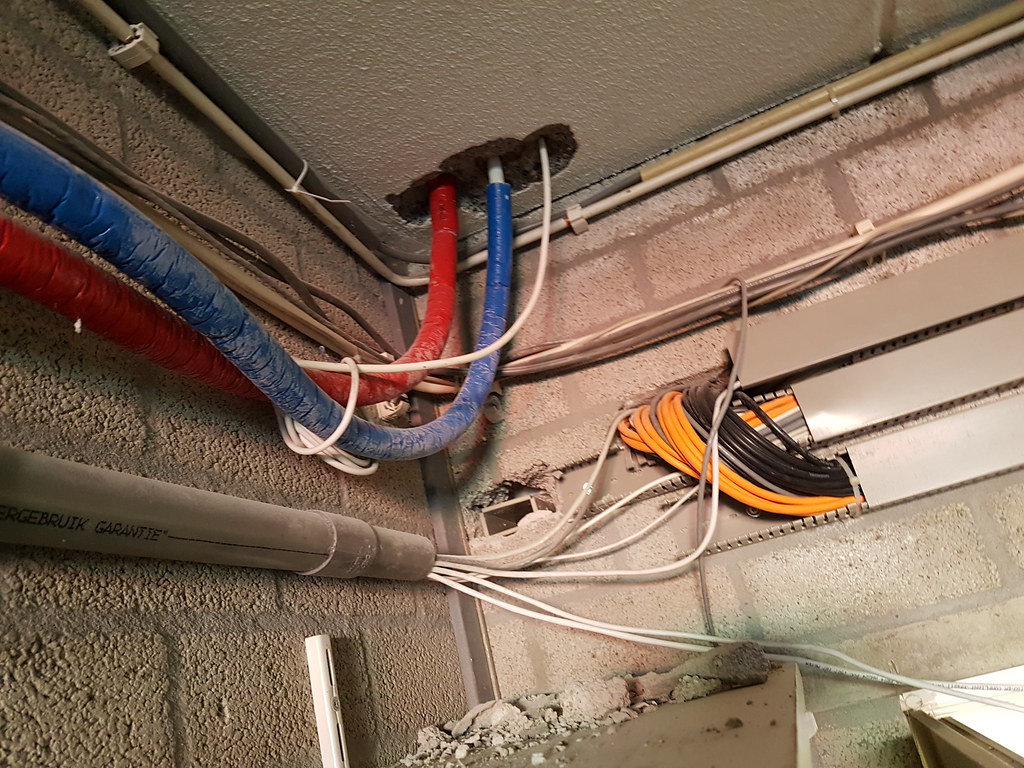
Another hole for some audio/network cables that go into the garage where the server rack will be placed, i could not find another nice location for it and the wall between the house and garage is 41 CM thick so it took some work to make this hole.
Garage side
The wiring of the kitchen, few 3x2.5 for the sockets , 5x2.5 for the induction cooker, 3x1.5 for some lights
Thats it for now
Got some time saturday afternoon and picked up some materials after work.
Just got home so it has been a busy week after so many hours of paid work but it was worth it.
I do need more wires because 3x 1.5mm2 and 3x 2.5 mm2 wire is gone
same as some cat5e wire, there is about 800 meter of cable placed at this moment for the living room.
Made a small checklist but it is not finished yet, also wrote a few by hand at the list that i need to update on the computer also.
So as you can see the list is getting bigger and bigger and i must even rewire the garage downstairs and upstairs.
For the LED strip and spots you can say, isn't 0.8mm2 to thin ? well no, i just take a few pairs to compensate for it since i have no other cable at this moment.
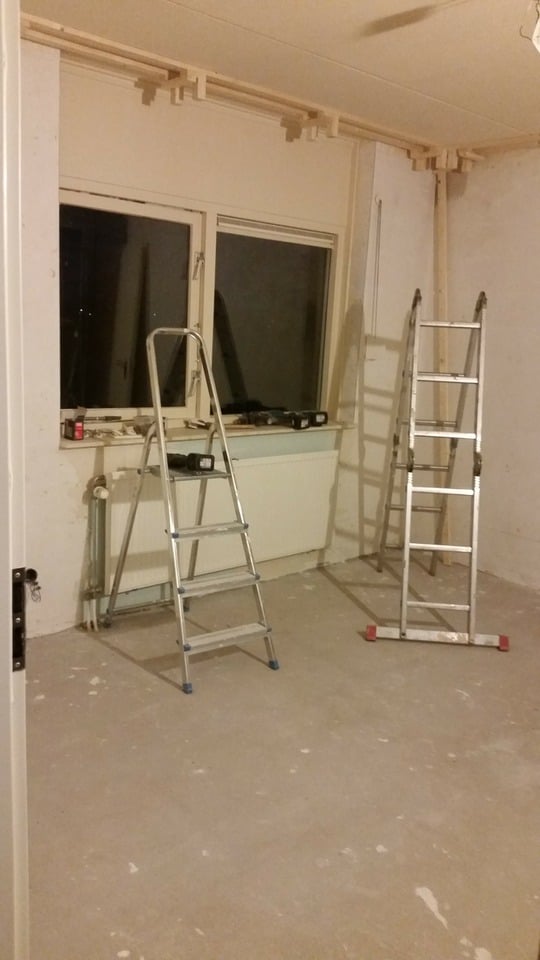
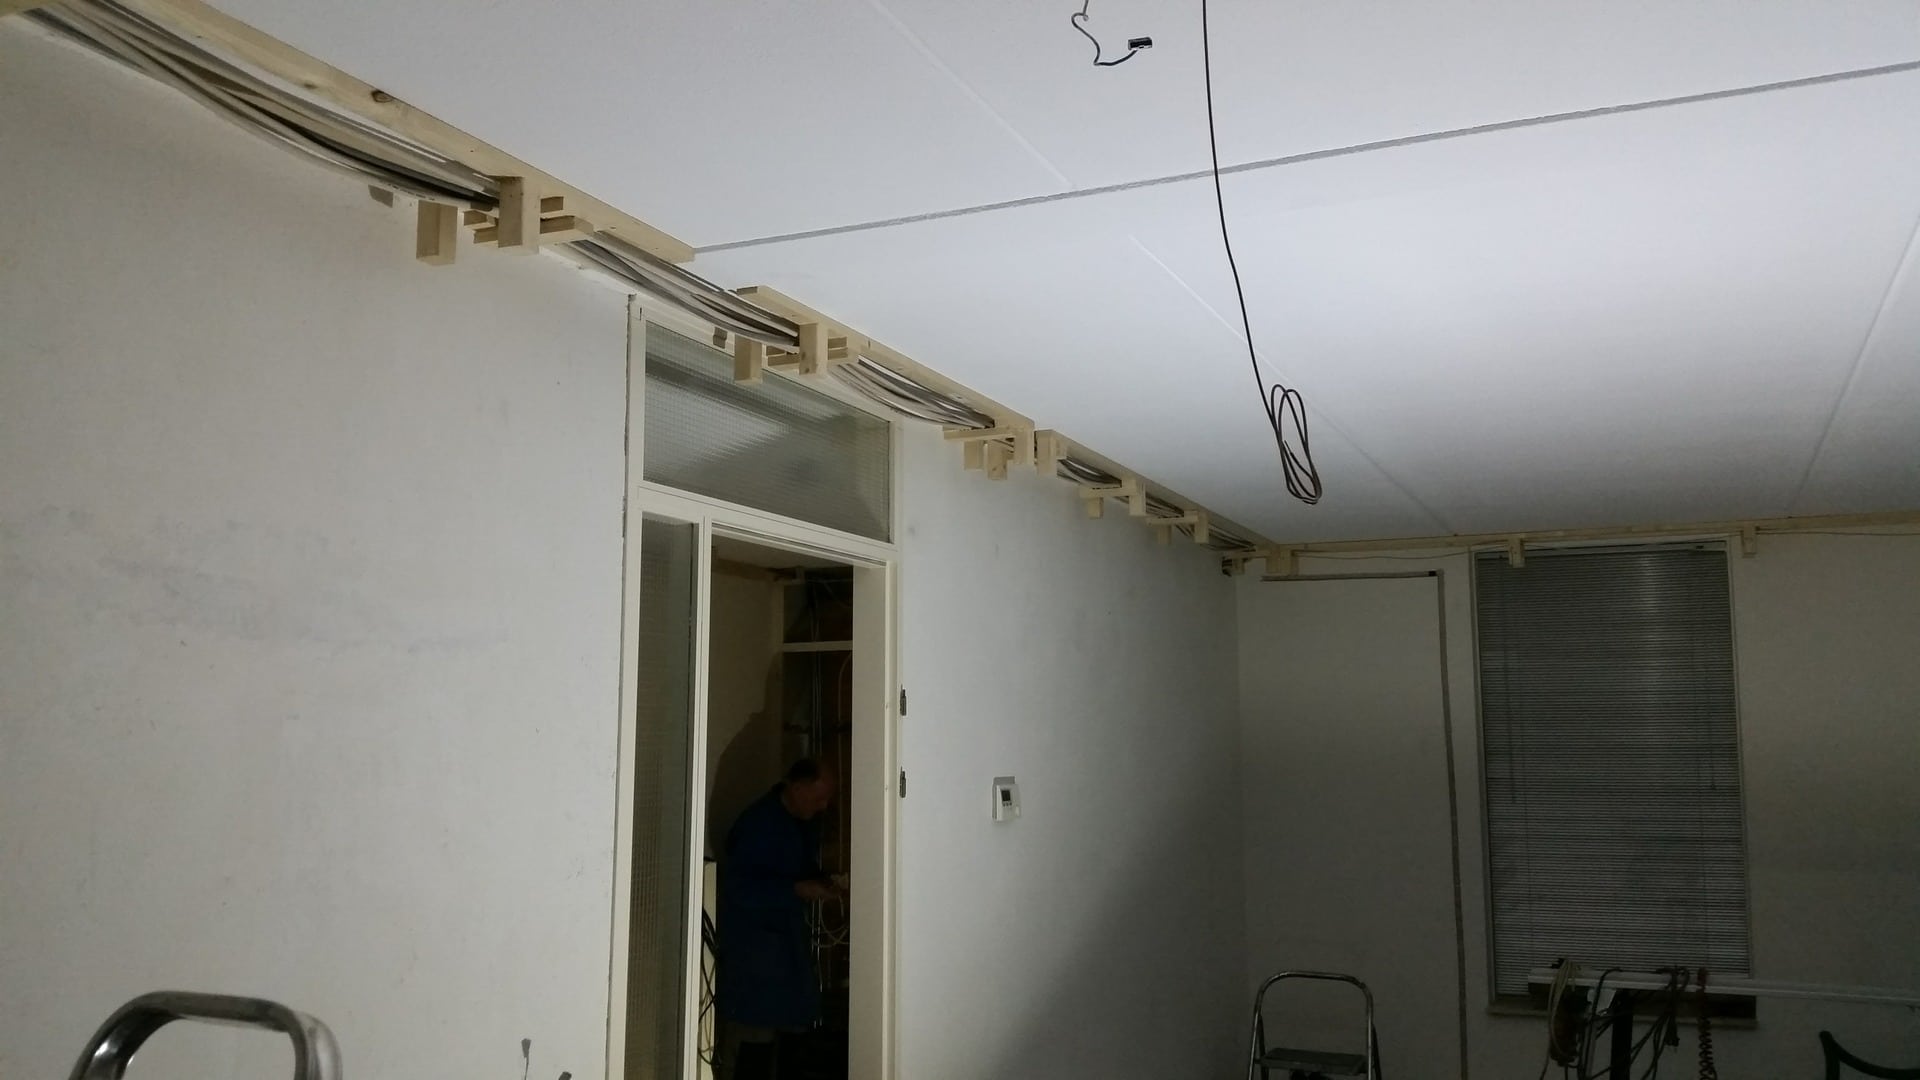
Some of the wire holders i picked up
Mounted them on the roof
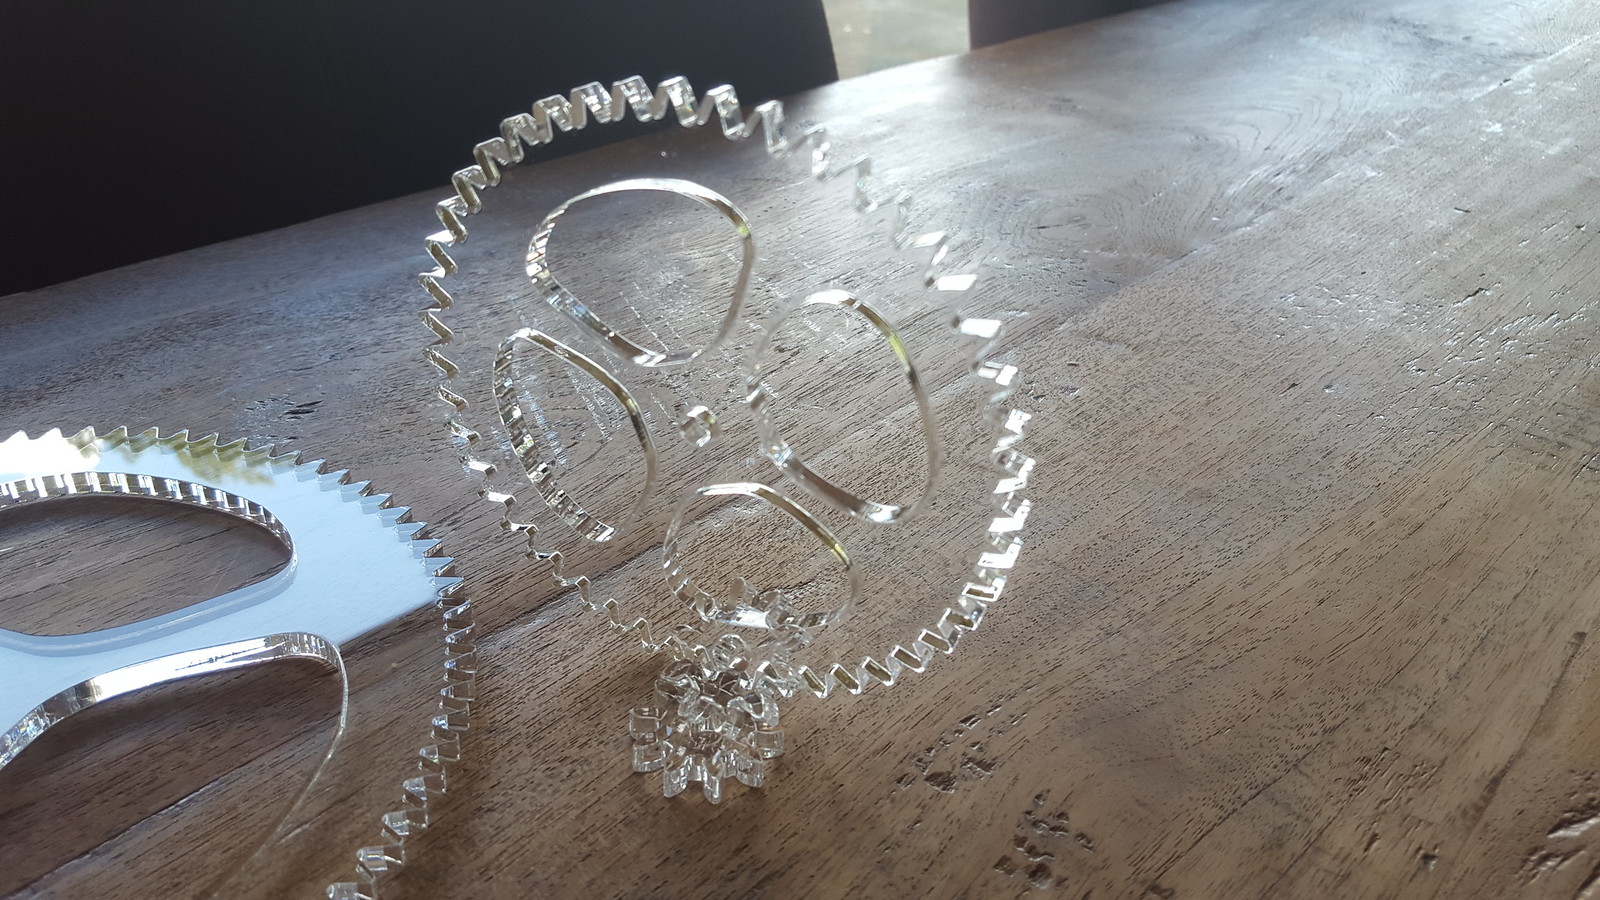
I also made a camera holder that i can place on my tripod so the turning point and the lens are on the same spot and you can make 360 degree pictures , i do need to make pics at day time with another lens zo the quality is better and you can move up and down.
For the interested people, here on this link you can view the image and scroll arround in the room.
photosynth.net/preview/view/bdeb334f-c4 ... ?startat=0
I did have done some work the last weekend but not much,
all the cable holders are on place now downstairs/upstairs.
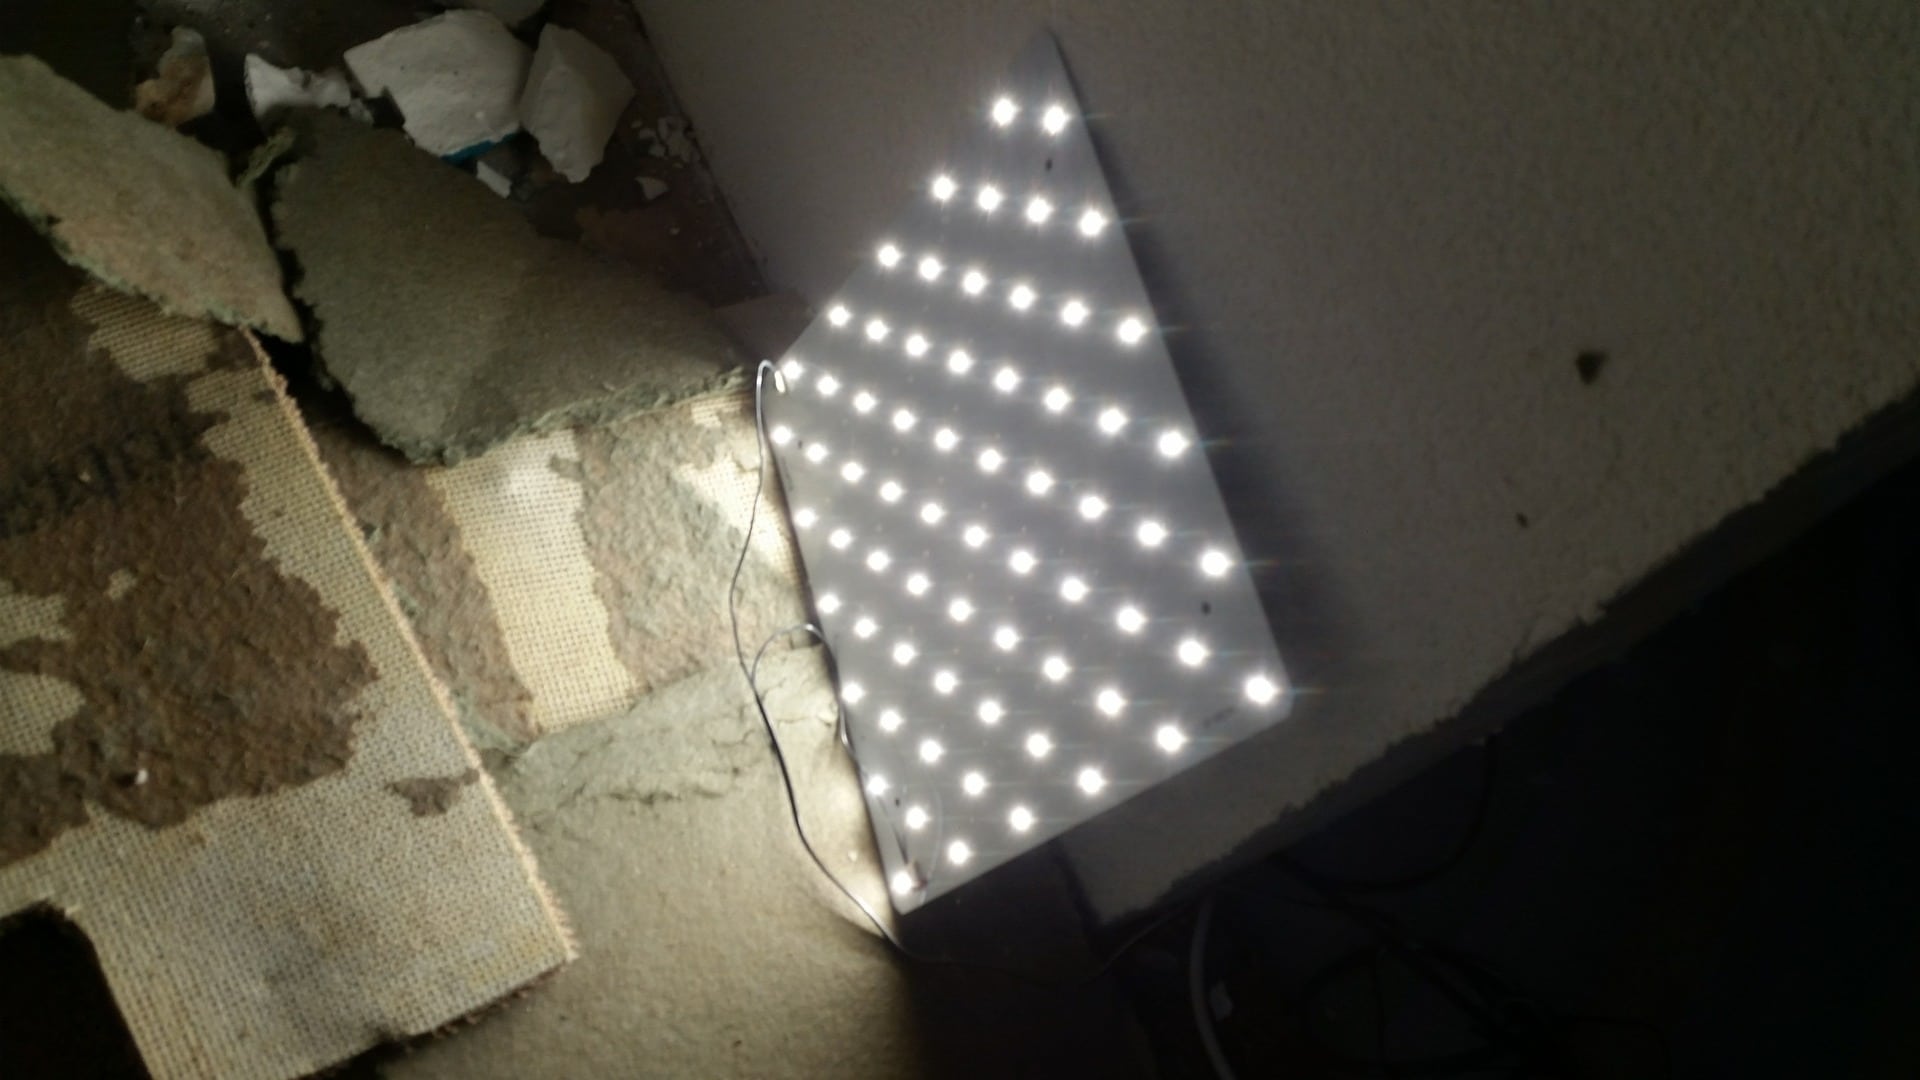
I went again to the electronics "store" to pick up a bunch of stuff and the first time we were there we bought a few LED panels.
Working on 30Volts and the light amount is amazing and little to no shade when you hang above it.
Very nice working lamps for in the garage, so he had 1 box left of these and i bought them all , 29 pieces with LED drivers
and the drivers where free These will do in my situation, i was planning to buy LED fluorescent tubes, or should i say LED tubes .
But now i will make some nice boxes and in front of these led plates i will place a thin layer of milk white polypropylene plastic that i get at a guy i work for allot so probably cheap/free
This is the light from 1 panel ( they use at 220V 70mA)
Turkish brand as far i could find on the internet
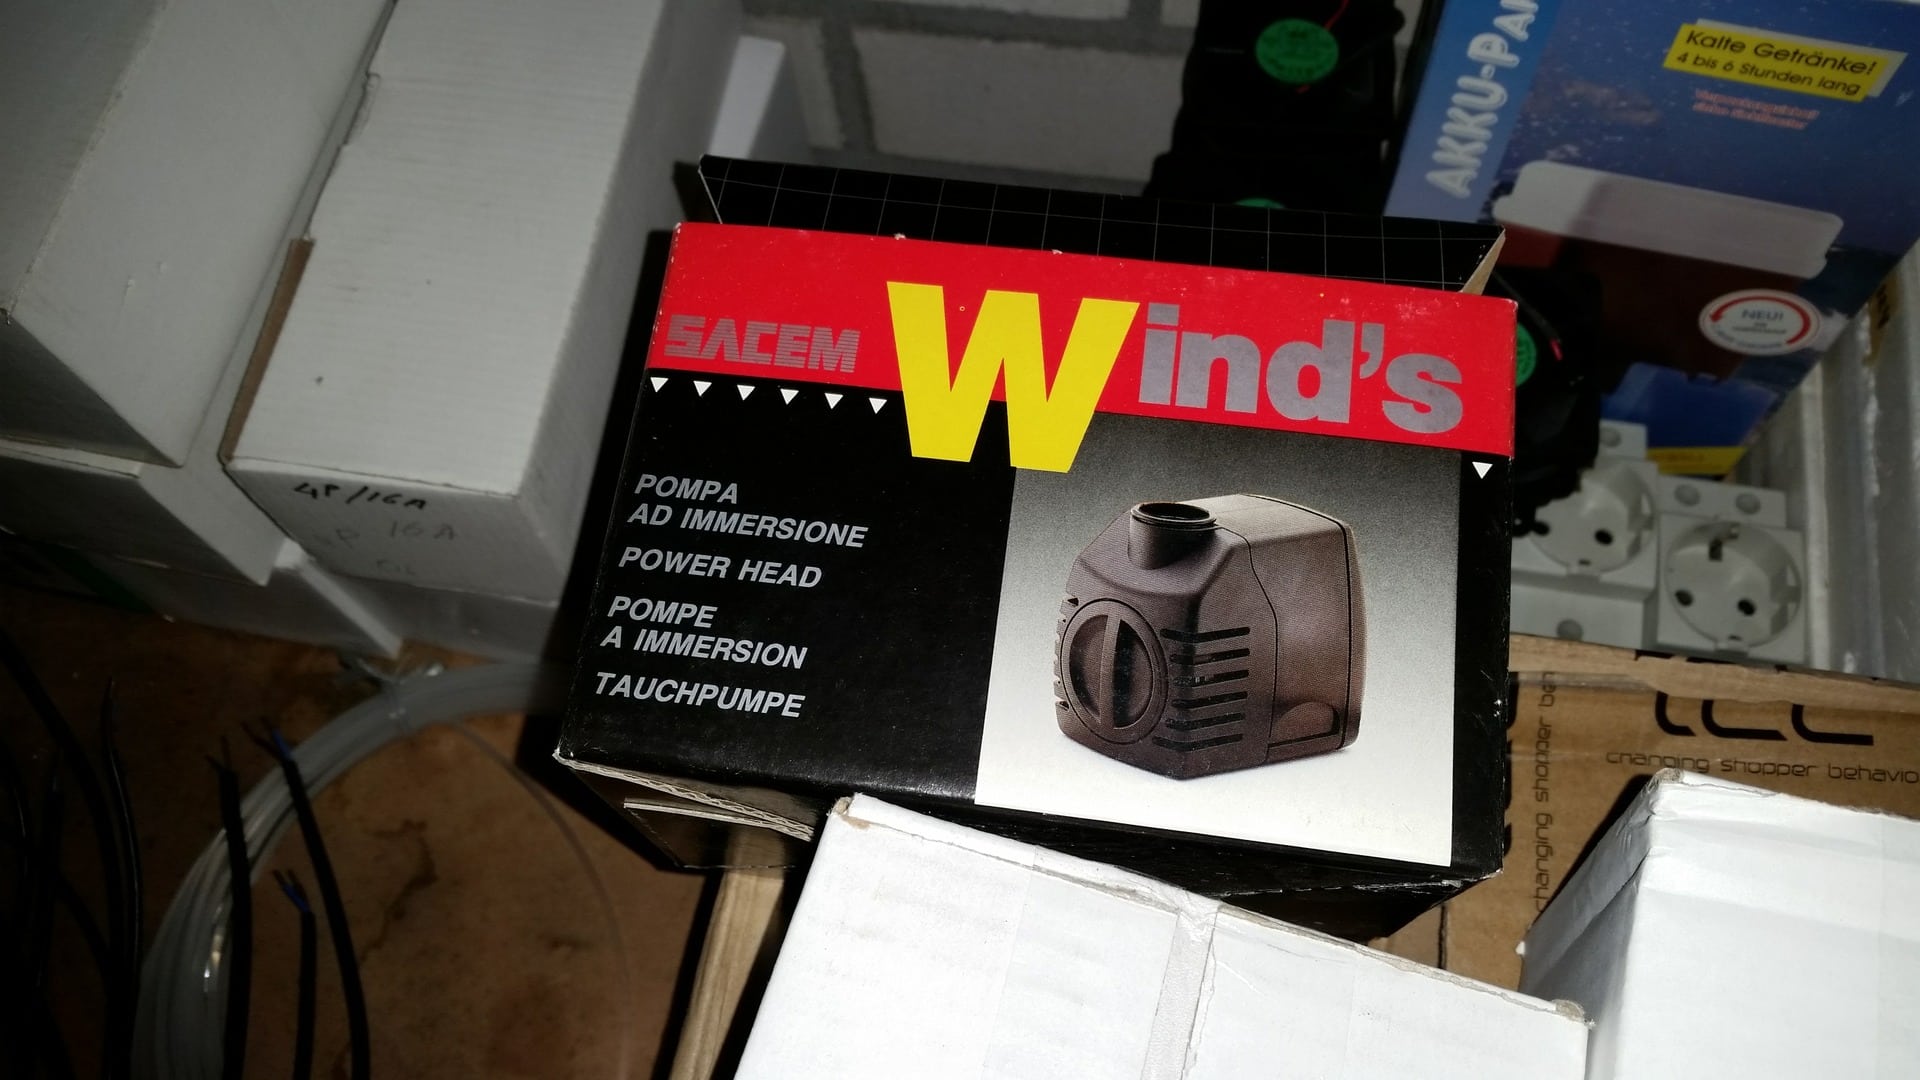
Also got a free pump, this will be placed in the tumble dryer, it has a reservoir that collects all the moist and i did not plan to empty this by hand all the time
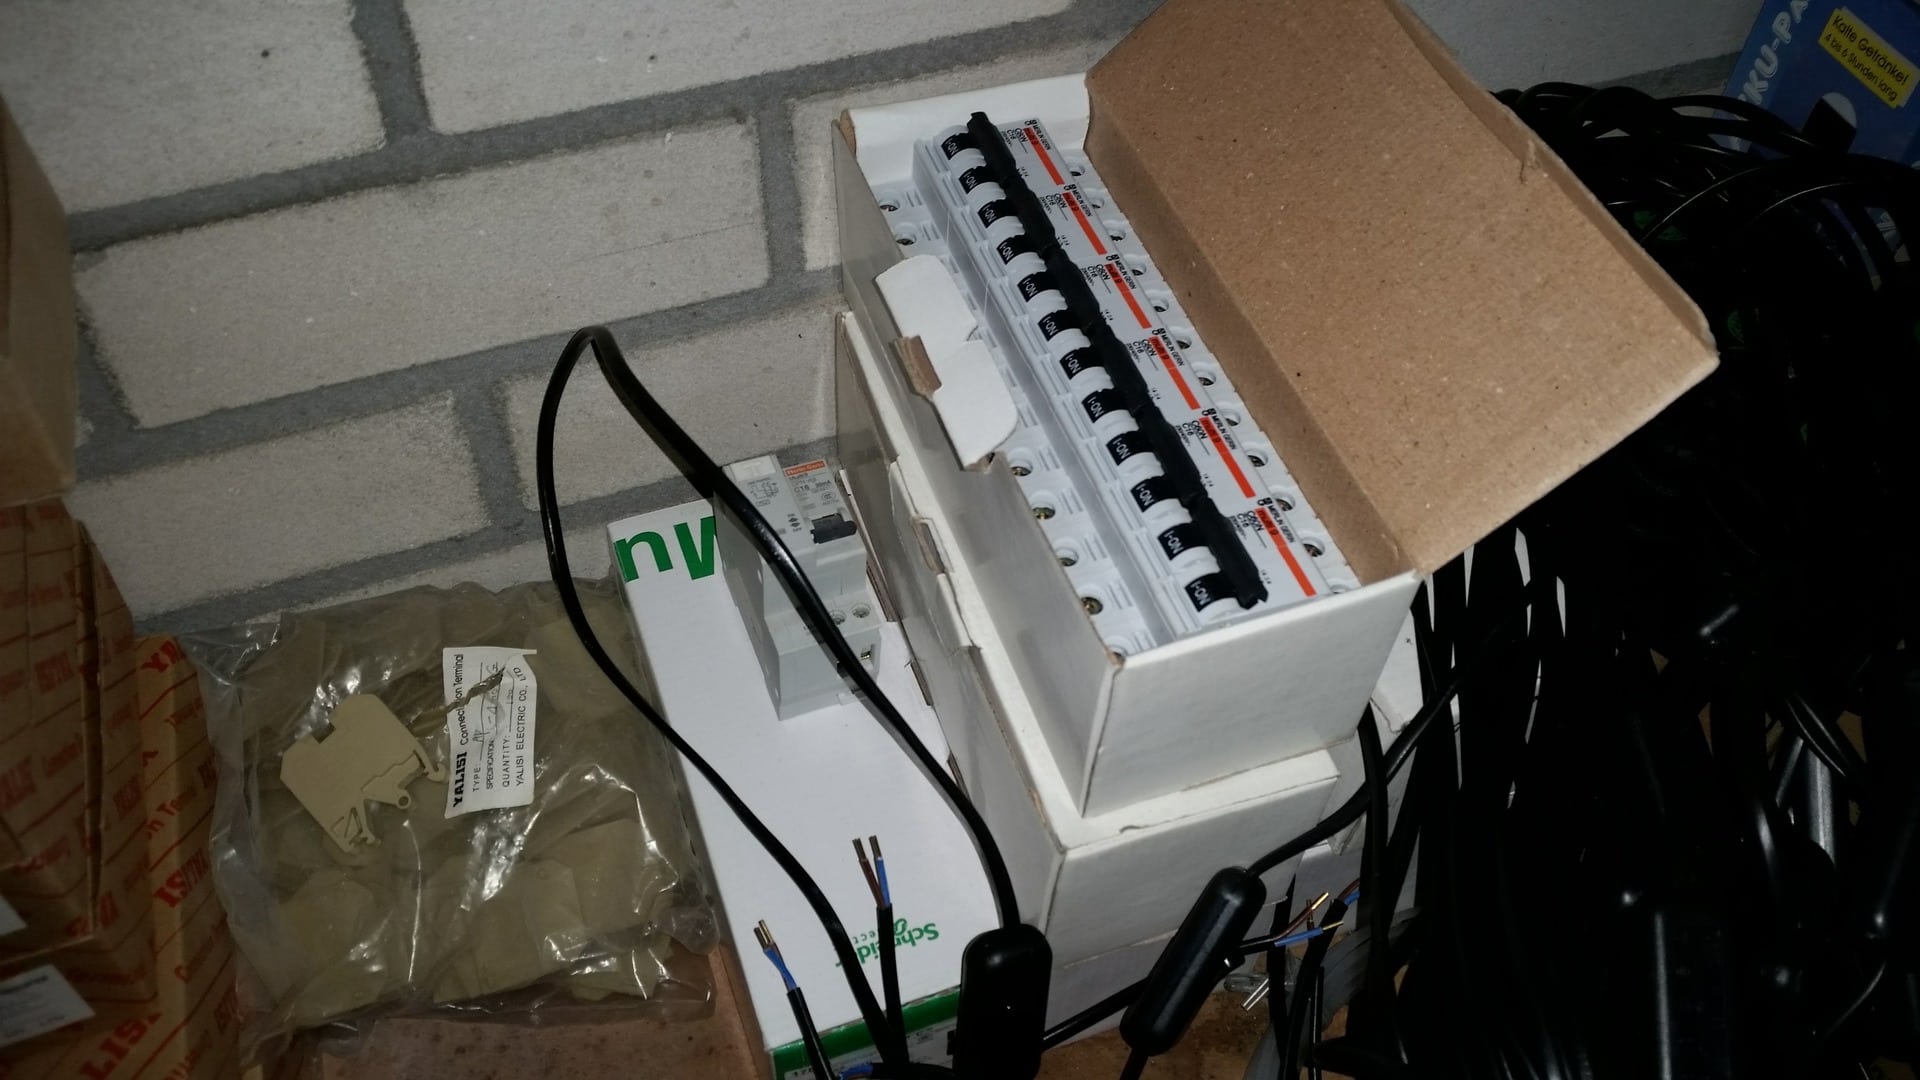
Also bought 30 fuses that cover the 0-wire and the phase wire instead of just the phase wire, some for 380V for the garage and the same story 0/phase/phase/phase.
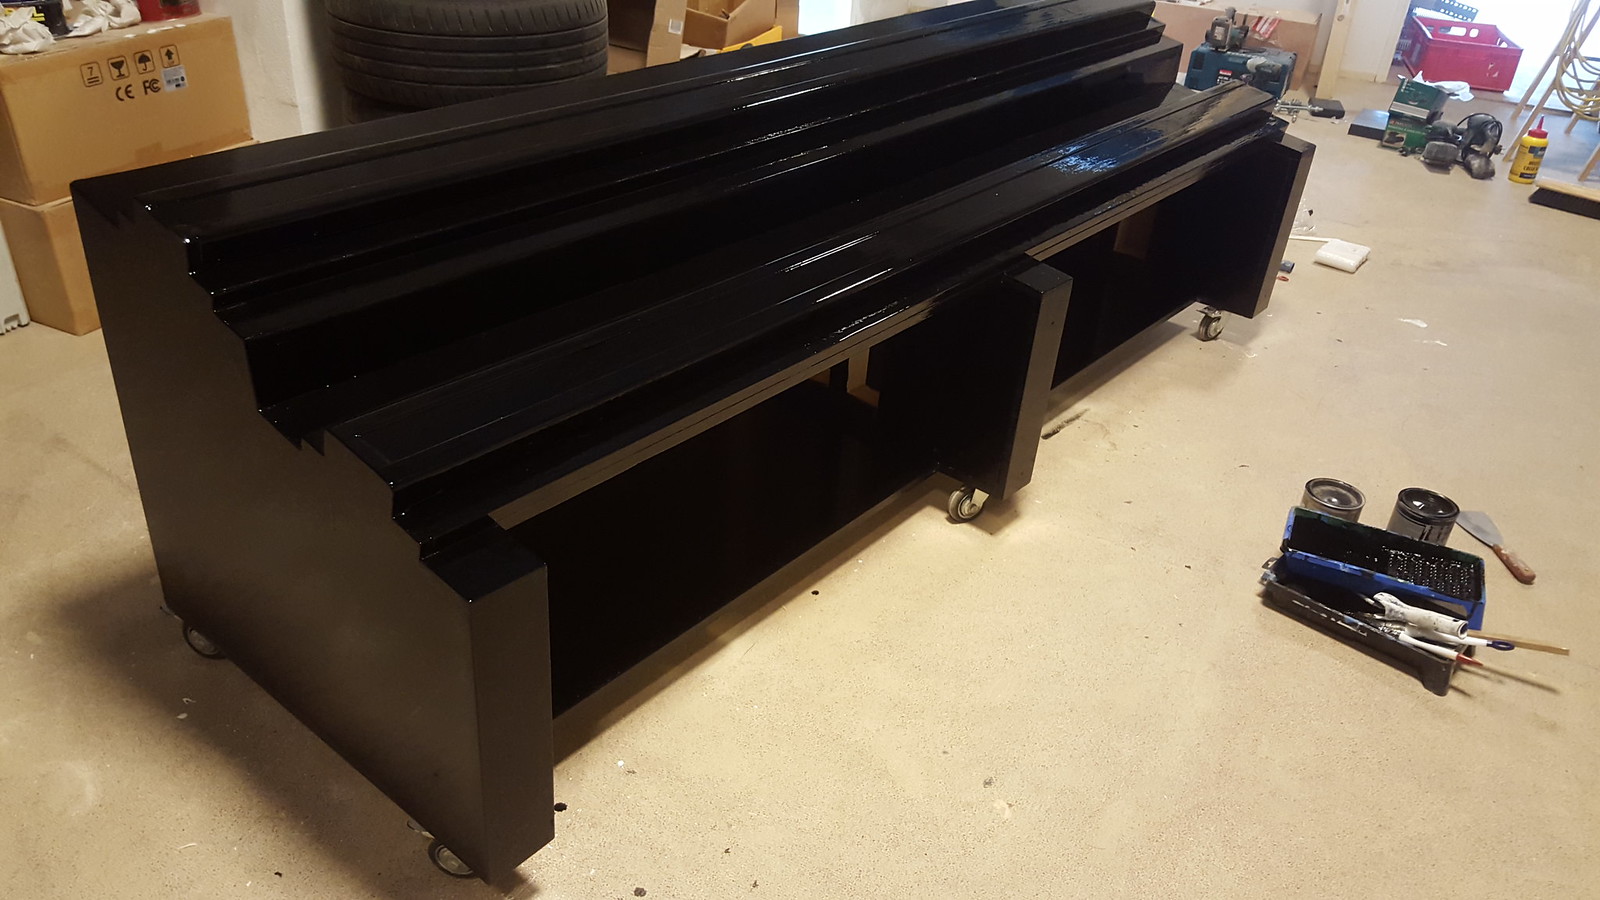
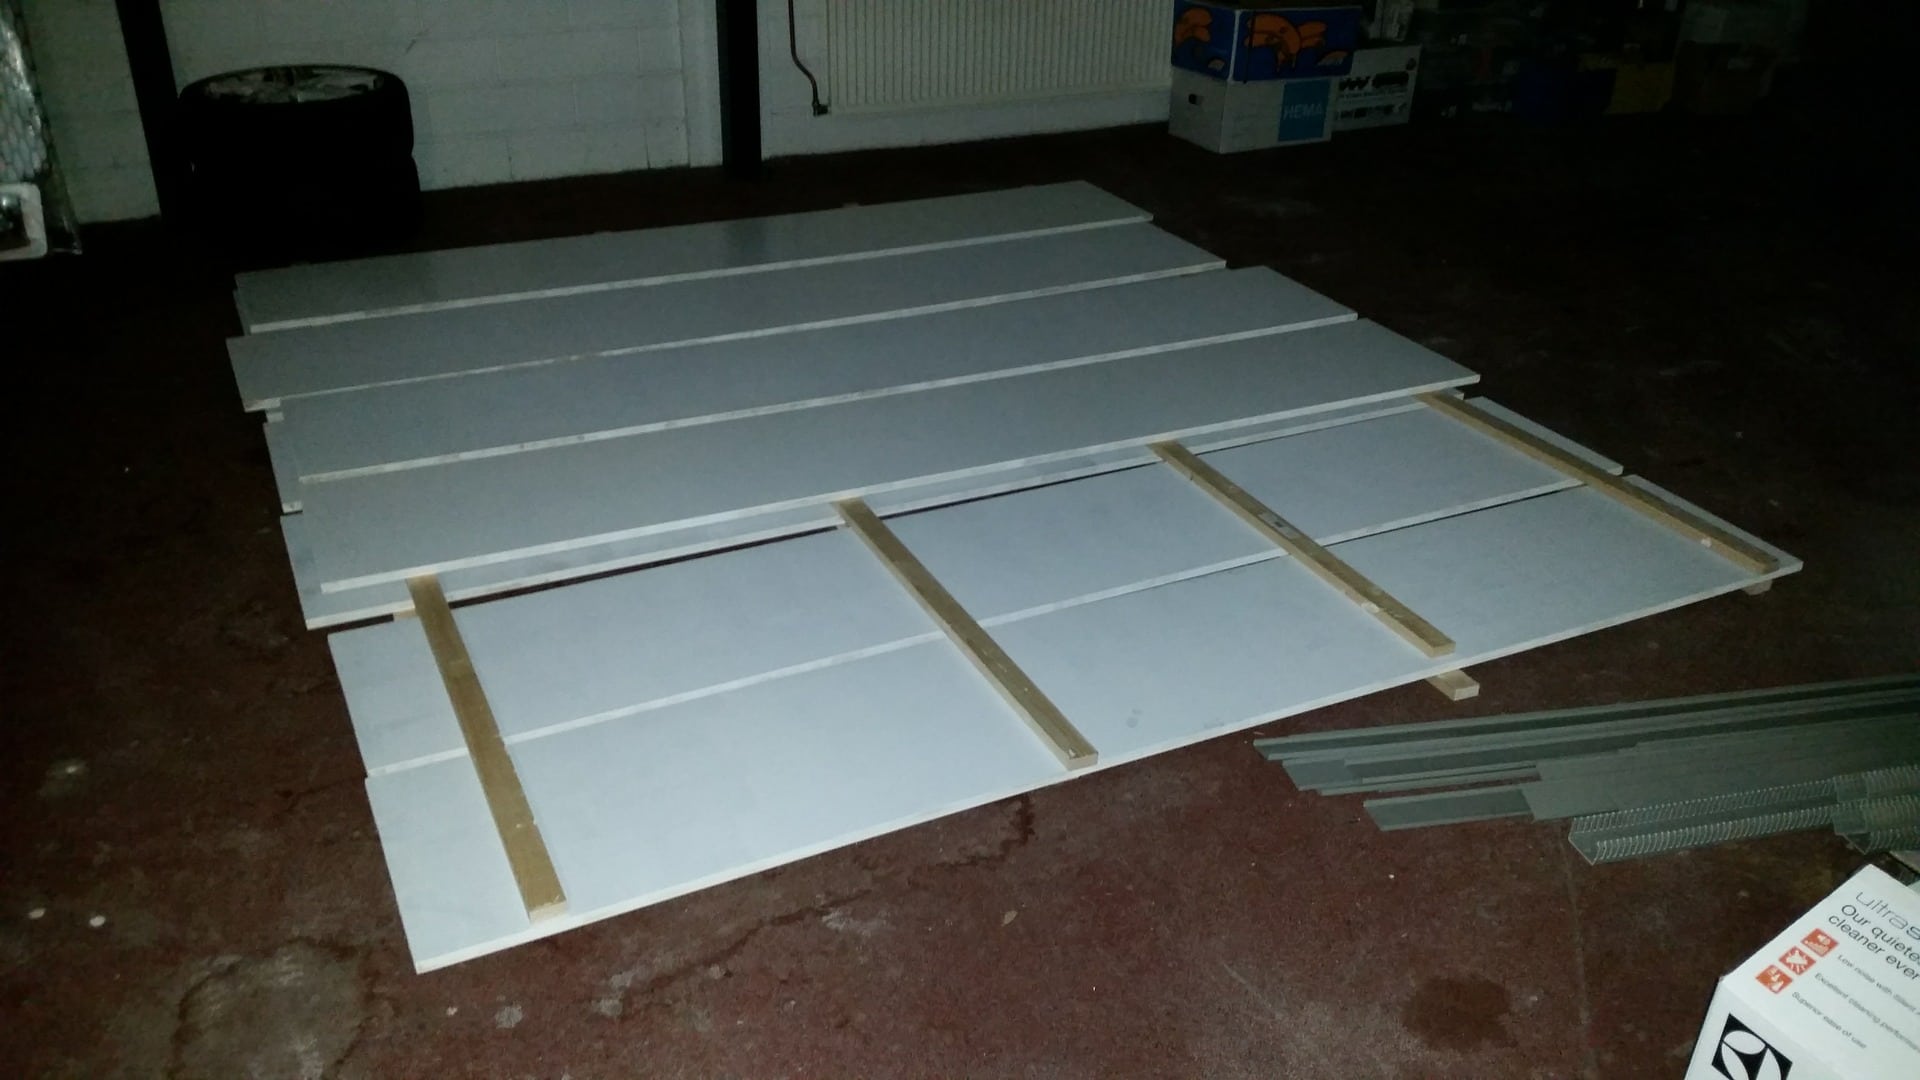
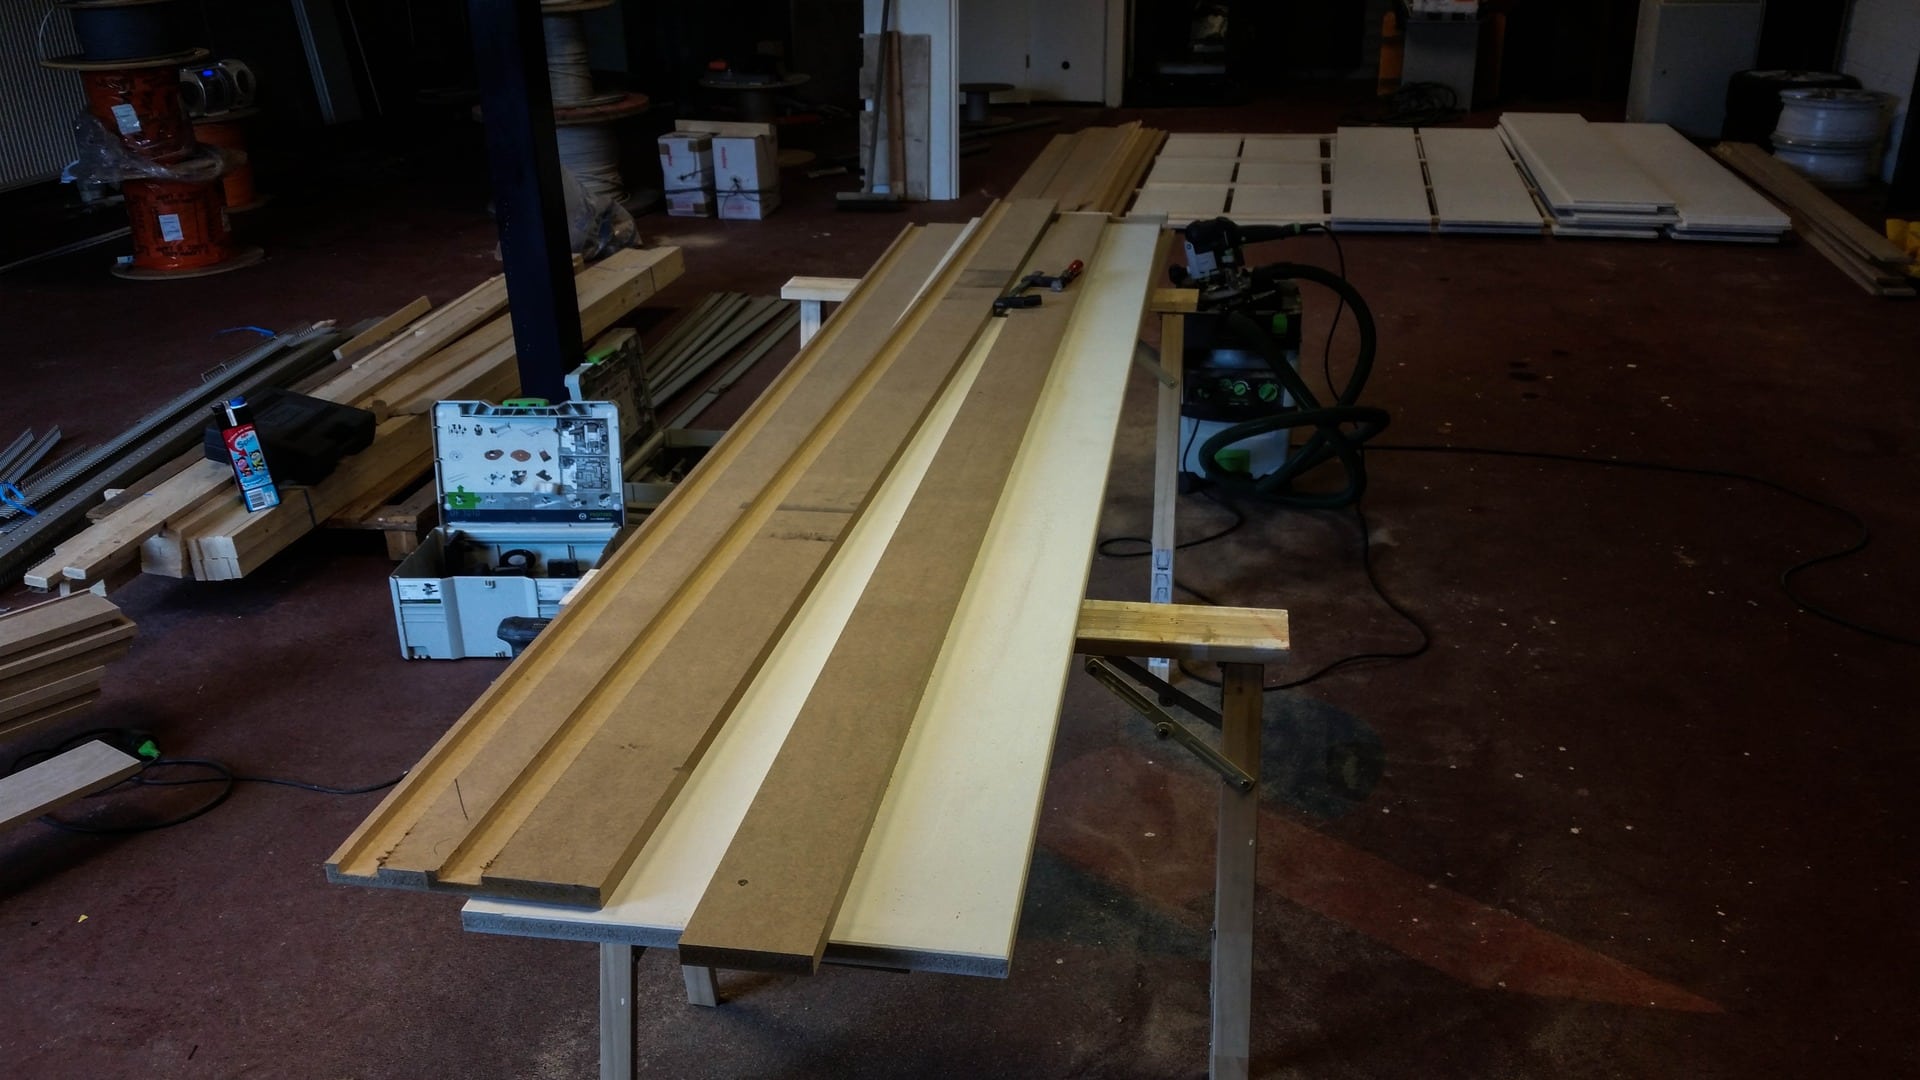
Started to primer the MDF wood for the light cove in the rooms, they do use allot of paint
at first i planned to spray polyester filler on them to get them nice and smooth but since i can't use a paint booth and i do not want to spray it in my garage because of the overspray and mist that will fall down everywere i decided to use a brush and a roller.
Just about 20 more to do and then use filler to make it nice and smooth (epoxy)
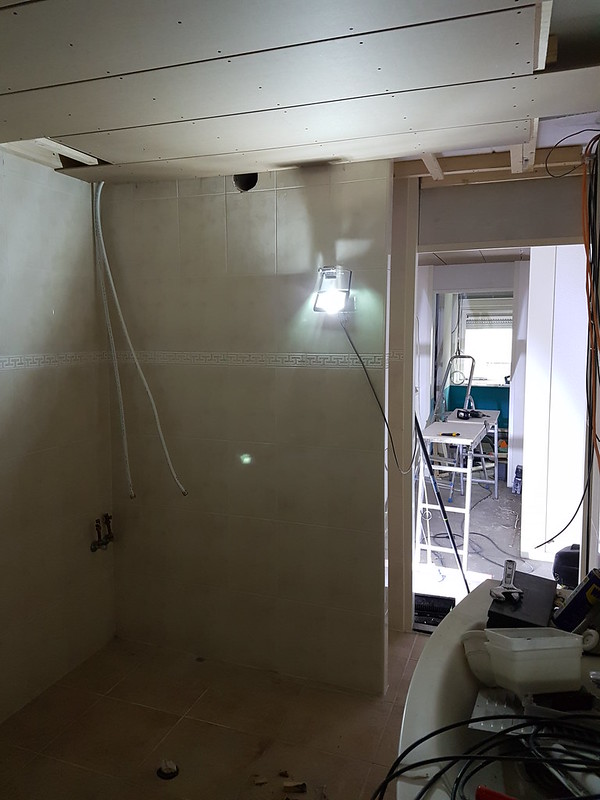
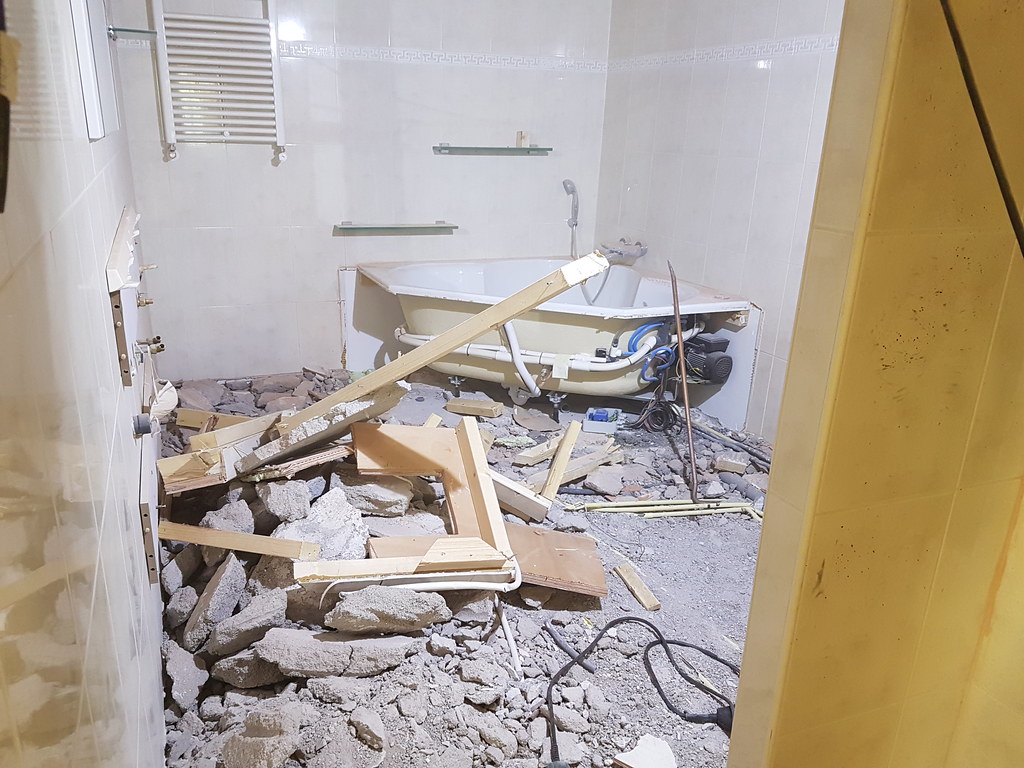
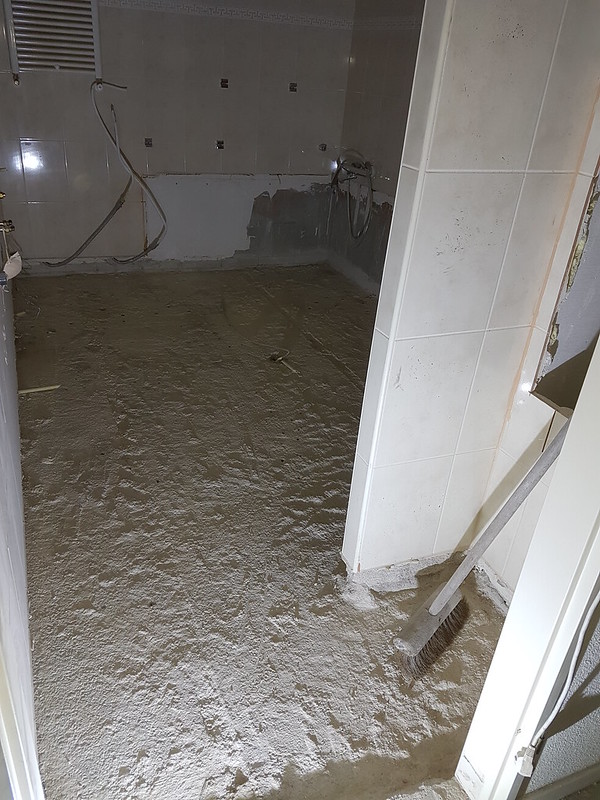
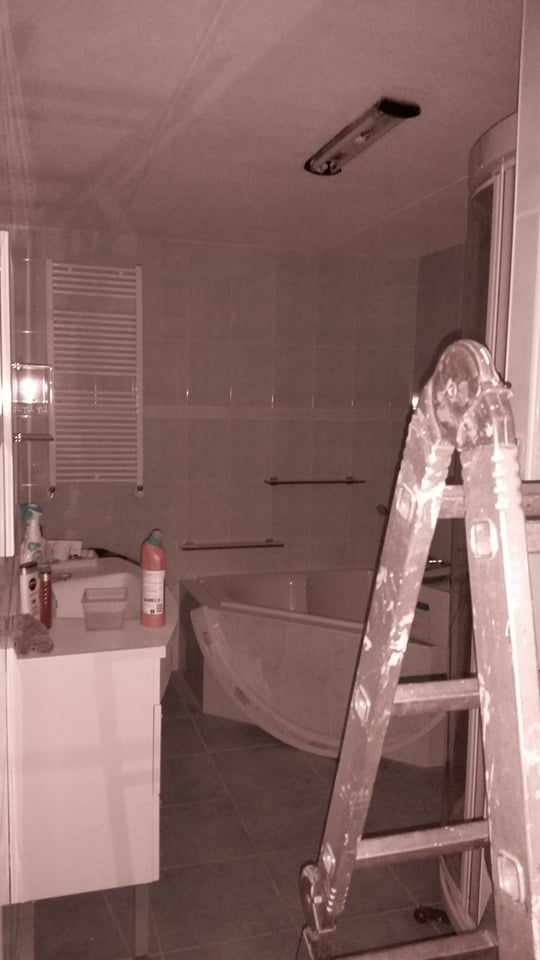
Also started to do drill some holes in the wall for the bathroom, going to redo the bathroom later since this only can cost allot and i got to much "projects" at my hands now to start with this as well.
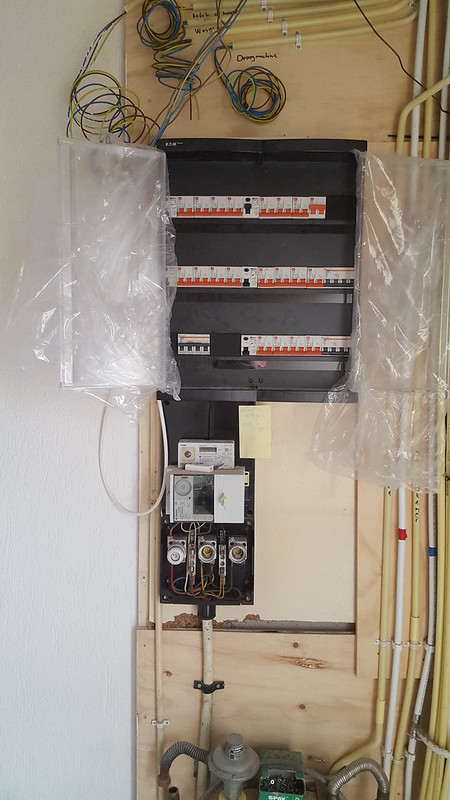
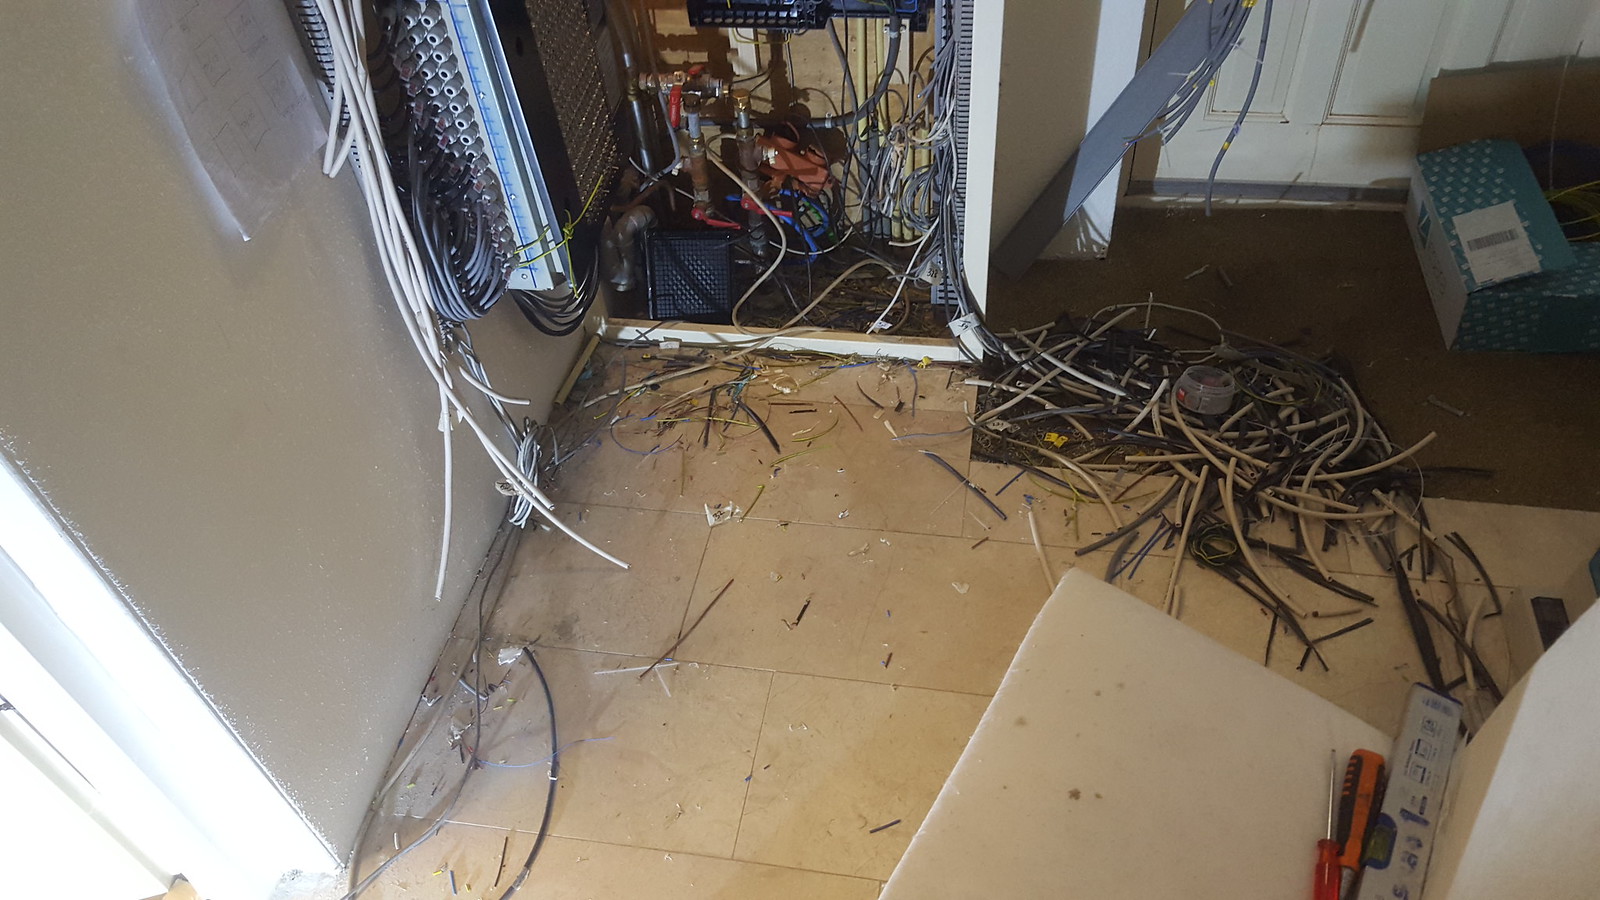
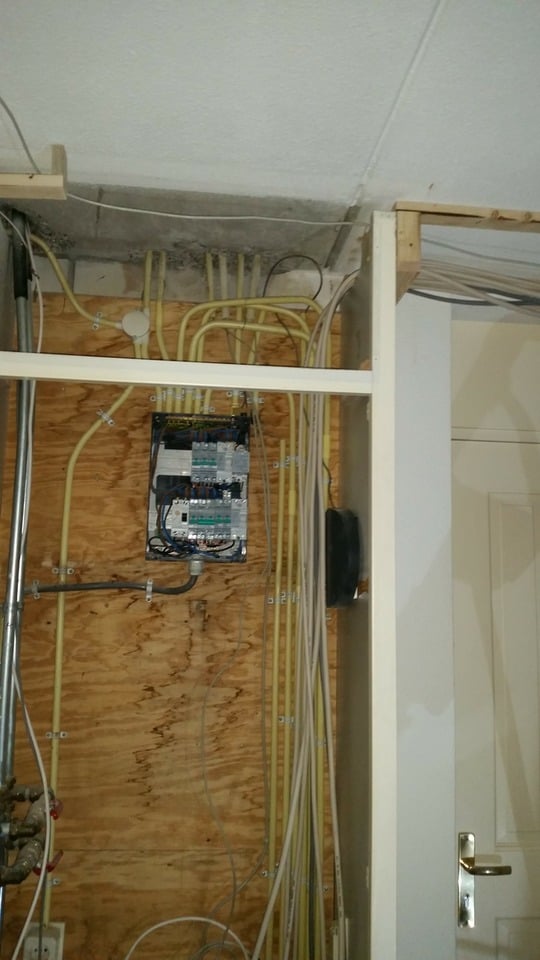
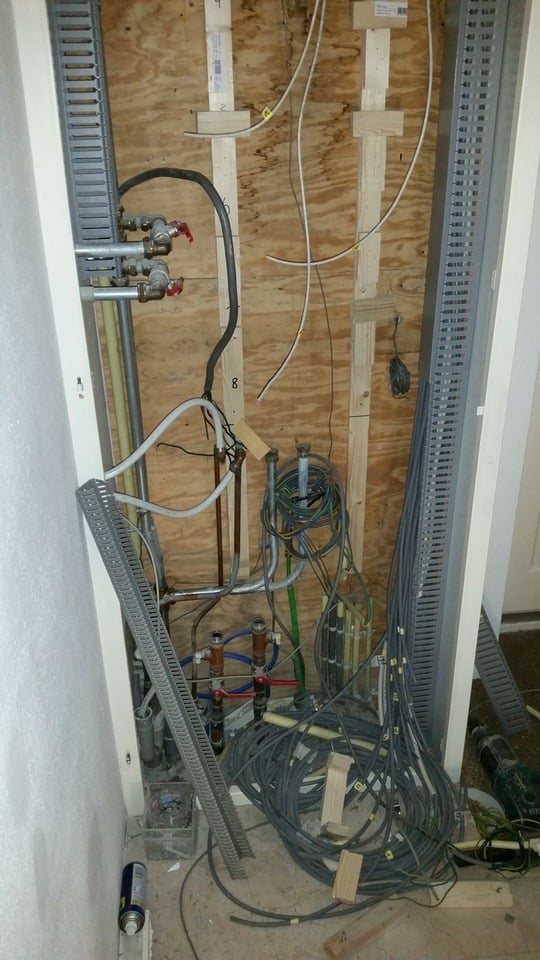
The fuse cabinet i have made a bit more tidy and placed some of the wires in the holder to see what and were because it was pretty messy.
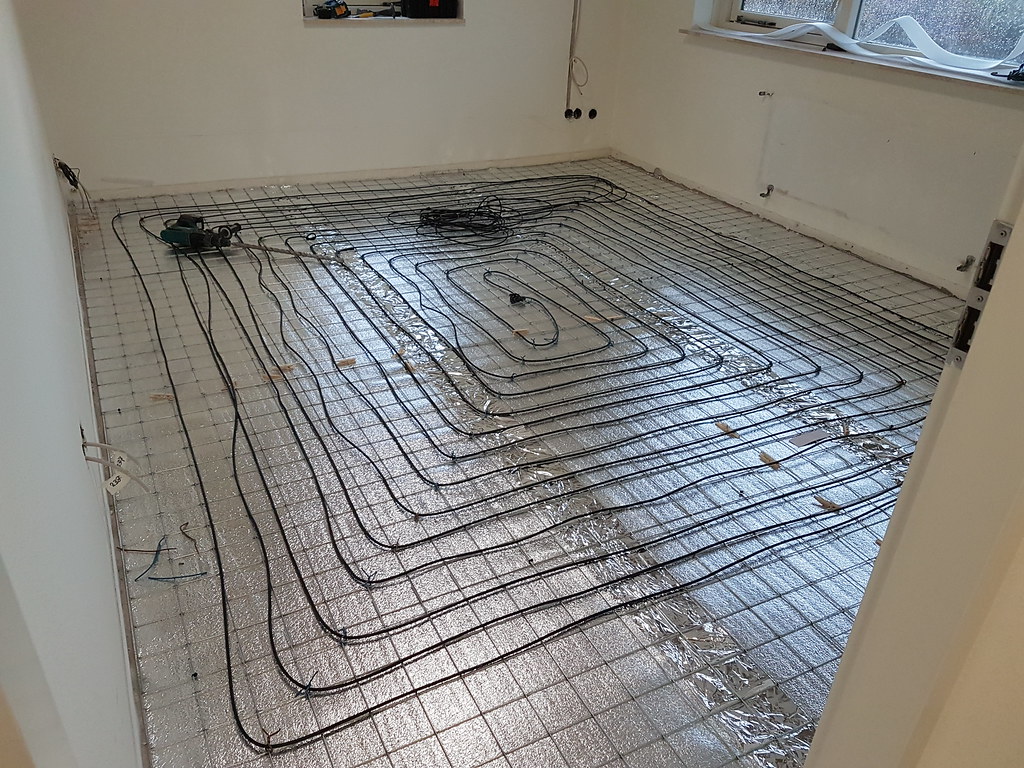
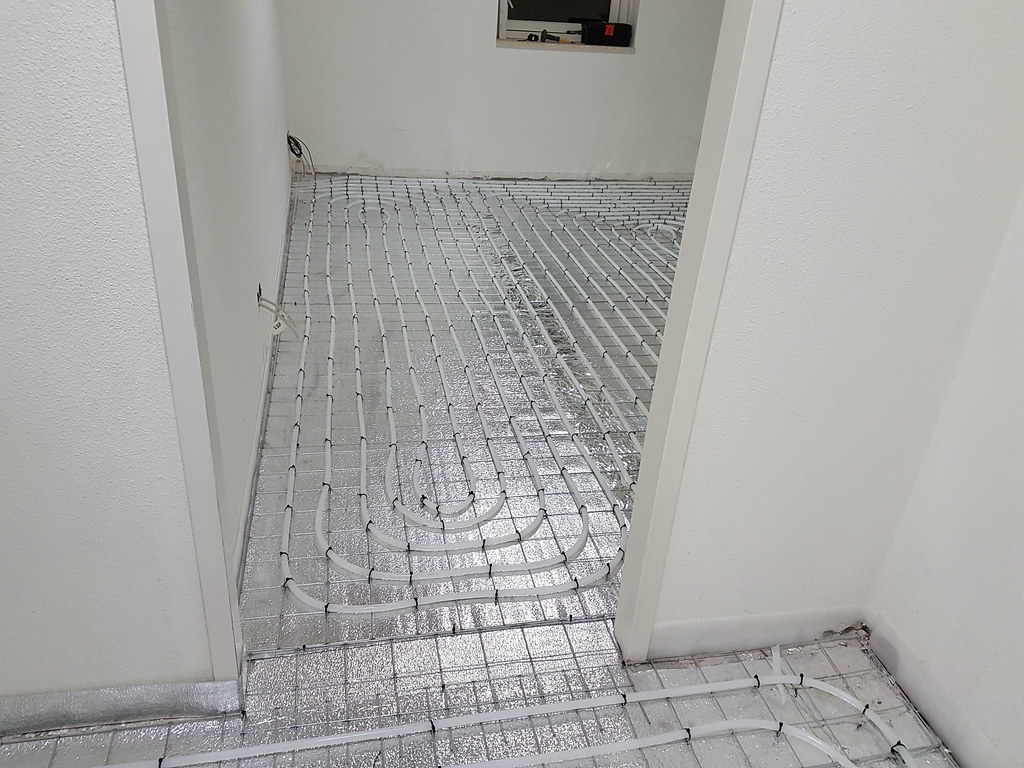
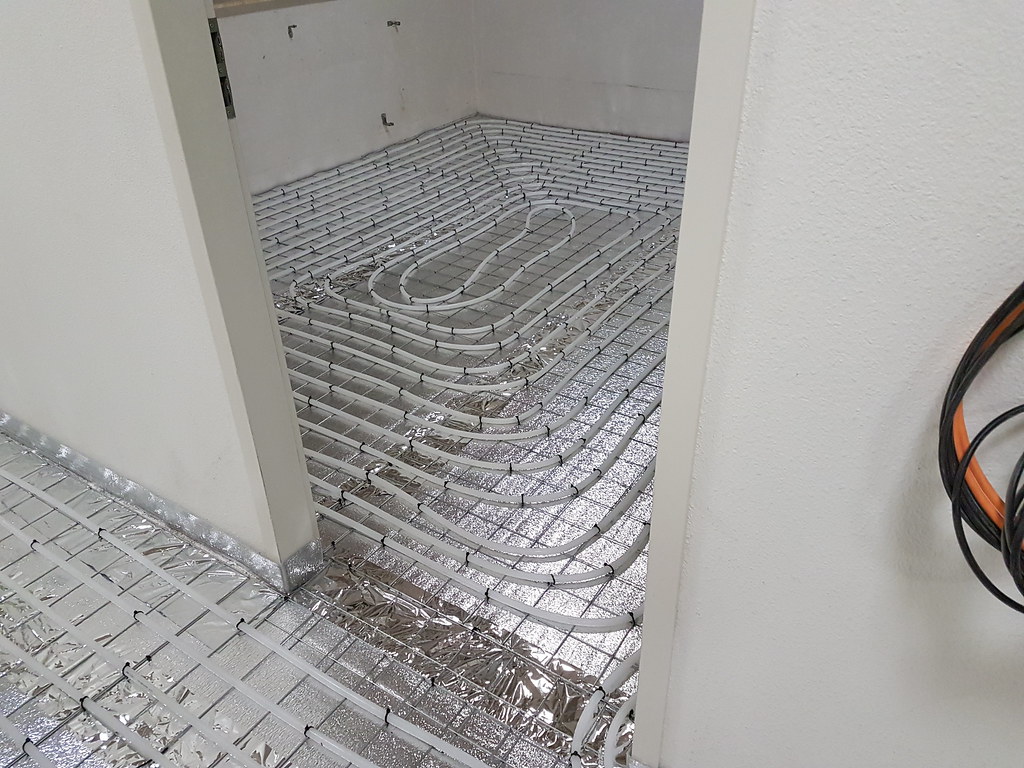
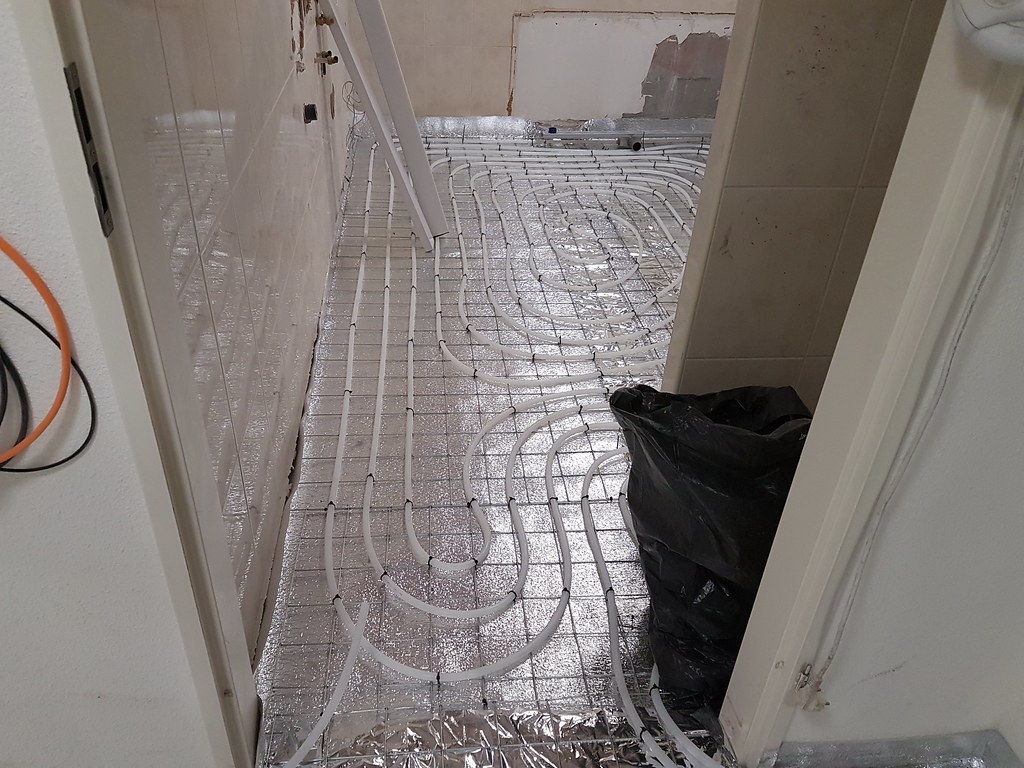
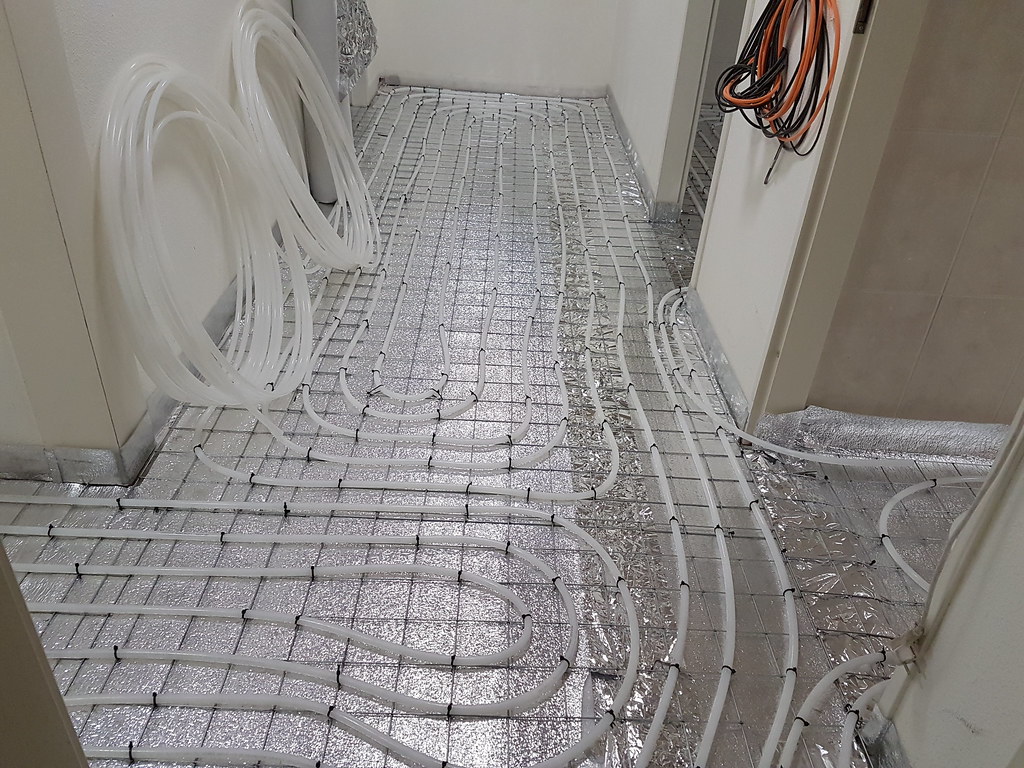
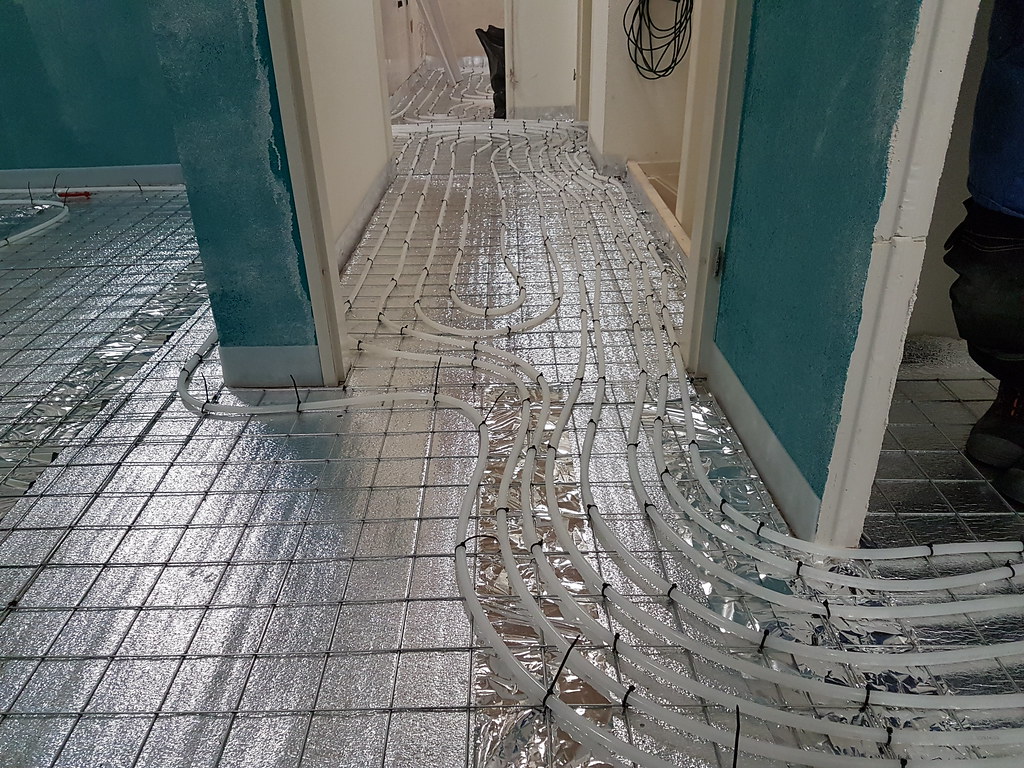
The coming weekend i must drain the warmth pump and solar boiler system so i can relocate the old pipes,
probably the most funny/strange thing is, the previous owner was a entrepeneur, he was a plumber.
But you can't see it on the work he has done, its messy, not documented at all, faulty connections and thats the pipes, if you see the electrics and the things he has build.
Nothing is great to see when you look closer :roll:
Also going to put a big part of the wire checklist hopefully into the house, today i received some of my packages and 2700m of wire
This is 3x0.75 mm2 Olflex cable, so if someone is interested in buying some cable ?!, leave me a pm.
Got lucky today, not really HA related but a friend of mine called that they threw away an airtank of a compressor,
since i have a compressor that is only the pump and no resevoir this was a great win for free
Drove to the company and luckily it fitted on my jetski trailer.
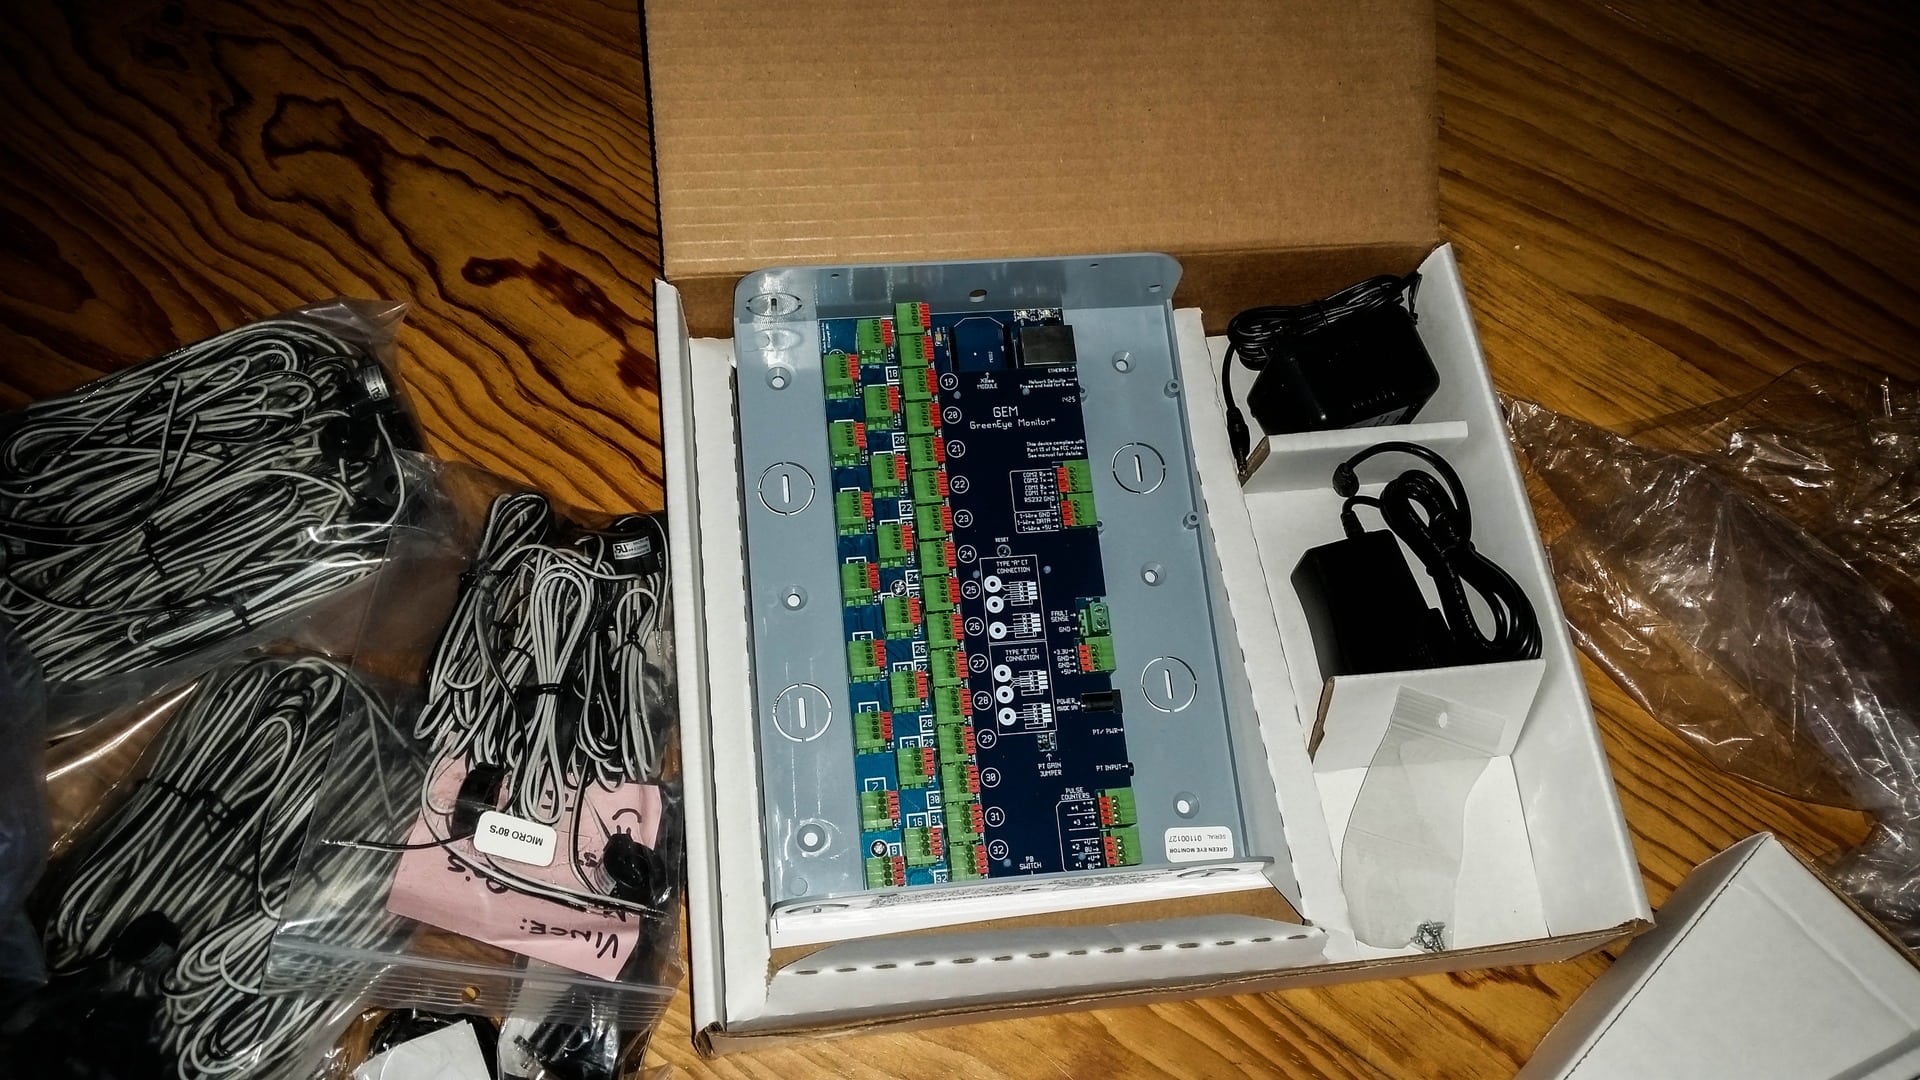
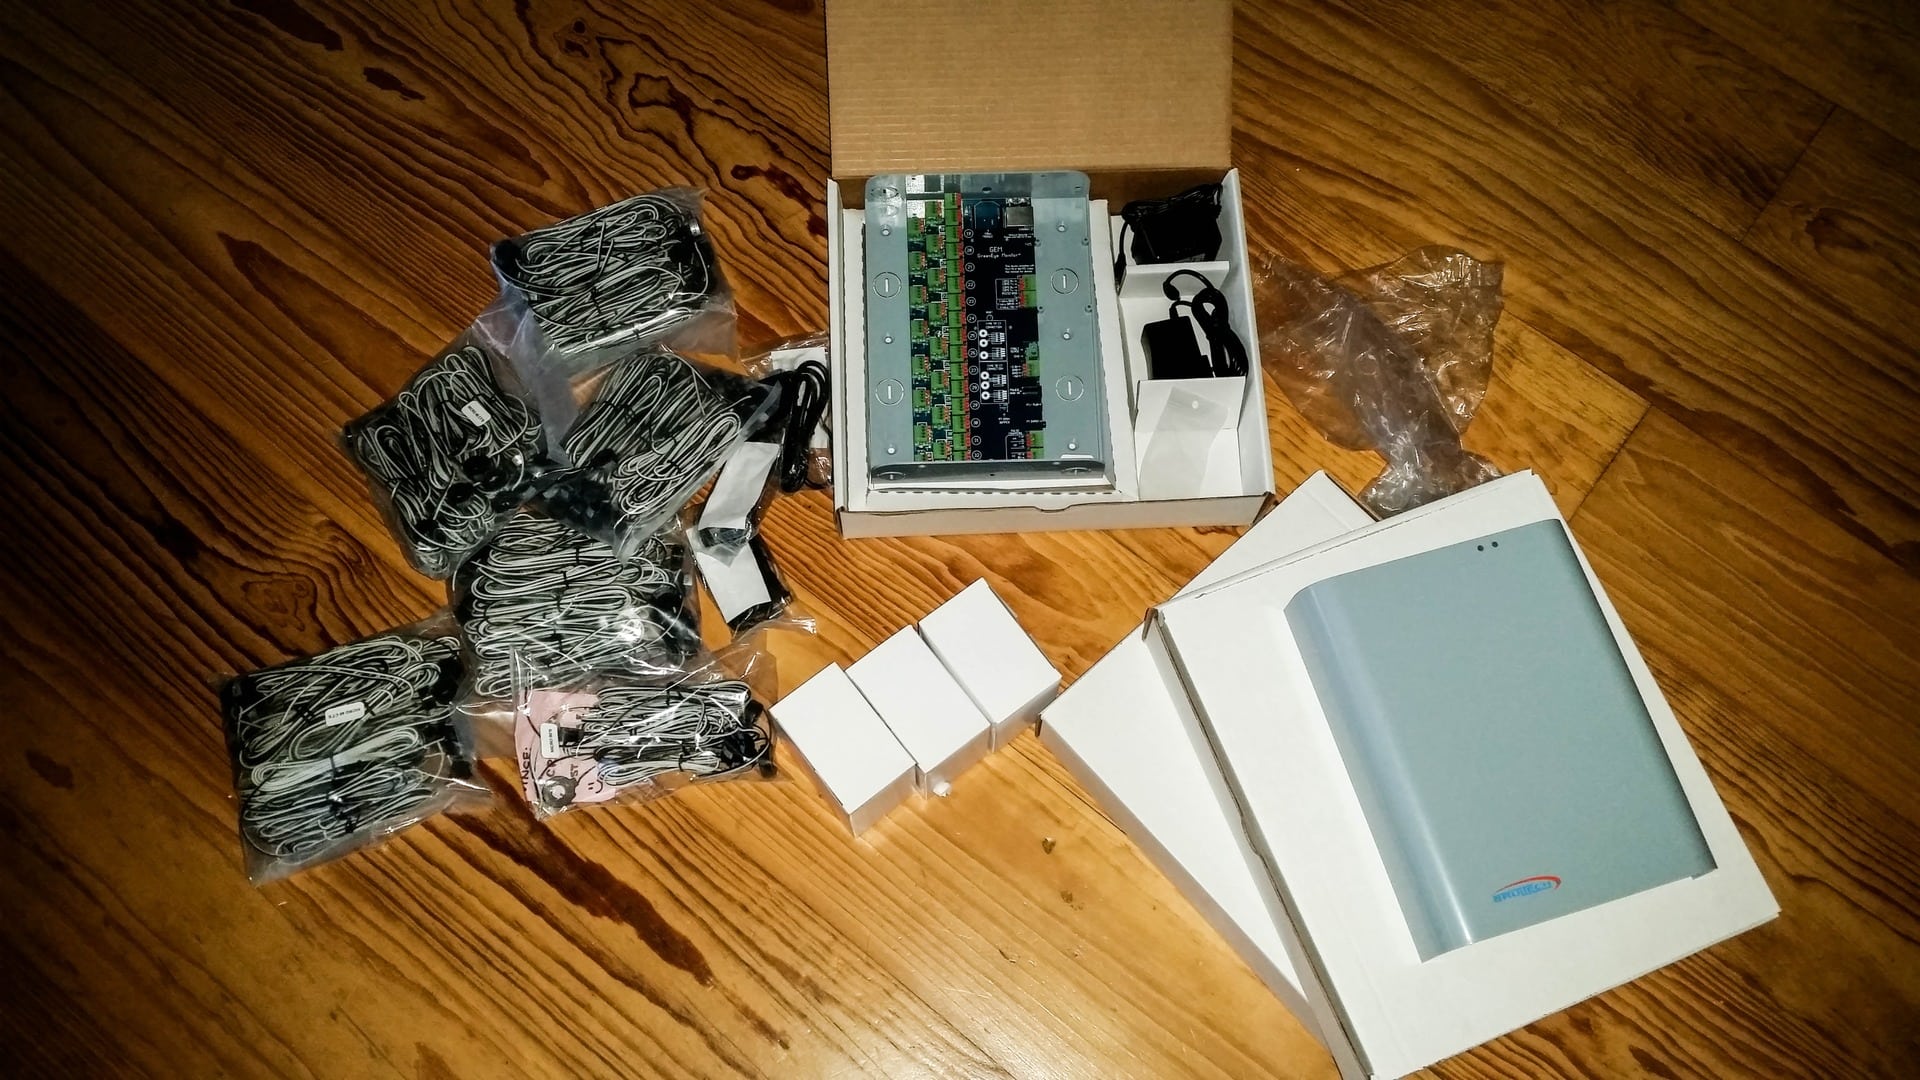
My package arrived from the US also, 3 XAP 800 units.
i probably need only one but leave a second one as a spare unit, 1 unit works but the lcd screen is broken and a cooling fan but this is a minor thing.
They do all start , hope i can set it by the menu and doing this by pressing the same buttons on a working unit so i know what and where i am to set the rs232 port etc.
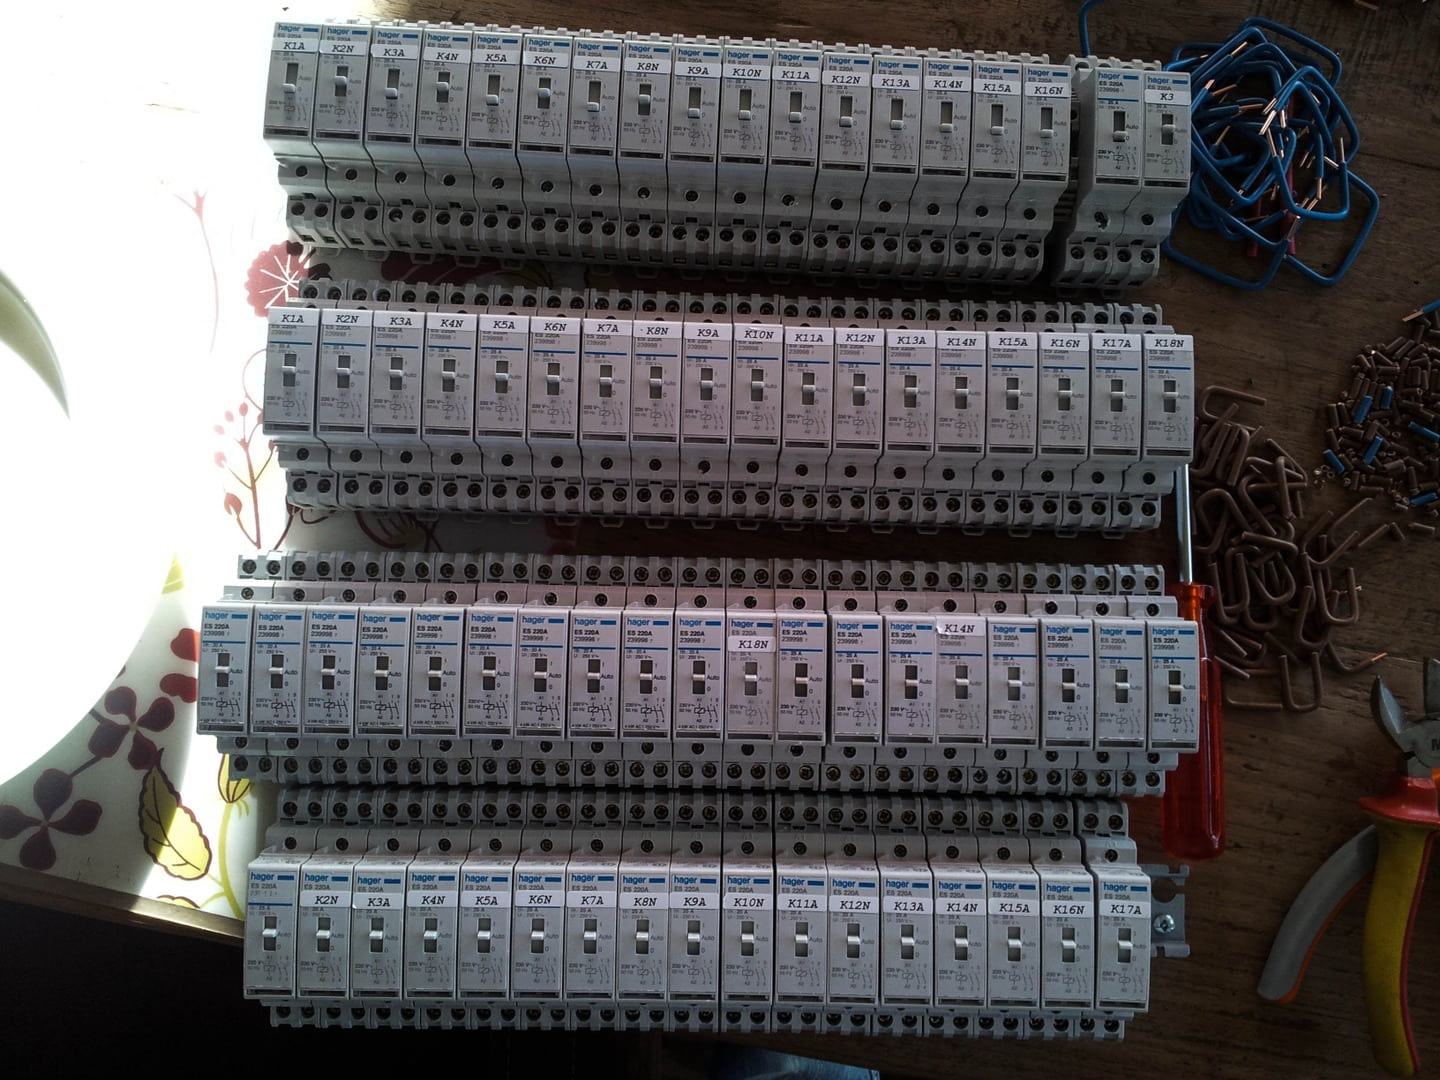
Also a bunch of relays arrived today, bought these last week from marktplaats could not resist.
Only have no holders/feet that comes with the relay but a soldering iron does a great job or buy a separate feet from internet.
If anyone is looking for good relays, same as the cable, leave me a pm.
There have been some days passed since the last update,
and what do you think ?
Haha right, still busy with wiring the whole house, but the living area seems to be coming to an end now.
Amount of cable that went in till now, about 3500M / 4000M.
The latest cable that i picked up, only 1 roll is left with 720M on it and 1 with 500M on it,
in 2 days we have done about 1200M of wiring :S and to be honest i can almost not see any wires anymore haha.
But what i started needs to be finished so were still going, last saturday i took a small break (was my birthday) after 44 days of work in a row paid and none paid.
Some pics , not really much to show since last time.
Most of it are pics that there are only more and more wires :roll:
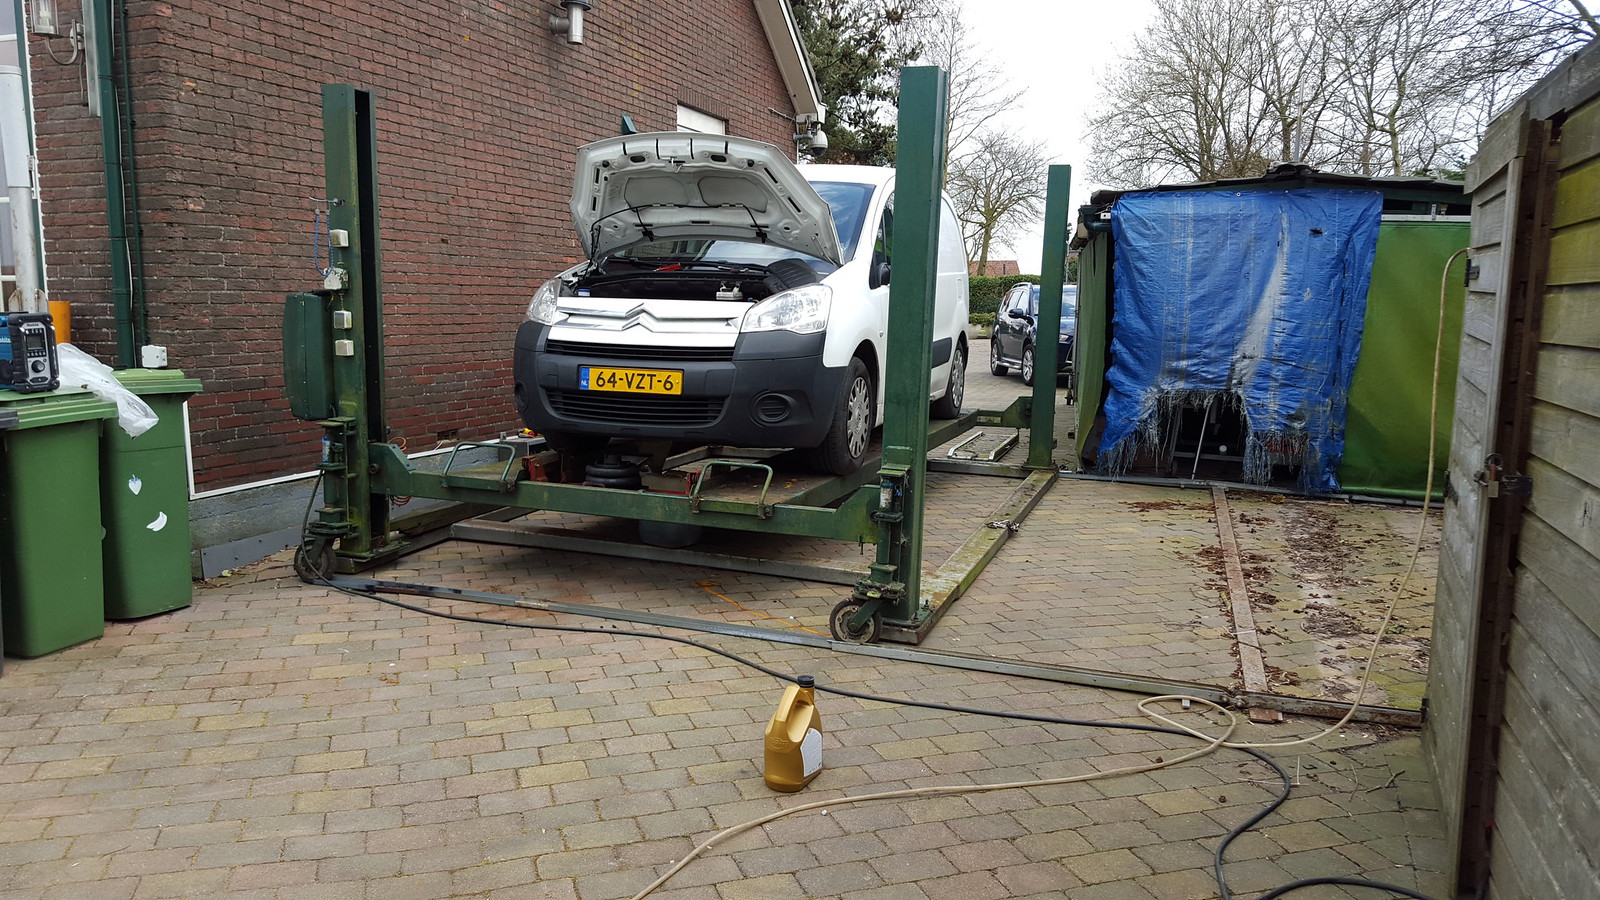
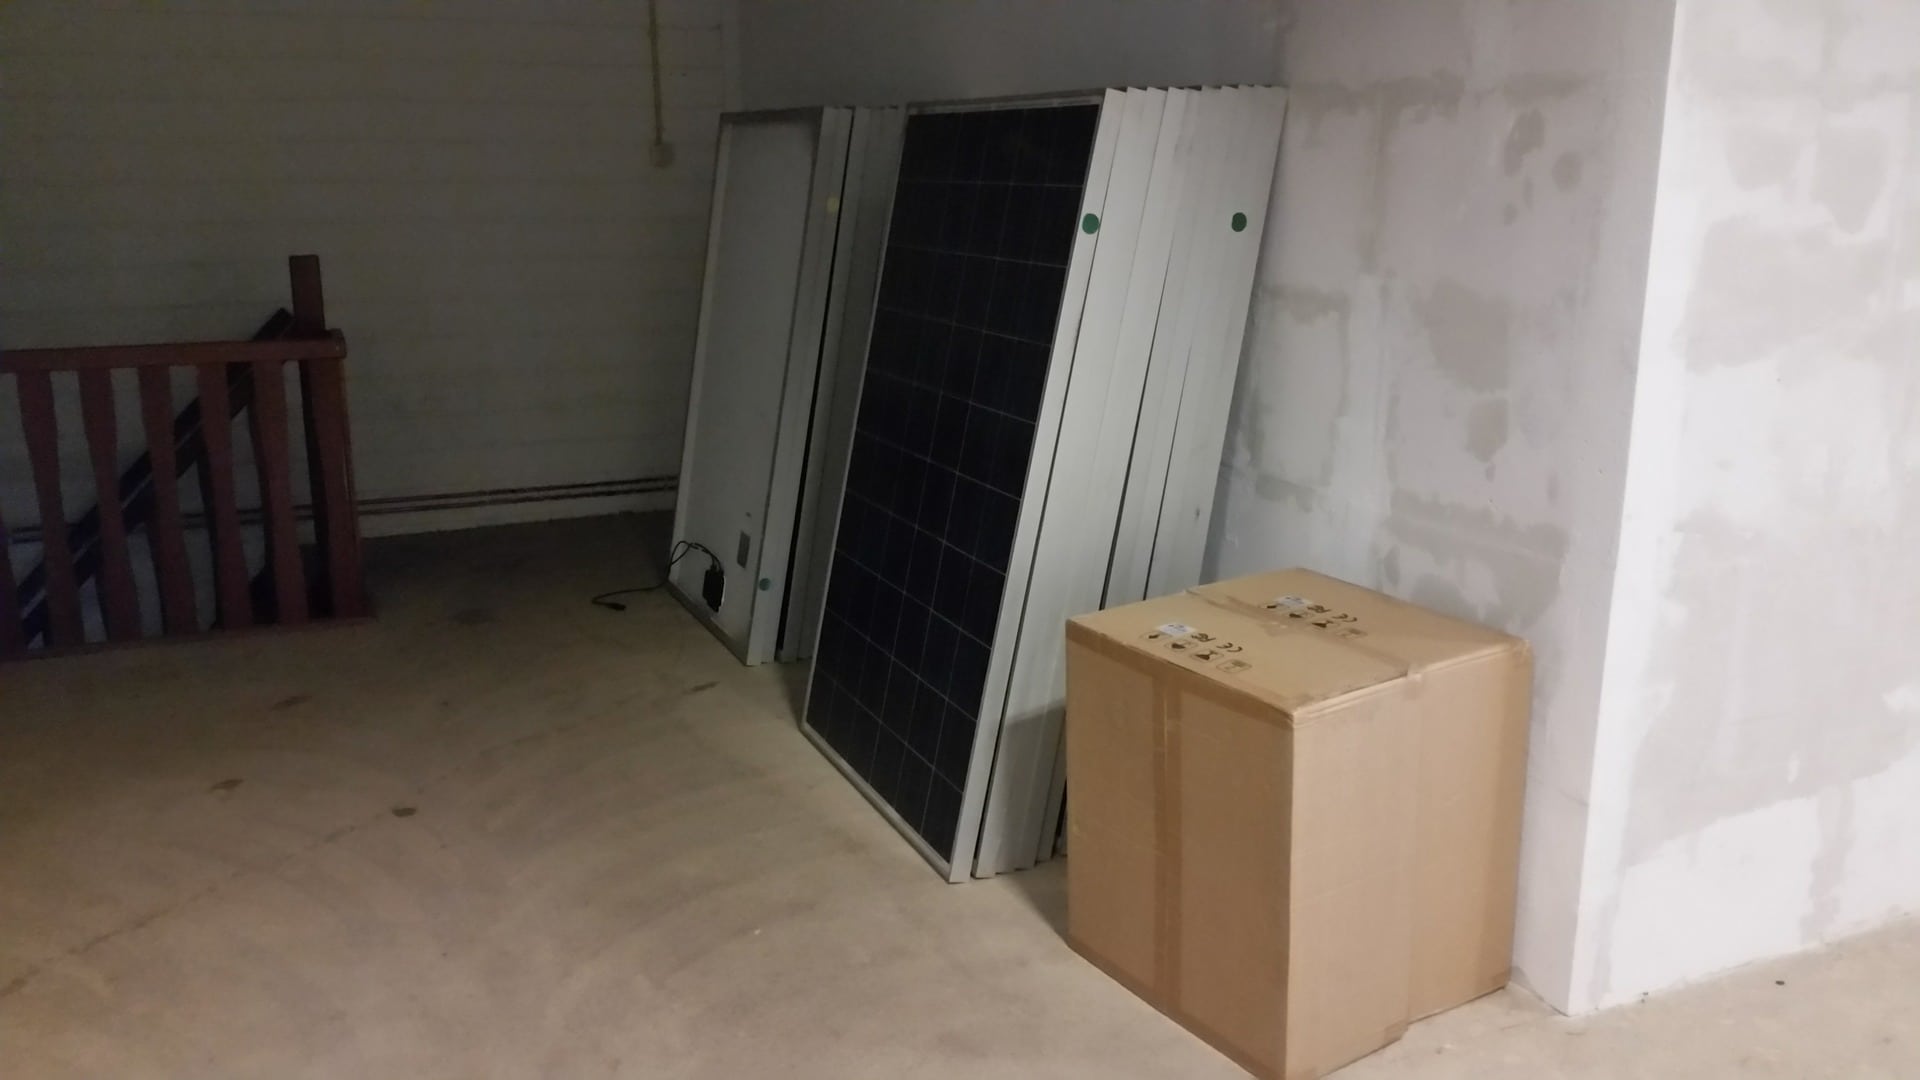
I got a long ladder to reach the roof and clean the solar panels, did not expect that they were so clean and did not needed any cleaning
(yes it looks like a dress haha, and its my dad, he doesnt give a S$%^ how he looks like
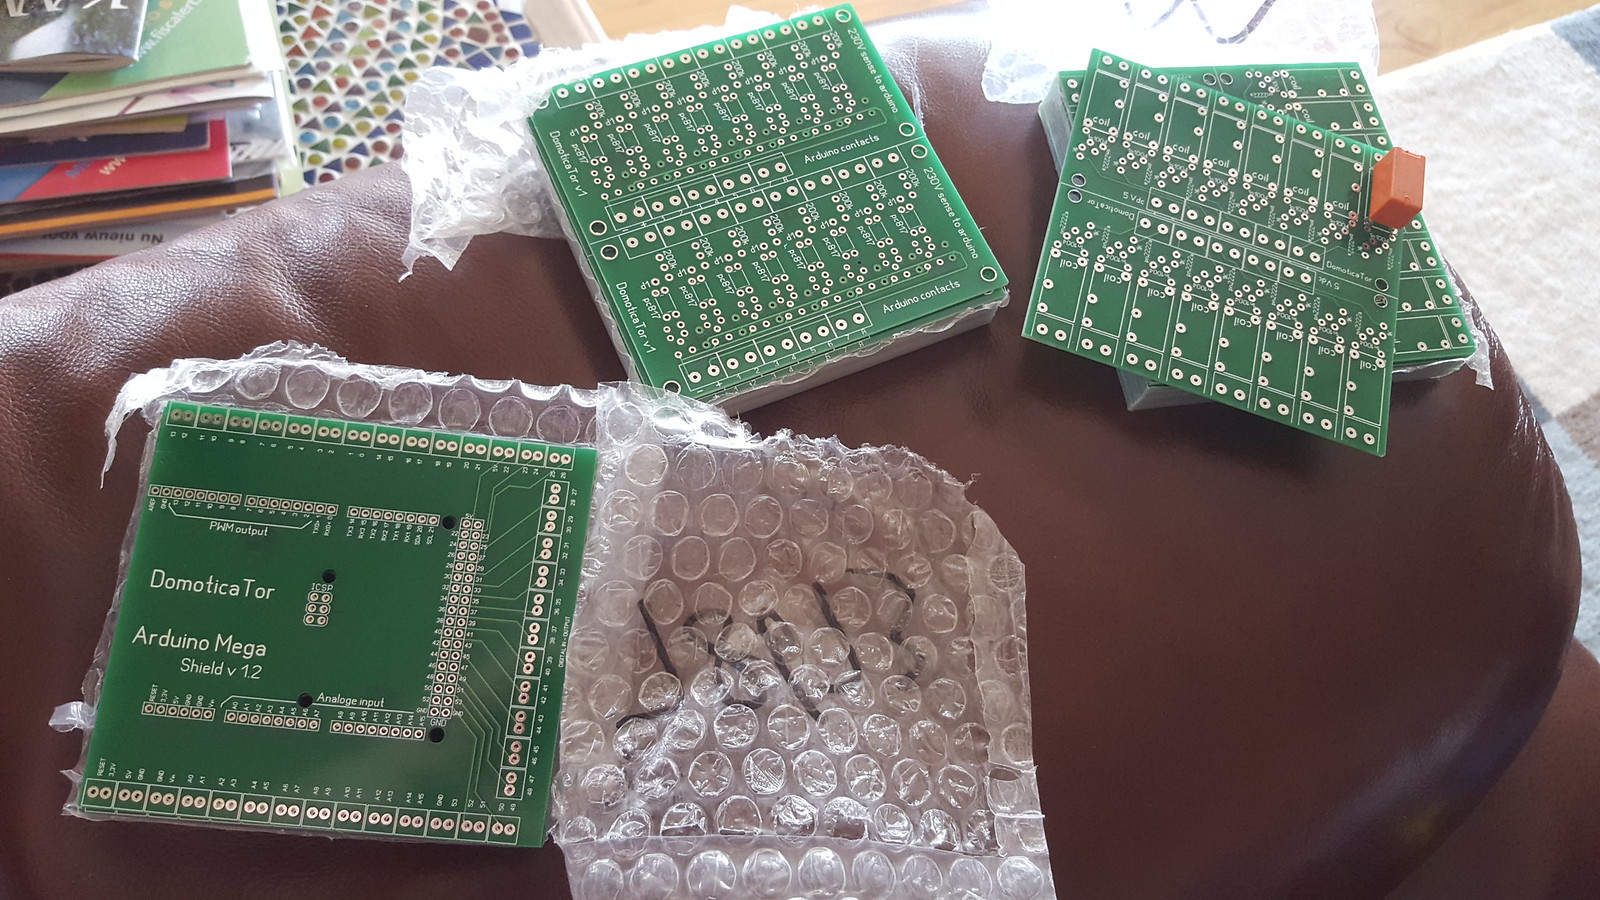
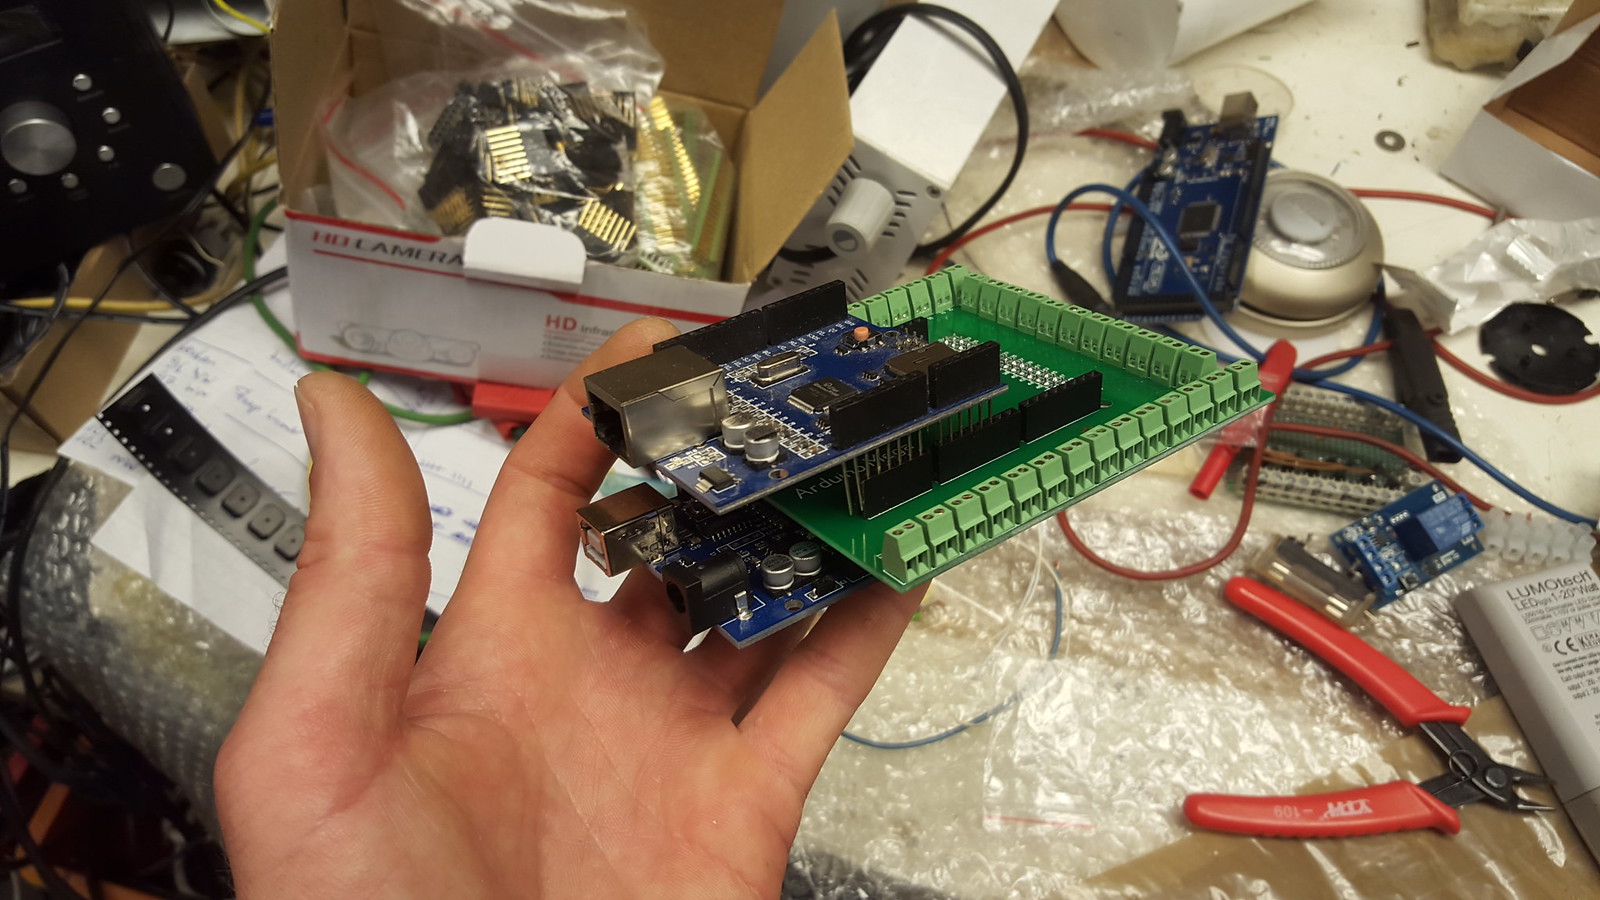
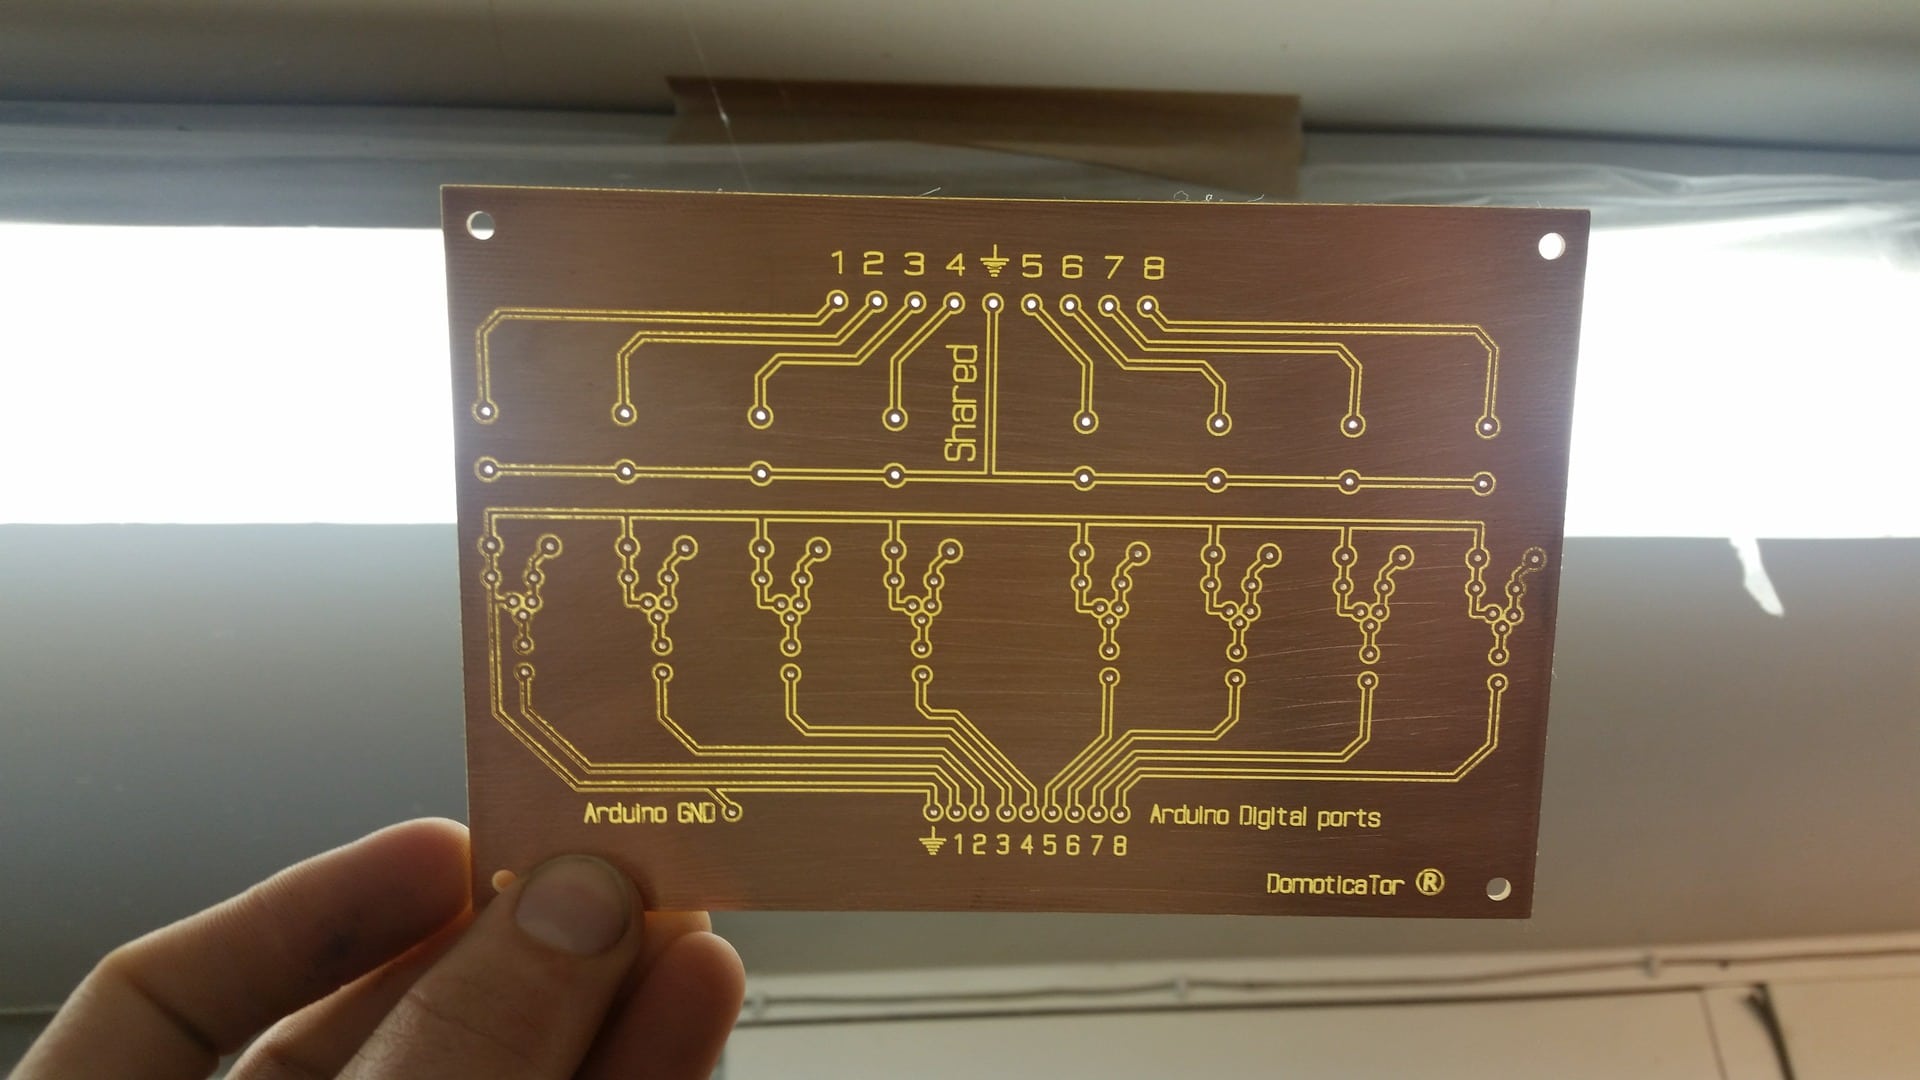
)received my DMX shield for the arduino , a box of reed relais (door magnets ) and some fresh PCB that is getting ready to be engraved.
Testing here if the little schedule works to switch the small relais , and it did
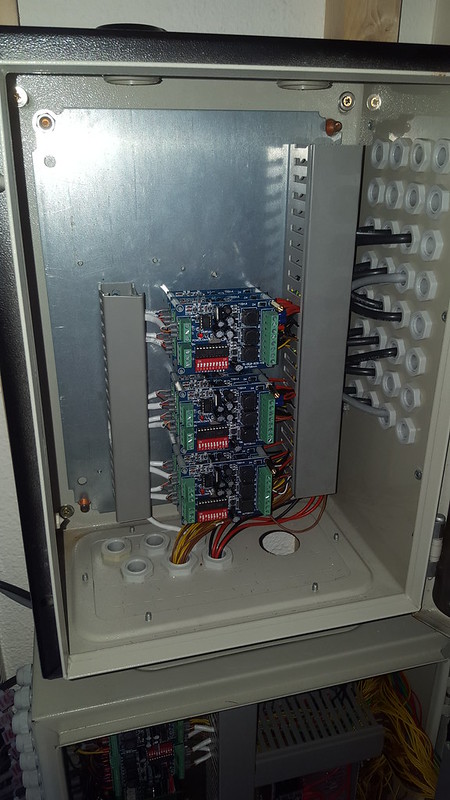
You ask , why not use the cheap outof the box know arduino relay boards ?
Well, those are the biggest problem in the system here at my parents , the optocoupler burned out 3 times in a row and resulting in 1 or 2 relays not responding anymore.
So i bought a more known relay brand and some BC547 transistors , some diodes to make my own relay boards that hopefully are more stable compared to those ebay boards.
I am probably the one of the few persons that have problems with those but since a big part of my system relies on switching relays i found it important to make them myself with better components.
Also made some holes in the wall for 86x86 boxes, these are for some DMX light controllers that i ordered.
These are the models i am talking about , this is for visitors that do not know how to control the lights from a tablet or phone etc..
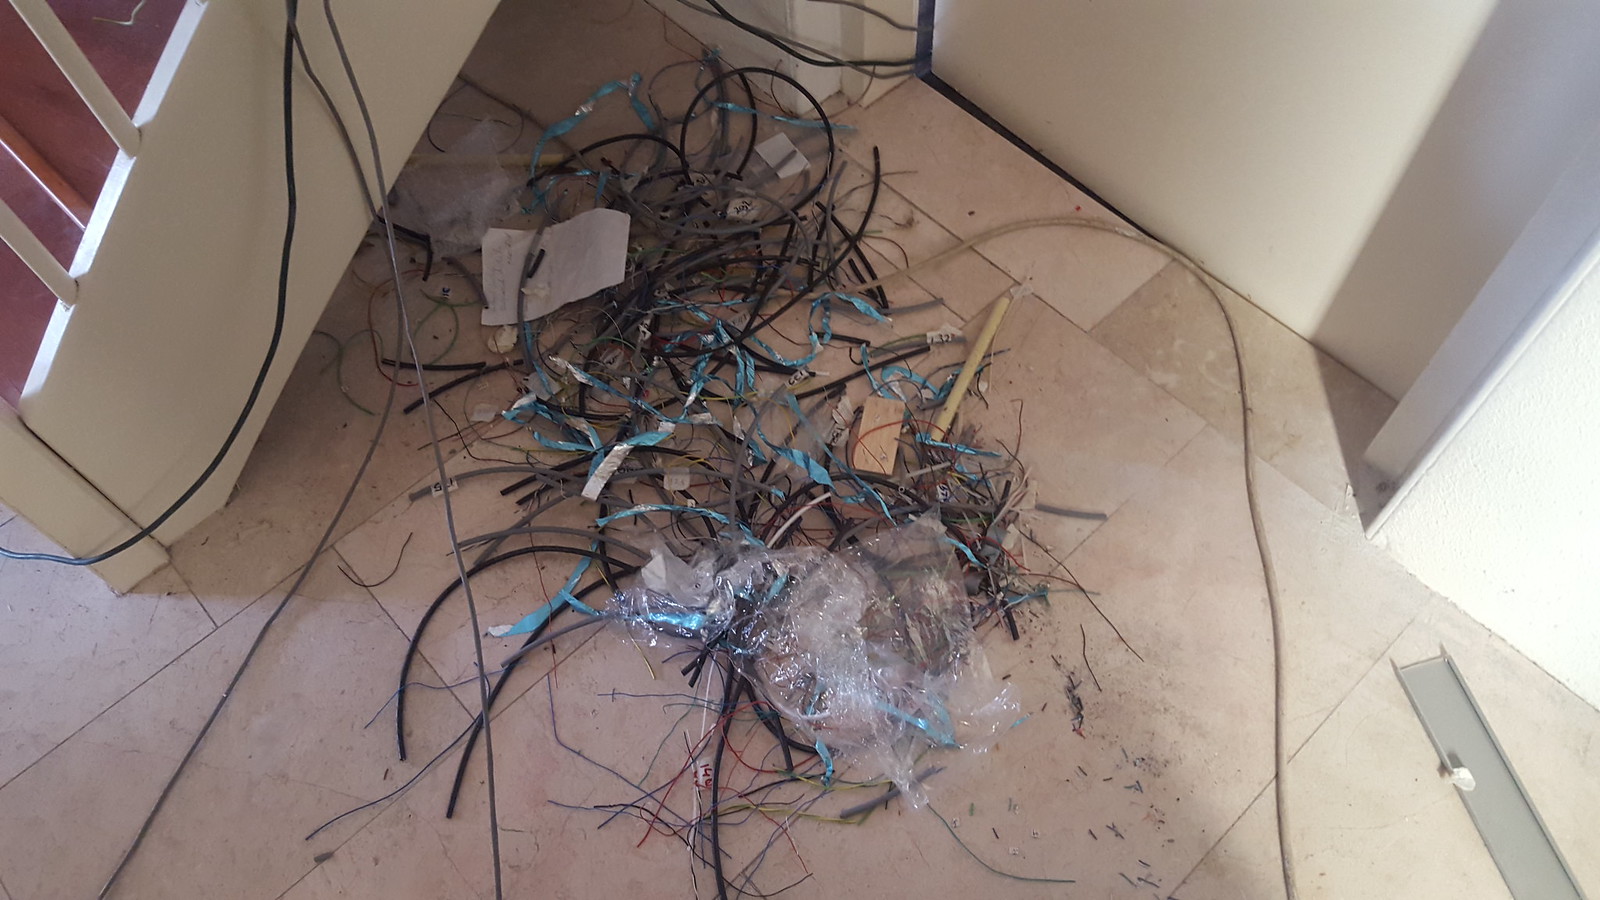
Here are now somewhere about 280 cables laying around and waiting to be connected


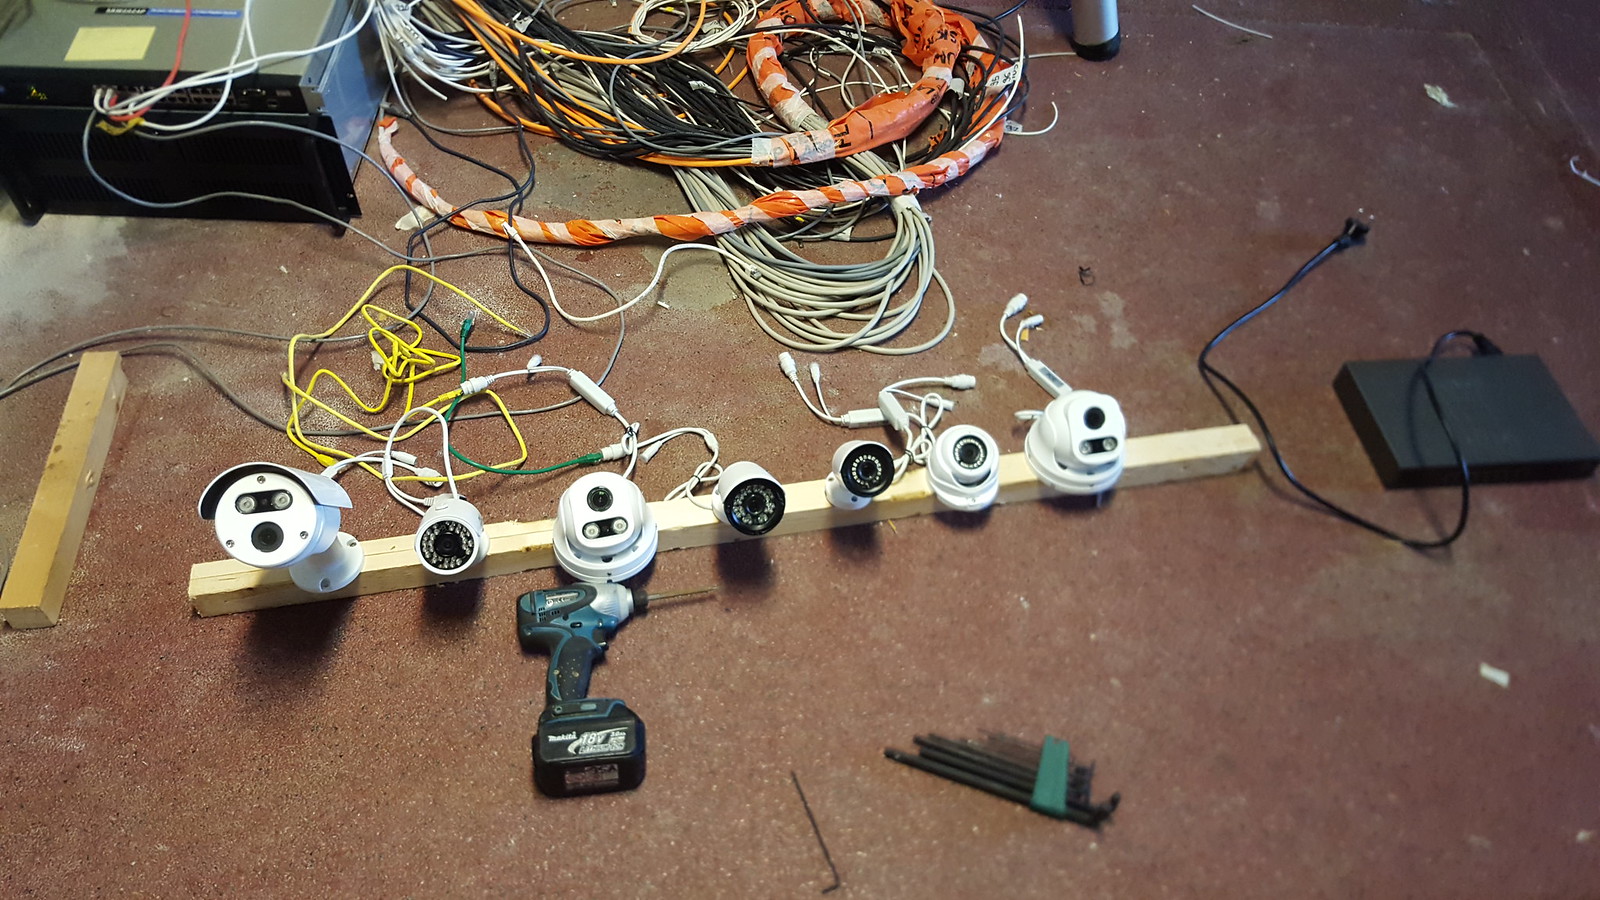
 , i do like the Hikvision auto tracking function, have been looking at a camera from them but the price is what holds me from buying.