BI is a plus.
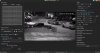
The overall process is to use BI to generate the still images from your selected camera.
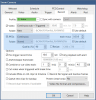
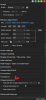
1) In BI GIU, click on the camera of interest.
2) In the menu that pops up click on "Camera Settings".
3) In the "Show Camera" box select "Record".
4) Check the box for "JPEG".
5) In the next box over from "JPEG" select "Continuous".
6) The next box will be listed as m:ss.s. For one image every 30 seconds the completed box should be 0:30.0. Change as needed.
7) Under "Folder" place images in desired location. Usually on your non SSD drive. My setup uses the "Stored" folder as it is not being used for anything else.
8) For "Quality" like to have a file size of about 1 meg or so depending on what final output quality is desired. Overall image file size will dependent on camera and lighting conditions. On this end for my camera this was set at 90%. Adjust as needed.
9) When finished click "OK" at the bottom of the form.
View attachment 182920
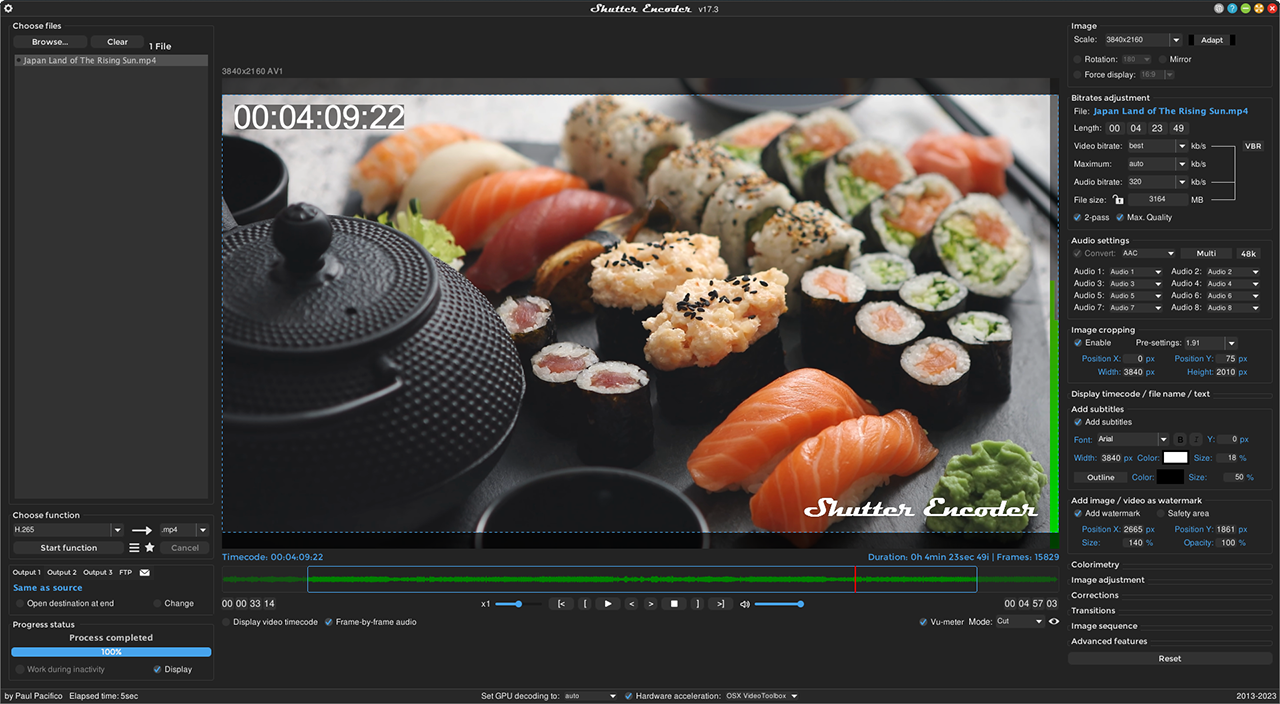
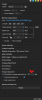
Also check the properties of the "Stored" folder to make sure that it is NOT set to auto delete, etc. (Gear icon > Storage > Stored) if using the "Stored" folder.
Set "Limit Size", "Limit Clip Age", "Delete" "Recycle". etc as needed. Then "OK"
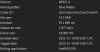
When all of the images are captured convert into a MP4 movie using the free "Shutter Encoder" program.
Open source software without any restriction - converter all formats professionals codecs and standards

www.shutterencoder.com