- Jan 31, 2017
- 51
- 11
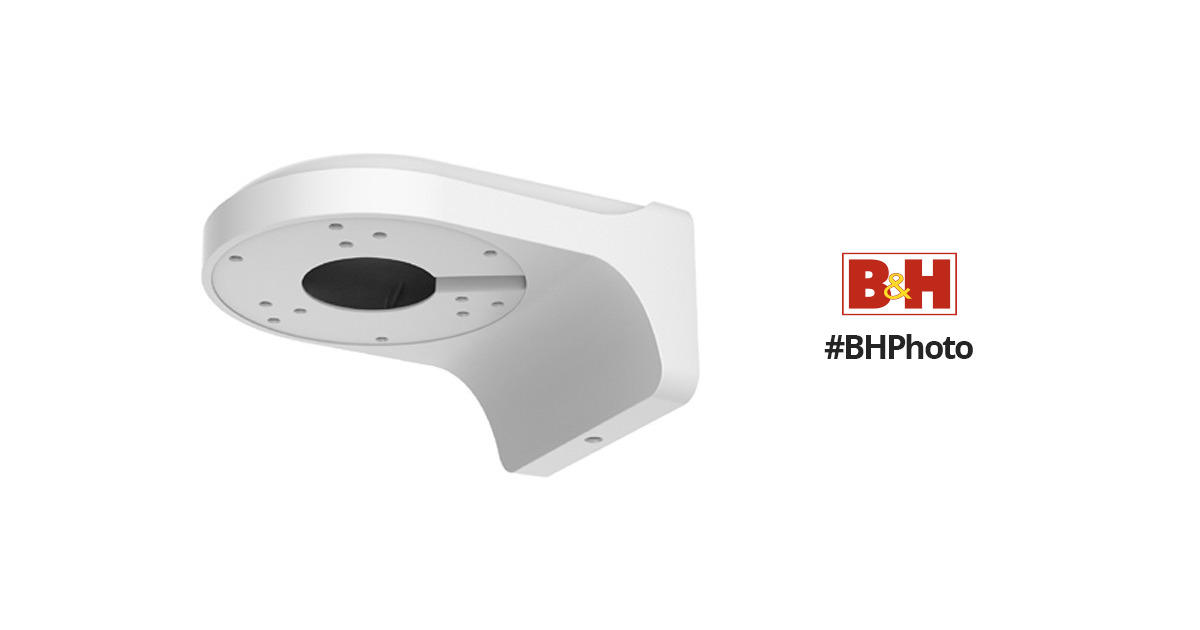
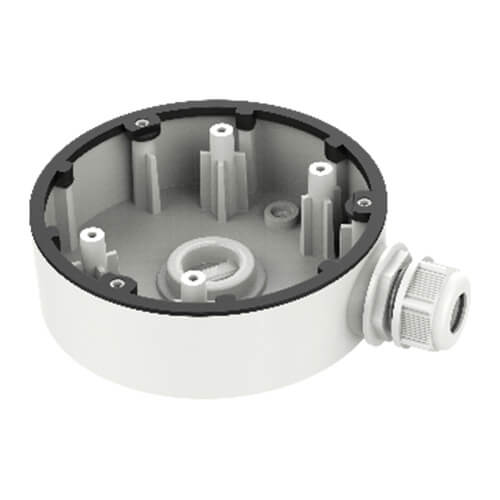
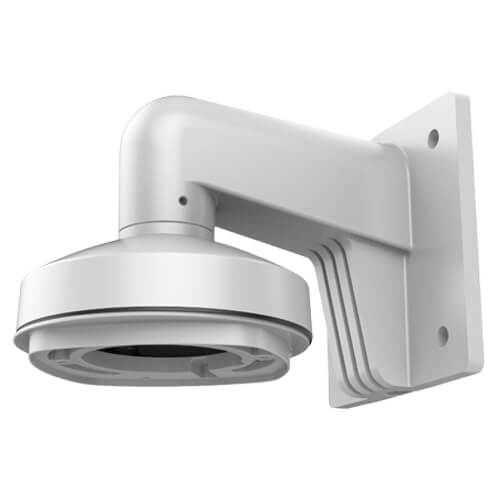
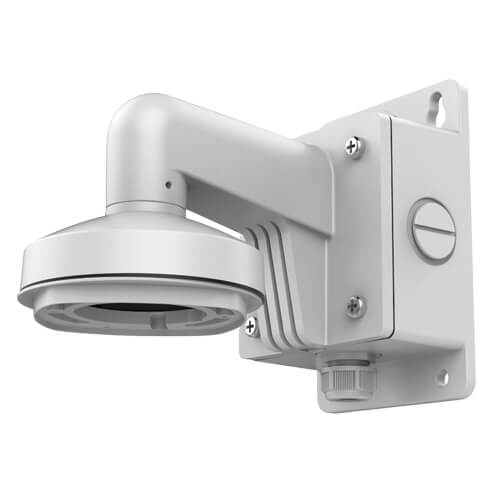
I have a total of four Hikvision mini-dome cameras (models DS-2CD2543G0-IS [aka IPCam IPCT-HDBW4432F-IS], DS-2CD2563GO-IS). All are wall mounted outdoors, though generally shielded from the rain. The difficulty with these cameras is that they have a non-optional cable bundle (ethernet, audio in, DI.DO) that need to be placed somewhere (I only use the ethernet). Two of my cameras are located under soffit, so that the cable bundle can be tucked up into that area. The other two are installed on 6x6 posts (one on a porch, the other on a pier). On these latter two, there is no place to hide and secure the bundle cable. So, I needed a conduit box under (behind) the camera that would hold all the cable bundle. I spent at least two hours trying to find what Hikvision recommended, and I found conflicting information in the sales pages and the manuals, finding possibilities of CB120, CBD-MINI and CBS. When looking at the schematics for these, it didn't appear that any would line up with the screws on the camera, so I called (twice) Hikvision USA. They each spent at least 15 minutes trying to find what is supposed to work, and gave me conflicting information again. However, it seemed that CBD-MINI was the best candidate. So, I ordered two of them -- backordered for nearly two months, but finally got them and they do NOT fit, naturally, at least. I suppose you could make new holes in it.
Anyway, I decided to make my own using a 4 x 4 x 2.5" "project box" (probably not the right name, but it is a water-proof box with no holes in it at all) from Lowe's. These have worked out great for me and I thought I'd share it with others that might be in the same position. I have attached photos of the steps.
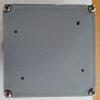
Here is the "project box" (4x4x2.5):


Step 1: Create a hole in the lid that will be used to pass the cable bundle. NOTE: if you follow the photos, you will notice that I actually added this hole later, but I should have done it at this point, so I arranged the photos as they should have been done. I drilled a pilot hole at about 7/8" from the top edge and 1 3/4" from the left edge. The pilot hole helps keeps the final drill bit cut centered. Then I used that pilot hole to drill a 7/8" hole (you can certainly use a somewhat larger one, as long as you don't cut too close to the edge as that would break the box's seal.


Step 2: Attach the camera's base plate to the box's lid. When marking the holes in each of the four slot areas, pick a spot as far from the lid's edge as possible. After marking, I again used a pilot hole, then the final hole (I used 3/32" for my #6 x 3/4" metal Pan-head screws (1/2" would be long enough, but I already had these). Complete all four holes, then attach the camera base with the four screws. Be careful to center it well so that the box's corner screws are all accessible and not blocked by the base (you will want to be able to remove the lid with the camera base on it).



Step 3: Feed cable bundle through the box lid. Push the fattest things through first, of course.


Step 4: Secure camera to the camera base (which is already attached to the box lid).


Step 4: Install Camera Cover

Step 5: Take a look at the project box -- all is nice and neat. Now, all you need to do is to secure the project box to whatever surface you want, and make provision for the ethernet cable. In my case, I simple drilled a 1/4" hole through the back of the box and on through the 6x6" post. The ethernet cable passes through this hole into the box, and I then attached the RJ45 end to the cable, re-attach the lid and it's all set. Of course, there are other ways to install conduit to this box as well, but I'll leave that to you!

Let me know of any suggestions or questions!
Anyway, I decided to make my own using a 4 x 4 x 2.5" "project box" (probably not the right name, but it is a water-proof box with no holes in it at all) from Lowe's. These have worked out great for me and I thought I'd share it with others that might be in the same position. I have attached photos of the steps.
Here is the "project box" (4x4x2.5):


Step 1: Create a hole in the lid that will be used to pass the cable bundle. NOTE: if you follow the photos, you will notice that I actually added this hole later, but I should have done it at this point, so I arranged the photos as they should have been done. I drilled a pilot hole at about 7/8" from the top edge and 1 3/4" from the left edge. The pilot hole helps keeps the final drill bit cut centered. Then I used that pilot hole to drill a 7/8" hole (you can certainly use a somewhat larger one, as long as you don't cut too close to the edge as that would break the box's seal.


Step 2: Attach the camera's base plate to the box's lid. When marking the holes in each of the four slot areas, pick a spot as far from the lid's edge as possible. After marking, I again used a pilot hole, then the final hole (I used 3/32" for my #6 x 3/4" metal Pan-head screws (1/2" would be long enough, but I already had these). Complete all four holes, then attach the camera base with the four screws. Be careful to center it well so that the box's corner screws are all accessible and not blocked by the base (you will want to be able to remove the lid with the camera base on it).


Step 3: Feed cable bundle through the box lid. Push the fattest things through first, of course.


Step 4: Secure camera to the camera base (which is already attached to the box lid).


Step 4: Install Camera Cover

Step 5: Take a look at the project box -- all is nice and neat. Now, all you need to do is to secure the project box to whatever surface you want, and make provision for the ethernet cable. In my case, I simple drilled a 1/4" hole through the back of the box and on through the 6x6" post. The ethernet cable passes through this hole into the box, and I then attached the RJ45 end to the cable, re-attach the lid and it's all set. Of course, there are other ways to install conduit to this box as well, but I'll leave that to you!

Let me know of any suggestions or questions!
Last edited:


