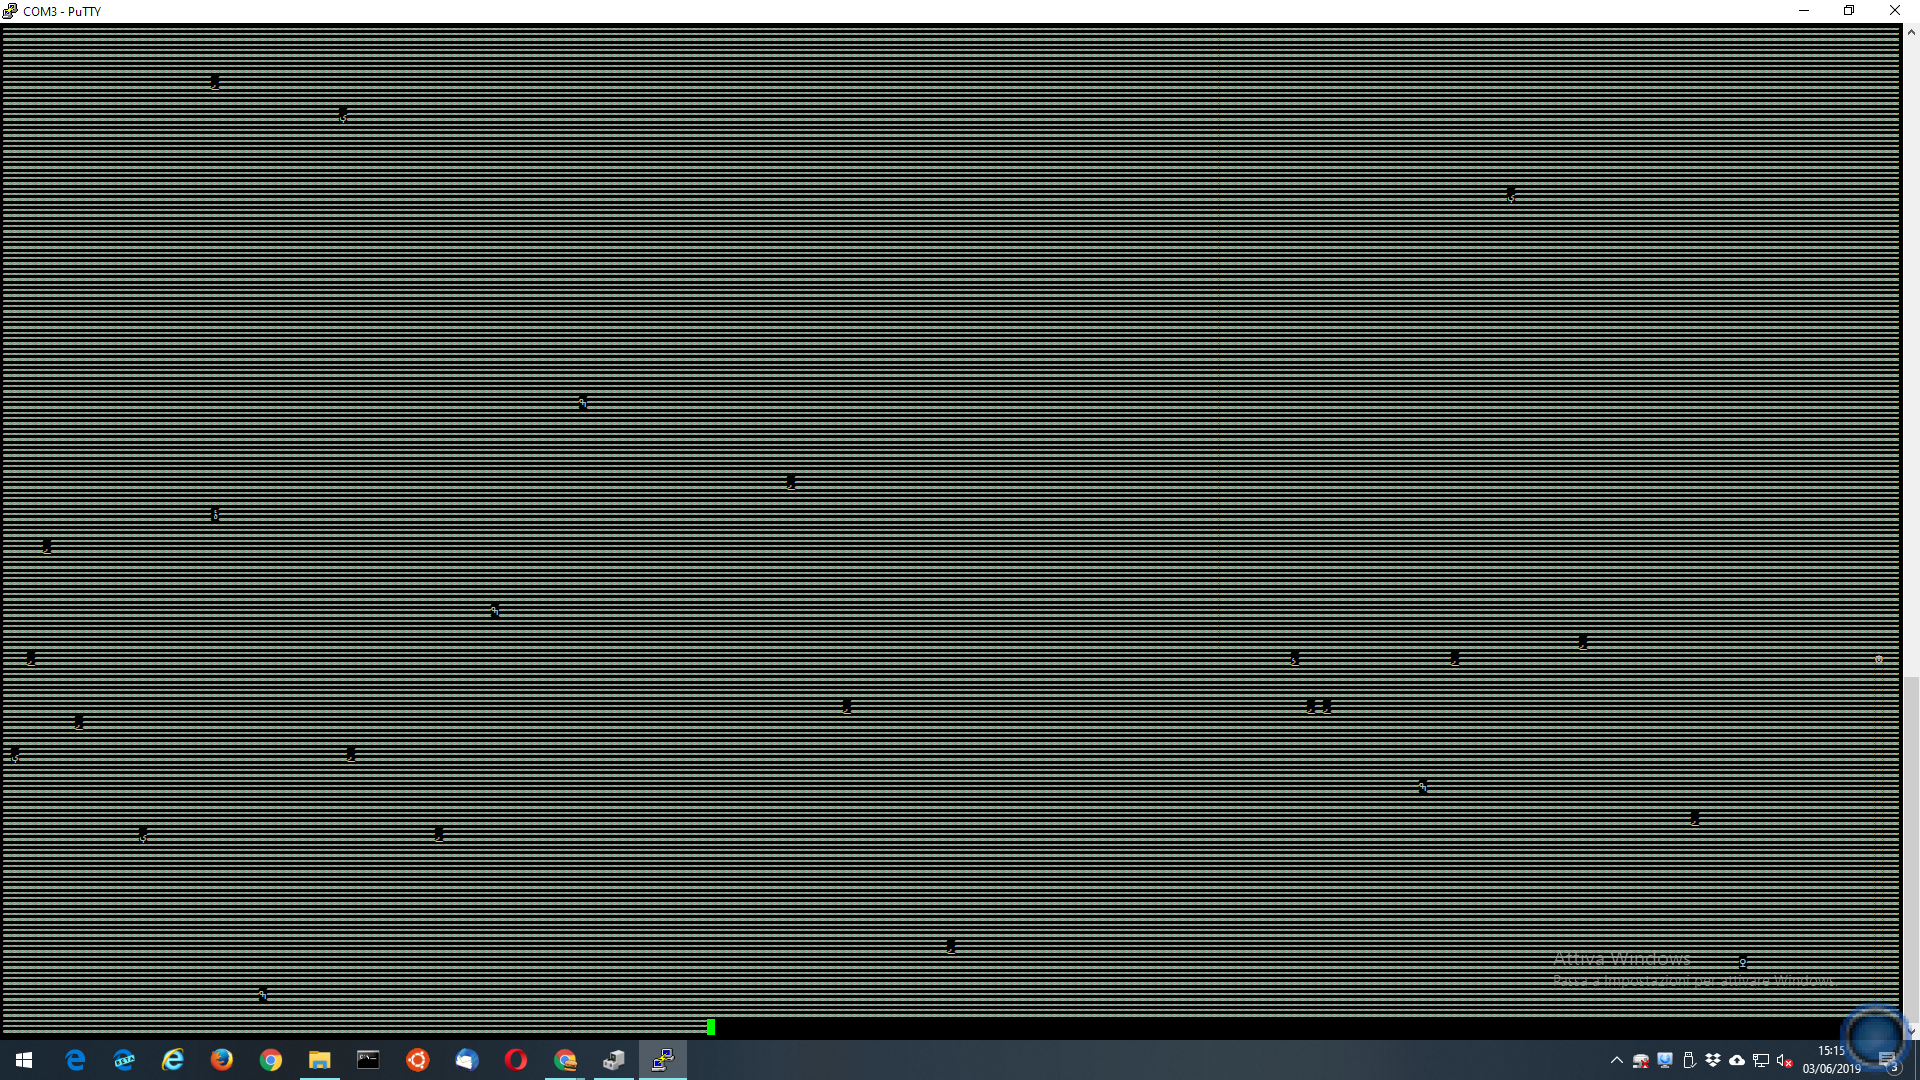
Your PuTTY log shows that the system attempts to reboot into the 'min-system' recovery mode, but it does not initiallise.
The 'update' command at the bootloader also uses the 'min-system' recovery mode to to the update - but it does not start.
It's a bit of a Catch-22 situation as an update is needed to install new firmware, but the update facility that the 'min-system' recovery provides is broken.
There will be ways to fix this up, assuming that it's not a hardware problem such as a flash failure that's causing it, but it would involve some low-level work.
The easiest way would be using flash write facilities in the bootloader - but it's likely Hikvision have removed these, depending on the date of manufacture.
To check if there is availability, interrupt the bootloader and list the commands with 'help'.
Another approach is to use a modified boot to get to a root shell.
This can be using the kernel / root file system that still exists in flash, or via a
tftp boot if that facility remains in the bootloader.
Then by mounting an external file system, files can be transferred in and out.
Do you have a NAS available on your network?
To try booting to a root shell:
Interrupt the bootloader, and list existing environment variables using 'printenv'.
Save the PuTTY rollback to a text file with Notepad or similar, to ensure a record of the initial values.
The idea is to append init=/bin/sh to the bootargs value.
That should inhibit most of the normal startup and give a root shell.
It's handy to have these command in a text file, so they can simply be copied / pasted into PuTTY to save typing and avoid errors.
The original may be something like this:
setenv bootargs console=ttyS0 initrd=0xc0a00000,0x400000 rw root=/dev/ram dbg=0
This can be modded like this:
setenv bootargs console=ttyS0 initrd=0xc0a00000,0x400000 rw root=/dev/ram dbg=0 init=/bin/sh
Then use 'saveenv' to write the changes to flash, and use 'reset' to boot the device.
Even after the root shell appears - there are some further commands needed to complete the environment and make it usable.
But let's see how you get on first.

") After upgrade there is onlu some user 5 to choose, but there is no admin, and pass is not good... Last time I succesfull upgrad with this cable with similary problem 7208 huhi k2, now I cant stop boot...
After upgrade there is onlu some user 5 to choose, but there is no admin, and pass is not good... Last time I succesfull upgrad with this cable with similary problem 7208 huhi k2, now I cant stop boot...